A customer in Rotherham called us halfway through fitting his own herringbone hallway. He had started tight against the left-hand wall, as you would with a normal plank floor, and by the fourth row the pattern was running visibly off-square towards the door. Nothing was wrong with the flooring. He had simply started in the wrong place, and with herringbone that mistake compounds with every board.
Herringbone is laid from the centre of the room outwards, not from a wall, and that single difference governs everything else. The process runs like this: level the subfloor, find the centre line, dry-lay the first V to check the angle, work outwards in pairs of left and right boards, cut the perimeter and awkward areas last, then hide the expansion gap behind skirting. Here is the whole job, from a family-run team fitting high-quality flooring across Rotherham and South Yorkshire.
Herringbone is far less forgiving than straight-lay, because every board meets its neighbour at 90 degrees and any error shows up as a widening gap down the pattern. Preparation is where you earn the finish.
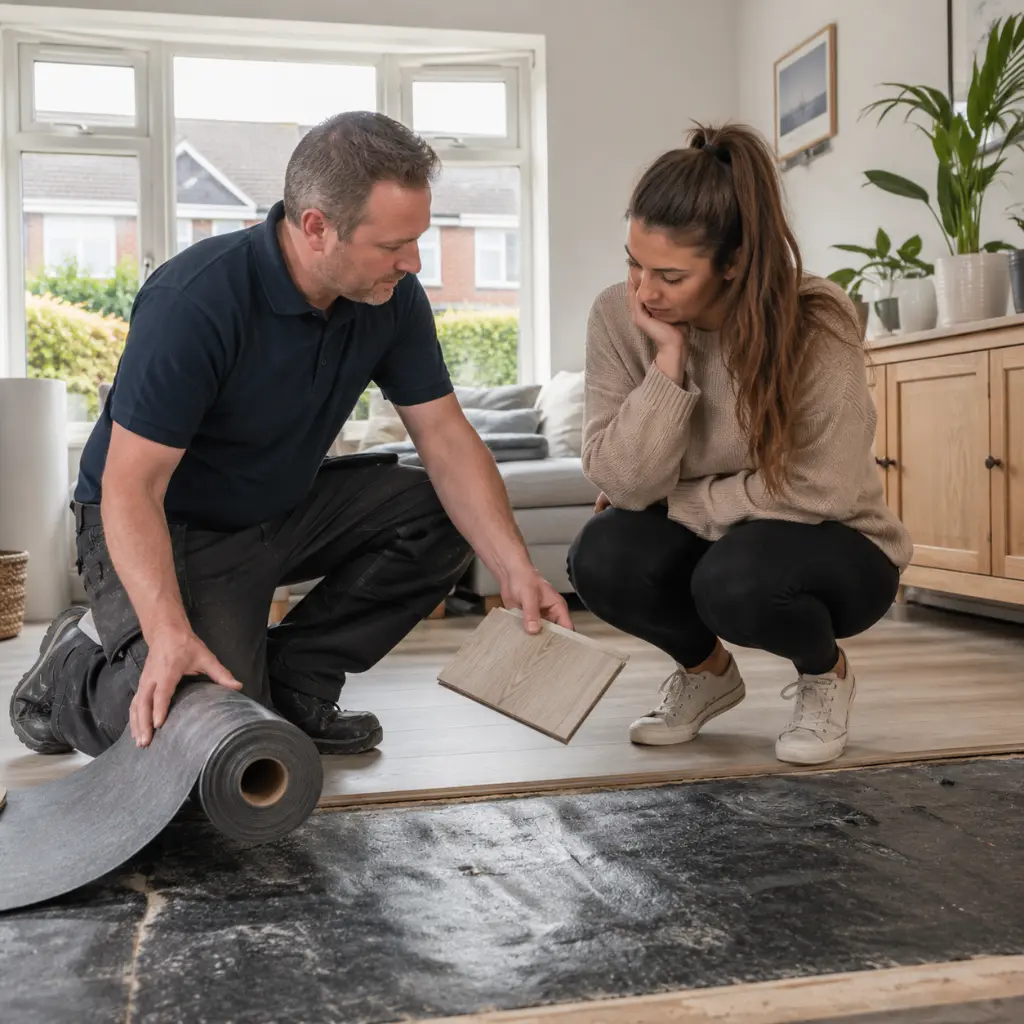
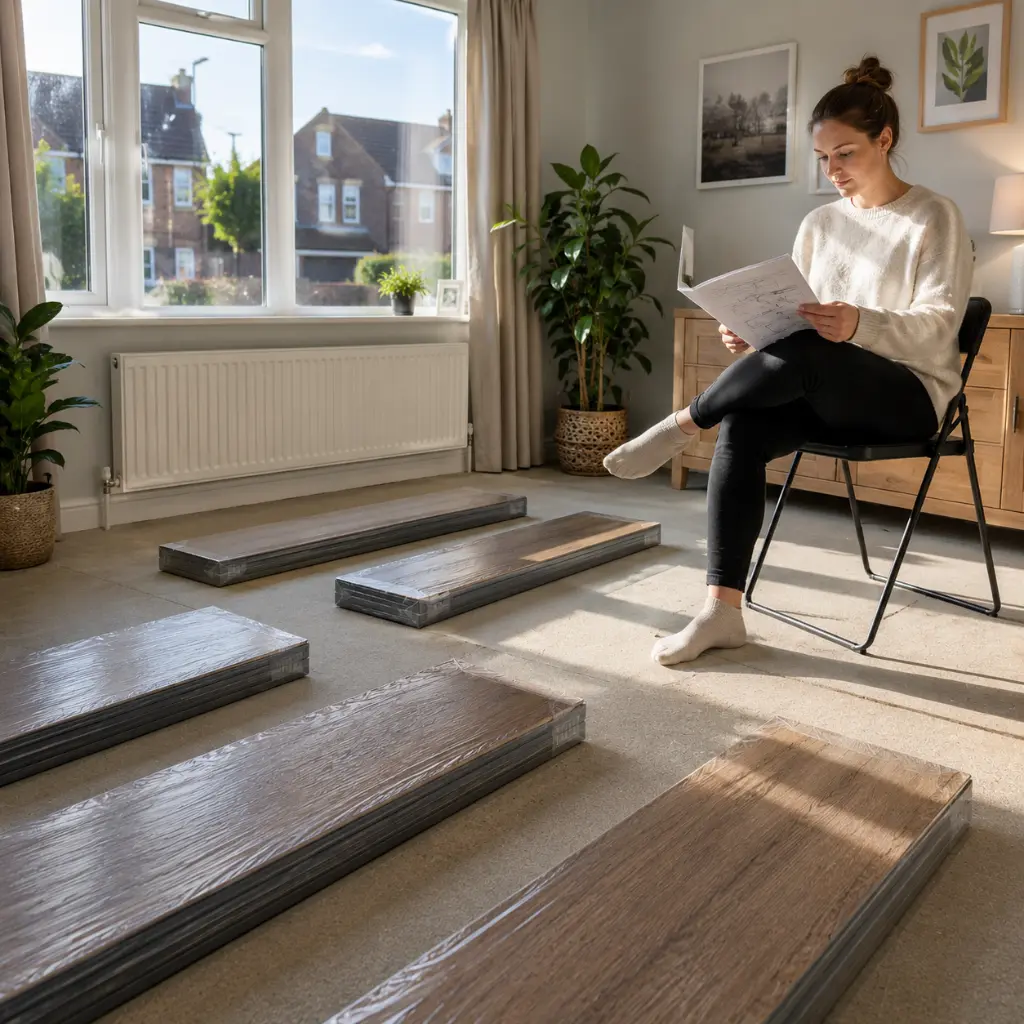
The subfloor prep, underlay and acclimatisation are the same as for any laminate floor, and ordinary laminate flooring installation covers that groundwork in full. One thing changes for herringbone, and it is the important one: the tolerance. Because every joint meets at 90 degrees, a dip that a straight floor would ride over will open a herringbone joint, so the base has to be flatter than usual. Check it with a long straight edge and treat anything more than about 3mm over 2 metres with a levelling compound before you start. An underlay still cushions and quietens the floor, but on herringbone the flat subfloor beneath it matters far more than the underlay itself.

You need a tape measure, pencil and chalk line, a carpenter's square, spacers, a tapping block and pull bar, a rubber mallet and knee pads. The one tool that matters more than on a standard laminate flooring job is a mitre saw, because the herringbone method needs clean, repeatable angled cuts that a handsaw cannot match. The kit is familiar; the setting out is not, and that is where the real work starts.
Work from the middle out. Herringbone boards come as handed pairs, marked left and right on the back, and are laid alternately to form the V-shaped pattern.
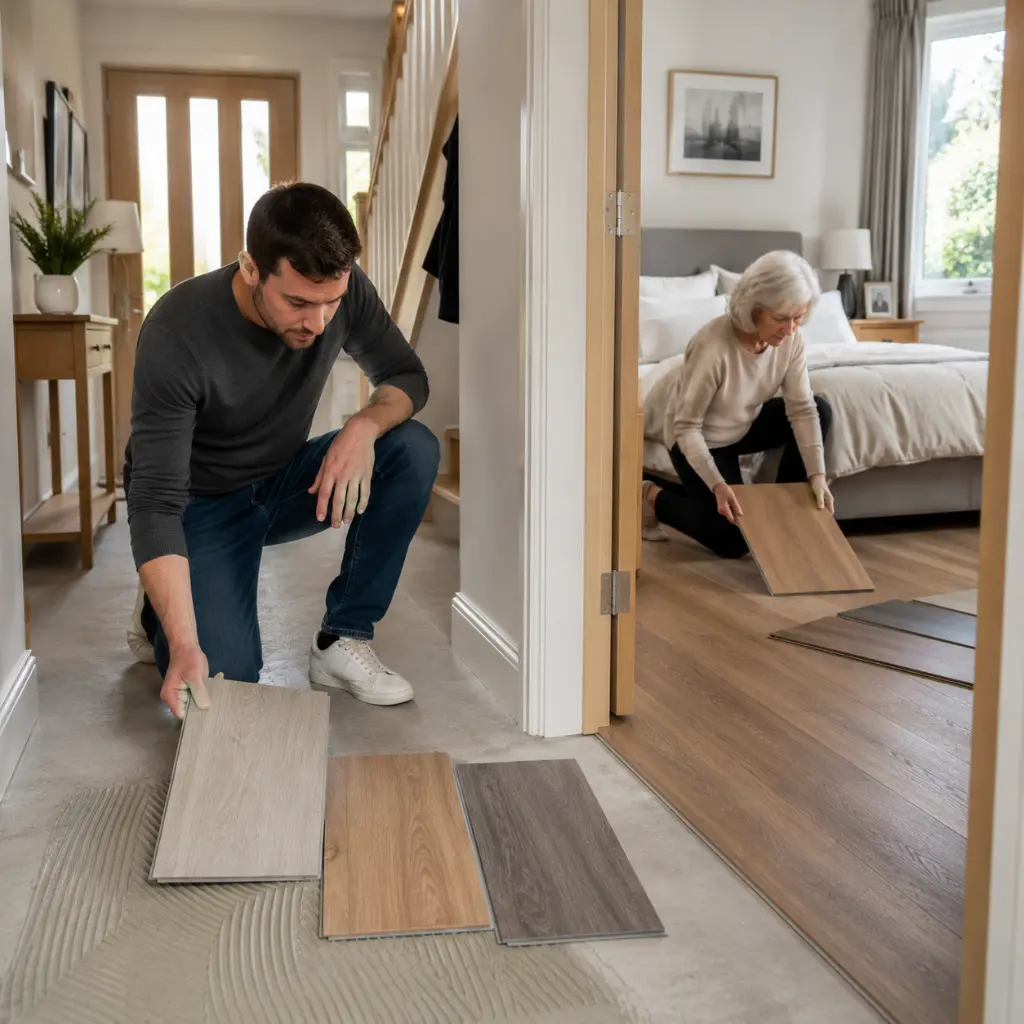
Measure the room and snap a chalk centre line down its length, running towards the main focal point, usually the door you enter by or a fireplace. Dry-lay the first several boards along that line without clicking them down, so you can see the pattern sits square and check how the perimeter cuts will fall. If the line leaves an awkward sliver at one edge, shift it sideways before you fix anything. This dry run is the most important five minutes of the whole job, and skipping it is what catches most people out.
Lay the first left and right board so the point of the V sits exactly on the chalk line, then check the joint with a carpenter's square. This first V is the reference for the entire floor, so spend real time on it. Work outwards in both directions in pairs, checking every few rows with the square rather than by eye, since a small error is far easier to fix now than ten rows later. Close each joint with the tapping block and mallet rather than force, using the pull bar where the block will not fit, and mix boards from several packs so shade differences between batches spread across the floor instead of forming a patch. A thicker 12mm board such as a grey herringbone laminate clicks together more firmly than a thin one and holds the pattern better.
The perimeter and the obstacles are cut last, once the main field of the pattern is down and stable.
Undercut the door architrave with a handsaw laid flat on an offcut, so the boards slide underneath for a clean finish rather than being scribed around it. Around a fireplace or hearth, make a card template of the shape, test it in place, then trace it onto the board; fireplaces sit in full view, so a careful scribe is worth the extra time. For radiator pipes, drill a hole slightly larger than the pipe, cut a wedge back to the board edge, fit the board, then glue the wedge in behind.
For the edge boards, hold each one against the last full board and mark the cut directly from the floor rather than from a measurement, cutting with the decorative face upwards to avoid chipping. Keep a consistent 10mm expansion gap at every wall, behind radiators and in doorways, using spacers as you go, as this gap is what lets the floor move without buckling. Sort your offcuts by size as they build up, because the perimeter triangles often come straight from earlier waste, which is the main way to keep material use down.

Herringbone costs more to fit than straight laminate, and three things drive it.
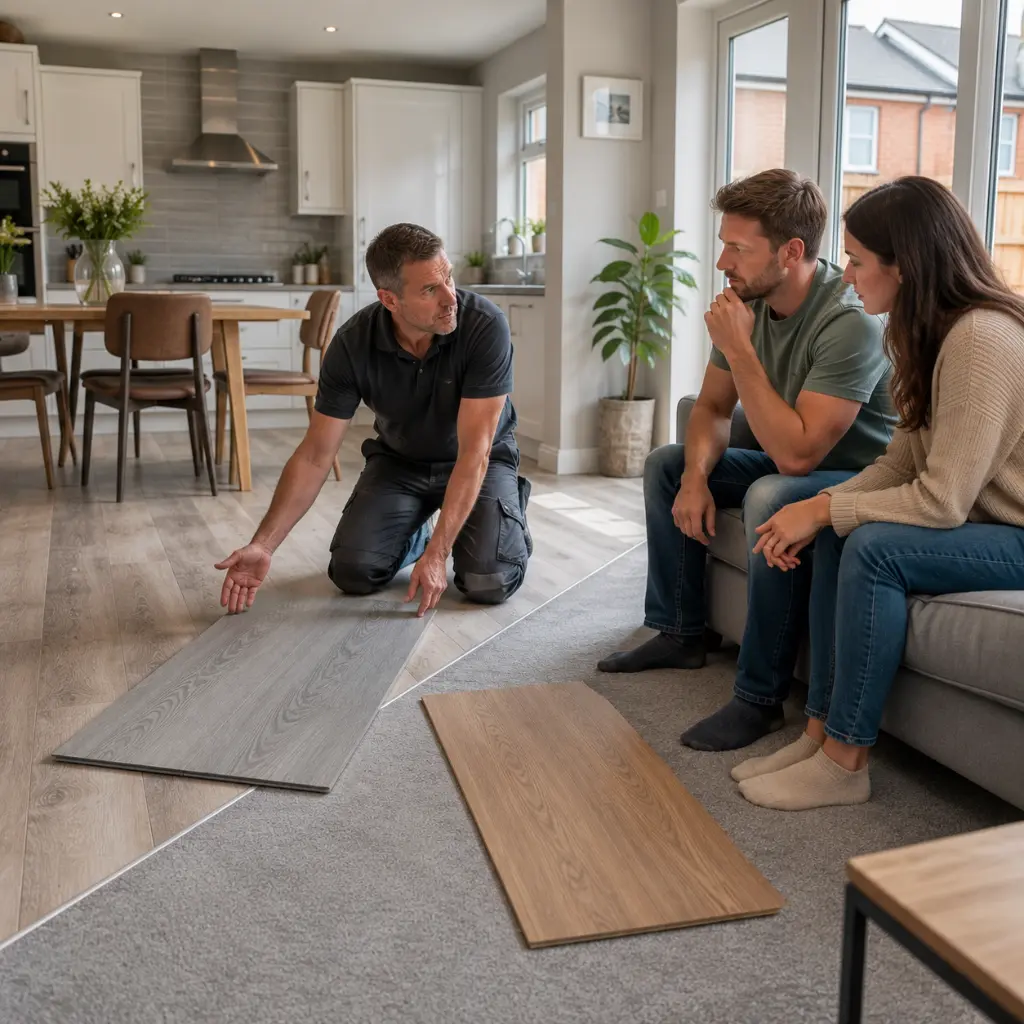
For a straightforward square room, a patient DIYer can do this. Get a quote instead when the room is large, full of awkward cuts, or the subfloor needs real levelling, as those are where mistakes multiply.
Remove every spacer once the last board is in, then fit skirting or scotia to cover the expansion gap, fixing it to the wall and never down into the floor, which would stop the laminate moving. Add threshold strips at each doorway, and keep a few spare boards back for future repairs. Clean the floor with a barely damp mop and avoid excessive moisture, following the same low-moisture approach used for cleaning hard floor tiles.

It should go onto a clean, level subfloor, not over carpet or old laminate. Lift the old floor, remove every staple and gripper rod, and check the level before starting. If you're replacing carpet, it's worth exploring the different carpet options available before making your final flooring choice.
Not practically. The pattern relies on a continuous field of boards meeting at angles, which a stair tread cannot accommodate, so stairs are normally finished in matching straight plank or carpet instead.
Expect roughly twice as long as the same room in straight planks, with most of the extra time in the setting out and perimeter cuts rather than the main field.
Herringbone rewards patience at the start far more than speed later. The centre line, the first V and an honest dry run decide how the finished floor looks, and almost every problem people hit with laminate flooring in this pattern traces back to one of those three being rushed.
If your subfloor needs work, the room is full of awkward cuts, or you would rather have it fitted properly the first time, our experienced team is here to help. Get in touch today for a free, no-obligation quote.