Laying laminate flooring is one of the most beginner-friendly DIY jobs, and far less daunting than it looks. In one sentence: clear and level the subfloor, acclimatise the planks for 48 hours, roll out underlay, then lay the boards from a straight starting line, working left to right with a 10mm to 12mm expansion gap around every edge.
The reason it is so DIY-friendly is the click-lock system. Modern wooden laminate flooring floats on underlay as one large sheet, with each board locking to the next rather than being glued or nailed down. That explains the two rules that matter most: a flat base to sit on, and room to move at the edges. Here is how we fit laminate flooring across Barnsley and South Yorkshire most weeks.
Barnsley's housing is a real mix, and what is under your floor depends on the era. The rows of late-Victorian and Edwardian terraces in the town centre and former pit villages like Wombwell, Hoyland, Royston and Grimethorpe almost always sit on suspended timber floorboards. These are fine to lay over once screwed down tight, though decades of wear often leave them dipping, so levelling is the main job. Newer estates on the edges of Barnsley and around Cudworth and Penistone tend to have a concrete or screed ground floor, which holds moisture, so a damp-proof membrane under the underlay is essential there or damp works up into the boards. Sort the right base for your home and the laying is the easy part. We cover Barnsley and the wider area, including flooring in Rotherham and Sheffield flooring.
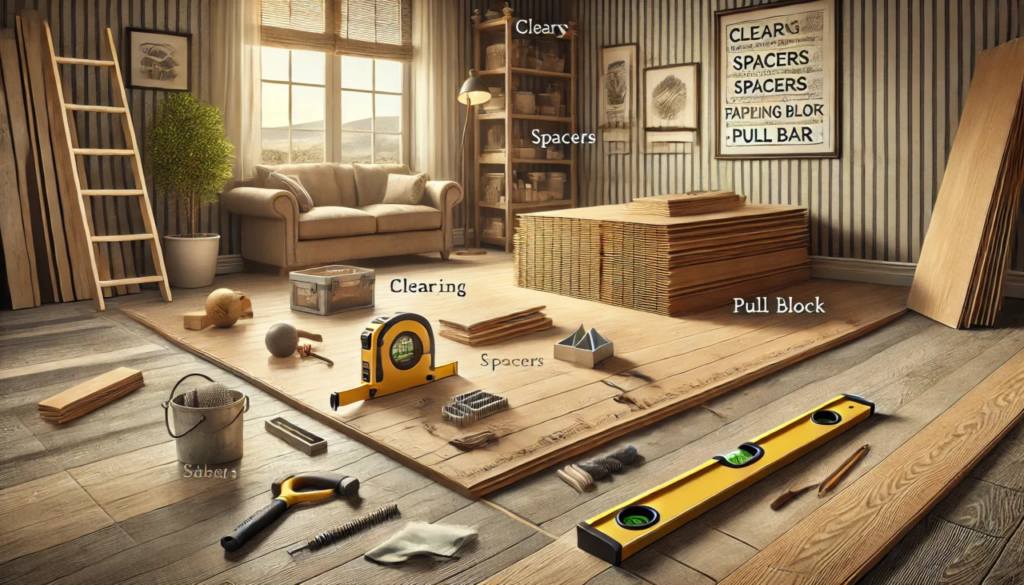
You do not need power tools. The tools needed to install laminate flooring are all hand tools:
• Tape measure, pencil and try square for marking square cutting lines.
• A laminate cutter or jigsaw: a cutter for fast, dust-free straight cuts, a jigsaw for curves and pipe cut-outs.
• Tapping block and pull bar for closing joints without damaging the edges.
• Spacers to keep the expansion gap consistent.
• Rubber mallet, knee pads, safety glasses and a dust mask for comfort and safety.
A laminate flooring fitting kit bundles the spacers, tapping block and pull bar in one box.
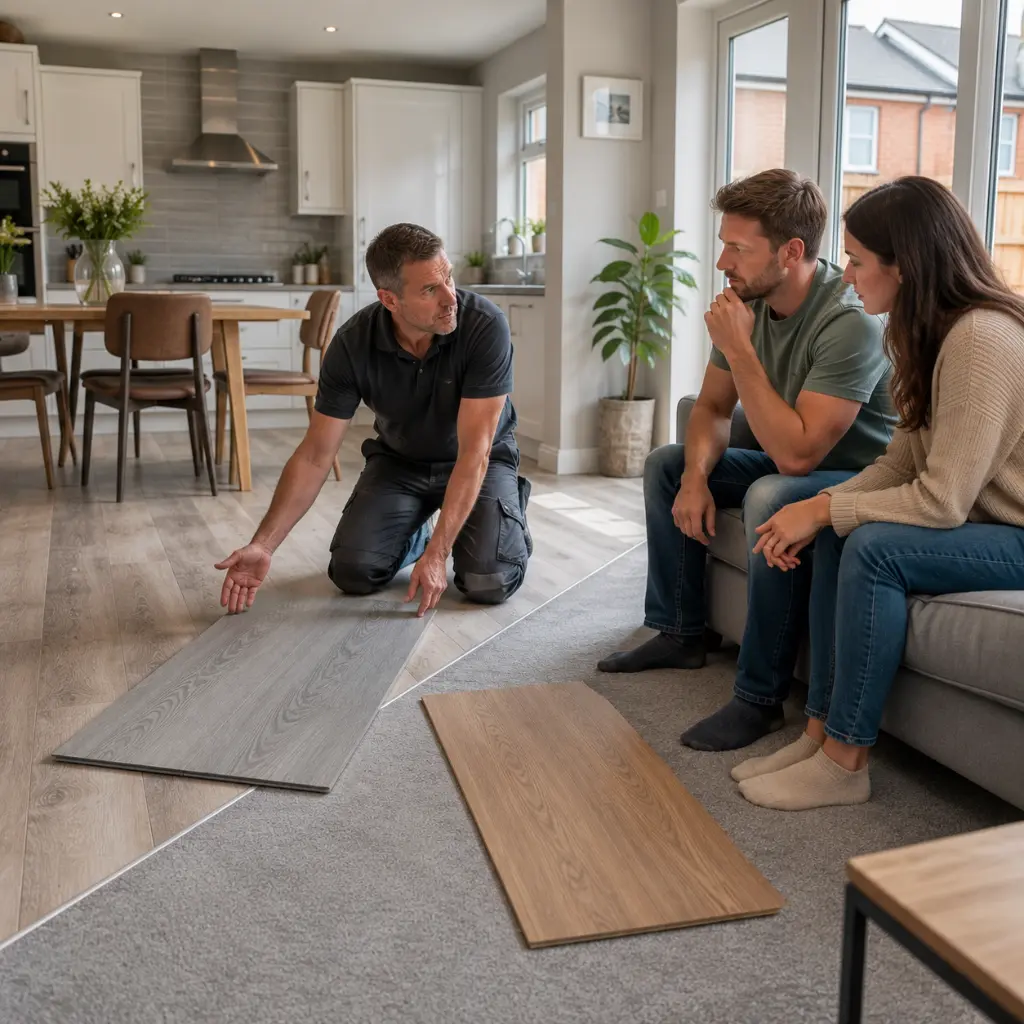
Underlay is part of how the floor performs: it cushions the boards, deadens the hollow sound laminate can make, and adds warmth. Foam is fine over most timber floors; over concrete, choose one with a built-in damp-proof membrane, and if you have underfloor heating, check it is rated for it. Remember laminate is moisture-resistant, not waterproof, so for a kitchen, and especially a bathroom, use a board rated for wet areas or consider vinyl flooring instead.
This stage is where good floors are won or lost. Because laminate floats as one sheet, any dip under it becomes a rocking board or a click underfoot later, so the subfloor must be clean, dry and level. Remove the old flooring completely, including carpet, and sweep away every staple and bit of adhesive, as laminate goes onto the bare subfloor. Check with a long spirit level: anything more than about 3mm of dip over a metre needs sorting, by sanding high spots or using self-levelling compound. On concrete, run a moisture test and lay a damp-proof membrane; on timber, screw down any boards that flex or squeak, and never block the sub-floor vents.
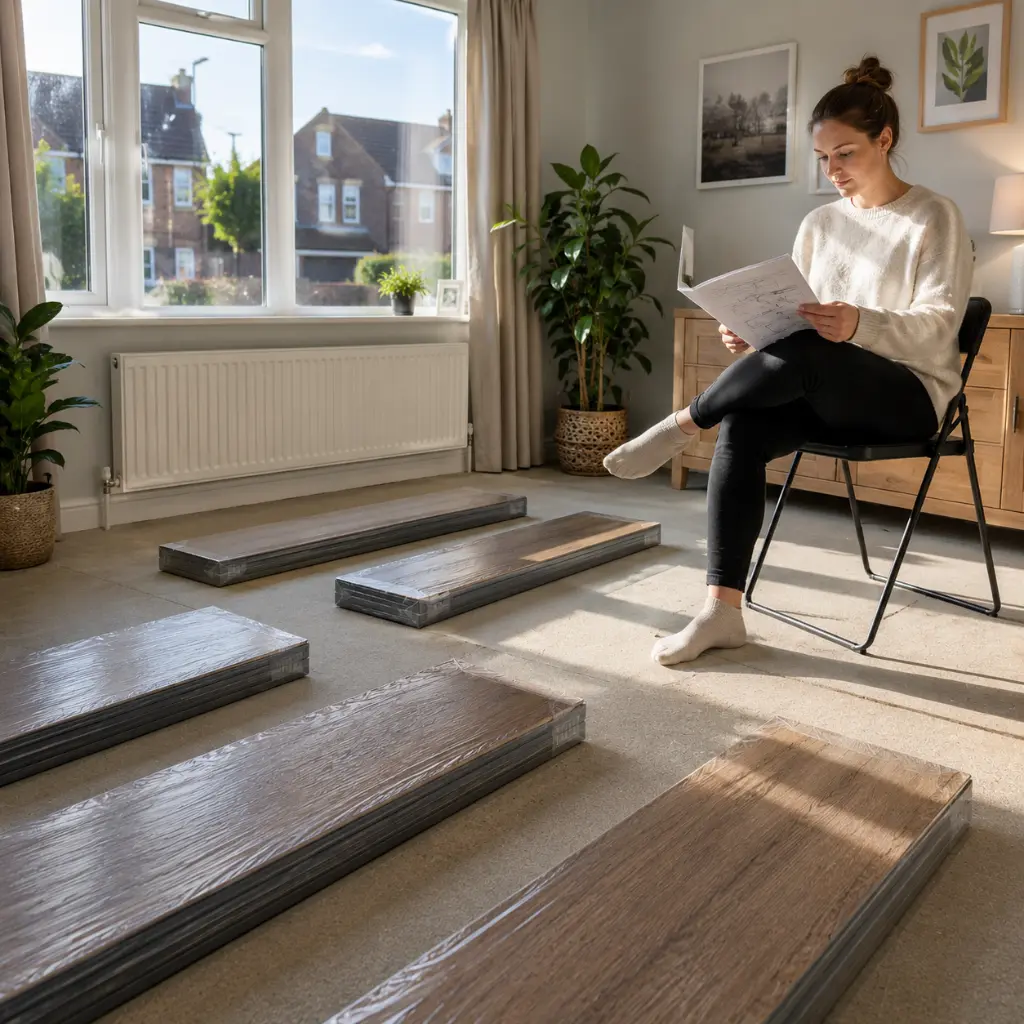
Finally, acclimatise the planks. Lay the packs flat in the room for at least 48 hours at normal living temperature. Laminate expands in warm or humid air and shrinks when cooler, so this lets the boards settle before they are locked together. Skip it and you risk gaps in summer or lifting in a damp winter.
The best way to lay laminate flooring is to work in a clear order. Read your manufacturer's instructions too, as click systems differ slightly between brands.
1. Plan the layout. Dry-lay a couple of rows first. Adjust the width of your first row so the final row is at least 60mm wide rather than a thin sliver, and allow for the expansion gap on every side.
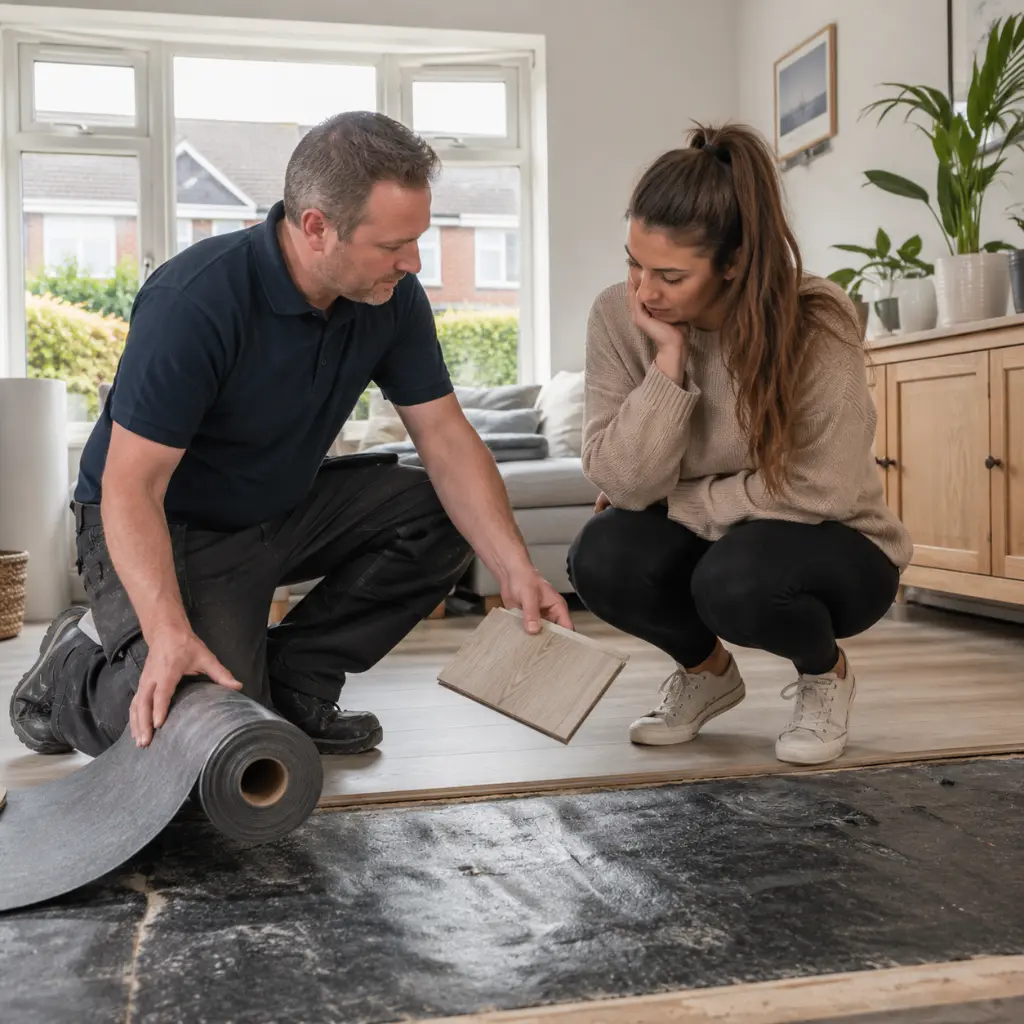
2. Roll out the underlay, butting sections edge to edge without overlapping. On concrete, the damp-proof membrane goes down first.
3. Decide where to start. Begin in the left-hand corner of the longest, most unobstructed wall, as a long straight wall gives the truest reference line. Lay the first board tongue-to-wall with a spacer between board and wall.
4. Click each board onto the last, keeping the row dead straight and dropping spacers in as you go.
5. Cut the last board to fit, allowing for the expansion gap. If the offcut is over 300mm, use it to start the next row.
6. Stagger the joints by at least 30cm between rows. Offset joints look better and spread the load, making the floor more stable. Close stubborn joints with the tapping block and mallet, never your boot.
7. Fit the final row with the pull bar, then remove the spacers and add skirting or scotia to hide the gap.
Take real care over the first row. Get it straight and square and the rest almost lays itself.
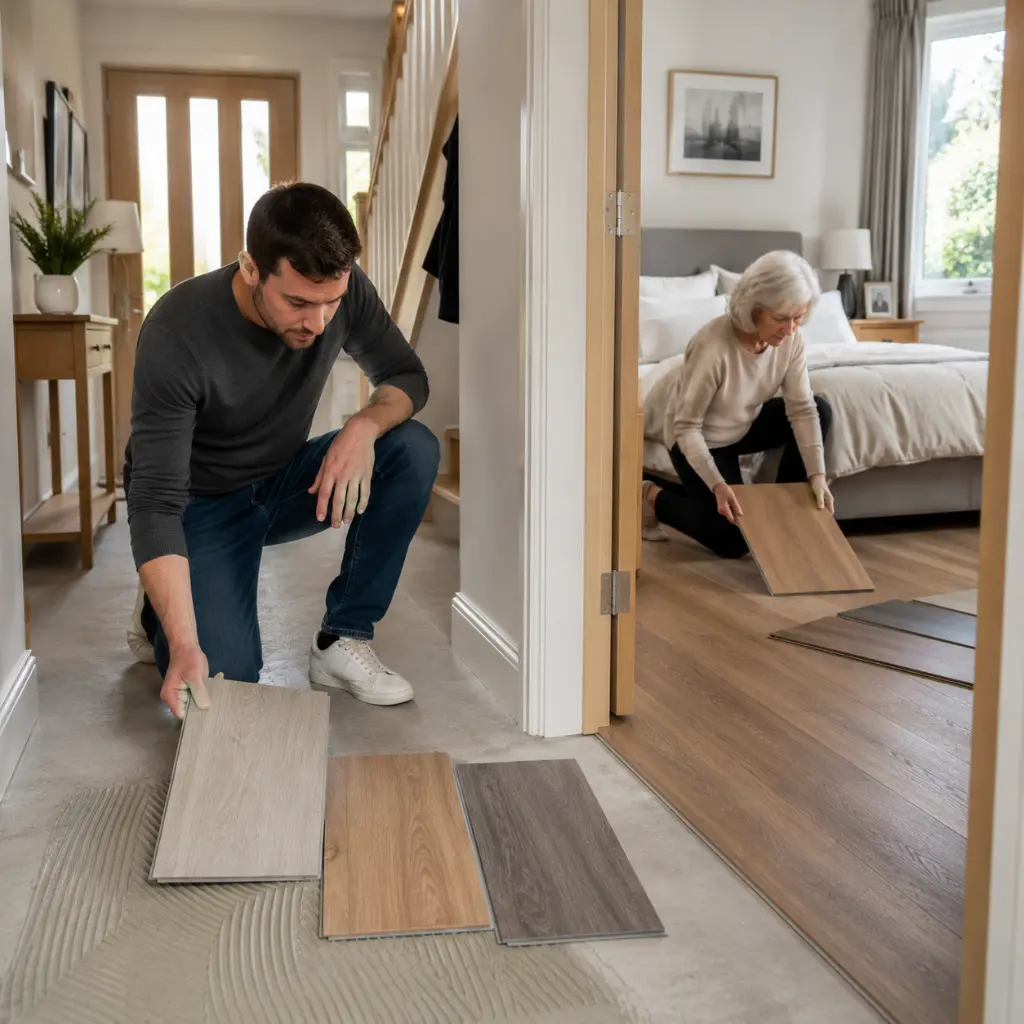
When cutting laminate, a laminate cutter handles straight cross-cuts with no dust, while a jigsaw suits curves and pipe cut-outs; cut with the good side down on a jigsaw to avoid chipping. For radiator pipes, drill a hole about 4mm wider than the pipe, cut a wedge from the board edge to the hole, fit the board, then glue the offcut back in behind. For door frames, undercut the architrave with a handsaw resting on a scrap board so the laminate slides underneath. For bay windows and alcoves, make a cardboard template first to avoid waste. In a hallway, run the planks along the length you walk and finish each doorway with a transition strip.

A single average room takes a confident DIYer one to two days, including preparation, while a professional fitter can often complete the job in a few hours. The overall cost depends mainly on the type of laminate you choose, whether you install it yourself or pay for labour, and any additional work such as removing the existing floor or levelling the subfloor. Laminate flooring installation costs vary depending on these factors, while choosing an experienced laminate fitter can help ensure a professional finish.
Almost every laminate problem comes back to one of these, and all are easy to avoid:
• No expansion gap, the number one cause of buckling. Always leave 10mm to 12mm around every edge.
• Skipping acclimatisation, so the boards move after fitting.
• Laying over an uneven subfloor, which causes rocking boards and clicking.
• Skipping the underlay, or the damp-proof membrane on concrete.
• Joints not staggered, which looks wrong and weakens the floor.
If small gaps open up later, they can often be closed without lifting the whole floor.
Sweep or vacuum regularly, and clean with a barely damp mop rather than a soaking wet one, as standing water is laminate's main enemy. Fit felt pads under furniture, wipe up spills straight away, and avoid steam mops and abrasive cleaners. Many of these care techniques also apply when cleaning Victorian floor tiles, helping preserve their appearance without causing unnecessary damage.
For a straightforward, square room it is one of the easier DIY flooring jobs, thanks to the click-lock system. The skill is in the preparation and patience, not anything technical.
Yes, as long as the concrete is dry, level and fitted with a damp-proof membrane. Test for moisture first and use a self-levelling compound if the slab is uneven.
In a kitchen, yes, ideally with a water-resistant board and spills wiped up quickly. For a bathroom, only use laminate rated for wet areas, as standard laminate can swell if water sits on it.
As a rule, no. It should go onto a clean, level subfloor, not on top of carpet, tiles or old laminate. The main exception is laying laminate over a parquet that is sound and level, which can sometimes work.
Laying laminate comes down to two things: a flat, dry, well-prepared base, and a consistent expansion gap so the floor can move. Get those right, work from a straight first row and keep your joints staggered, and a confident DIYer can achieve a professional finish that lasts for years.
If your room is awkward, your subfloor needs work, or you would rather it was done for you, we are a family-run team fitting flooring across Barnsley, Rotherham and the rest of South Yorkshire.