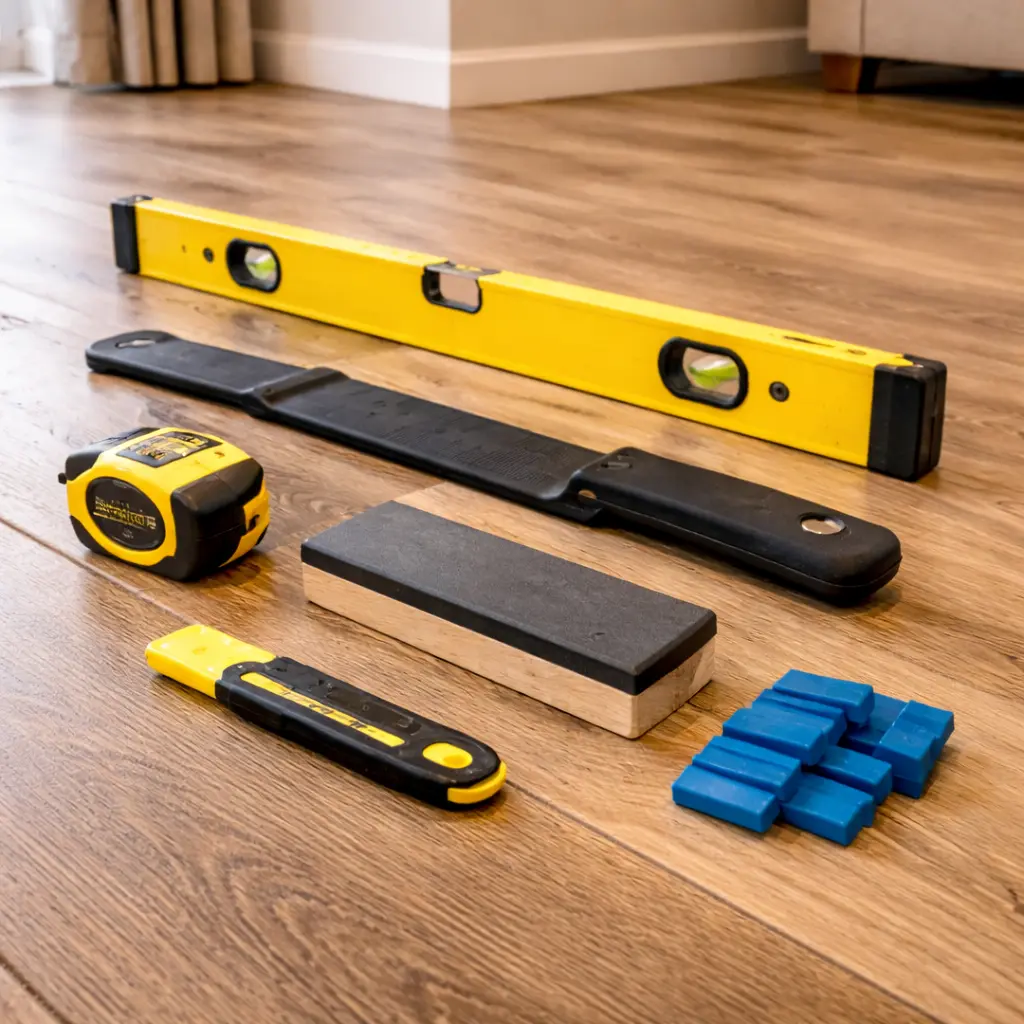
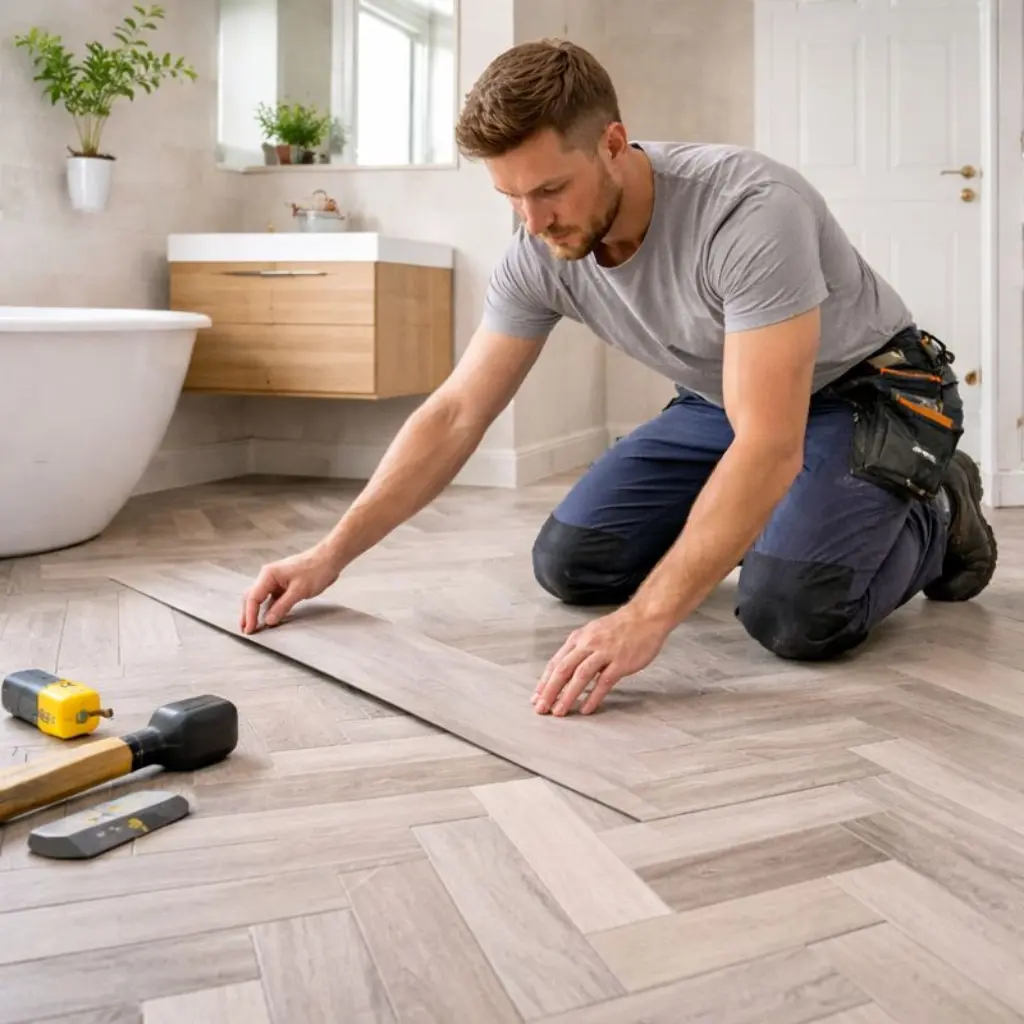
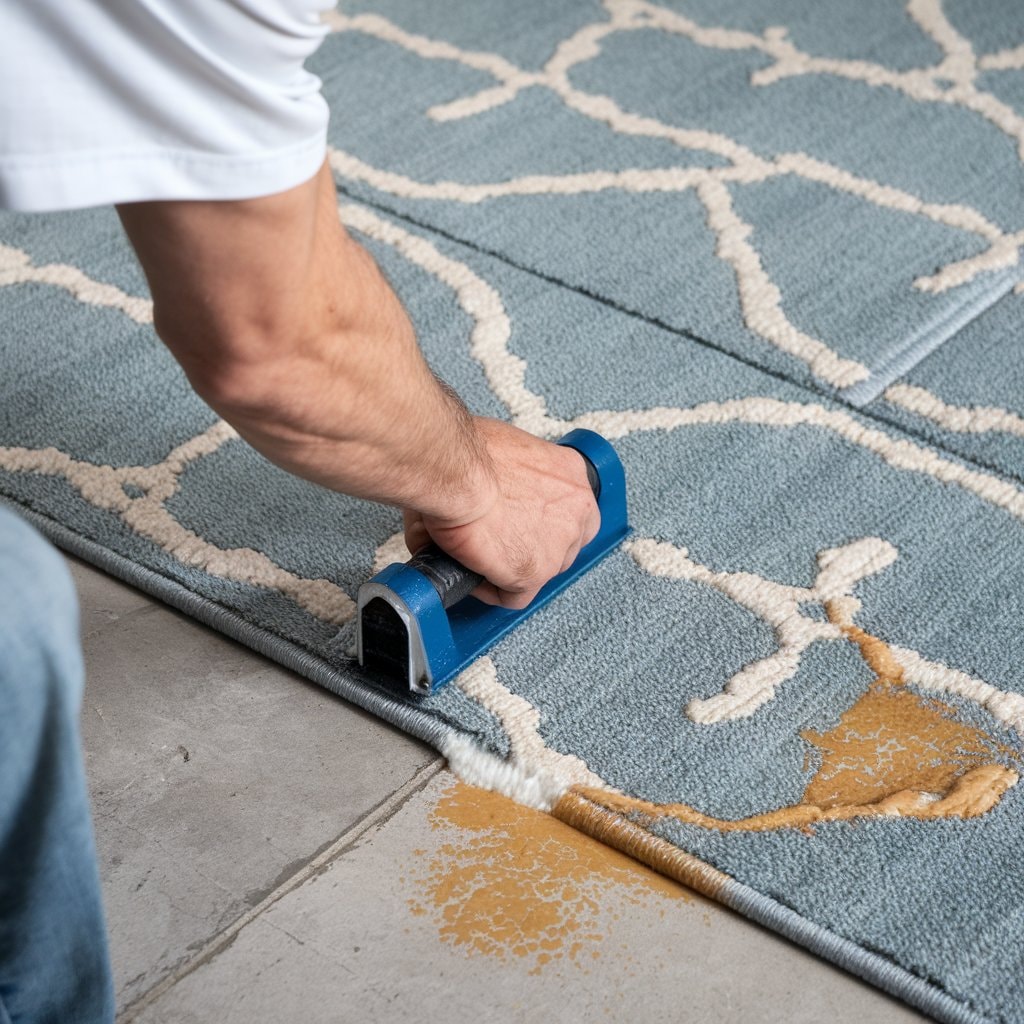
To efficiently repair laminate flooring, you must first gather essential tools such as a laminate floor repair kit, putty knife, and rubber mallet. If you're wondering how to repair laminate flooring yourself, start by addressing minor scratches with wax or putty fillers that match the floor's colour. These fillers will blend seamlessly with your flooring, making the imperfections nearly invisible.
For more severe damage, like cracked or broken planks, complete replacement may be necessary. In this case, carefully remove the damaged plank and replace it with a matching piece. Make sure to apply adhesive to ensure a secure fit. If you're not confident in your DIY skills, reaching out to a local flooring specialist might be a good option. They can install professional replacement flooring to maintain the original look and guarantee a proper fit.
Quick action is essential when handling water damage. Make sure to dry the affected area thoroughly to avoid mould or mildew growth. If the planks have swollen or warped due to moisture, replacing them is your best bet. Repairing flooring in these situations often requires completely removing and replacing damaged planks, especially if the swelling is significant.
For extensive damage or wear and tear, you may want to explore laminate flooring restoration. This service can breathe new life into your flooring, eliminating the need for complete replacement. If you're uncertain about tackling larger projects, it's worth consulting a professional for guidance on repair flooring and restoration techniques.
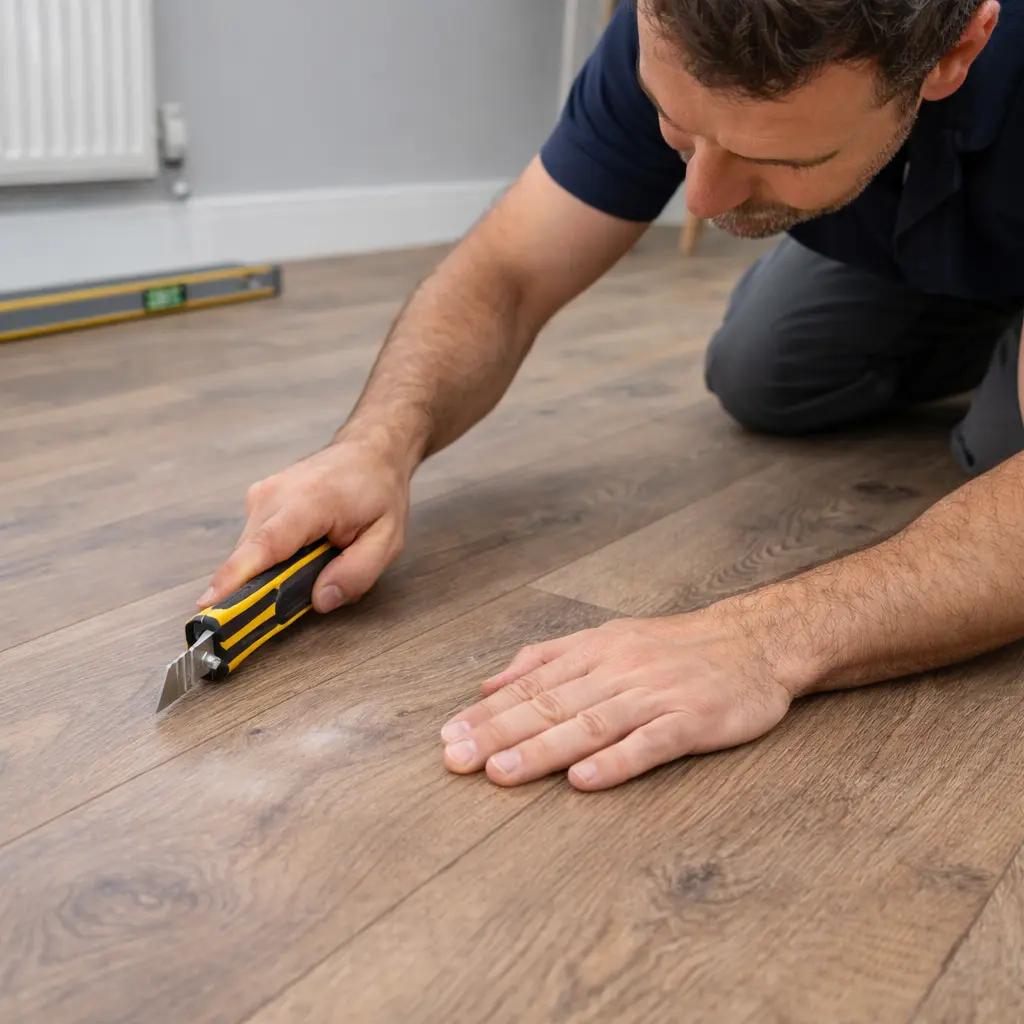
Deeper scratches on laminate flooring require specific tools and techniques for effective repair. One of the most reliable ways to address this is by using a laminate repair kit, which contains all the necessary components for repairing laminate flooring and concealing scratches accurately. If you're wondering how to fix a scratched laminate floor, this kit typically includes putty, wax sticks, and a touch-up marker to help restore the floor's appearance.
For homeowners looking to fix laminate flooring on their own, DIY solutions can be effective for minor issues. Household products like furniture markers or crayon wax can be used to repair laminate flooring on a smaller scale. However, if the damage is more extensive, you may need to remove laminate flooring in the damaged area and use a professional laminate floor repair technique.
If you’re beginning a new project, such as repairing chipped laminate or other flooring issues, be sure to follow the proper steps to prevent common problems like poor adhesion or colour mismatches. For larger repairs or areas with heavy damage, a laminate repair kit can be a lifesaver. Whether you're dealing with minor touch-ups or bigger fixes, proper flooring repair can help maintain the integrity and beauty of your floor.
What Tools Are Needed for Laminate Floor Repair
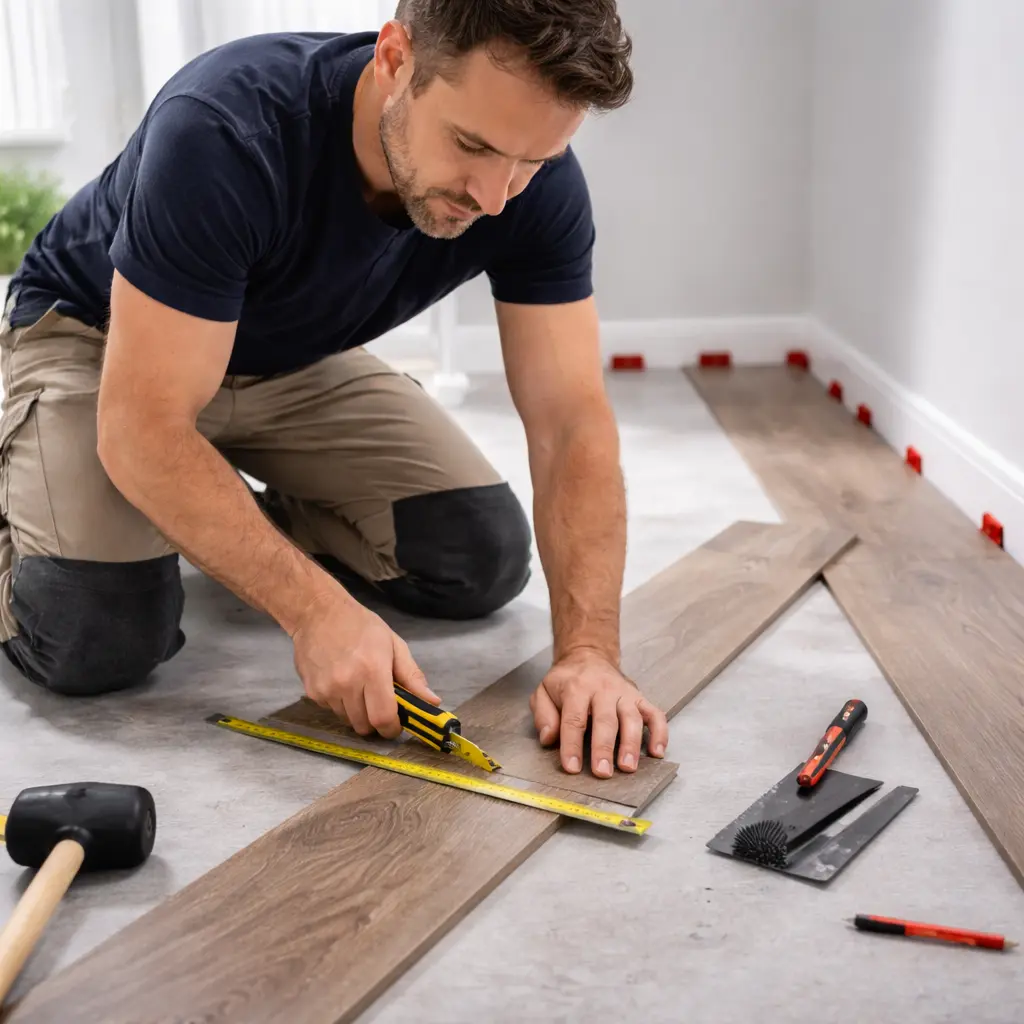
Several specific tools are required to repair deeper scratches on laminate flooring effectively. A laminate floor repair kit is essential, often including items like a putty knife and a rubber mallet. Wood glue is vital for filling gaps, while a tapping block helps in re-fitting planks. A multi-tool or plunge saw may be necessary for precise cutting when replacing sections of flooring. Additionally, a soft cloth and a damp cloth are indispensable for cleaning the scratched area before and after the repair process.
| Tool | Purpose | Usage |
| Putty Knife | Apply and smooth filler | Direct application |
| Rubber Mallet | Secure planks without damaging | During plank reinstallation |
| Damp Cloth | Clean the area before applying filler | Pre-repair cleaning |
How to Use a Laminate Floor Repair Kit for Scratches
Addressing deeper scratches on laminate flooring requires a methodical approach using a specialised laminate floor repair kit. These kits typically include wax fillers and a repair marker, which are essential tools for effectively mending deeper scratches that penetrate beyond the surface.
The first step in the repair process is to thoroughly clean the area to ensure no debris interferes with the repair. After cleaning the surface, select a wax filler that closely matches the shade of your laminate flooring. Apply the filler to the scratch, making sure to smooth it out so it's level with the surrounding area. After it has been set, use the repair marker to blend the repair seamlessly, bringing the floor back to its original look.
If the scratch is particularly deep or if the laminate has a noticeable slit or gouge, this method can work wonders to restore the appearance. For those who want a quicker solution or are unsure about their DIY skills, a professional laminate repair service is always an option. For laminate chip fixes, professionals can ensure a precise match and smooth finish.
This technique doesn't just repair laminate floors—it restores the aesthetic consistency of the flooring, making it look as if the scratch was never there in the first place. Whether you're addressing a minor issue or handling more extensive repairs, understanding the proper way to fix laminate flooring can significantly extend its laminate flooring lifespan.
Are There DIY Solutions for Fixing Minor Scratches
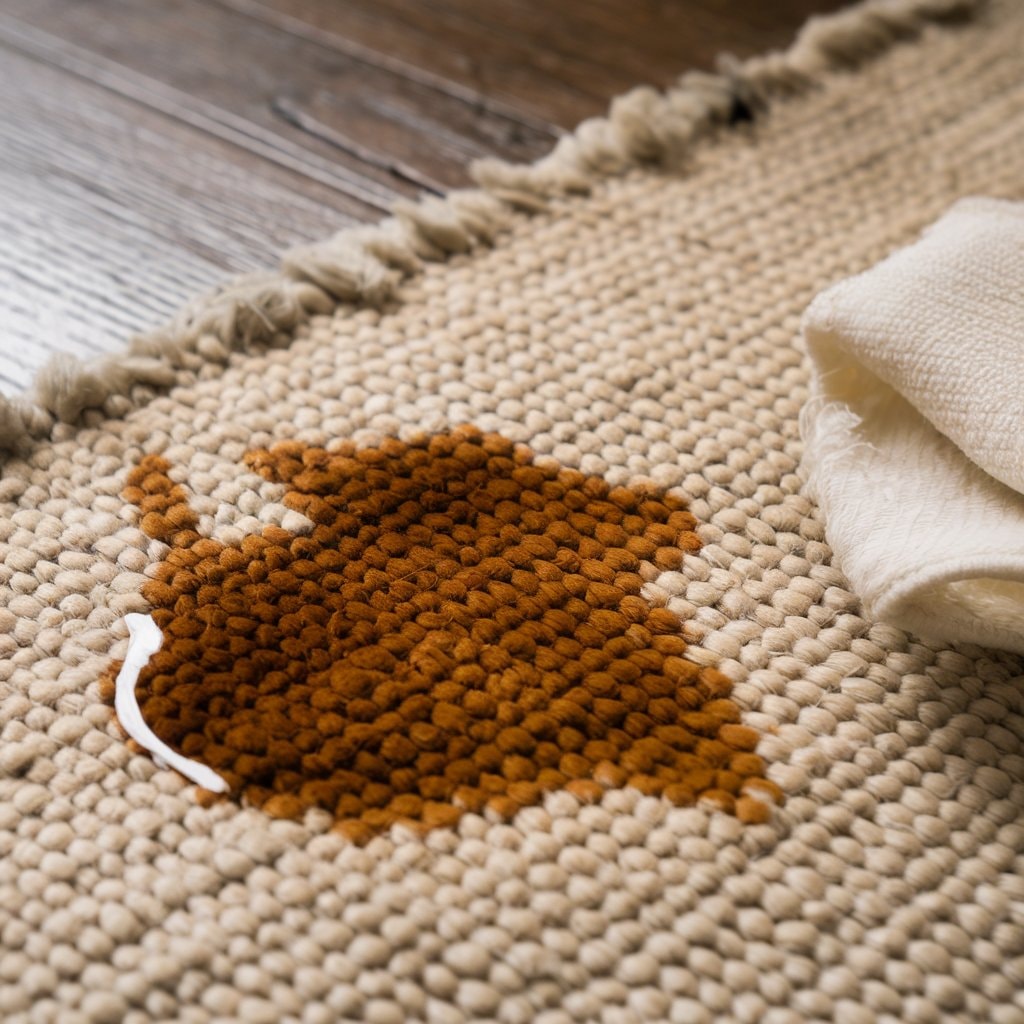
While the previous section outlined methods for repairing deeper scratches using a repair kit, minor scratches on laminate flooring can often be handled effectively with simple DIY solutions. For minor damage, such as light scratches or minor water damage, homeowners can use putty or wax filler to repair laminate flooring. This approach is both cost-effective and easy to apply, providing a quick fix for light scratches and less significant imperfections.
| Solution | Application | Best For |
| Wax Filler | Rub into scratch | Small, shallow scratches |
| Putty | Apply and smooth | Chipped laminate, deeper scratches |
| Color-matched Marker | Draw over scratch | Very fine scratches |
These DIY methods help maintain the appearance of your floors without the need for professional intervention, ensuring a seamless look despite minor wear and tear.
When repairing damaged laminate flooring, start by carefully removing the affected plank to prevent any additional damage to the surrounding boards. This is especially important when learning how to fix lifted laminate flooring, as excessive force or "too much tension" can lead to additional issues.
In many cases, it is entirely feasible to replace just the damaged plank, which can save both time and money—no need to redo the entire flooring. This process falls under laminate repair and restoration, a method that ensures your floor looks as good as new without the added cost of a full replacement.
Once the damaged plank is removed, you'll need to install a new one. Start by colour-matching the new plank to ensure it blends seamlessly with the surrounding boards. This is crucial for aesthetic consistency. You may want to use wax filler sticks to fill any gaps or imperfections along the edges, especially when dealing with chipped laminate flooring or slight damage to the surface. These sticks come in a variety of colours, so you can select one that closely matches the exact shade of your flooring.
For deeper damage, using a small amount of resin can help restore the integrity of the surface. Apply it carefully to ensure a smooth finish. Once applied, it's essential to let the resin make contact with the floor surface for proper adhesion.
And if you're wondering, yes, can you repair laminate flooring? Absolutely—replacing a single plank or performing minor repairs like these can extend the life of your laminate flooring without the need for a complete overhaul. Be sure to follow each step carefully, particularly for precise tasks such as colour matching and applying resin.

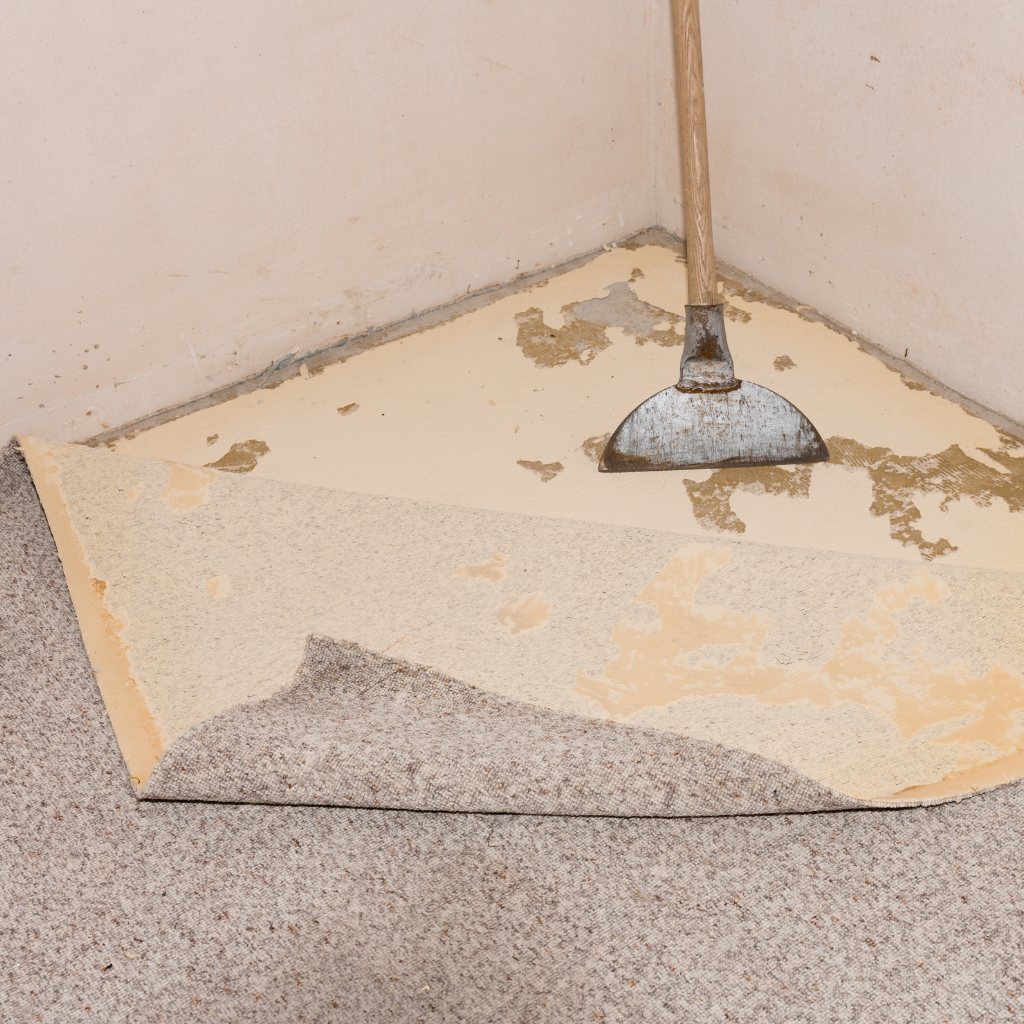
How to Remove the Damaged Laminate Plank
Removing a damaged laminate plank begins with careful preparation and the right tools. First, identify the damaged laminate plank that needs removal. A quick fix may be tempting for minor damage, but it's essential to assess the location and details of the damage before proceeding. If it's a susceptible area like a corner or a seam, you'll want to take extra care to avoid disturbing the surrounding planks.
Using a floor repair kit, gently work around the edges of the wood and glue the damaged area to separate the plank from the adjacent ones without causing further damage. Use gentle pressure to avoid scuffing or causing additional damage to the laminate flooring. If necessary, a soft hammer can help loosen the plank without compromising the interlocking system of the surrounding boards. Take your time, as rushing can lead to additional hassle.
Carefully lift the damaged board, ensuring that it doesn't disturb the interlocking system of the surrounding laminate planks. If there are any small areas where the laminate is chipped or scratched, laminate scratch repair can be done on the edges before installing the new plank. For deeper damage, you may need to use a repair chipped laminate solution to restore its integrity.
Once the damaged plank is removed, clean the exposed area thoroughly to prepare for the installation of a new plank. If needed, consider using a heat gun to melt any adhesive residue, ensuring the surface is clean and smooth. This process minimises the risk of affecting the interlocking mechanism, making installation easier and more secure.
This method preserves the integrity of the entire floor, allowing for a seamless replacement with a new plank that matches the existing laminate. Proper laminate floor repairs like these not only restore the floor's appearance but also help maintain its functionality for years to come.
Is It Possible to Replace the Damaged Plank Without Replacing the Entire Floor
After successfully removing a damaged laminate plank as described earlier, the question arises whether it's necessary to replace the entire floor or if replacing just the scratched area of the damaged plank suffices.
Often, it is not required to replace the whole floor when only a few damaged planks are present. One can remove the damaged planks and replace them with new laminate planks, ensuring they match and align correctly with the rest of the flooring. Colour match is essential to make sure the new planks blend seamlessly with the existing ones. If you're unsure about the best match, it's worth consulting the manufacturer's specifications or visiting a flooring store to find an exact or very similar hue.
For minor scratches on the plank that don't require complete replacement, you can use a baking soda mix to buff out the scratches gently. This mixture can minimise the appearance of minor imperfections and refresh the laminate surface, but for deeper damage, replacing the plank offers a more durable and visually consistent solution.
By addressing only the damaged areas, you can save both time and money while still achieving a floor that looks as good as new.
To integrate a replacement laminate plank seamlessly, apply glue to the edges of the replacement plank before setting it in place. This method allows for an effective repair of swollen laminate flooring without replacing extensive areas, thereby maintaining the floor's aesthetic and structural integrity efficiently.
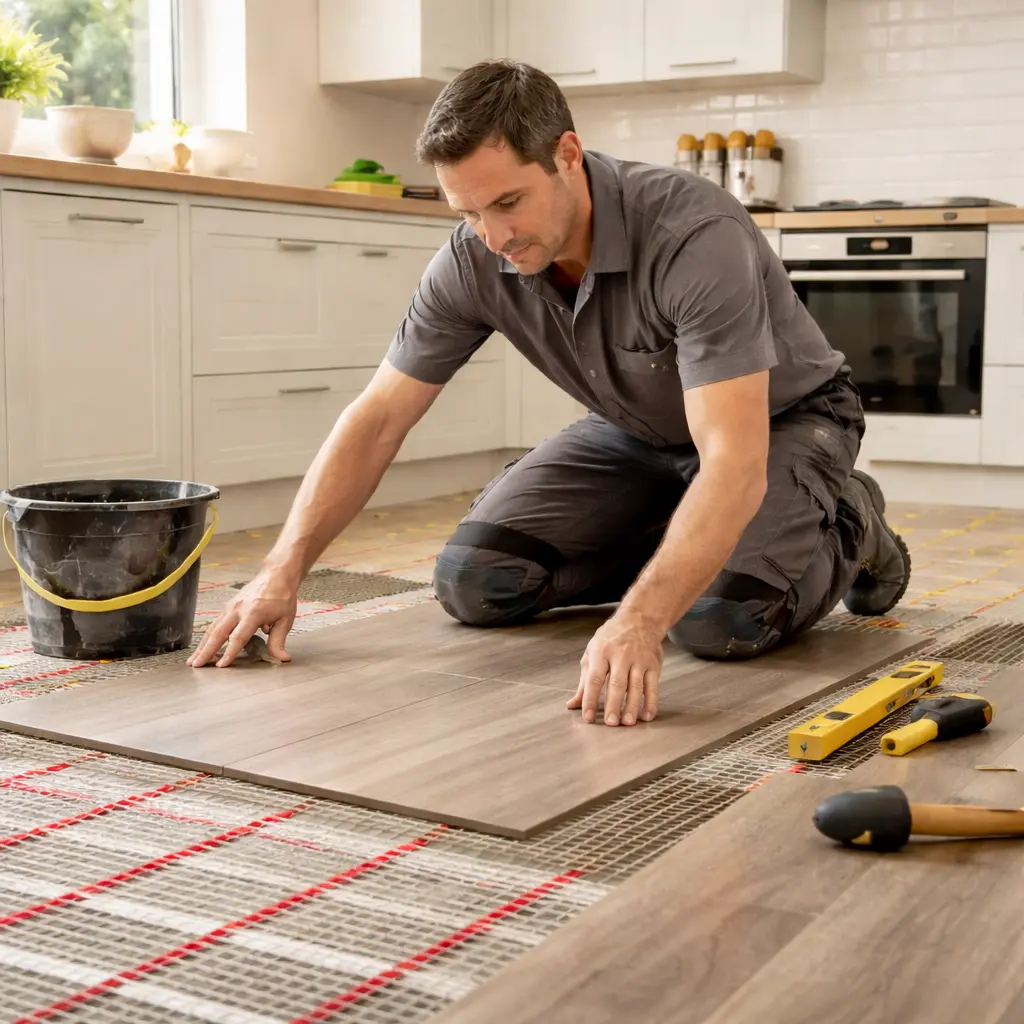
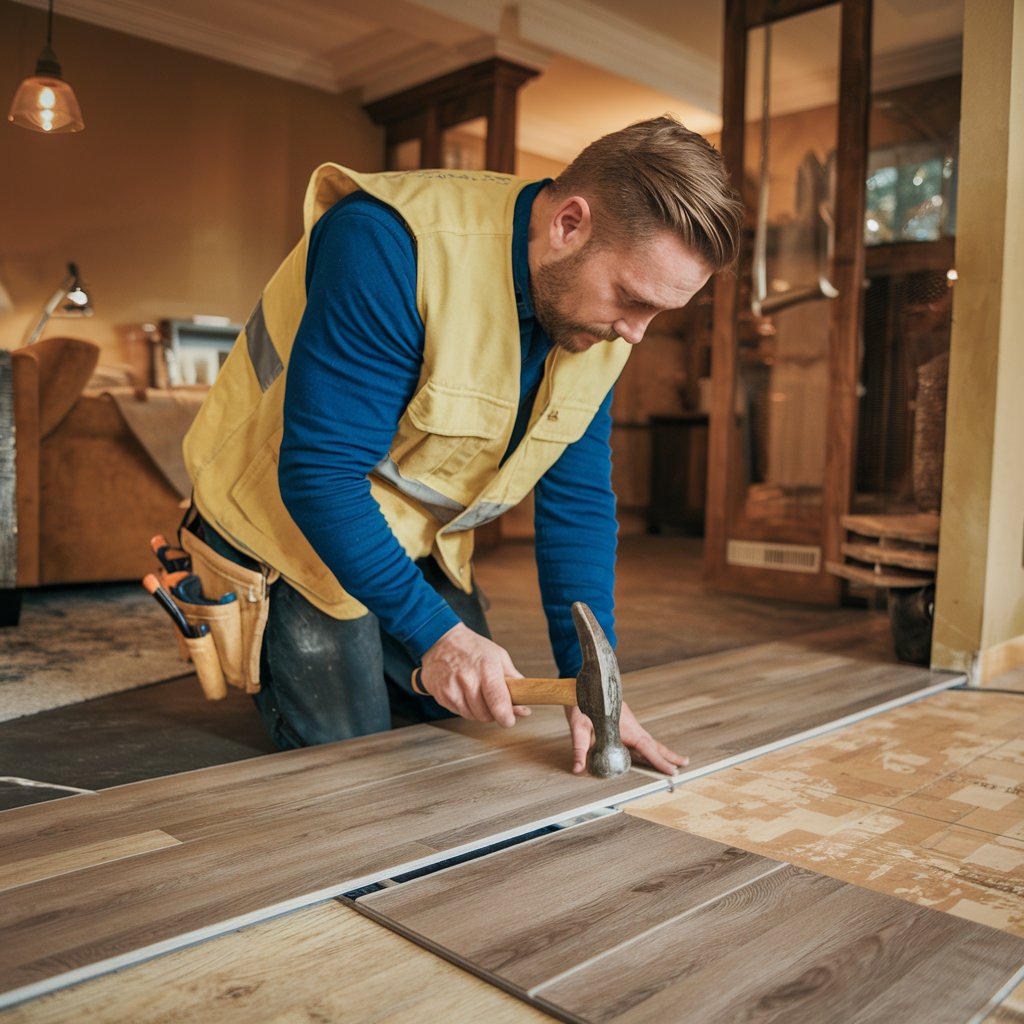
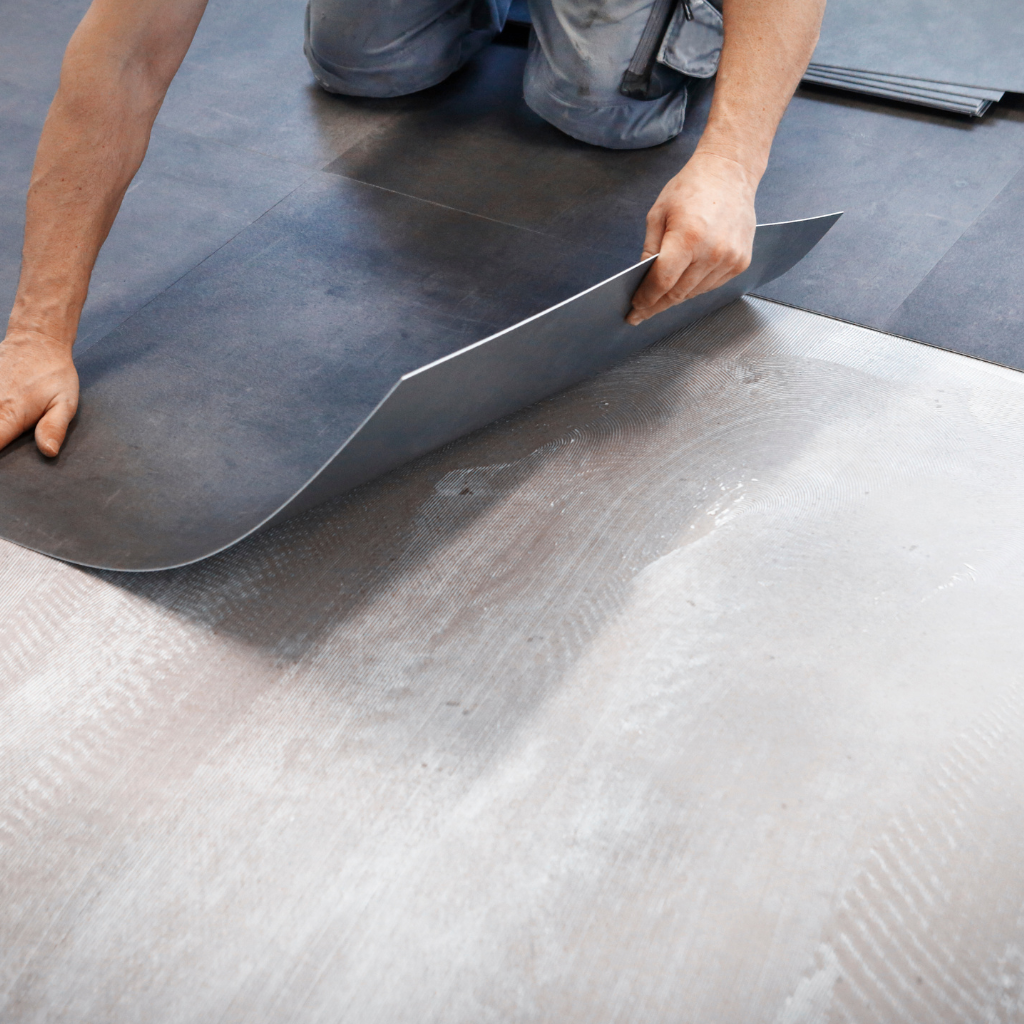
What Are the Steps to Install a Replacement Plank
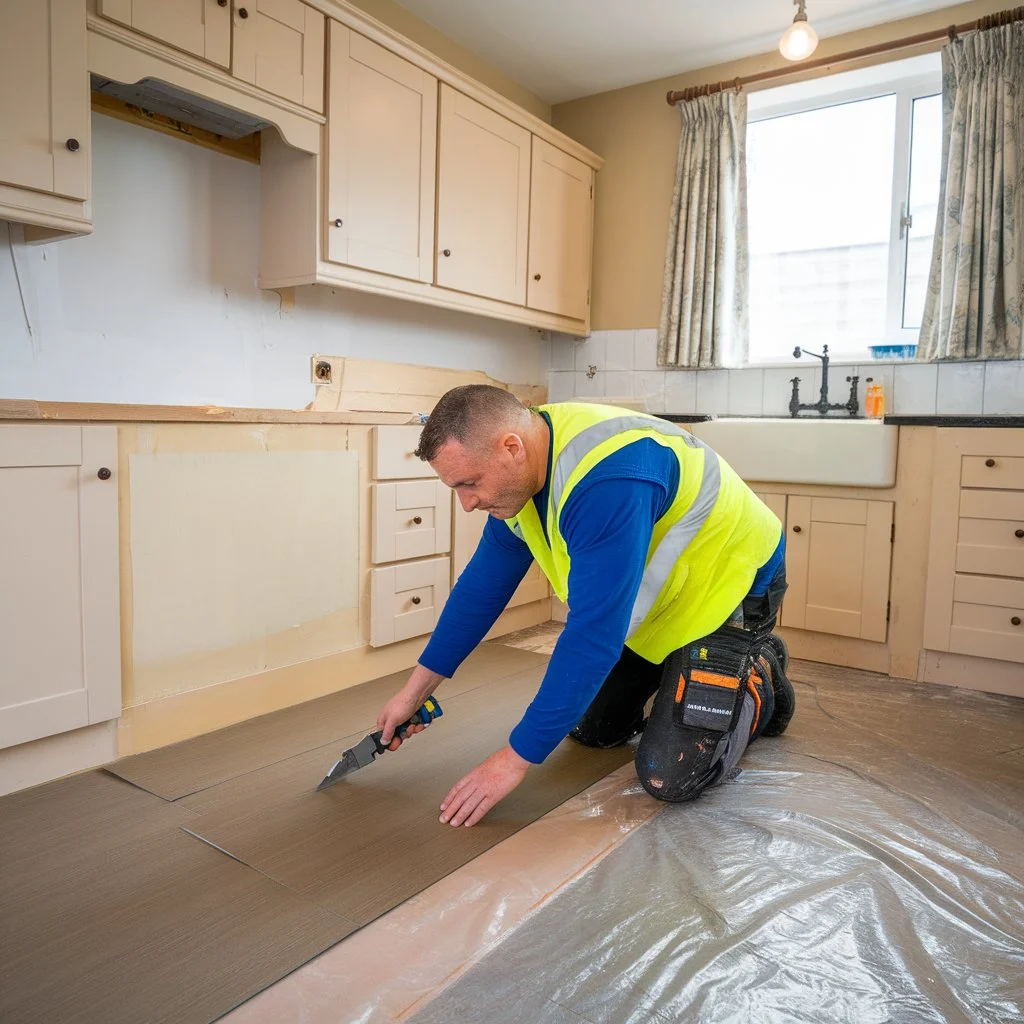
Begin the installation of a replacement board or laminate plank by first confirming that the area surrounding the damaged board is immaculate and free of debris. It's essential to ensure the space is clear of any obstacles—kitchen flooring repair often involves meticulous attention to detail, especially when replacing planks in high-traffic areas. Remove any heavy furniture and sweep away excess dirt to prevent it from causing damage during the repair process.
Next, check for any moisture issues that could affect the new plank. If the environment is overly humid, use a dehumidifier to lower moisture levels before installation. This helps stop the laminate from warping or swelling afterwards.
Carefully follow the manufacturer's instructions to guarantee proper placement and fitting of the new board into the laminate flooring system. If necessary, use a chisel to gently adjust the edges of the existing planks, ensuring a snug fit for the new board. Take extra care not to damage the interlocking system or cause any gaps that might affect the floor's stability.
Before inserting the new plank, check for any adhesive residue left from the old plank. Use a suitable cleaner or floor filler for laminate flooring to smooth out any imperfections or gaps, ensuring the surface is level and ready for installation.
Once the new board is in place, double-check the alignment and ensure everything fits securely. If the replacement plank requires any additional finishing touches, such as colour matching or smoothing, use laminate restoration techniques to blend it with the surrounding planks seamlessly. This will preserve the floor’s look and function, guaranteeing a strong and lasting repair.
| Step | Description |
| Remove Damaged Board | Carefully lift the damaged laminate board, minimising impact on surrounding area. |
| Prepare Base | Clean the underlying surface thoroughly, ensuring it's free of debris and level. |
| Install New Board | Align and secure the new board according to the manufacturer's guidelines. |
This methodical approach guarantees a seamless replacement and restores the aesthetic and functionality of the floor.
Addressing water damage on laminate flooring begins with recognising the signs of minor moisture impacts, such as warping or discolouration.
Effective remediation methods include drying the affected area thoroughly and applying repair techniques specific to laminate.
In cases of severe swelling, determining whether the flooring can be restored without complete replacement is essential.

How to Identify Minor Water Damage on Laminate Floors
Identifying minor water damage on laminate flooring is essential to maintaining its appearance and longevity. Spotting signs early, such as swollen laminate flooring or discolouration, can prevent further damage and save you from costly repairs down the road. Fortunately, recognising these early signs allows you to take timely action before the issue worsens.
When water spills occur, promptly inspect the affected area for any signs of moisture retention. Look for areas that are damp or feel soft to the touch. It's essential to guarantee the area is allowed to dry completely, either by using fans or a dehumidifier. Neglecting even small quantities of excessive water can lead to extensive water damage over time. This can weaken the flooring’s structure, causing the planks to warp or buckle.
If you notice damaged laminate flooring, addressing this promptly can help prevent the damage from spreading. Even a seemingly small issue can worsen if not handled quickly. Necessarily, suppose the damage is more than superficial. In that case, you may need to take further steps, such as replacing the affected planks or using a laminate repair kit to restore the surface. Similar to other types of floor damage, it's crucial to handle laminate water damage early.
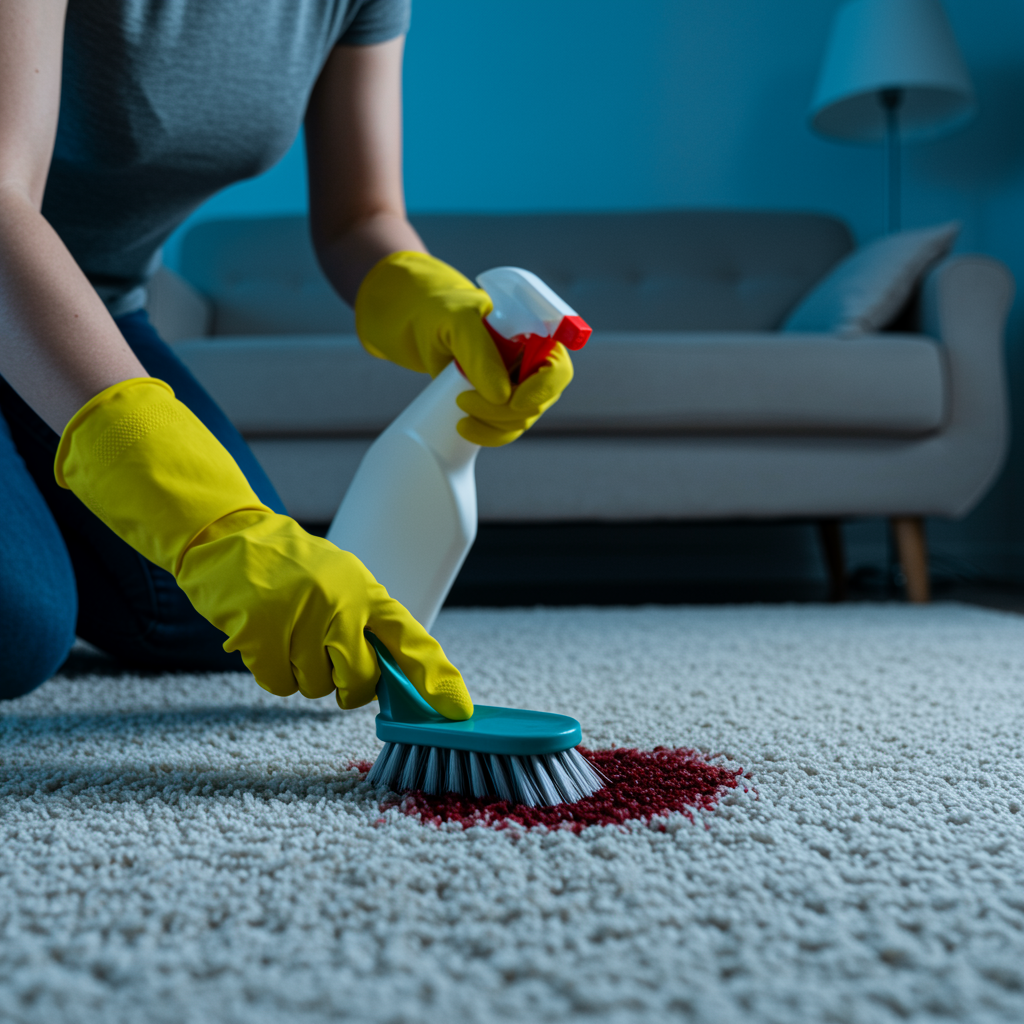
For minor surface stains or spills, you can try cleaning the area with a baking soda and warm water solution. Carefully scrub the stained area to remove the mark without harming the laminate. This can be an effective way to treat minor issues before they escalate into bigger problems.
For those who are unsure about how to proceed, learning how to repair a laminate floor is a valuable skill. There are plenty of resources available, and many homeowners have successfully carried out minor repairs themselves. However, if the damage is significant or you're unsure about your ability to handle it, consulting a laminate repair specialist can save you time and frustration. A professional can evaluate the extent of water damage and recommend the best repair solution for your floor.
Observing these signs diligently allows for timely interventions to repair laminate flooring water damage, ensuring that your floor's life is extended and that it remains in top condition for years to come.
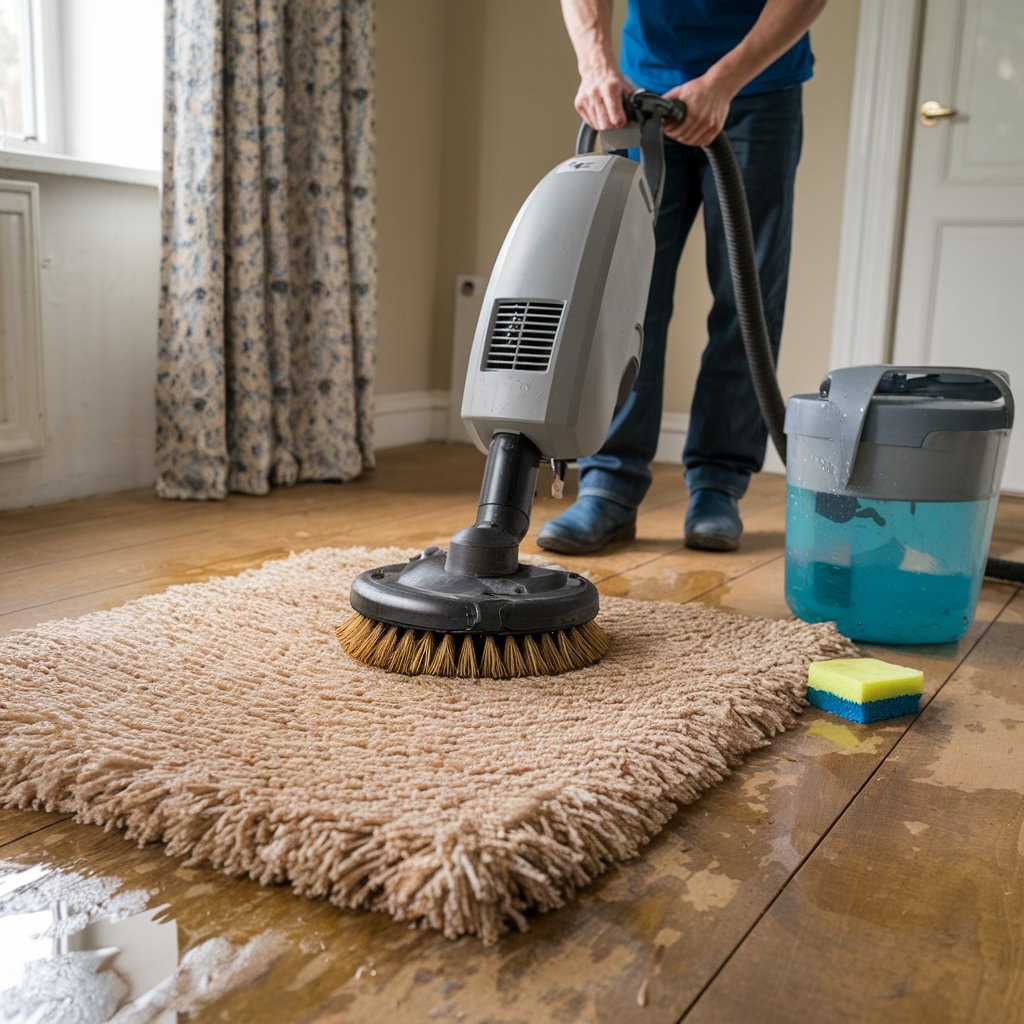
What Are the Best Methods for Repairing Laminate Water Damage
Once the signs of minor water damage on laminate flooring have been recognised, the next step involves determining the most effective methods for repair. Here are four practical approaches:
By using these techniques, you can successfully address minor water damage on your laminate floor and restore its look without replacing any planks.
Can Swollen Laminate Flooring Be Fixed Without Replacing
In many cases, sections of damaged laminate can be addressed individually without replacing the entire floor. If the swelling is localised, a skilled flooring fitter may extract the affected plank and replace it with a new board. This approach offers a cost-effective way to repair swollen laminate flooring without replacing the entire floor, saving both time and money.
This targeted approach guarantees that the surrounding laminate flooring, without damage, can continue to expand and contract naturally without further issues, preventing future damage. It’s an excellent way to fix the problem without disrupting the rest of your flooring unnecessarily.
When removing the swollen plank, care must be taken to avoid damaging the edges of adjacent boards. This demands a careful approach to keep the interlocking system secure. A thorough and precise removal process can make all the difference in ensuring that your laminate repair looks seamless.
Techniques such as using a replacement board that matches the colour of your existing flooring can seamlessly repair the rest, restoring the aesthetic and functional integrity of the floor. If you're unsure of the best match, laminate repair London specialists can help with colour matching, ensuring the new plank fits in naturally with your floor.
While there are home remedies available, such as using steam or applying heat to ease minor swelling, significant damage or improper handling may require professional expertise. Repairing laminate flooring properly ensures not only visual appeal but also long-term durability, keeping your floor looking great for years to come.
Laminate flooring, while durable, often encounters issues such as gaps, peeling edges, and buckling, which can detract from its appearance and functionality. These problems are common but can usually be addressed with the right approach.
Addressing gaps and separations promptly can prevent further damage. Using the right tools and techniques, such as a tapping block or a laminate flooring installation repair kit, can help realign and secure the planks. If the gaps are caused by moisture or improper installation, ensuring the planks are correctly adjusted will prevent them from expanding further and causing additional issues.
For peeling or lifting edges, adhesive solutions can be applied to secure the laminate back in place. Once the adhesive is in place, proper clamping is essential to restore the original flatness of the edge and ensure it adheres securely. It's essential to clean any excess adhesive and allow the area to set before using it again.
Buckling, on the other hand, often indicates a more significant issue, such as an uneven subfloor or insufficient expansion gaps around the perimeter. To fix buckling, you may need to assess the subfloor for moisture or instability and make the necessary repairs. Additionally, adjusting the spacing around the perimeter can allow the laminate to expand and contract naturally without causing distortion.
For both minor and major issues, repairs to laminate flooring can be done effectively with the right techniques and products. Getting the installation right from the beginning is essential to prevent problems down the line. Whether you're handling a minor repair yourself or consulting a professional, taking care of these problems early will extend the life of your laminate floor and maintain its aesthetic appeal.
How to Repair Gaps and Separations in Laminate Flooring
Gaps and separations in laminate flooring, although frustrating, can often be rectified with a few simple steps. When gaps occur, it's essential to address them promptly to maintain the integrity and appearance of your flooring.
Here are effective methods to repair these common issues:
By following these methods, you can ensure your laminate floor stays looking flawless. Whether you are fixing minor gaps or replacing a damaged plank, these simple repairs can restore the beauty of your floor and extend its lifespan.

Fixing Peeling or Lifting Edges on Laminate Planks
Many homeowners encounter the issue of peeling or lifting edges on laminate planks, a common but solvable problem in maintaining the appearance and durability of their flooring. This type of flooring requires careful handling to guarantee the edges remain intact. When edges lift or peel, the integrity of the entire floor may be compromised.
| Solution | Description |
| Re-glueing | Apply adhesive beneath the edges to secure them back down. |
| Replacement | Remove damaged planks and install new ones. |
| Sealing | Apply a sealant along the edges to prevent future peeling. |
If the repaired area is extensively damaged, it may need to be replaced with entire sections. Properly repaired areas can seamlessly integrate with existing flooring without the need for a complete overhaul, maintaining the skirting board and adjacent planks intact.
Preventing and Repairing Buckling in Laminate Floors
Following the repair of peeling or lifting edges on laminate floors, another issue that homeowners often face is buckling. This problem can mar the aesthetic of an entire floor, but with precise steps, you can restore your floor to its former glory and prevent future issues.
For minor cosmetic damage, nail varnish remover can be used to clean the surface of the laminate gently. Just be cautious to use it sparingly and test it in a small, inconspicuous area to ensure it won't damage the finish.
By staying vigilant and taking proactive steps, you can prevent buckling and keep your laminate floors looking as good as new for years to come.
Determining whether to repair or replace damaged laminate flooring planks depends on the extent of the damage and the overall impact on the floor's appearance and functionality. If the damage is localised and minor, repairing the laminate can be a cost-effective solution, allowing homeowners to preserve the existing floor without the need for full replacement.
Homeowners should consider a complete replacement if the damage affects multiple planks or compromises the structural integrity of the floor. In such cases, even laminate restoration services might not be enough to restore the floor to its original condition. A comprehensive replacement would ensure the floor remains stable and visually consistent, avoiding the risk of further damage in the future.
In contrast, minor scratches or small, isolated areas of damage might be effectively repaired. For instance, understanding how to replace damaged laminate flooring in small sections allows for quick, targeted repairs without disrupting the entire floor. This approach preserves the existing flooring, saves money, and reduces the hassle of a larger project. For surface-level damage like scratches, using a laminate restoration kit can restore the floor's look without the need to replace the boards altogether.
Ultimately, the decision to repair or replace hinges on the level of damage and the general condition of the laminate flooring. Regular maintenance and quick action when issues arise can help you extend the life of your laminate floor and avoid unnecessary replacements.
When Should You Consider a Full Replacement
While evaluating the extent of damage to laminate flooring, homeowners should consider a complete replacement only when repairs are not feasible or cost-effective. Before making a decision, it's essential to weigh several key considerations.
In the end, the choice depends on how severe the damage is and whether repairs can bring the floor back to an acceptable condition. If the damage is extensive or if repairs aren't cost-effective, a complete replacement might be the best choice for maintaining the quality and appearance of your home's floors.
How to Decide Between Repairing and Replacing
Deciding whether to repair or replace damaged laminate flooring planks hinges on several pragmatic factors. It's important to assess both the aesthetic impact and the functional integrity of the floor before making a decision.
For superficial surface issues like minor dents in your laminate or a chipped area, you can quickly repair these by applying laminate flooring polish or by using a matching laminate colour filler. How to repair scratched laminate flooring is a common question, and for light scratches, using a laminate flooring scratch repair product can restore the finish without the need for replacement. Lightly sand down the affected area to achieve a smoother finish, ensuring the overall floor is protected by wiping it with a clean, soft cloth to remove any dust or residue.
Over time, flooring can show wear, especially in high-traffic areas. If the wear is purely cosmetic—such as surface scratches or minor nicks—repairs are often sufficient. However, if the structural integrity of the laminate is compromised, such as with deeper gouges or planks that have become warped or loose, replacing the plank might be necessary.
Assess the extent of damage: if it's localised and minor, repairs are feasible. For extensive or multiple damaged areas that affect the functionality of the floor, such as buckling or significant gaps, consider replacement to maintain the floor's appearance and durability. This method will help preserve your flooring’s durability and maintain its fresh, functional appearance for many years ahead.
By addressing damage early and knowing how to repair scratched laminate flooring or perform minor touch-ups, you can prolong the life of your laminate and avoid costly replacements.
Conclusion
To sum up, how to repair laminate flooring requires careful consideration of the damage type and extent. For deeper scratches, specialised fillers can be used, while irreparably damaged boards might necessitate replacement. Water damage, often challenging, may sometimes be mitigated through dehumidification, though replacement is frequently inevitable. Addressing common issues promptly can extend the flooring's lifespan. Ultimately, efficient repair strategies contribute significantly to maintaining the aesthetic and functional integrity of laminate flooring in residential or commercial spaces.