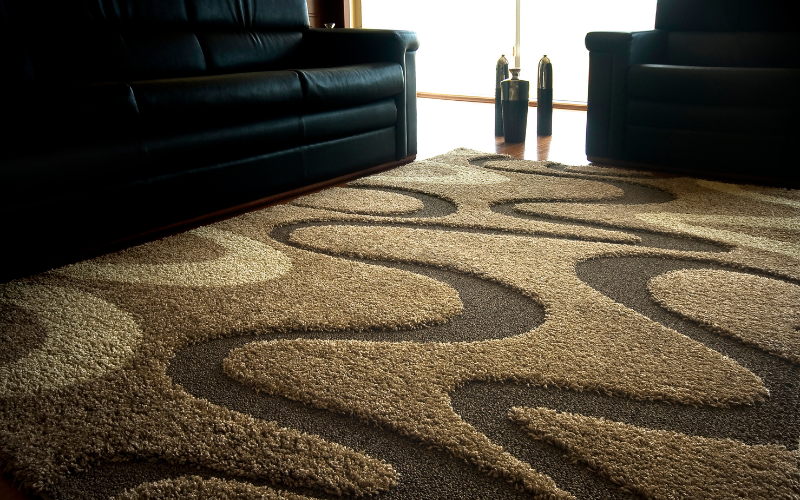
Installing laminate flooring can transform any room, offering a stylish and durable alternative to traditional wood floors. Despite its popularity, many homeowners are unsure of how to proceed with fitting and laying laminate flooring correctly in a small room, thinking it requires professional help.
A key fact to keep in mind is that with the proper guidance and tools, laying laminate flooring is a project well within the reach of DIY enthusiasts.
Our experience as a family-run business specialising in bringing high-quality flooring fitting and cost-effective, solutions directly to your door underscores our expertise in this area. With countless successful installations under our belt, we aim to empower you by providing a step-by-step guide on installing laminate flooring around larger rooms in your home effectively.
Ready to lay your new floor?
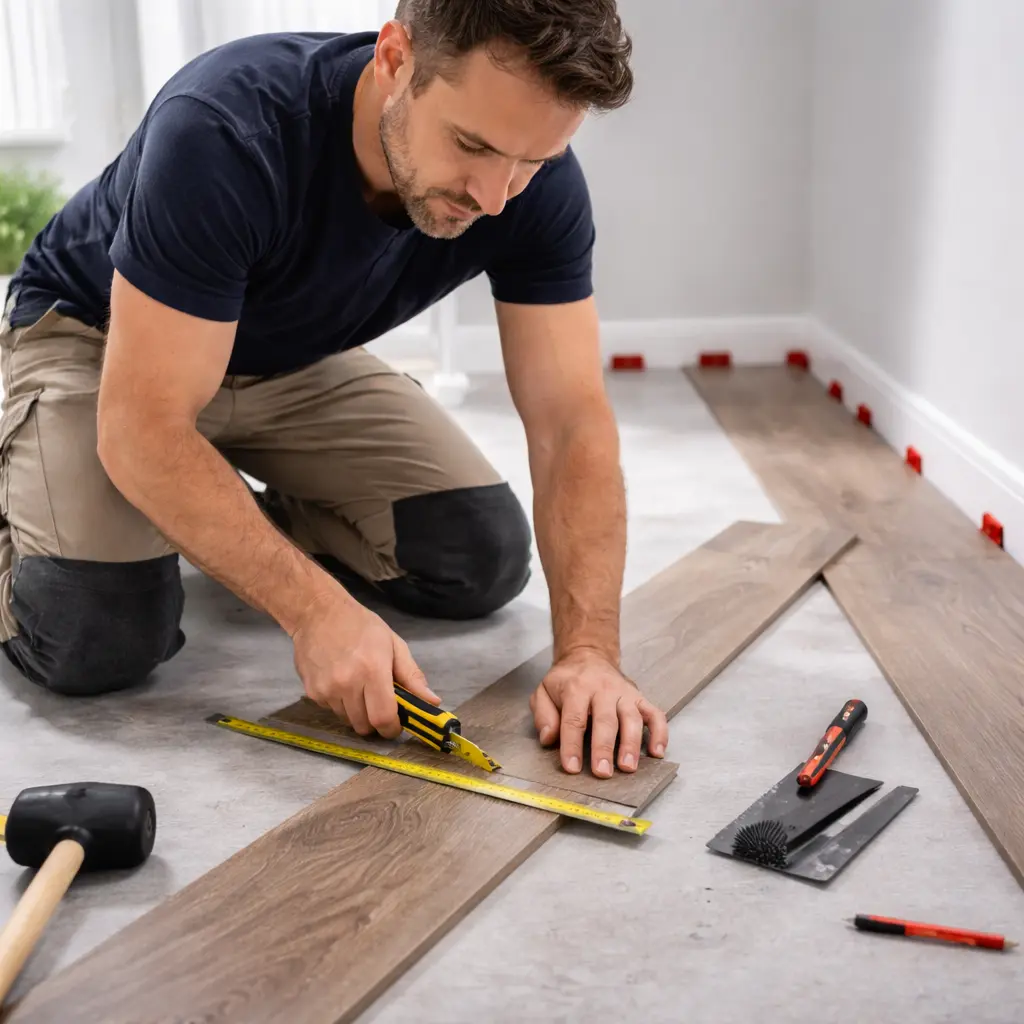
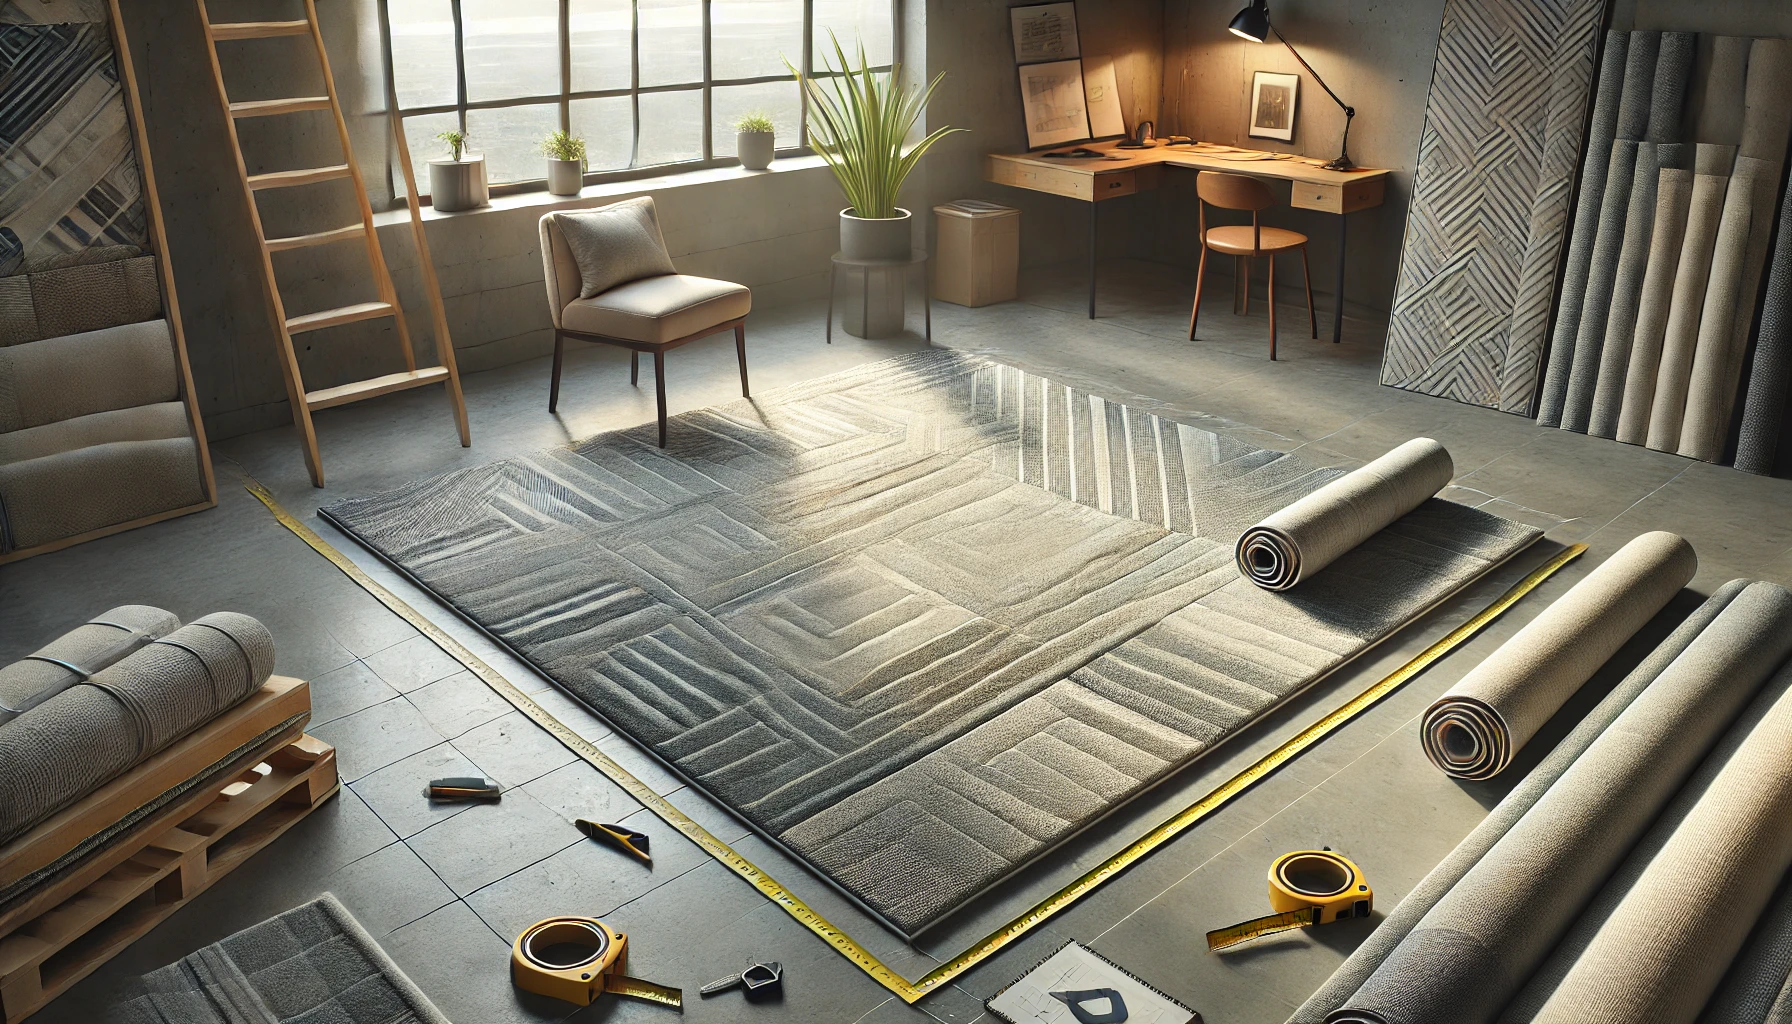
Moving on from the basics, it's crucial to gather the right tools and materials for installing laminate flooring. You'll need an array of equipment, starting with a tape measure for accurate room dimensions and a jigsaw (tool) to cut the boards neatly around obstacles such as radiator pipes or door frames.
A hammer, mallet, and knee pads are essential for comfort during installation. Don't forget about spacers to maintain that vital expansion gap between the laminate and the wall.
Materials play a significant role, too. Selecting your preferred type of flooring from a range of laminate options is just the beginning. Underlay is indispensable; it provides thermal insulation, damp proofing, and helps level out minor floor imperfections underneath your new floors.
Ensure you have enough laminate board packs calculated based on room measurements, plus an extra 10% for waste cuts - this ensures you won't run short before completing the job. Lastly, finishing touches like skirting board trims will give your space a professional look while hiding any expansion gaps along the edges.

Installing laminate flooring transforms your home with an elegant look without breaking the bank. To ensure a smooth and successful installation, having the right tools is crucial. Here's a list of essential tools you’ll need for laying your new laminate flooring down:
Every item on this list plays a vital role in ensuring that laying down your new laminate floor goes smoothly from start to finish. With these tools at hand, DIY enthusiasts can confidently tackle their flooring projects, achieving professional results with their touch.
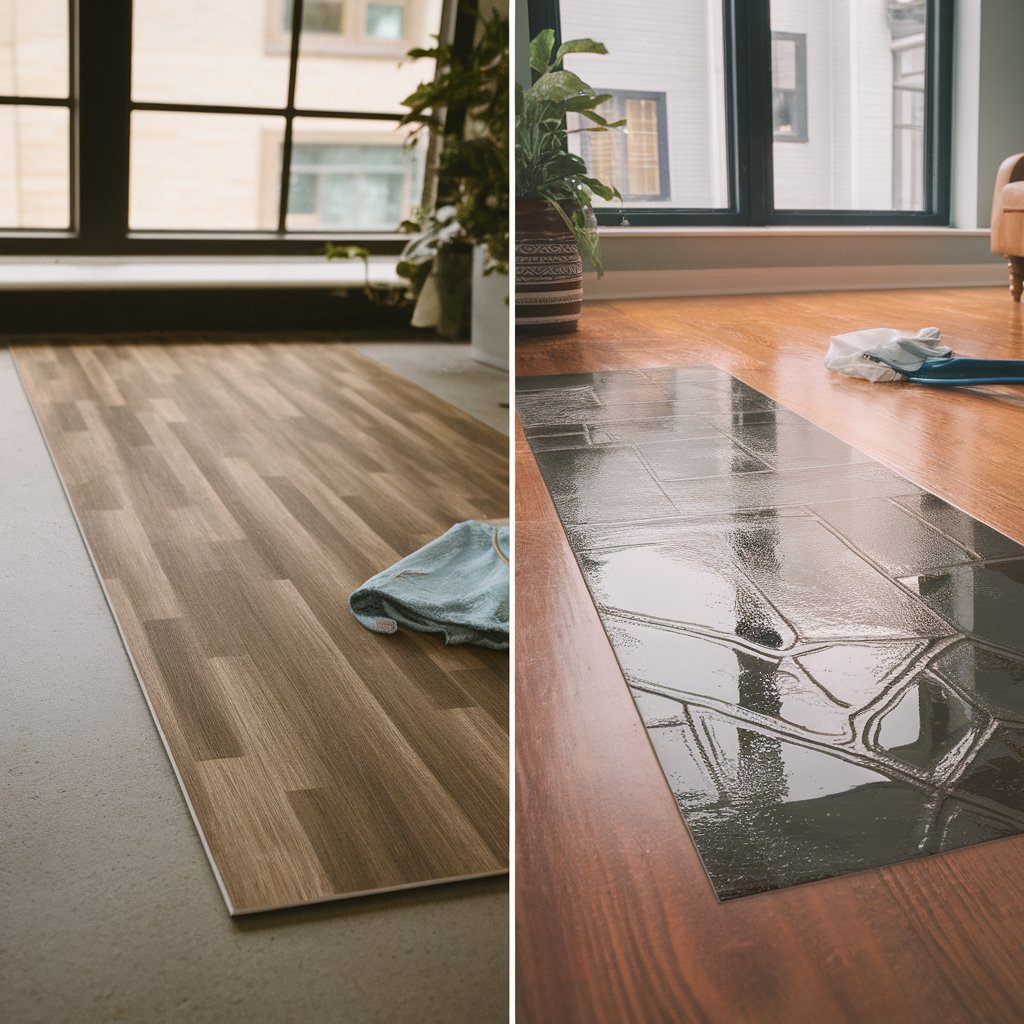
After selecting the essential tools for installing oak laminate flooring, the next crucial step involves choosing the right types of laminate flooring plank and materials. Both the type and types of laminate flooring, and underlay play a significant role in ensuring a successful oak laminate flooring and installation.
Each type of laminate material also has its own set of benefits suited to different needs, be it resilience against moisture for rooms prone to spills or enhanced soundproofing qualities for quiet spaces within your home. Selecting suitable laminate and underlay is essential in achieving an aesthetically pleasing and durable flooring project.
Choosing the right types of laminate flooring and underlay is crucial for a successful installation. Now let's focus on preparing the room to lay your types of laminate flooring and underlay, ensuring a smooth process from start to finish.
This preparation phase is critical in ensuring that once you start laying down each plank of your perfect laminate flooring, everything proceeds as efficiently as possible without unnecessary delays or complications arising from unforeseen room conditions.
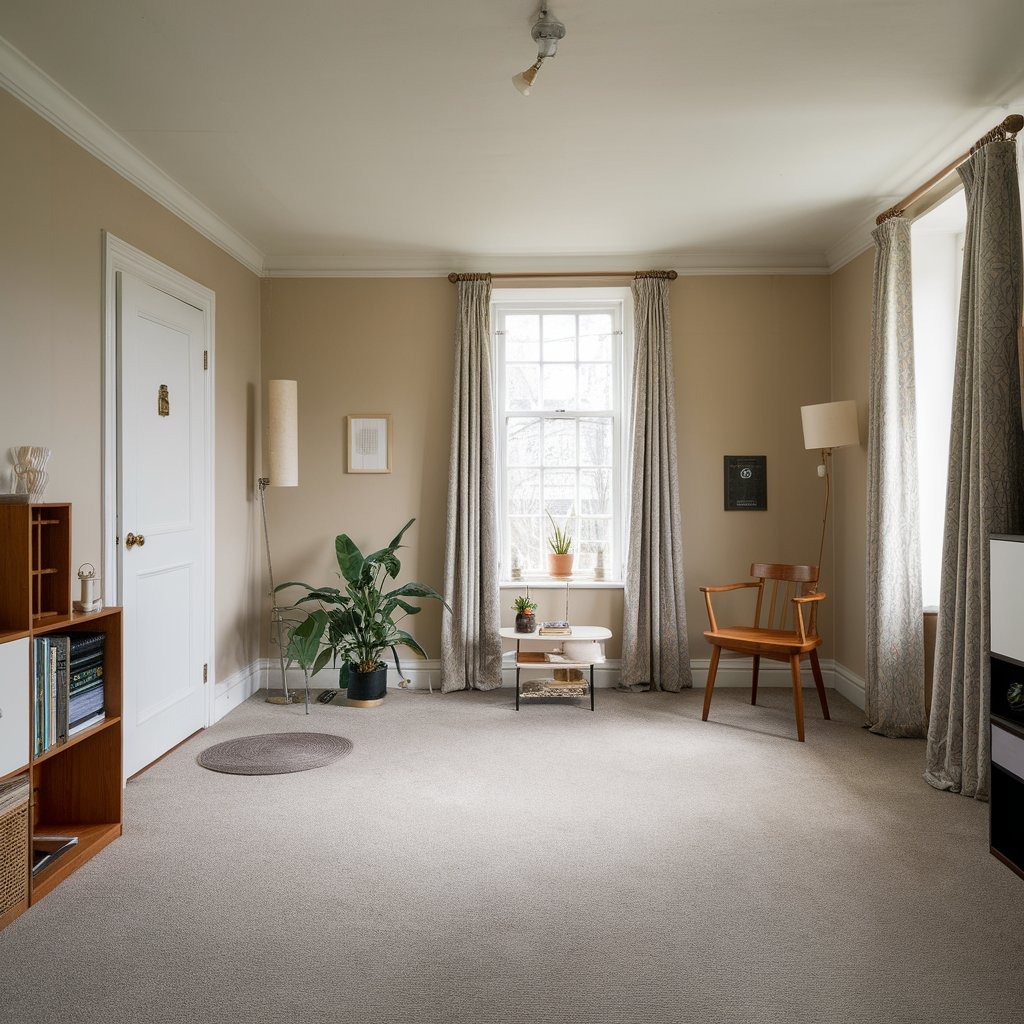
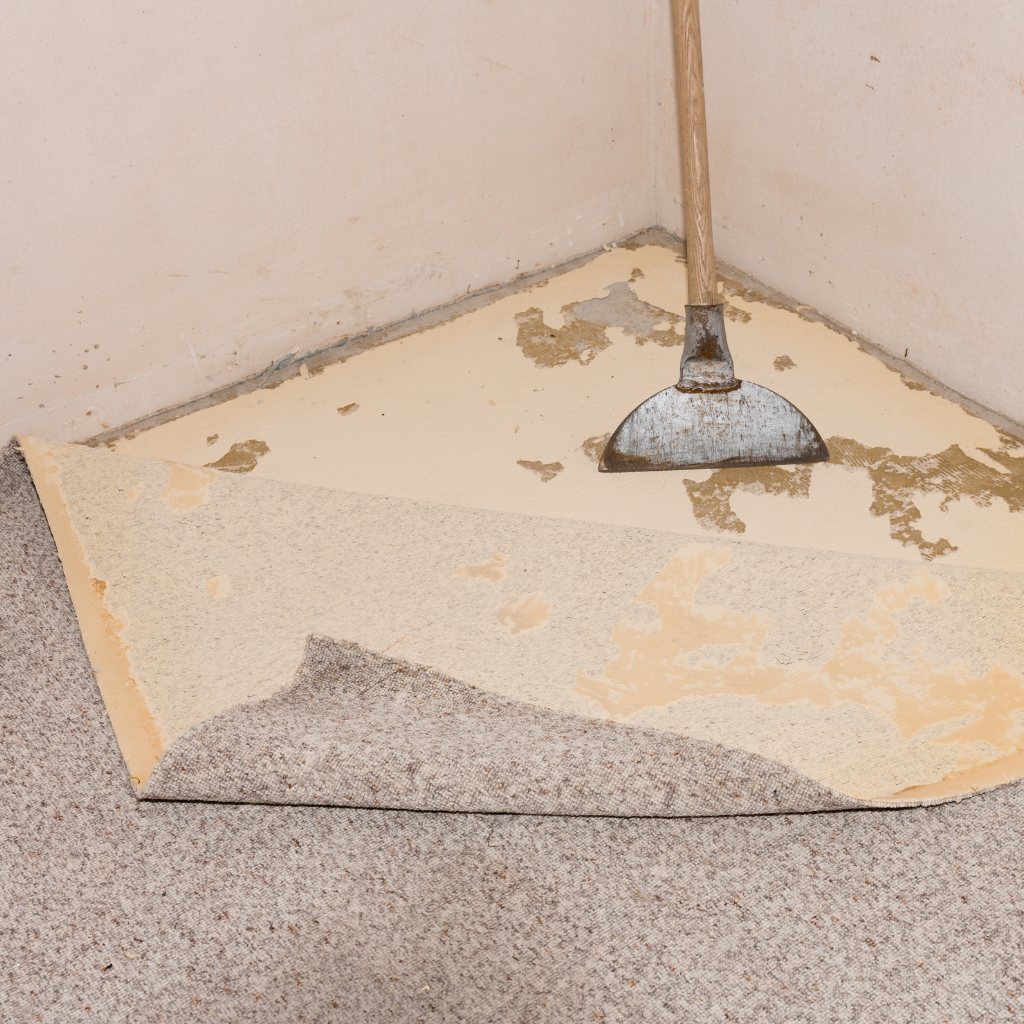
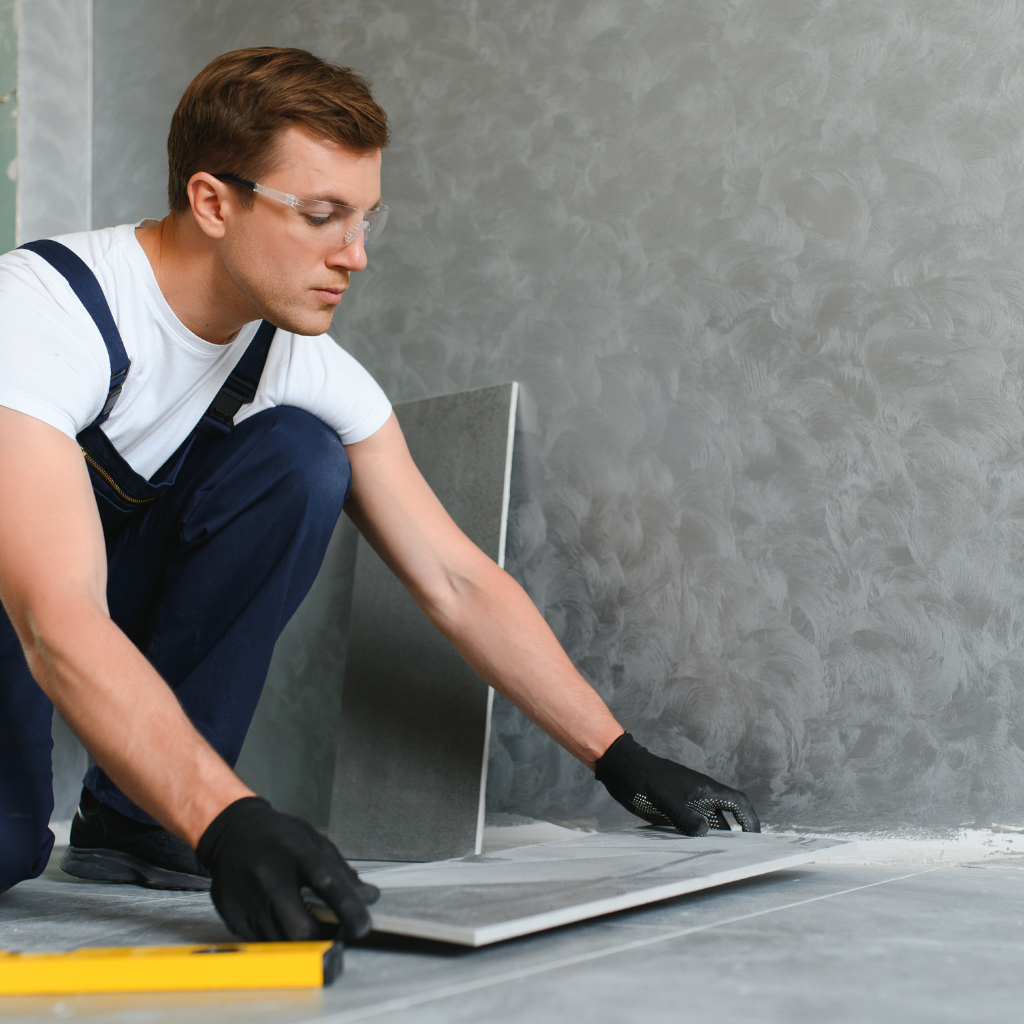
Preparing your floor for laminate installation is crucial to ensure a smooth, long-lasting finish. Start by thoroughly cleaning the existing floor; remove any debris, dirt, or dust that could affect the laminate laying process.
Next, assess the levelness of your flooring. An uneven surface can lead to issues later on, such as cracks or creaks in your new flooring. You might need to use a self-levelling compound if significant dips or rises are present.
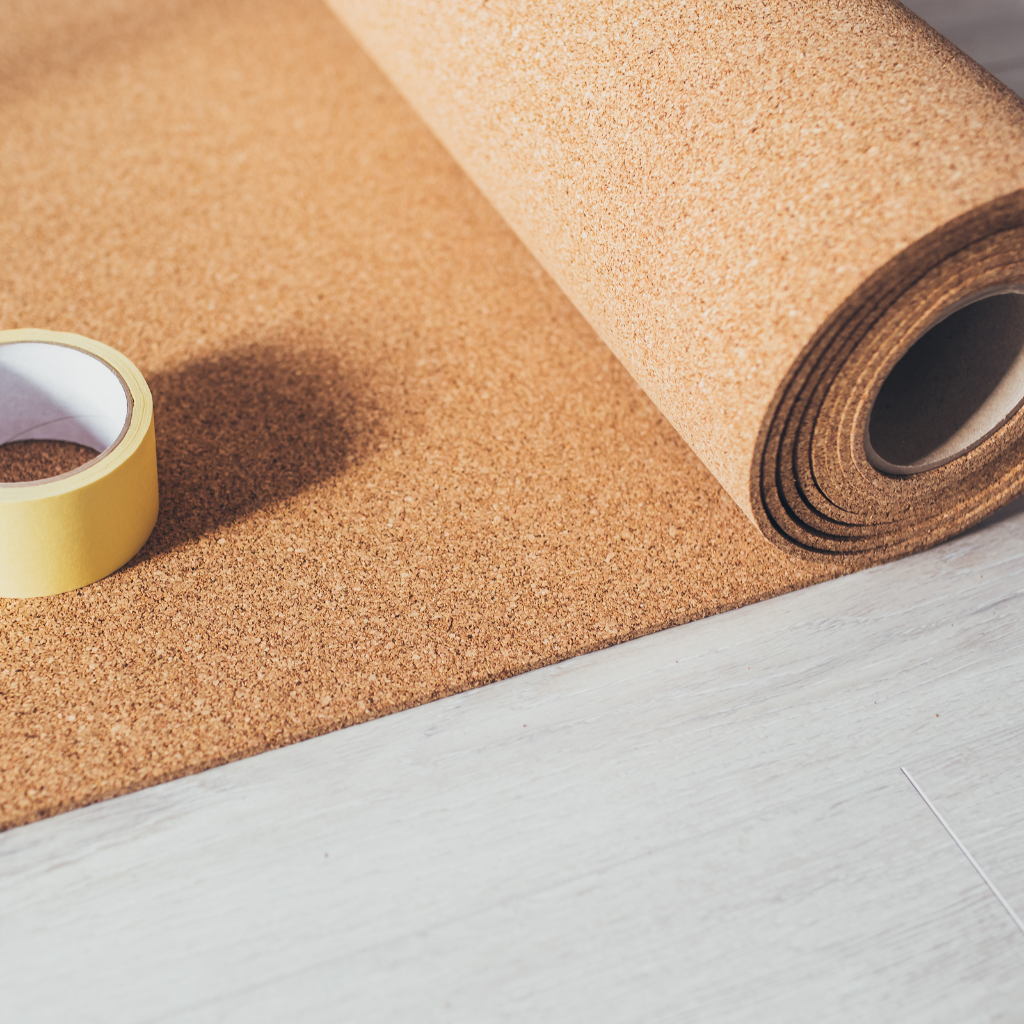
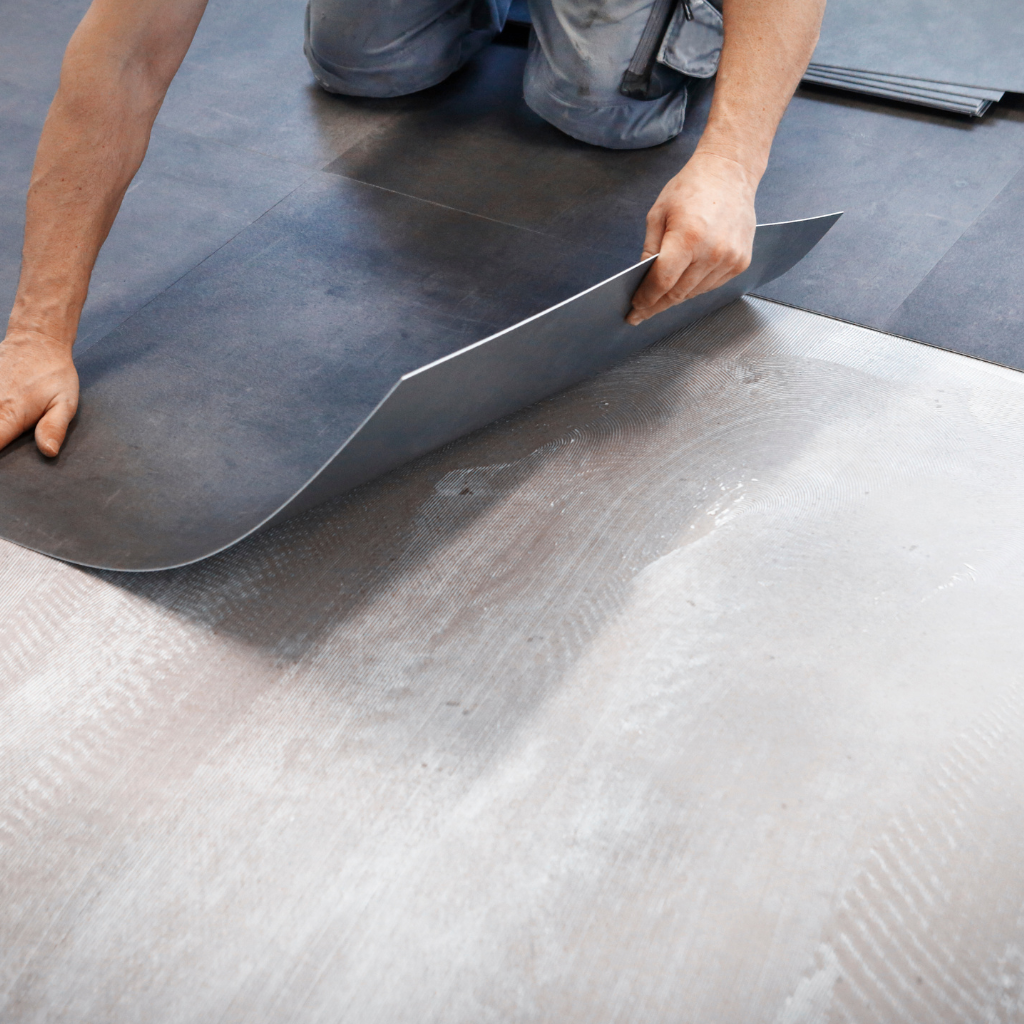
Installing underlay is the next step and should not be overlooked. The right underlay will provide insulation, reduce noise and create a perfect base for your solid wood laminate or planks. It acts as a moisture barrier too, especially important in areas prone to dampness.
Choose an underlay suited for your specific needs – some are designed explicitly with thermal insulation properties ideal for homes with underfloor heating.
A solid foundation is key to ensuring your laminate flooring stands up both in style and durability.
With the preparation complete, you're now ready to move on to laying down those first boards floating floor and transforming your space.
Cleaning and levelling the floor are crucial steps before you lay your underlay and start installing your laminate flooring. Ensuring your base floor is clean, dry, and level provides a more solid wood foundation, which helps prevent issues with the laminate flooring installed later on. Here's how to effectively prepare your floor for laying laminate flooring underlay and installation:
Completing these steps carefully paves the way for a smooth, laminate floor installation process. With a properly prepped base floor, you're now ready to proceed with laying out your underlay and fitting each laminate board precisely around radiator pipes, door frames or any other obstacles present in your room layout without encountering setbacks related to uneven or dirty floors.
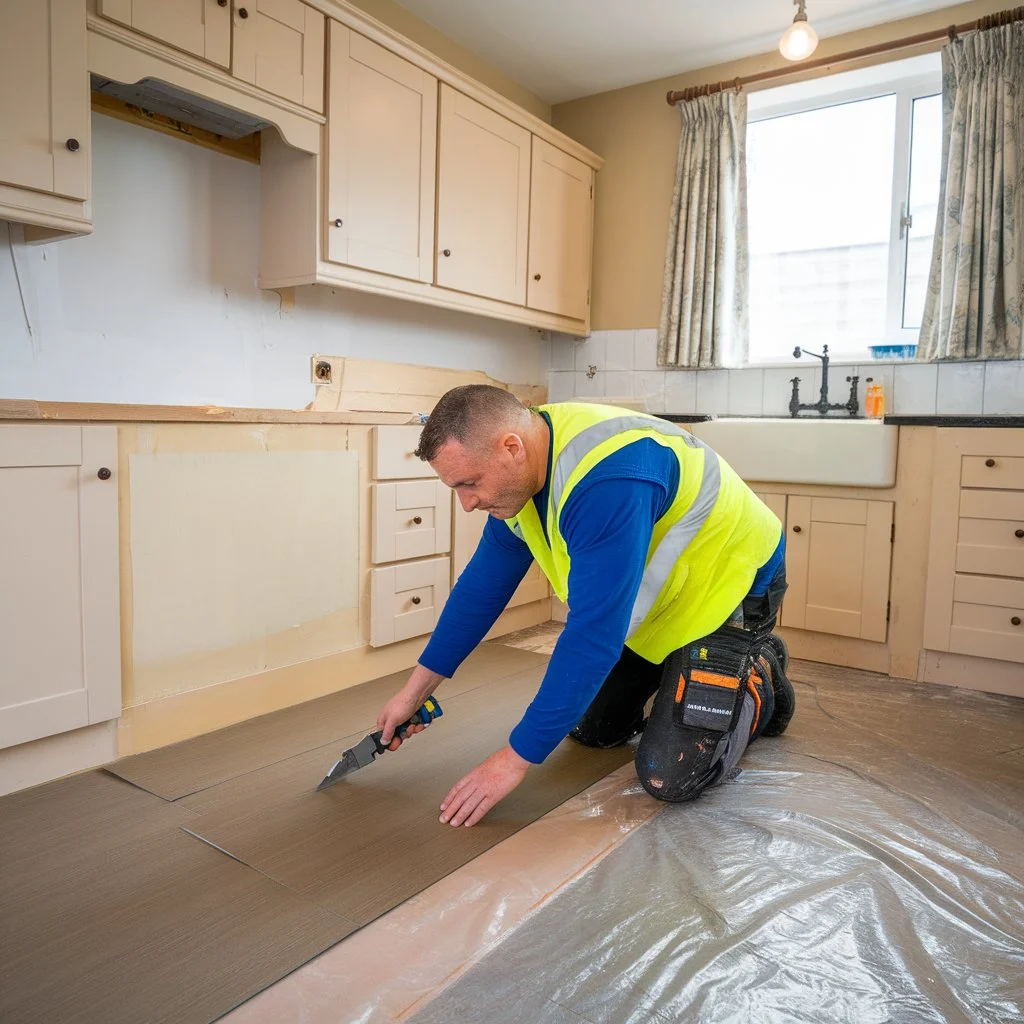
After ensuring the wood laminate flooring is fitted and clean, and level, the next crucial step is installing real wood underlay. This foundation is key for achieving a smooth, comfortable finish with your wood laminate flooring.
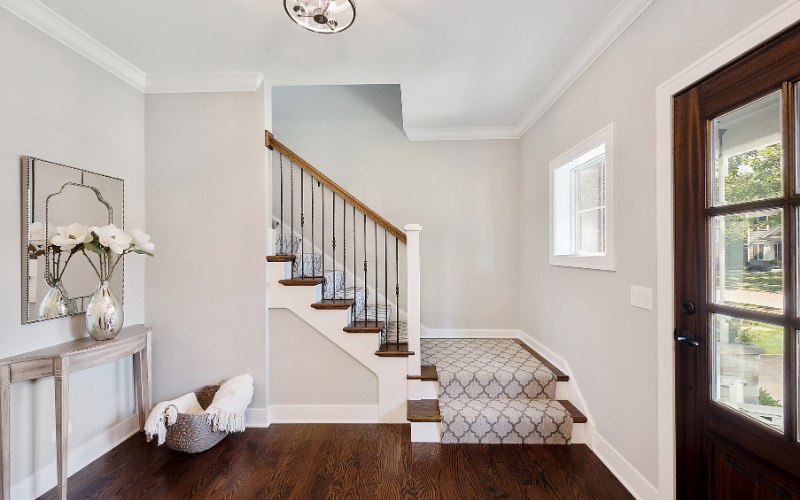
By following these steps carefully while installing underlay, you can ensure that your laminate flooring on stairs or any other space looks professional, lasts longer, and feels better beneath your feet.
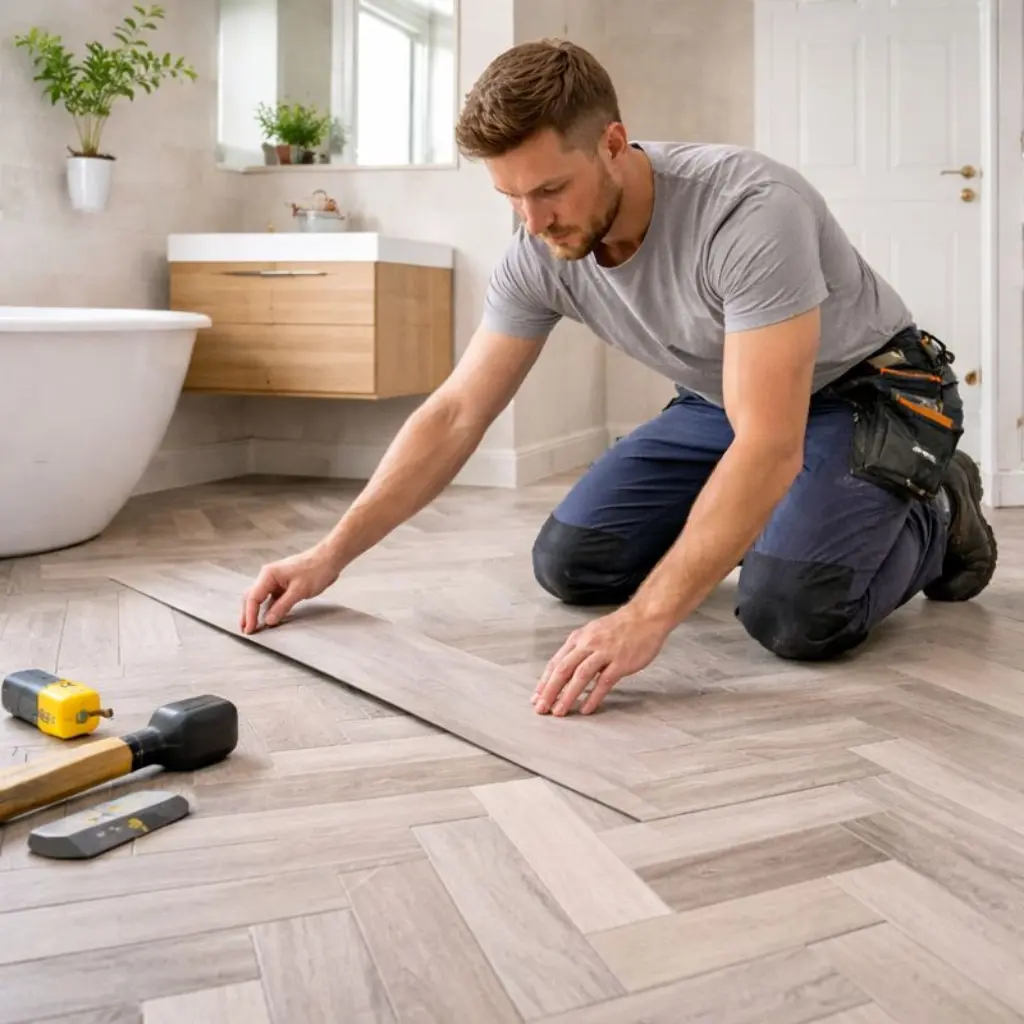
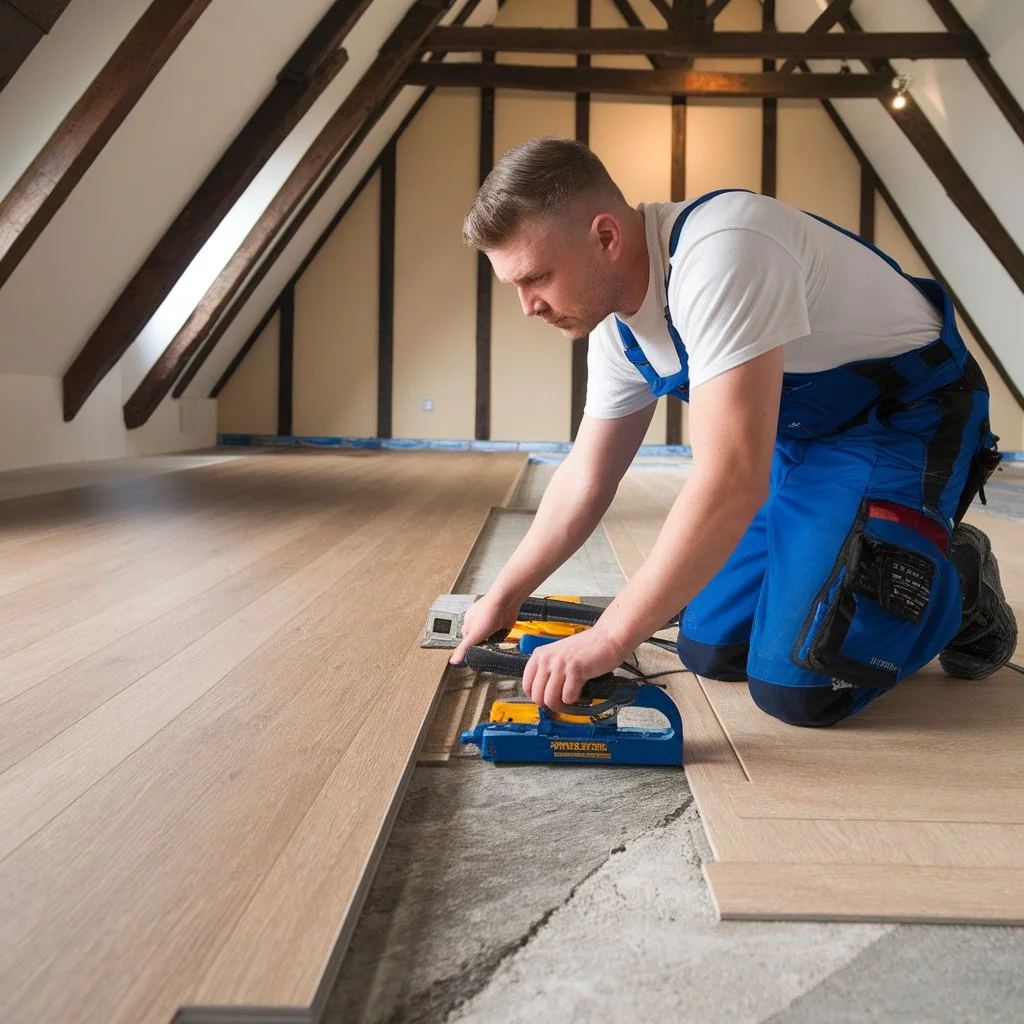
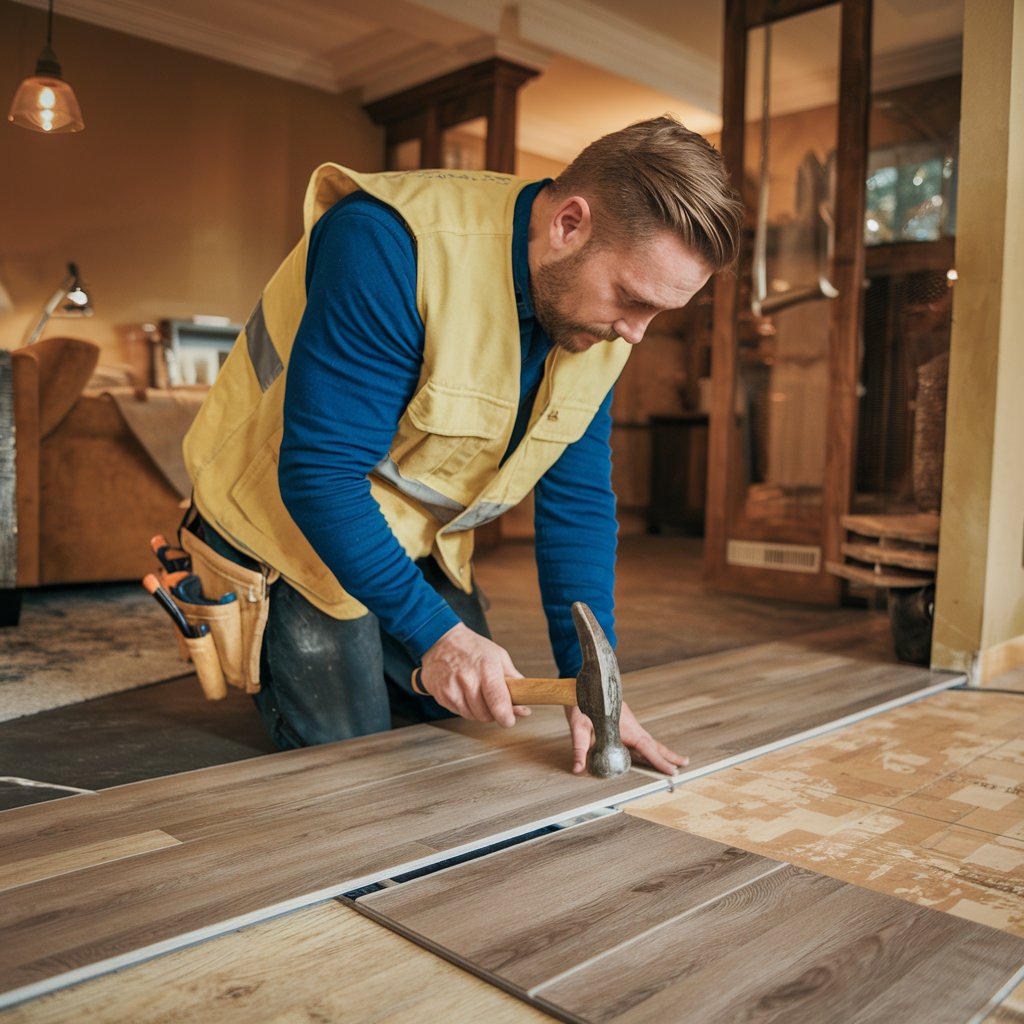
Laying the first laminate board sets the tone for your entire flooring project. Begin by placing the top layer of it in a corner of the room, ensuring the short end is aligned against one wall of the small room and the long side against another, with an expansion gap left along both walls.
This gap is crucial as it allows room for natural expansion and prevents buckling; typically, a 10mm space suffices. Continue laying boards, clicking each piece's tongue into the groove of the previous board at a 45-degree angle before lowering flat.
Use flooring spacers to maintain this essential expansion gap consistently around the room's perimeter.
Maintaining an orderly progression is key when installing laminate across larger areas or multiple rooms. With each new row, stagger the end joints from those in preceding rows to enhance strength and visual appeal.
Effective staggering involves starting new rows with different lengths of board; cutting boards at varying sizes can help achieve this pattern while utilising offcuts minimises waste.
Securely fit each plank by gently tapping them together using a soft mallet, which helps lock their tongue-and-groove system snugly without damage. Careful attention during these steps ensures a smooth, professional-looking finish that transforms any space with durable beauty.

Starting the laminate flooring installation correctly sets the tone for the entire project. The first board's placement is crucial as it determines how well the rest of the laminate flooring cost will align.
Executing these steps carefully when laying down your first laminate board ensures you start on the right foot, leading to a beautifully finished room that reflects both quality craftsmanship and attention to detail in installing laminate wood flooring around door frames and obstacles alike.
Maintaining an expansion gap is crucial for the longevity and appearance of your laminate flooring. Improper handling of this step can lead to buckling or unsightly gaps that mar the overall look.
These steps are essential in fitting laminate flooring around radiator pipes, under doors, and across large room expanses without compromising on function or style. Adhering to these guidelines will aid in achieving professional-looking results that stand the test of time.
After ensuring the necessary expansion gap, the next critical step is using flooring spacers correctly during your laminate fitting. These handy tools help maintain a consistent space around the edges of the room, which allows for natural expansion and prevents buckling.
Correct use of laminate flooring materials and spacers ensures an aesthetically pleasing layout and structural integrity by allowing laminate floors adequate room for natural movement throughout varying conditions inside homes across the United Kingdom (UK).

Fitting laminate flooring around radiator pipes requires precision. Mark the pipe positions on your board and drill a hole larger than the pipe diameter to allow for expansion. Slide the board into place, ensuring it fits snugly around the pipes.
For door frames, use a handsaw to cut the bottom of the frame so you can slide laminate underneath. This ensures a seamless fit that looks professional.
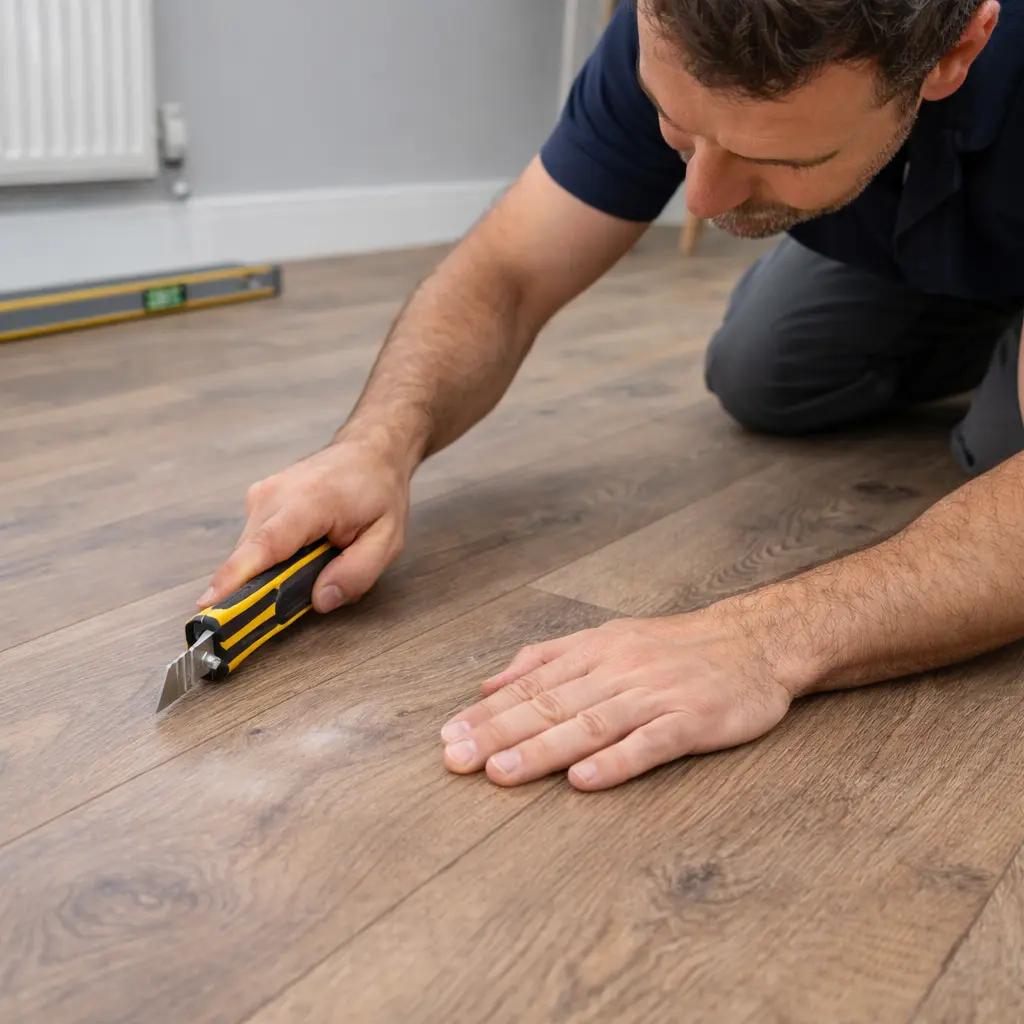
Cutting boards to fit obstacles is straightforward with careful measurement and the right tools. Measure and mark where cuts are needed, using a jigsaw for curved cuts or a fine-tooth saw for straight lines.
Always double-check measurements before cutting to avoid wastage and ensure a tight fit around any obstacle in your path.
Laying laminate around challenges showcases craftsmanship - measure twice, cut once.
Fitting laminate around radiator pipes requires precision and patience. You need to cut your laminate boards accurately to ensure a neat finish.
These steps help you achieve a professional look when laying laminate around obstacles such as radiator pipes, ensuring that aesthetic quality matches practical installation across every corner of your room.
After addressing how to fit and install laminate around radiator pipes, the next step focuses on installing laminate around door frames - a task that demands precision and attention. This part of your flooring project will ensure a neat and professional finish, allowing for seamless transitions between rooms.
By following these steps closely while fitting laminate flooring around door frames, homeowners and professionals alike can achieve a polished look that enhances room transitions beautifully. This process improves both aesthetic appeal and functionality across different spaces within a home or commercial property.
After successfully installing clean laminate flooring around door frames, the next crucial step to install laminate flooring involves cutting the board to fit obstacles. Precision in this stage ensures your laminate flooring looks seamless and professionally installed.
This careful approach will ensure that installing laminate flooring in your home not only increases its aesthetic appeal but also adds value due to its professional finish, perfect for homeowners considering removing laminate flooring options within their renovation projects.
Ignoring the expansion gap is a common mistake that can lead to serious issues with your laminate flooring. Laminate flooring materials expand and contract with changes in temperature and humidity, so leaving an adequate gap around the edges of the room is crucial.
This allows the floor space to adapt without causing buckling or gaps between planks. Many DIY enthusiasts lay the boards too tightly against walls, which restricts natural movement and leads to distortion.
Incorrect underlay installation often compromises the durability and comfort of laminate floors. Underlay acts as a cushion, reducing noise while providing thermal insulation and moisture protection.
Each type of underlay serves different needs; for instance, some are designed for use over concrete subfloors to prevent dampness from seeping up into the wood laminate. Skipping this step or choosing the wrong underlay can result in a floor that feels hard, sounds hollow when walked on, and may even begin peeling or warping over time.
Now let's explore the average installation rate and cost of laminate flooring per installer and how much it typically on average costs to fit laminate flooring successfully.
Step-by-Step Guide to Installing Laminate Floors: Tips for Laying and Fitting Laminate Flooring 11
Leaving out the expansion gap when installing laminate flooring can lead to serious problems. Laminate expands and contracts with changes in humidity and temperature. If you don't allocate a small space around the edges, typically 8-10mm, this natural movement is hindered.
Over time, the laminate flooring cost you will push against walls, causing it to buckle or create gaps between planks. This mistake compromises both the durability and aesthetic appeal of your laminate flooring, costing you.
To ensure a professional finish that lasts for years, always lay your flooring with consideration for an expansion gap. Use spacers as you install each board to maintain uniformity.
These simple tools assist in keeping the necessary distance from walls or fixed objects like pipes or cabinets. Ignoring this step may save time initially, but could result in having to redo the job sooner than expected—an outcome no homeowner or builder wants after investing in quality laminate floors suitable for quickstep installations.
Incorrect underlay or different installation methods can lead to several problems with your laminate flooring. Choosing the wrong type of laminate flooring, fitting the cost-effective amount of underlay or failing to install it correctly affects the amount does laminate flooring cost it's durability and comfort.
The underlay acts as a membrane that supports the laminate planks, providing stability and noise reduction. If this top layer is not laid flat or if gaps are present, it can cause unevenness in the flooring surface.
Properly installing the laminate underlay ensures a smoother finish and extends the lifespan of your floors.
Fitting your laminate with precision starts with laying down the proper fitting underlay foundation. A common mistake is overlooking small details during underlay installation, such as not cutting it to fit around obstacles like radiator pipes or door frames properly.
These errors may seem minor, but they can prevent your flooring from lying flat and might even result in damage over time. Make sure each piece of underlay connects seamlessly without overlapping, and secure it before laying down any boards.
This attention to detail guarantees that your laminate wood flooring will be perfectly positioned for years of use.
Skipping room preparation before installing your laminate flooring can lead to several problems that could compromise the longevity and appearance of your hardwood laminate flooring fitting cost you. It's a fundamental step to ensure the subfloor is level, clean, and ready for the underlay and laminate planks.
Jumping over this phase might cause uneven surfaces, leading to creaks and potentially damaging the interlocking system of tongue and groove.
Preparing the room involves removing furniture, ensuring the floor is free from dust or debris, and checking for any moisture issues that could affect laminate boards later on. Installers must also consider using suitable underlay types that fit their specific flooring requirements; missing this step can result in poor acoustic performance and reduced comfort underfoot.
Properly laying out underlay will support a smoother installation process of laying each plank correctly, aligning with the end of board criteria necessary for a flawless finish.
The average cost of the labour costs of fitting laminate flooring can vary widely depending on several factors, such as the quality of the laminate floor installer chosen and whether you decide to install laminate flooring uk it yourself or hire a professional.
For homeowners looking into DIY projects, buying a pack of laminated flooring is the first step, with prices ranging based vary depending on the material and brand. A standard range of laminate flooring may start from an average cost as little as £5 per square metre, but for higher-end options suitable for Quickstep laminate floors, costs could escalate up to £30 per square metre or more.
Underlay is essential for proper installation and can add between £0.50 per square meter to the average cost of installation cost cost-effective at rate £5 per square metre to your overall expenses.
Professional installation services offer convenience but come at an extra cost. Fitting fees typically start around £8 per square metre; complex layouts or installing laminate around pipes and obstacles like radiator pipes might have additional costs involved, or extra costs can increase these rates per square metre significantly.
For a more comprehensive service involving room preparation, including cleaning and levelling the floor before installing underlay or laying planks correctly, while maintaining an expansion gap using flooring spacers, accurately adds to the budget too.
Ultimately, choosing between DIY and professional services depends on your skill level and budget constraints.
Investing in quality materials and proper installation ensures that your laminate floor is laid correctly, making it a durable addition to any space.
Step-by-Step Guide to Installing Laminate Floors: Tips for Laying and Fitting Laminate Flooring 12
Understanding the material and labour costs involved in fitting laminate flooring is crucial for planning your renovation budget. Here’s a detailed guide on how to calculate these expenses, ensuring you stay within budget while achieving the desired look for your space.
Initiate your project with a clear understanding of the laminate types and underlay options available. Different qualities and designs of laminate have varying prices, and selecting the correct underlay is crucial for durability and comfort. Including skirting boards can significantly enhance the overall look, but note that these are an additional cost. Thresholds and trims are necessary for a seamless transition between rooms. Lastly, don't overlook smaller items like adhesive, tapes, and spacers, as these are essential for a professional finish. By accurately accounting for all these materials, you can ensure your project stays on budget and meets your expectations.
Budgeting for tools and accessories is a pivotal step in the process of installing laminate flooring. Proper planning ensures that you have all the necessary equipment at hand, without additional labour costs, avoiding delays and ensuring a smooth installation process. Herein, a detailed breakdown of the extra costs associated with the laminate flooring labour cost, tools and accessories required for laying laminate floors is presented.
Allocating a budget for these tools and accessories is an integral part of the laminate flooring installation process. While some tools may already be in your possession, thereby reducing the overall cost of laminate flooring fitting and overall cost otherwise, purchasing high-quality versions of the others can make the laminate flooring installation costs and process smoother and faster. Consider the longevity and potential future use of these tools when making purchasing decisions. This strategic investment not only prepares you for the task at hand but also equips you for any future laminate flooring fitting projects.
Deciding between professional installation and DIY for laminate flooring presents homeowners, interior designers, decorators, builders, and contractors with a critical cost consideration. This comparison underscores the financial implications of each choice, offering insight into the path that best suits different needs and skill levels.
Deciding on DIY or professional installation involves weighing immediate costs against long-term value and satisfaction. With professionals, the assurance of a swift, high-quality job comes with an added price, whereas DIY offers savings at the expense of time and potential risk of errors. The right choice varies with individual skill, budget, and value placed on peace of mind and professional finishing.
Moving to the next section, we will explore...
Laying laminate floors transforms your space with elegance and durability. This guide offers everything from choosing laminate plank and the right materials to fitting boards around obstacles, aiming for a flawless finish.
It highlights common pitfalls and how to sidestep them. Follow these steps to ensure your flooring project stands the test of time, adding beauty and value to your home.