To repair damaged vinyl flooring, start by inspecting and cleaning the affected area. Use a utility knife to cut out the damaged section and apply a high-quality vinyl adhesive for the new piece. Employ a seam sealer to guarantee that the edges blend seamlessly. For minor scratches, a repair kit with filler can be effective. Proper tools like putty knives and seam rollers enhance the repair's durability. Further exploration of detailed techniques can significantly extend the lifespan of your floors.
Key Takeaways
To effectively repair vinyl flooring, one must first accurately identify the damaged area to assess the extent of the deterioration.
The next step involves preparing the floor for repair, which includes cleaning the affected area and ensuring it is free from debris and moisture.
For handling minor scratches, using a specialised repair kit is recommended, as it contains all the necessary tools and compounds to mend the surface seamlessly.
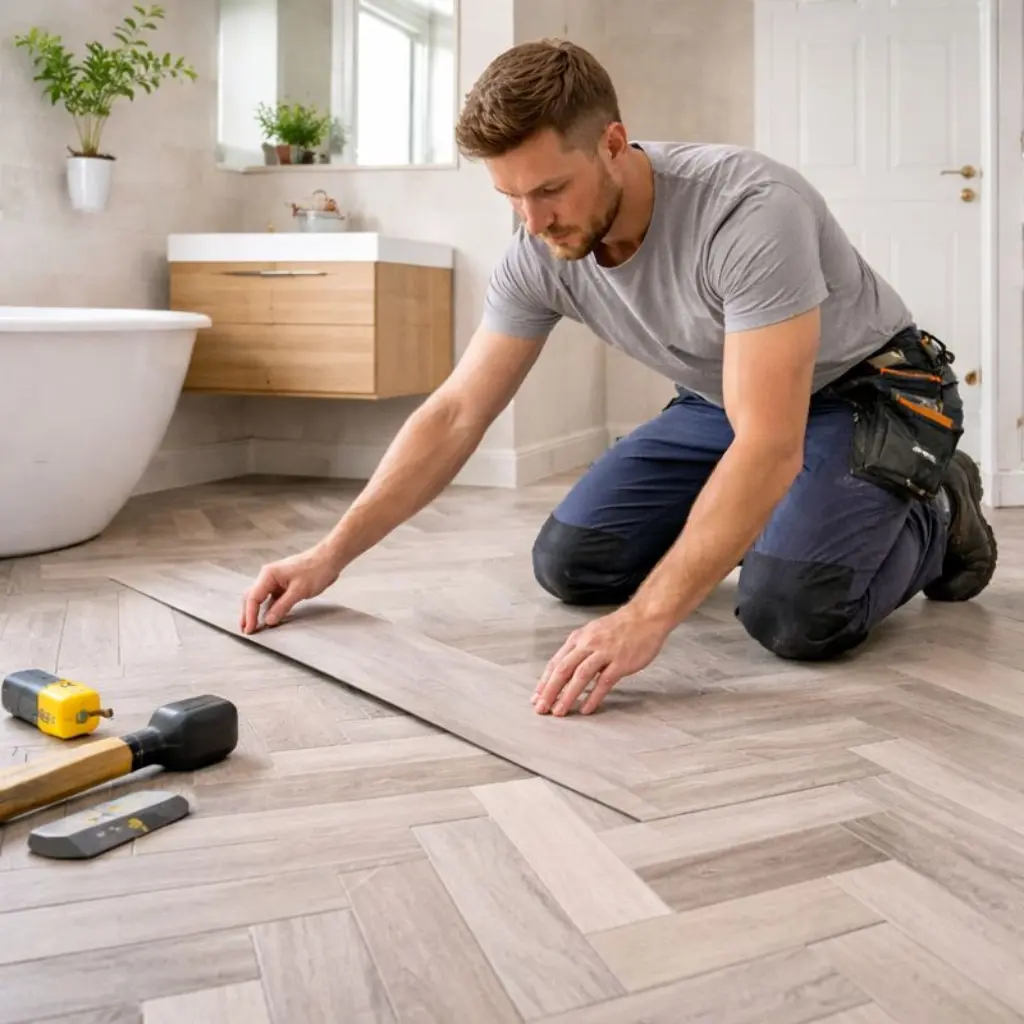
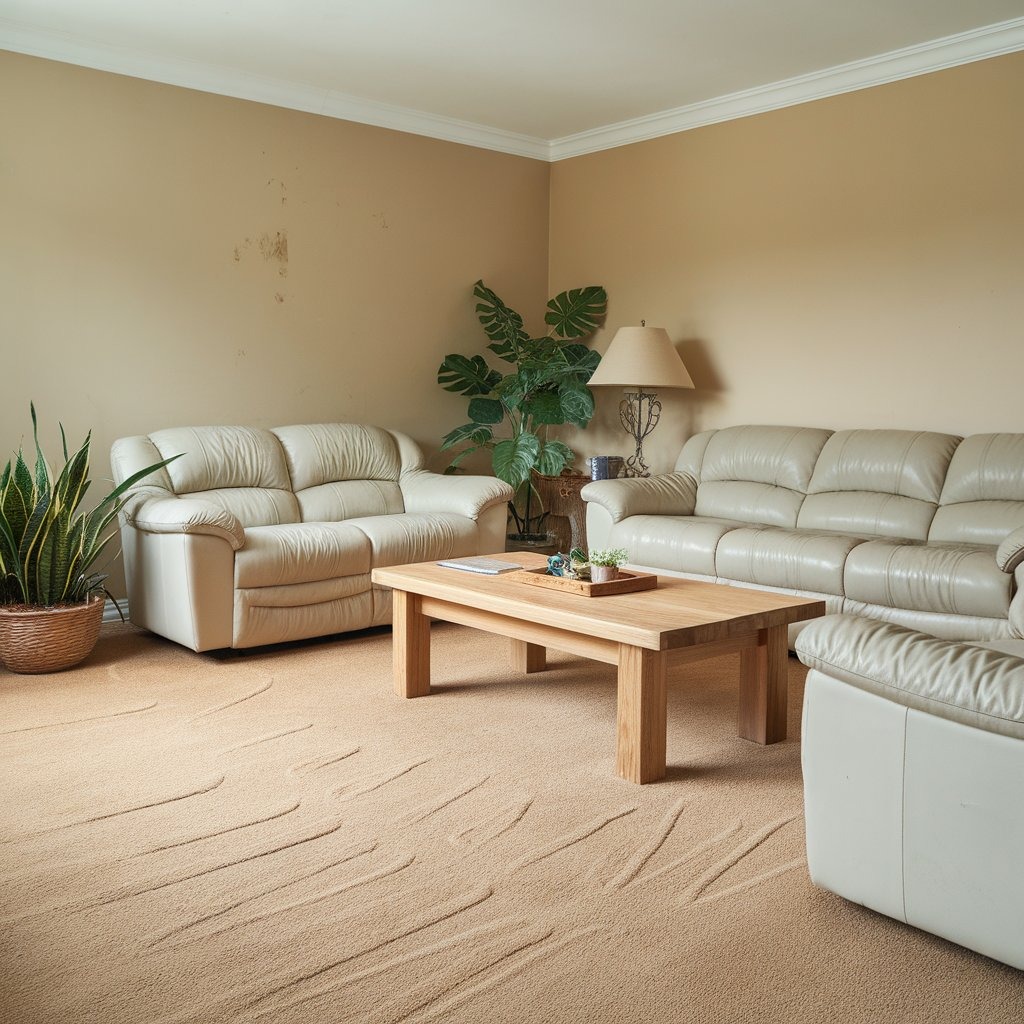
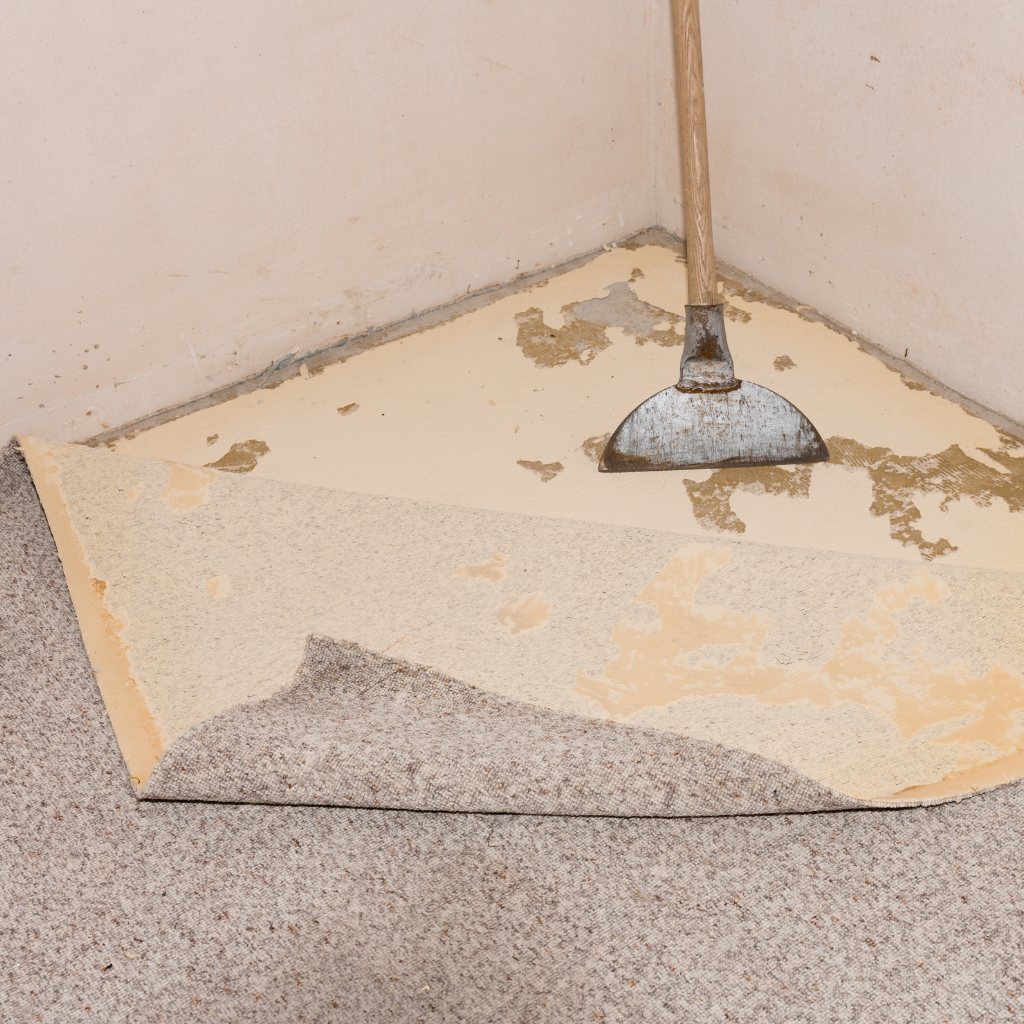
Where is the damage? Identifying the damaged area is a critical first step in the repair process of vinyl flooring. To guarantee a successful repair, thoroughly inspect the existing flooring for any signs of wear, tears, or separations. This involves carefully examining the surface to pinpoint the exact location and extent of the damage.
| Step | Action | Purpose |
|---|---|---|
| Inspection | Examine vinyl surface visually | Identify all damaged sections |
| Assessment | Measure and mark the damaged area | Prepare for precise removal and replacement |
| Documentation | Take photos or notes of the damage | Facilitate accurate selection of materials |
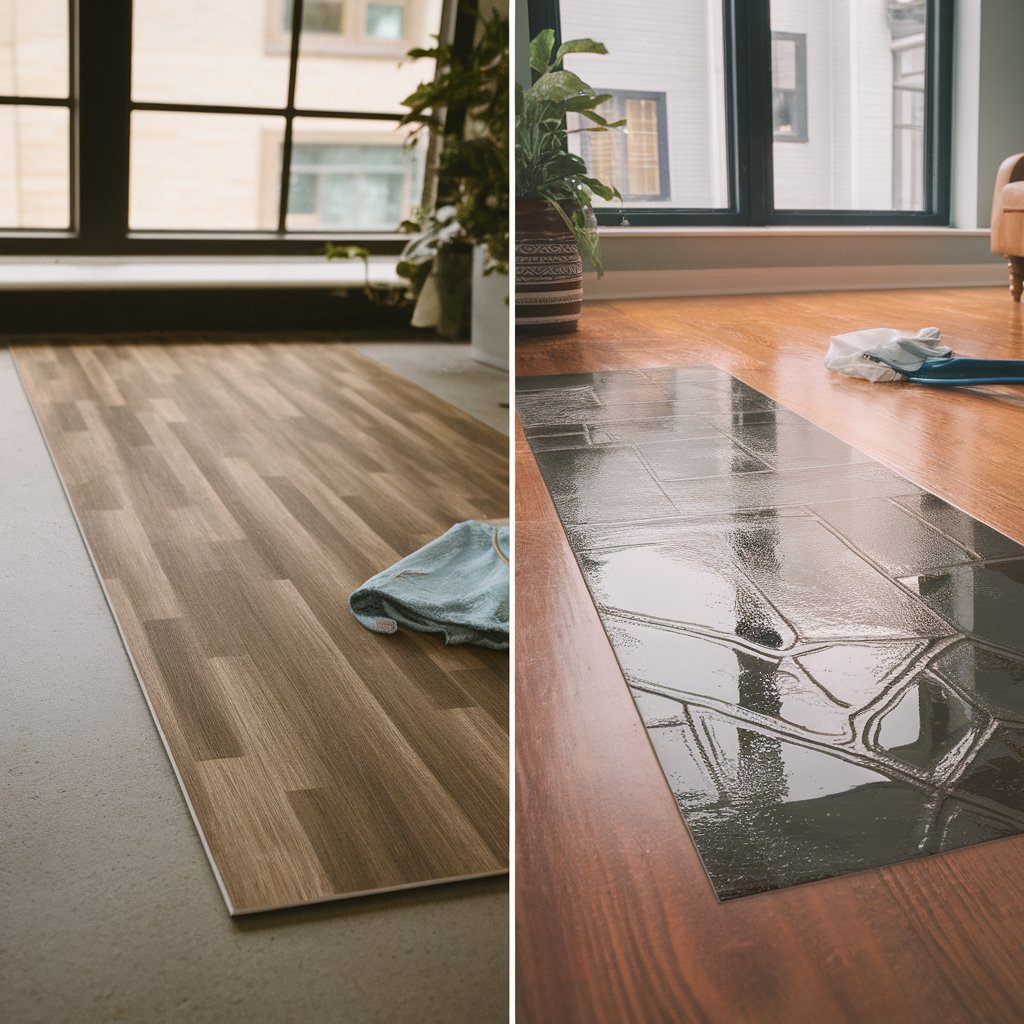
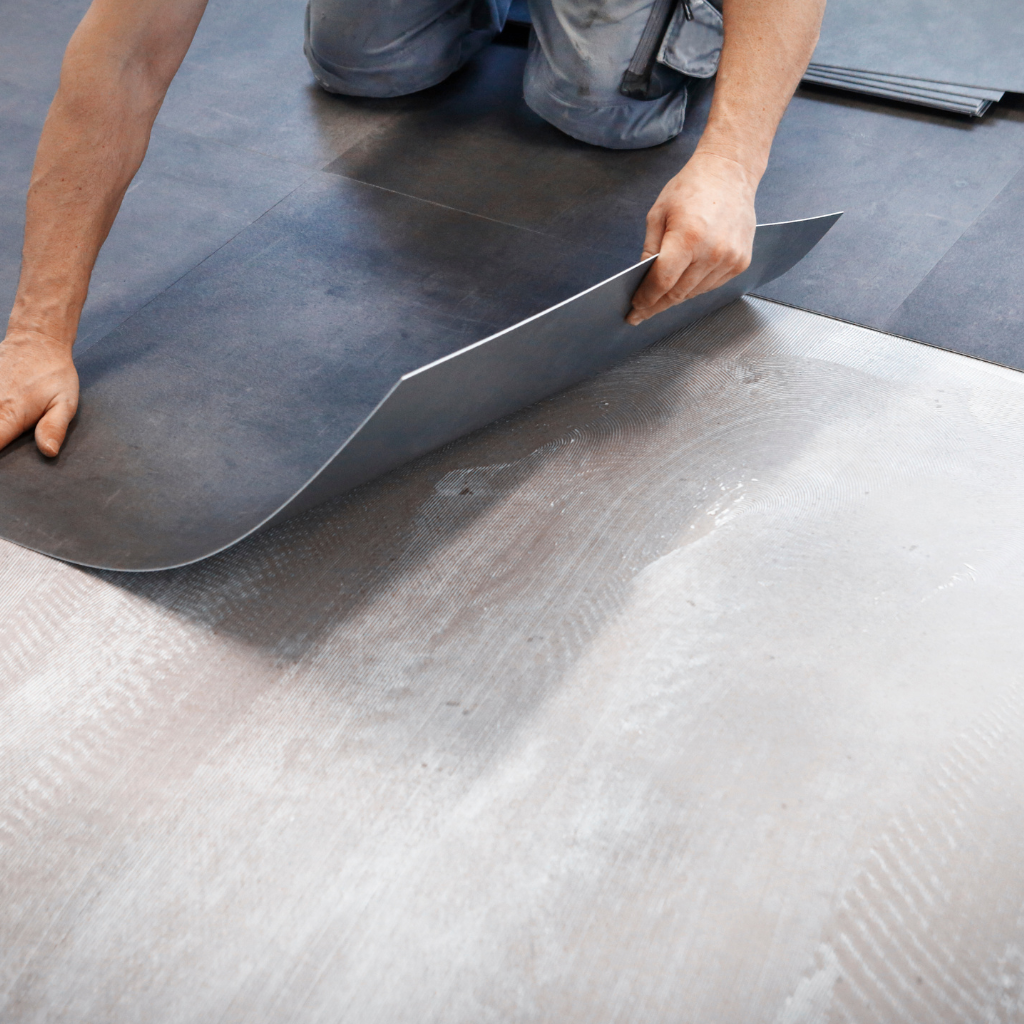
Once the damaged section is identified, it's essential to plan to remove the damaged area carefully, using the right tools and techniques, making sure that the vinyl floor adhesive remains intact for a seamless replacement.
Once the damaged area of the vinyl flooring has been thoroughly identified, the next critical step involves preparing the floor for repair.
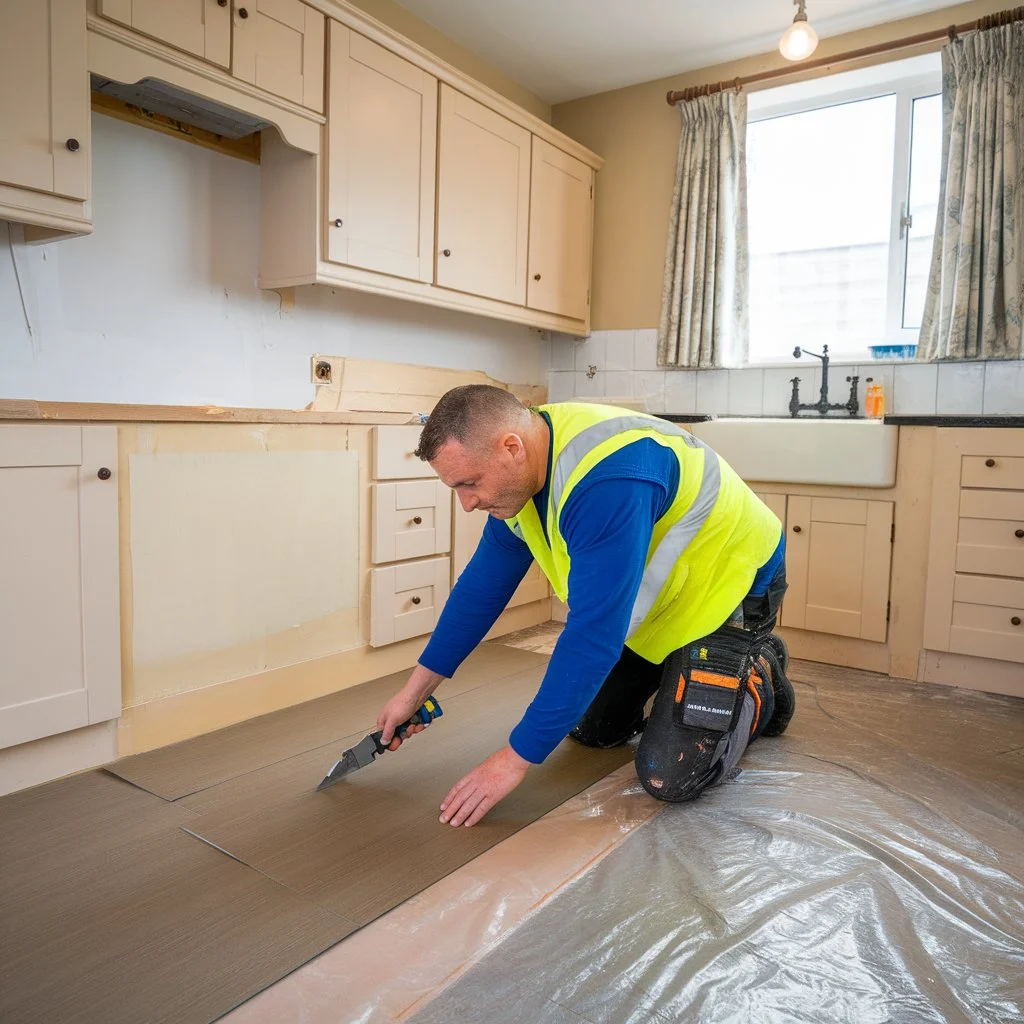
Begin by removing any heavy furniture from the area to prevent further damage. Use a mild cleaning solution to clean both the damaged section and the surrounding flooring, guaranteeing that the surface is free of debris and contaminants. This allows the vinyl flooring adhesive to bond effectively.
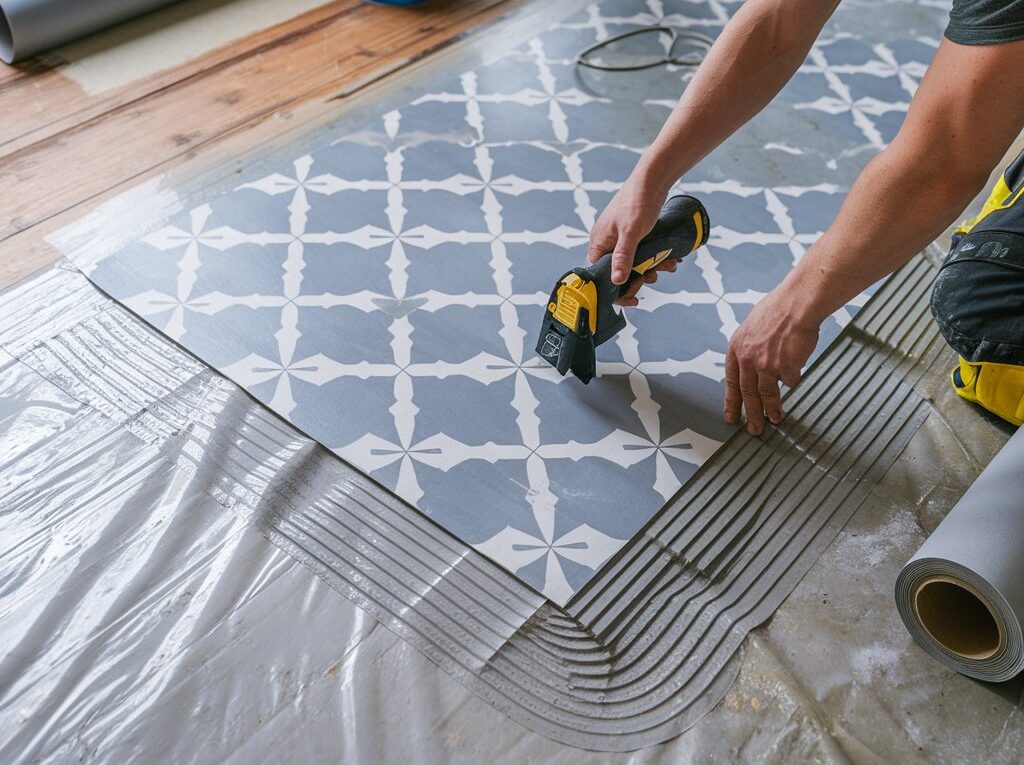
Carefully cut around the damaged sheet vinyl using a utility knife to remove it without affecting the adhesive underneath. Apply seam sealer around the edges to protect the new piece.
A heat gun can be helpful when loosening stubborn adhesive or removing an old vinyl patch. Allow everything to dry completely before proceeding with further repairs. These preventive measures help guarantee a smooth and lasting repair process.

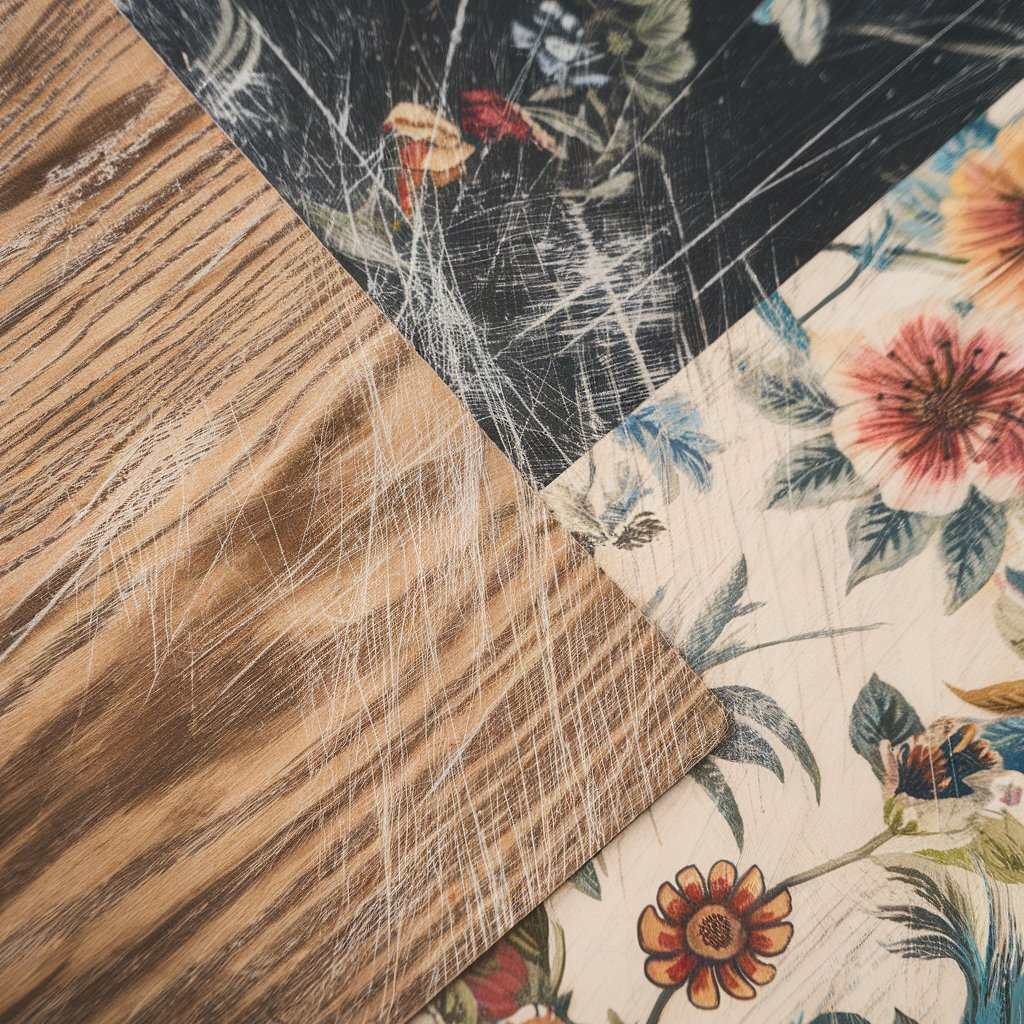
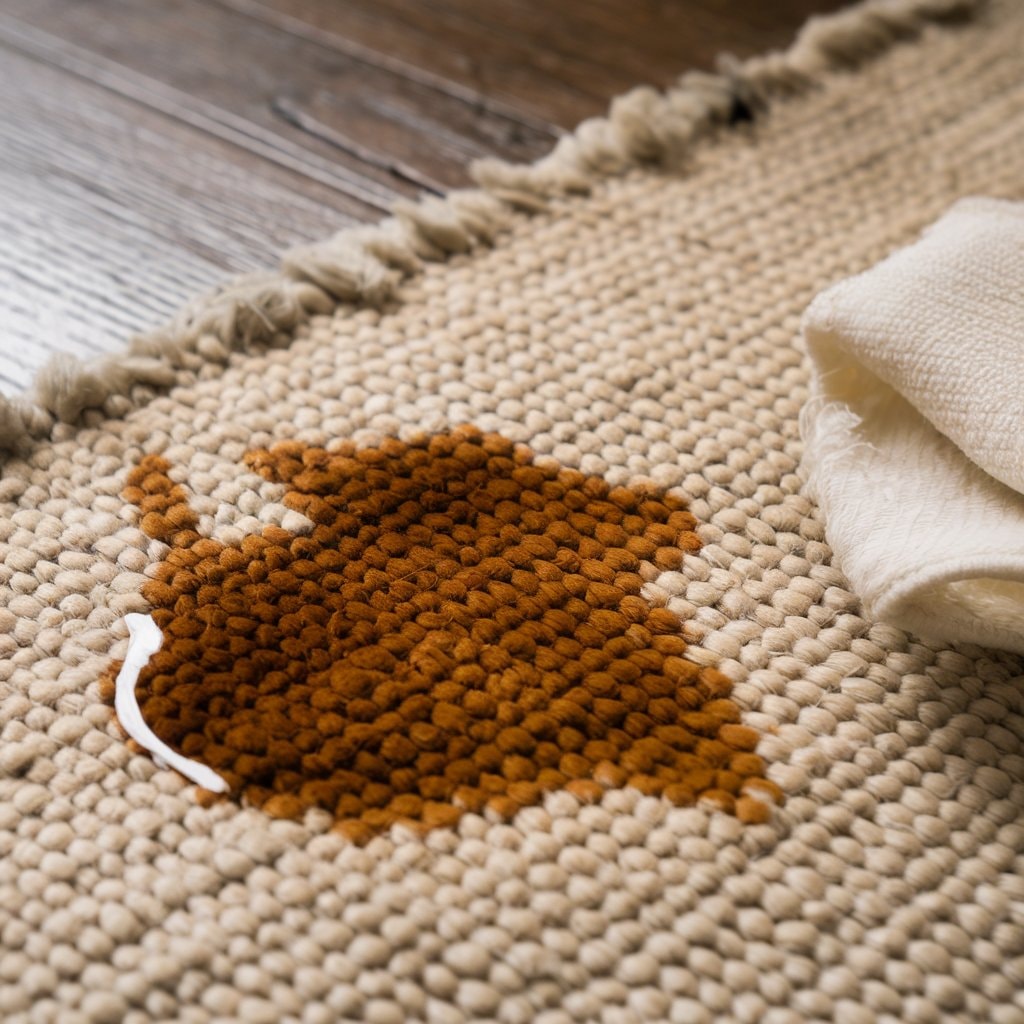
Many vinyl flooring owners will find that a repair kit is an essential tool for addressing minor scratches that can mar the surface's appearance.
These kits typically include a specialised filler or compound designed to blend seamlessly with your flooring, restoring its pristine condition.
To use, first clean the affected area thoroughly to remove any debris or residue. Avoid using abrasive cleaners, which can exacerbate scratches on vinyl.
Apply the filler of wax paper sparingly with a putty knife, smoothing it into light scratches. For deeper scratches, multiple applications may be necessary.
Once dried, gently buff the area to match the surrounding floor's texture. Regular use of these kits can help prevent scratches and significantly extend the life of your vinyl flooring.
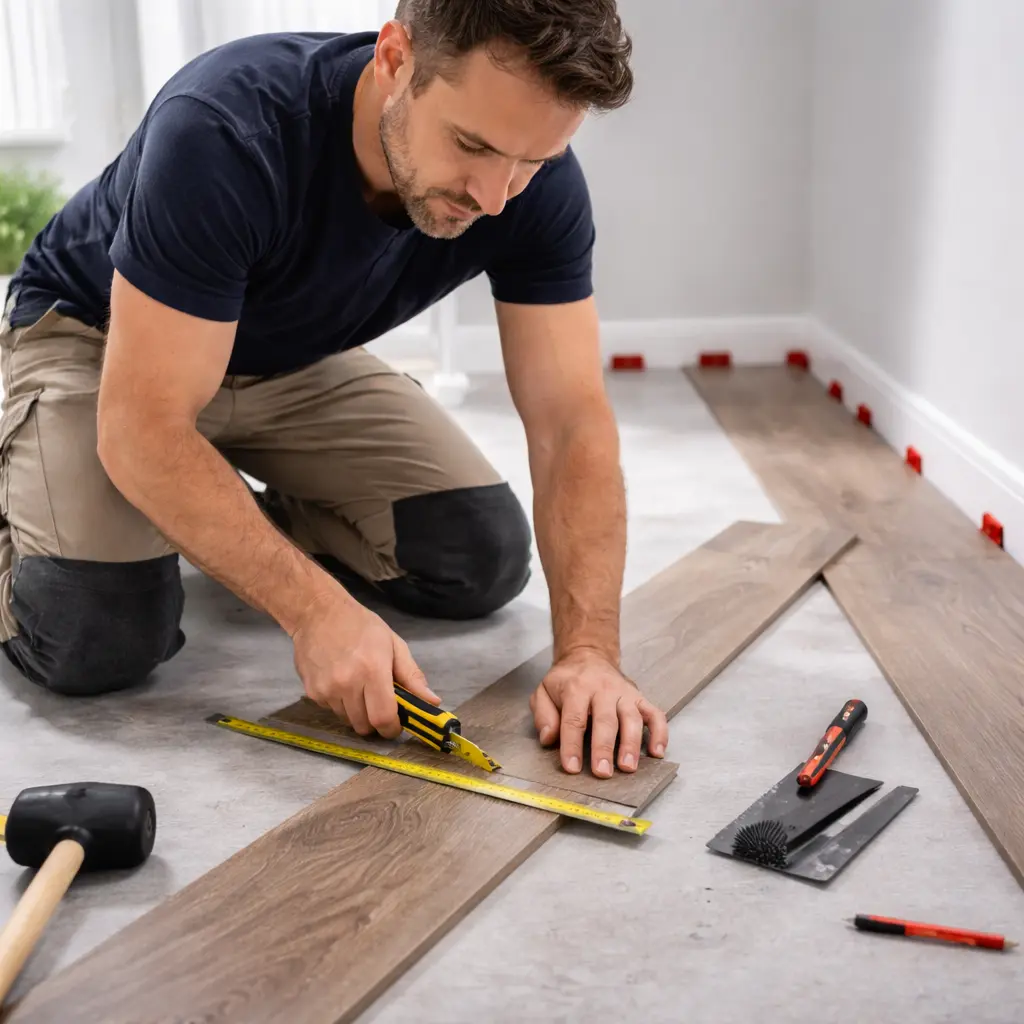
Specific specialised tools and materials are indispensable to repair vinyl flooring effectively.
A utility knife and a putty knife are essential for precise cuts and smoothing filler material, respectively.
Selecting a high-quality vinyl adhesive and using a seam roller will guarantee a durable bond and a seamless finish.
Repairing vinyl flooring efficiently requires precise tools, notably a utility knife and a putty knife. The utility knife is indispensable for neatly cutting through damaged vinyl, allowing for precise removal and ensuring that adjacent vinyl tile remains intact. This sharp tool helps in making exact cuts either to remove damaged sections entirely or to trim new pieces to size when you repair or replace sections of the flooring.
On the other hand, a putty knife proves essential in gently lifting the vinyl without causing additional damage to the type of flooring. It is instrumental in prying up edges and facilitating the application of adhesive beneath the existing vinyl floor, ensuring a smooth, seamless repair process.
Selecting the appropriate vinyl adhesive is essential for a successful vinyl floor repair, as it guarantees the new section of flooring adheres properly without future problems.
When choosing an adhesive for repairing a damaged tile or section, consider the compatibility with both the existing vinyl and the subfloor. A high-quality adhesive assures a solid bond, preventing edges from lifting and guaranteeing durability through wear and tear.
For the installation process, apply the glue evenly across the affected area, making sure not to oversaturate, which could compromise the adhesive's effectiveness.
Opt for an adhesive designed specifically for vinyl flooring repairs, as this will accommodate the material's unique properties and requirements for a secure, lasting repair.
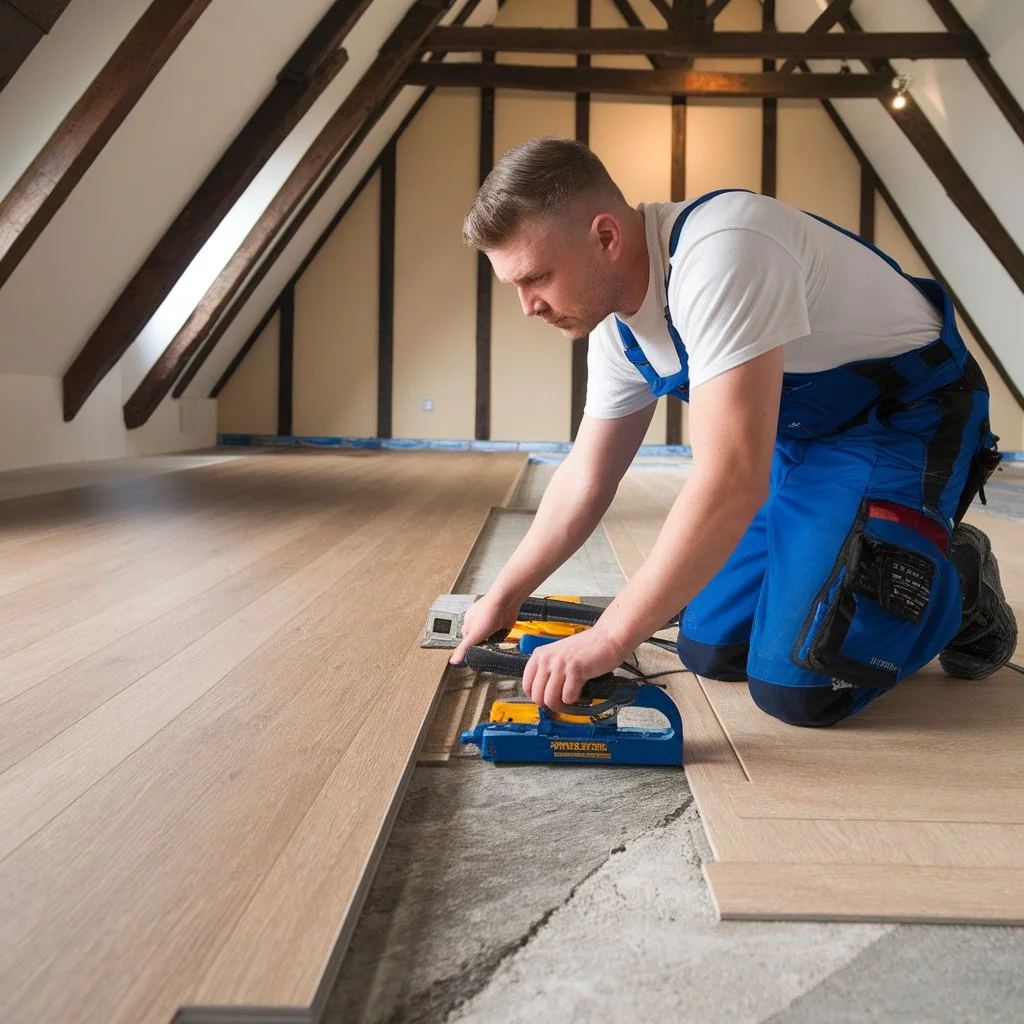
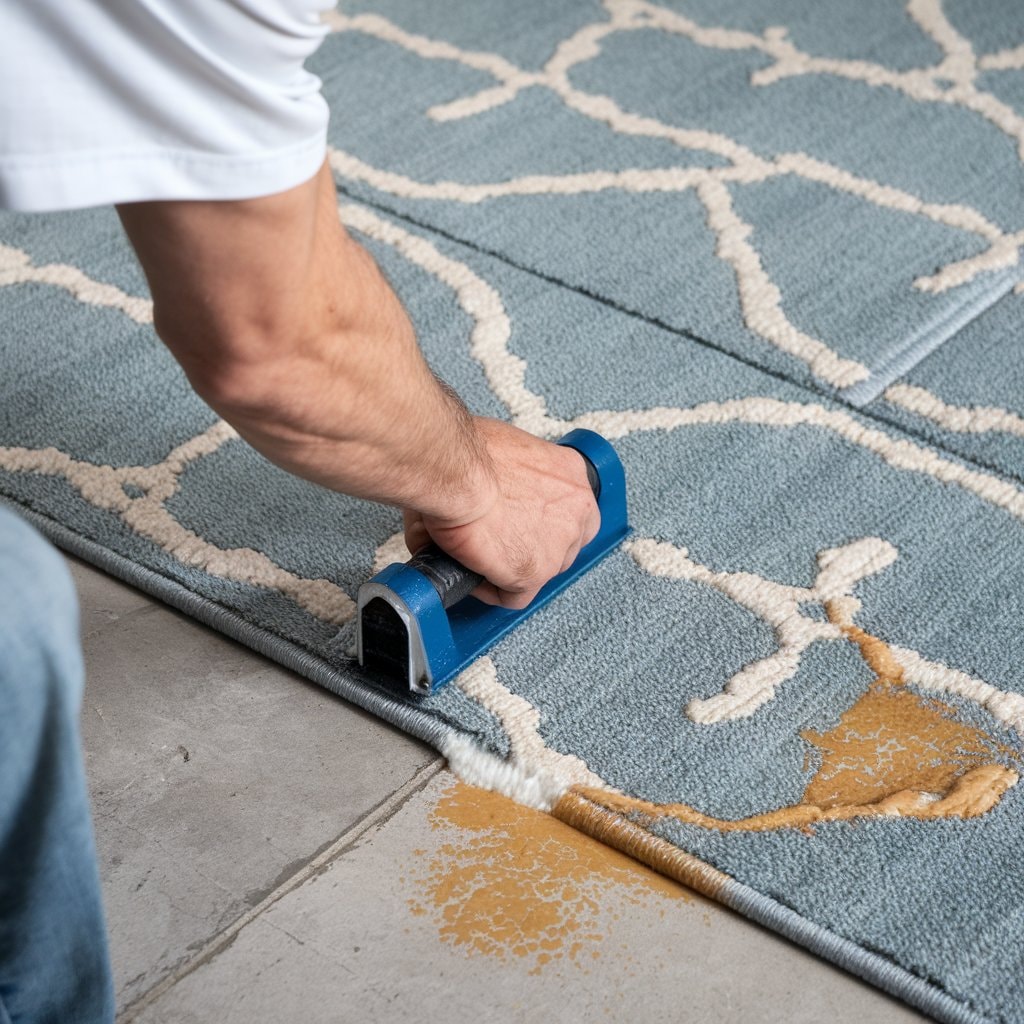
Applying a seam roller is an essential step in ensuring a smooth, seamless finish when repairing vinyl flooring.
After placing a replacement plank or patching a vinyl sheet, it is essential to remove dirt and debris from the surface. This preparation prevents imperfections during the rolling process.
Using a seam roller, rather than a makeshift rolling pin, is advisable to avoid damaging the surrounding flooring. The roller should be pressed firmly but gently across the new flooring to mesh the adhesive evenly and secure the bond.
This method not only enhances the appearance of the repair but also contributes to the durability and effectiveness of regular maintenance, preserving the integrity of the vinyl flooring with a flawless, seamless repair.
Allow at least 24 hours for the adhesive to fully cure before walking on the repaired area.
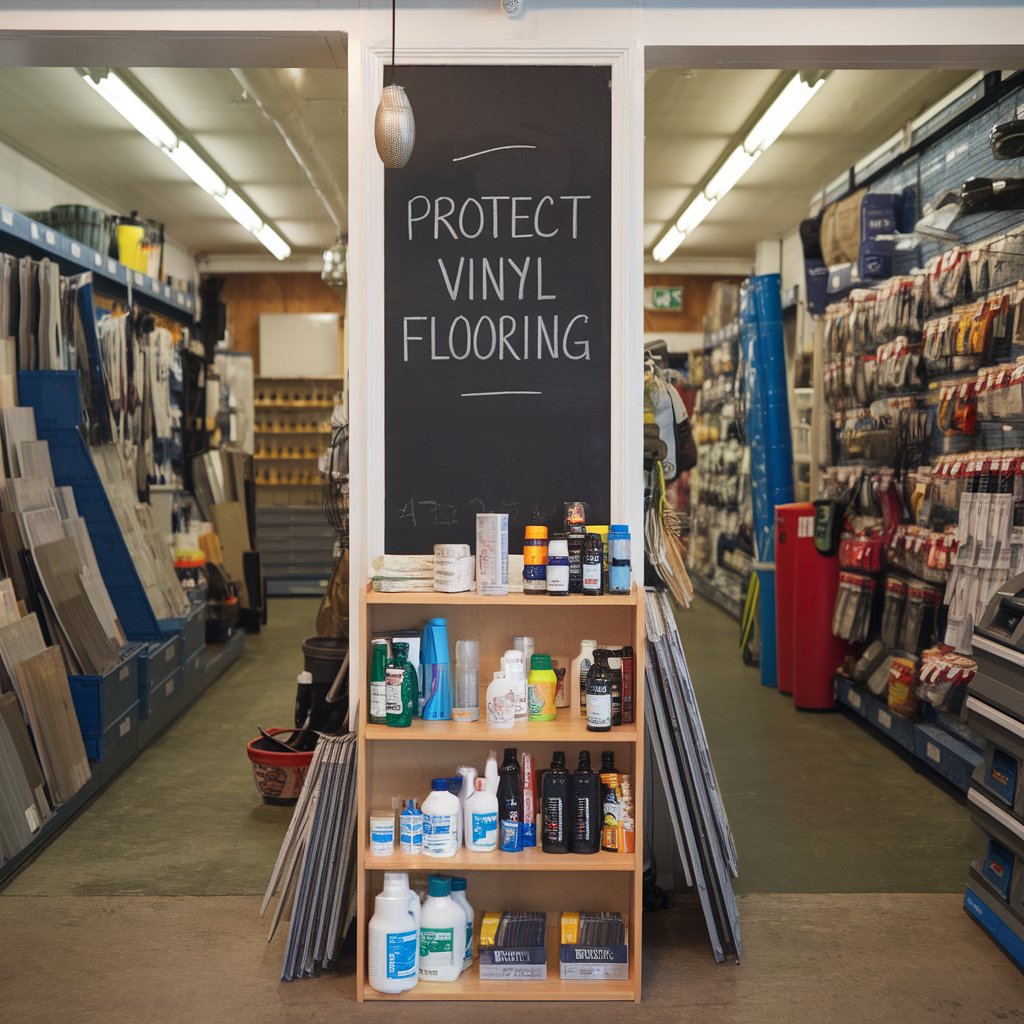
Specific preventive strategies are vital to maintaining the pristine condition of vinyl flooring.
Utilising protective mats and furniture pads can significantly reduce the risk of scratches by distributing the weight and providing a soft barrier.
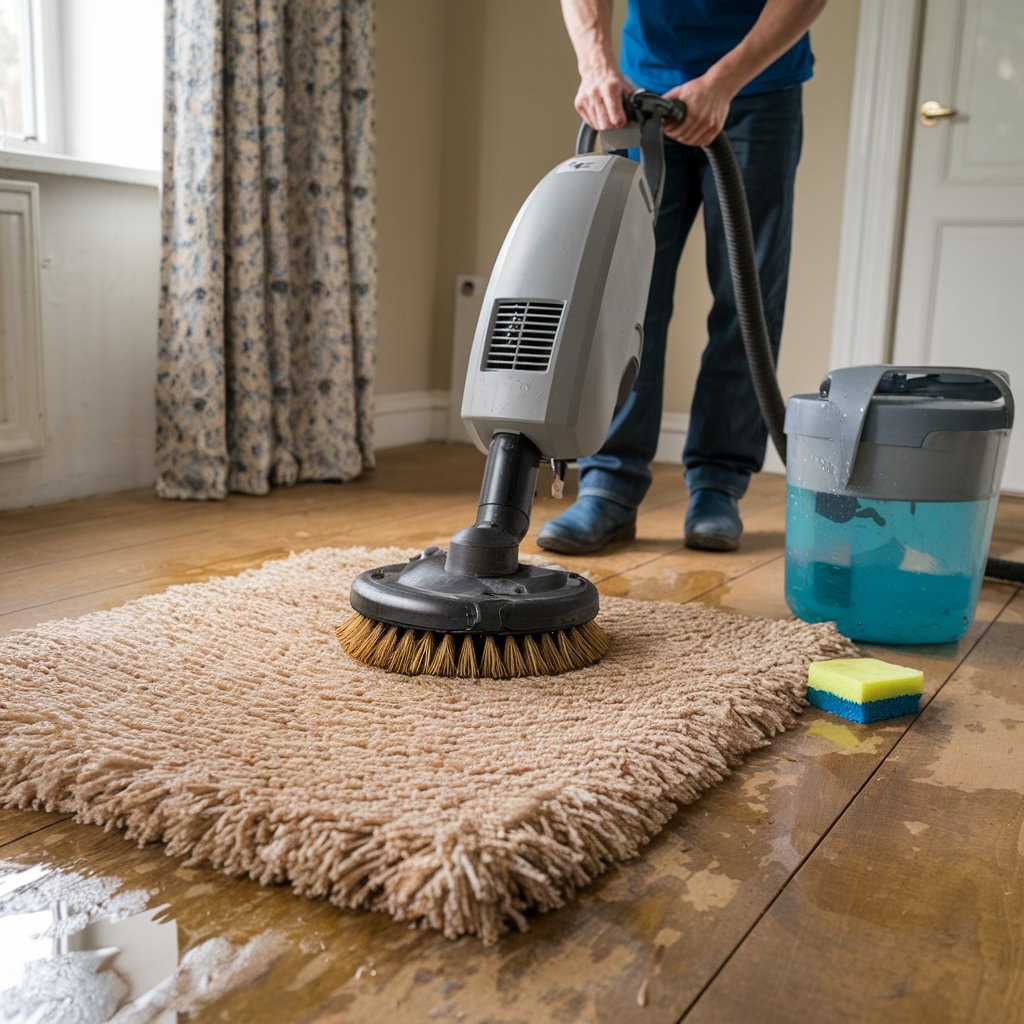
Regular cleaning with appropriate techniques and products also plays a vital role in keeping the surface free from scratch-inducing debris.
Maintaining the pristine condition of vinyl flooring requires adopting specific preventive measures to avoid scratches, stubborn stains, and damage. Regular maintenance not only enhances the durability of the flooring but also prevents minor damage that can escalate into more significant issues.
Following the manufacturer's instructions for care is essential for preserving the flooring's appearance and longevity.
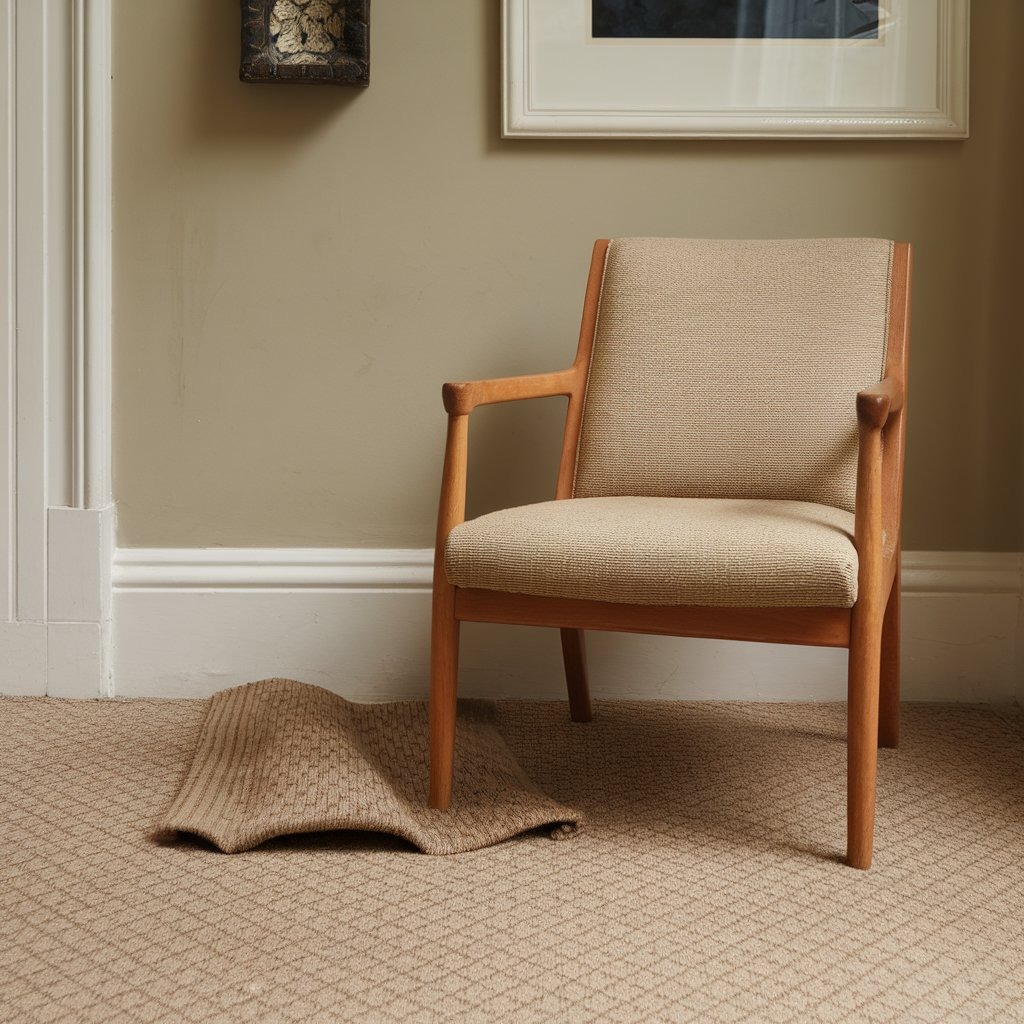
While regular cleaning and immediate attention to spills are foundational to vinyl flooring care, another effective strategy involves the use of mats and furniture pads.
Placing mats at entrances can protect the floor from dirt and grit that might tear or scratch the surface. Additionally, using furniture pads under the legs of heavy objects helps distribute weight evenly, reducing the risk of impressions or tears in the vinyl.
When moving furniture, it is advisable to carefully pry the object up rather than drag it to avoid tearing the edges of the floor. Always cover the base of the object with masking tape or a soft material to prevent further damage.
Replace worn-out pads and mats regularly to maintain their protective efficacy.
Implementing proper cleaning techniques is essential for keeping vinyl flooring pristine and scratch-free.
To maintain the original beauty of the vinyl floor and prevent minor issues from escalating, certain practices should be routinely followed:
Deciding whether to repair or replace vinyl flooring begins with evaluating the extent of damage.
It is essential to contemplate the cost-effectiveness of repairs versus replacement, factoring in both the immediate expenses and long-term value.
Additionally, replacing the flooring might offer enhanced durability and improved aesthetics, which can rejuvenate the overall look of the space.

When evaluating the extent of damage to vinyl flooring, it is essential to determine whether a repair will suffice or if replacing the entire surface is more cost-effective and sustainable.
Not all damage necessitates a complete overhaul; however, certain conditions could render repair efforts inadequate.
Evaluating the cost-effectiveness of repairing versus replacing vinyl flooring involves analysing several financial and practical factors.
When only a few planks or tiles are damaged, repair is generally more cost-effective. Utilising essential tools and adhesive, a homeowner can replace a damaged plank or tile with a new plank, avoiding the expense of a complete flooring replacement.
However, extensive damage might make replacement more practical to prevent future issues. The initial cost of replacement is higher, but it could be more economical over time, especially if repairs recur frequently.
Each scenario must be weighed individually, considering the extent of damage, the age of the flooring, and the potential for recurring problems.
After considering the cost implications of repair versus replacement, it is also essential to factor in the benefits of opting for new vinyl flooring, particularly with respect to durability and appearance.
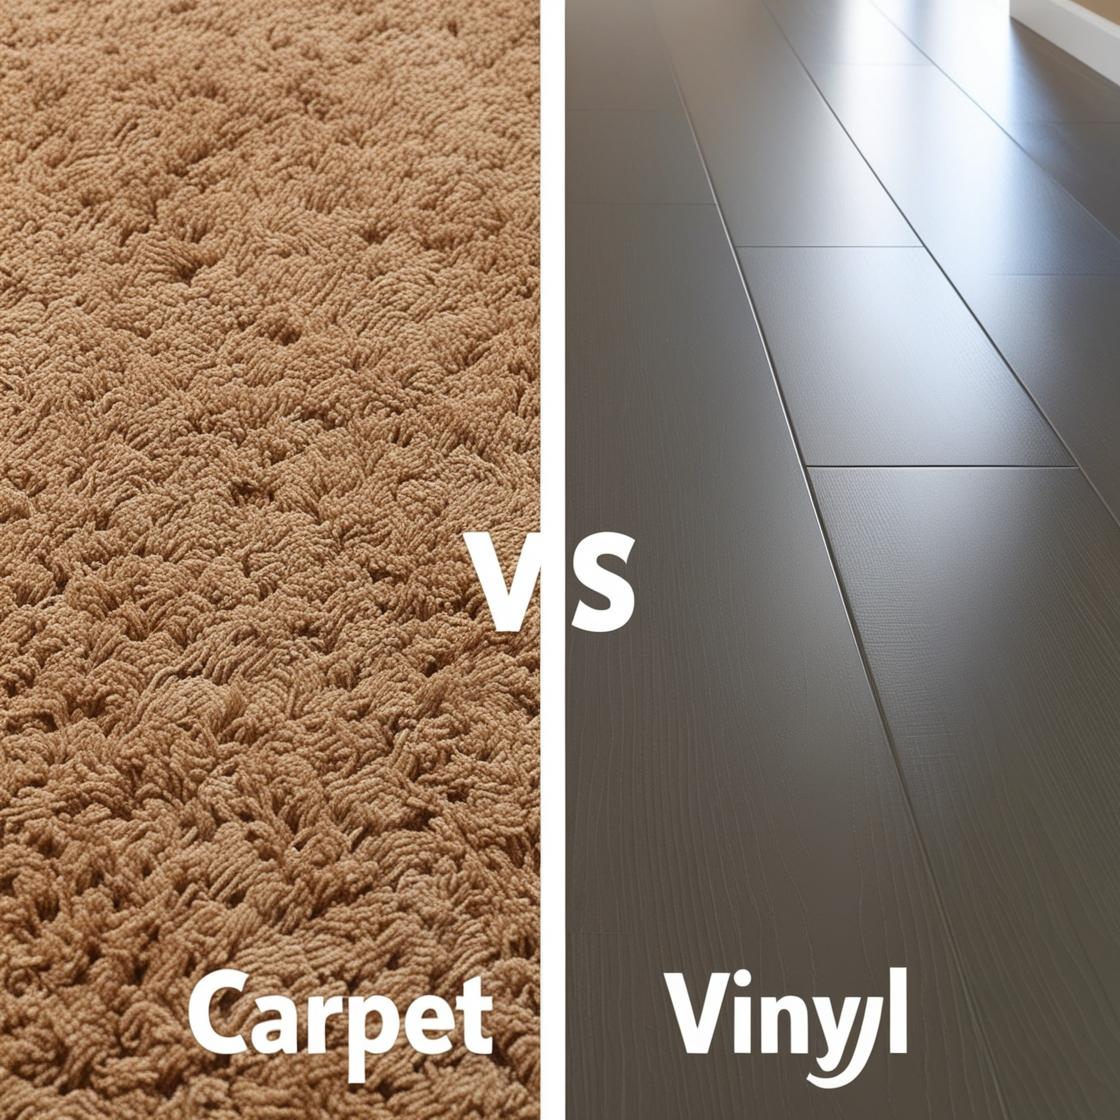
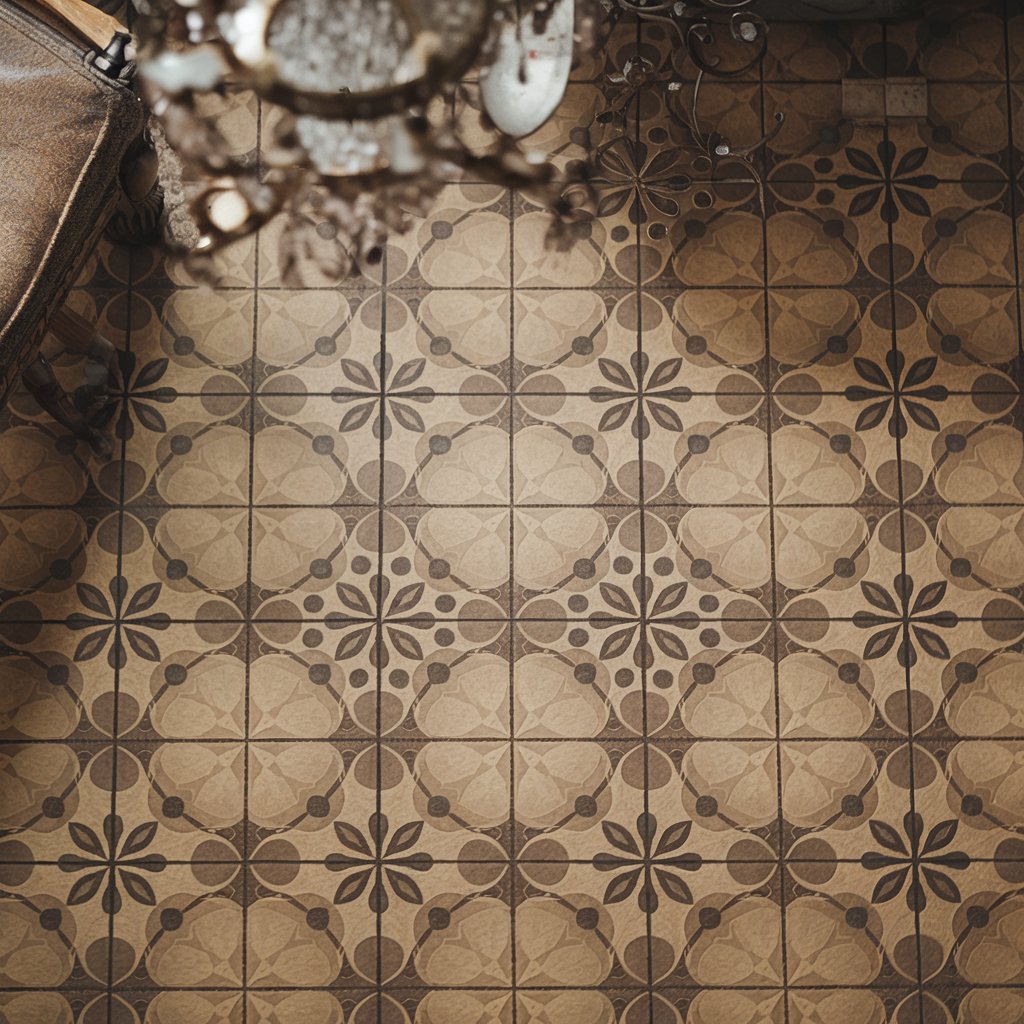
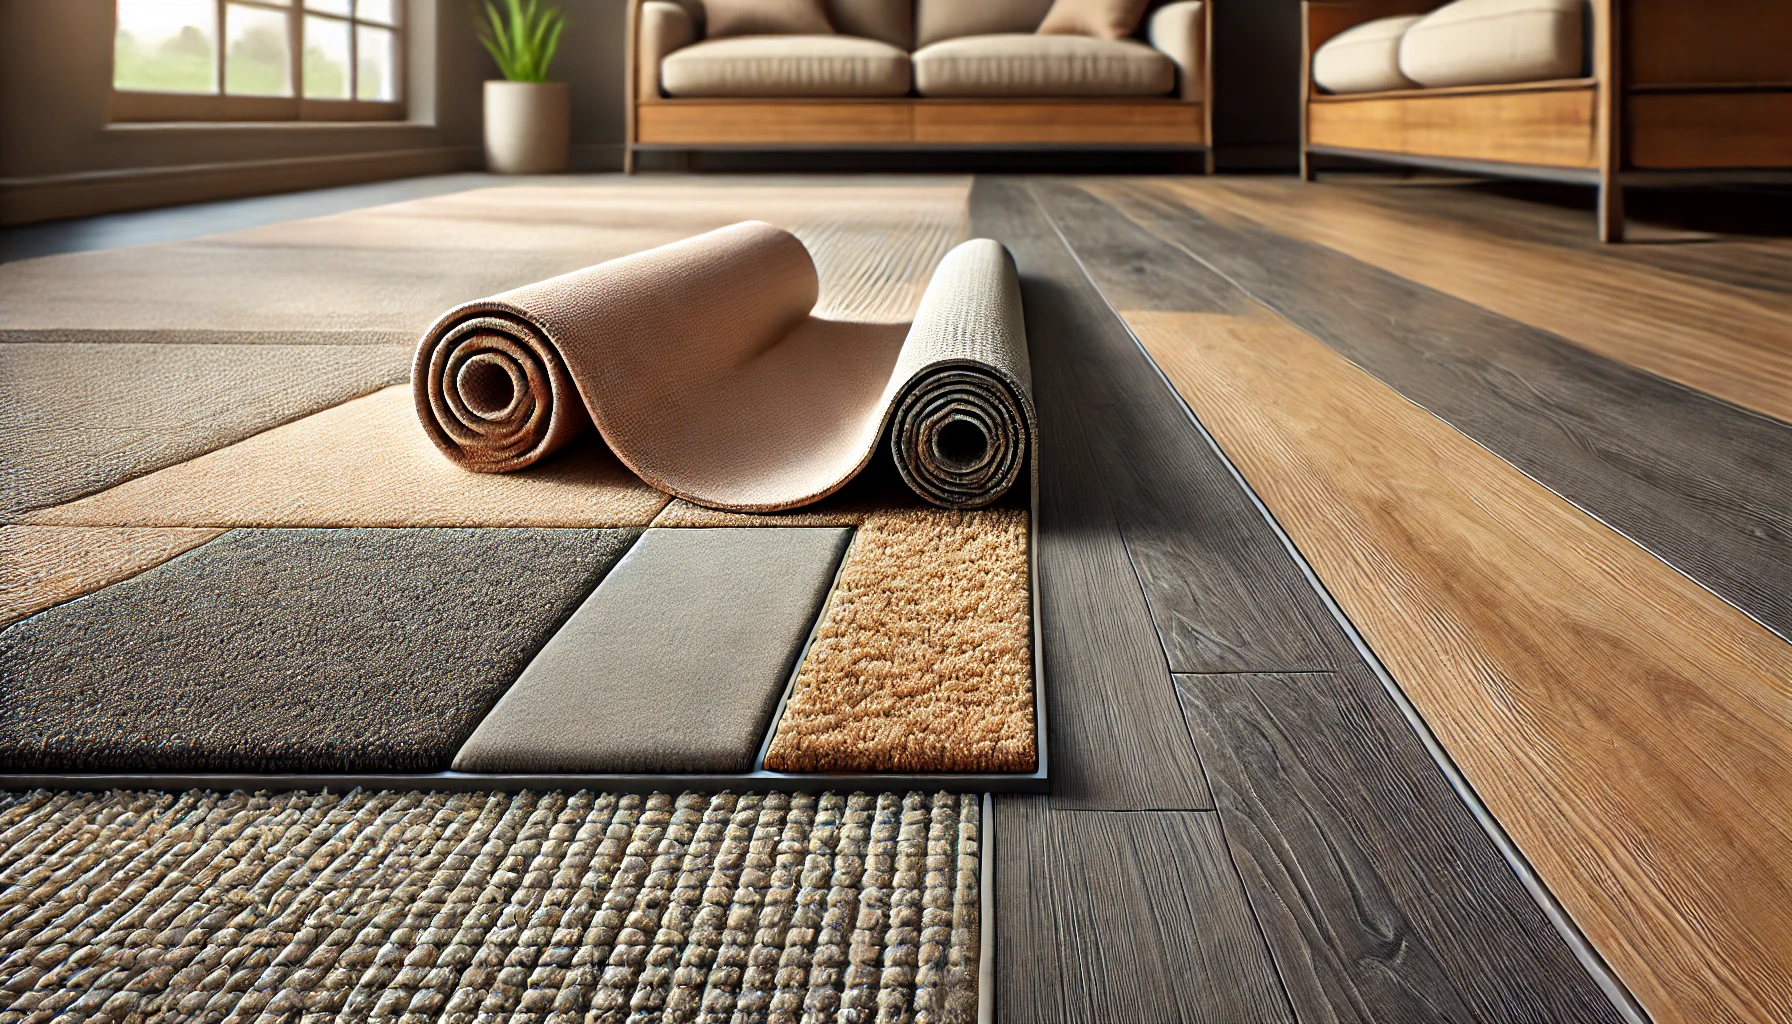
Before attempting repairs, it is essential to identify whether the damaged vinyl flooring is sheet vinyl or vinyl plank, as each type has distinct properties and repair strategies.
Sheet vinyl is typically sold in large rolls and requires specific cutting techniques for seamless repair.
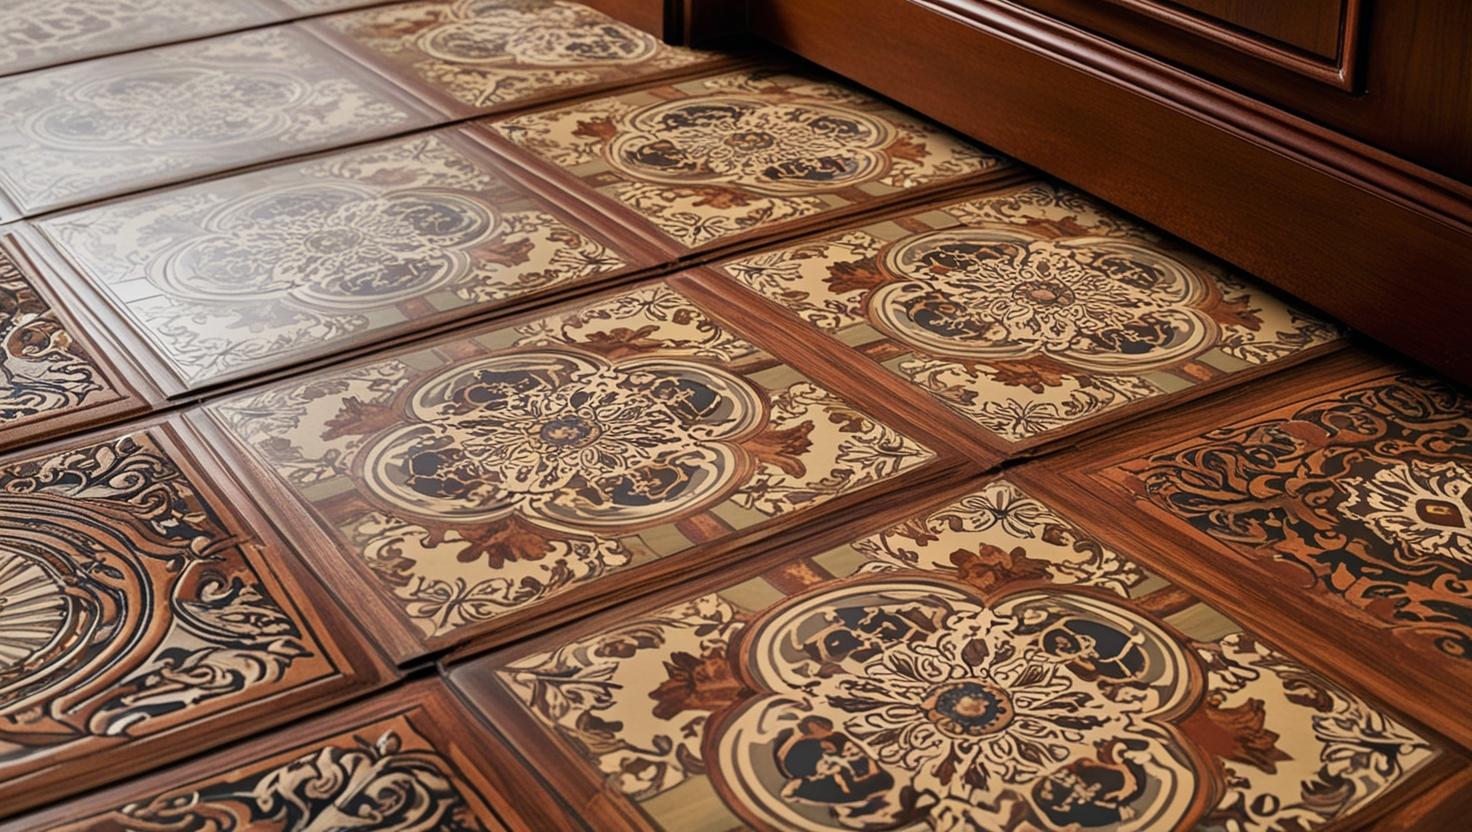
Meanwhile, Luxury Vinyl Tile (LVT) is known for its high-quality finish and resilience, necessitating careful handling to maintain its aesthetic appeal during the repair process.
Understanding the type of vinyl flooring in your home is essential before attempting any repair.
Vinyl flooring comes primarily in two forms: sheet vinyl and vinyl plank. Each type presents unique repair challenges and methods.

Luxury Vinyl Tile (LVT) stands out in the vinyl flooring market due to its superior aesthetic and functional attributes. As a popular choice among homeowners due to its affordability, LVT flooring combines durability with an array of design options that mimic natural materials like wood and stone.
To guarantee its longevity and appearance, it is critical to follow the manufacturer's instructions carefully when installing or repairing LVT. Effective methods often require specific tools and materials tailored for LVT to prevent damage during maintenance. This attention to detail guarantees the flooring remains a focal point in any room.
Furthermore, proper handling and installation of LVT flooring can significantly enhance the overall ambience and value of a home.
In summary, repairing vinyl flooring effectively hinges on understanding the specific type and extent of damage. Utilising the appropriate tools and materials is essential for a seamless repair. However, if the damage is extensive, replacement might be more cost-efficient. Regular maintenance and adherence to preventive measures can significantly prolong the floor's lifespan. This guide underscores the importance of a methodical approach to both repair and maintenance of vinyl flooring for enduring functionality and aesthetics.