Laying laminate flooring can seem like a massive task for many. Yet, with the proper guidance, it becomes an achievable project that can transform any room. This guide is set to equip you with everything you need to know about how to lay laminate flooring, from preparing the subfloor to fitting around tricky spots like radiator pipes and door frames.
As a family-run business specialising in bringing top-notch flooring solutions directly to your doorstep, we have garnered expertise in laying laminate floors seamlessly. Our approach combines practical advice with professional insights, ensuring that even novices can tackle their new floor projects with confidence.
Read on for a step-by-step journey through the process of installing a new laminate floor.
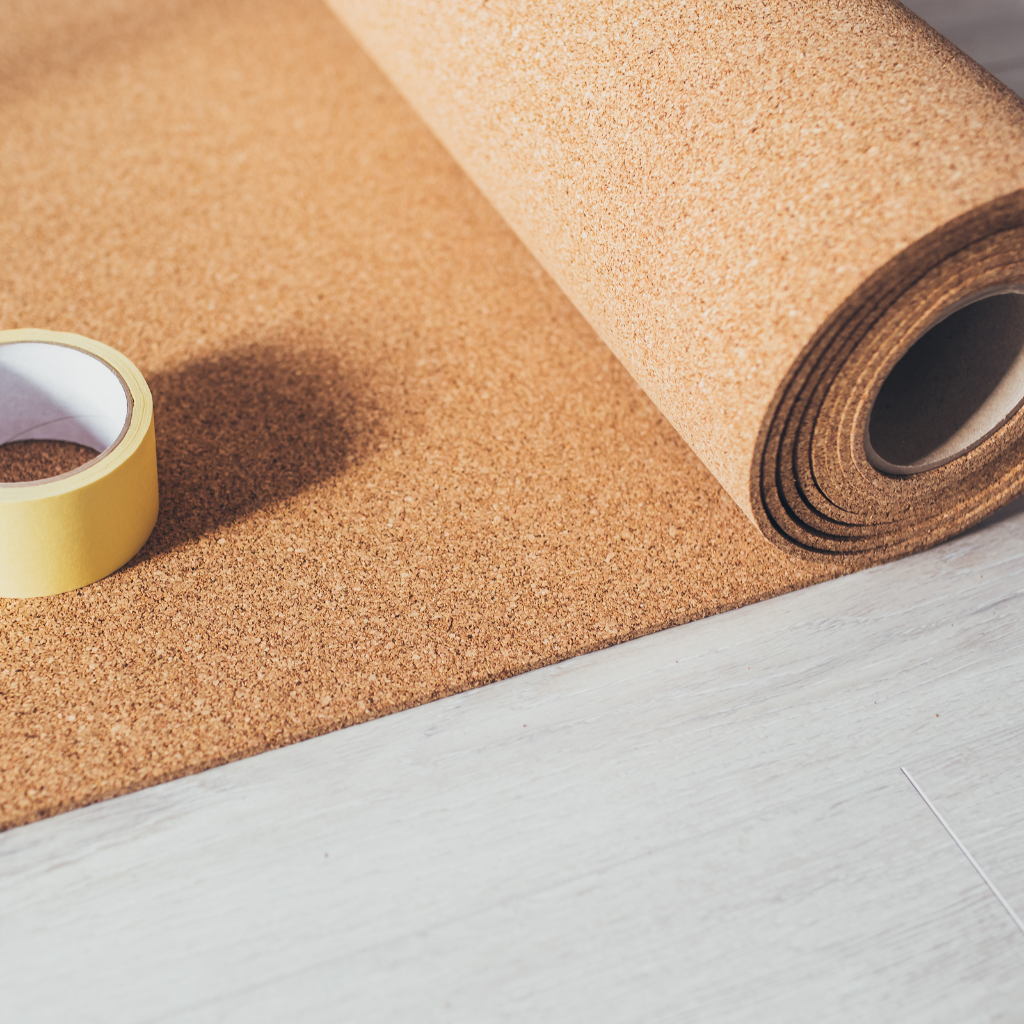
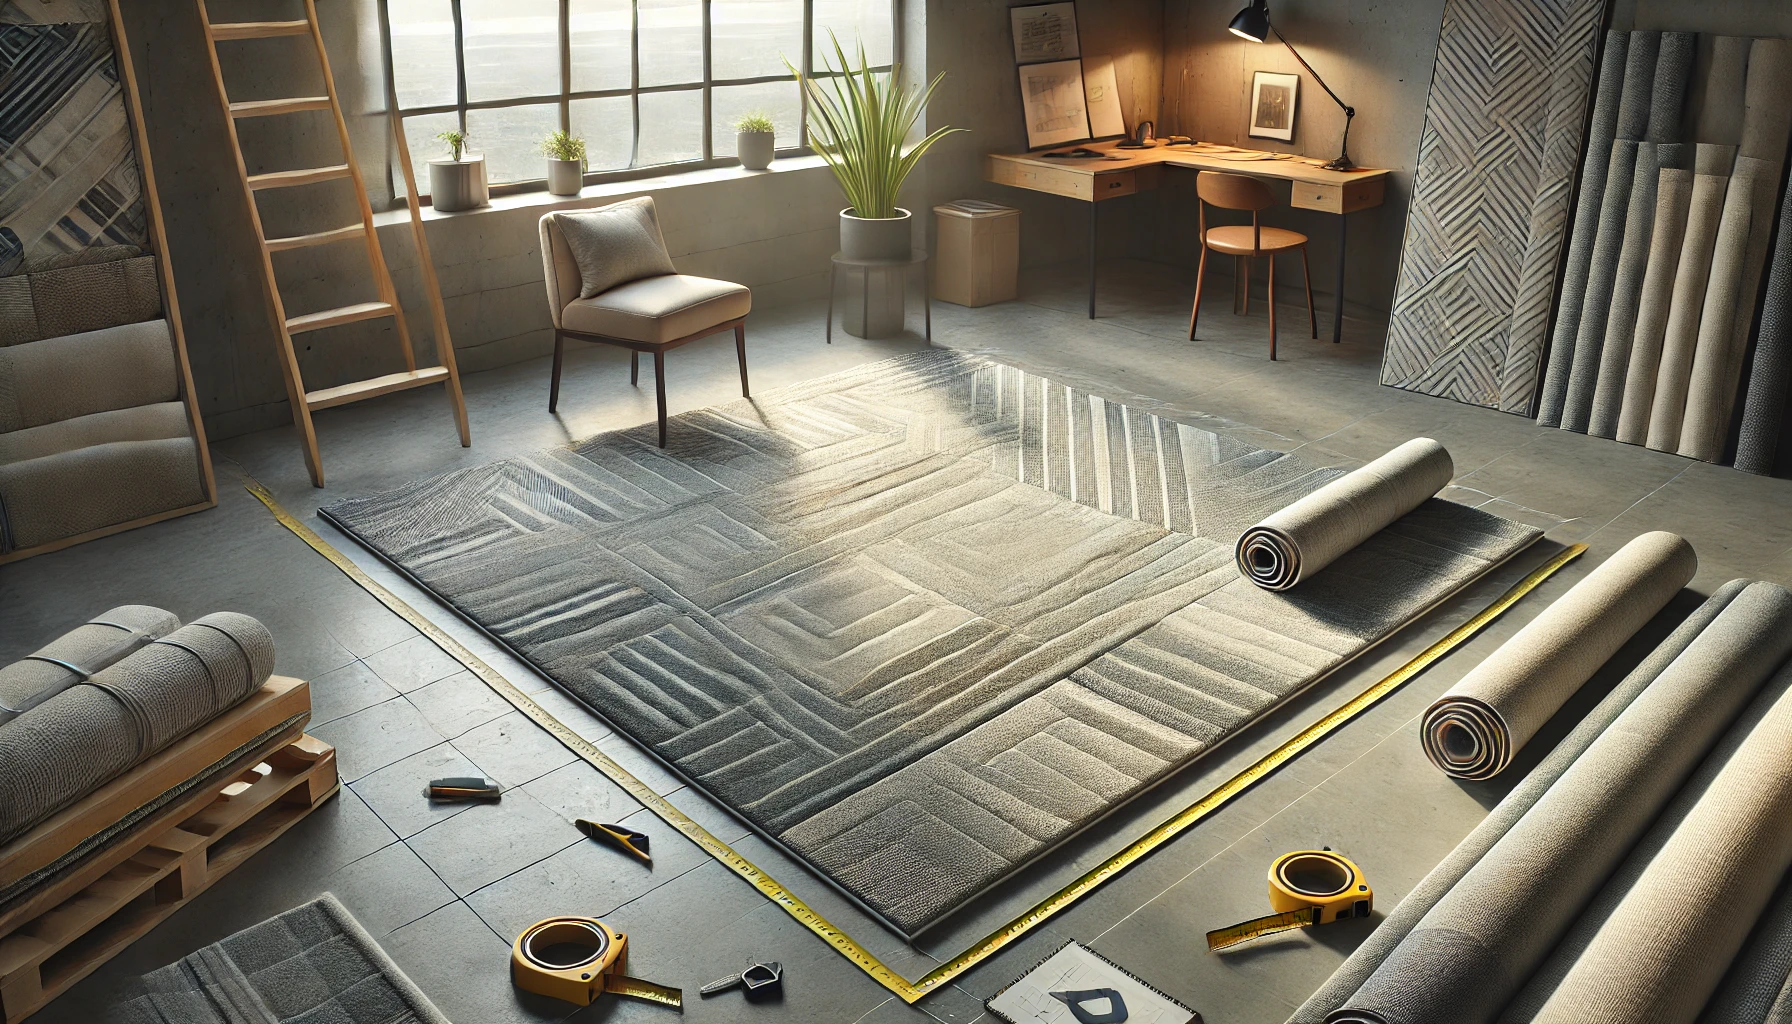
To start laying laminate flooring, you need a variety of tools and materials. For the installation process, gather an underlay to provide cushioning and soundproofing beneath your install laminate flooring.
This step is crucial for ensuring that your floor feels comfortable underfoot. You also require a tape measure, a pencil for marking, spacers to maintain an expansion gap around the edges, a hammer or rubber mallet for fitting the planks together snugly, and a saw - either hand or electric - to cut the laminate planks to size.
The choice between using a jigsaw or circular saw depends on whether you're cutting straight lines or intricate shapes around obstacles like radiator pipes.
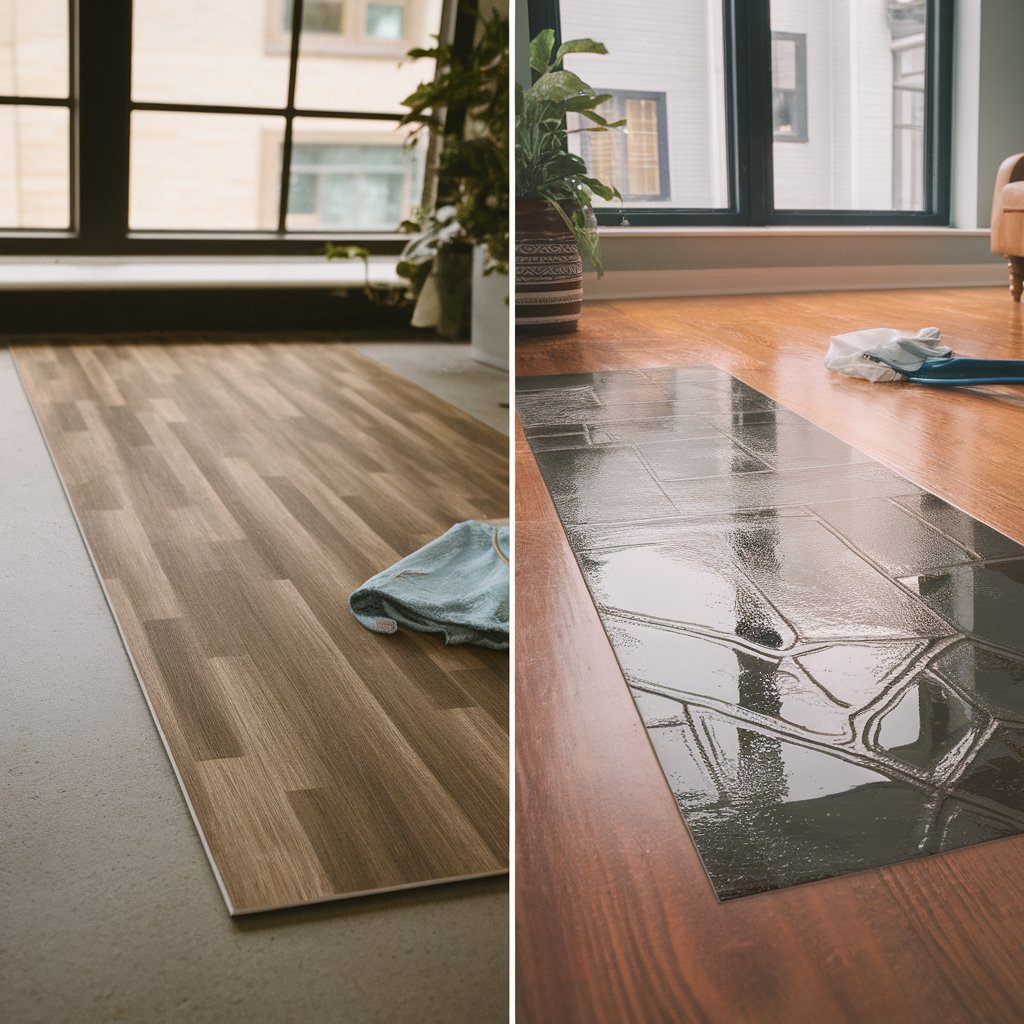
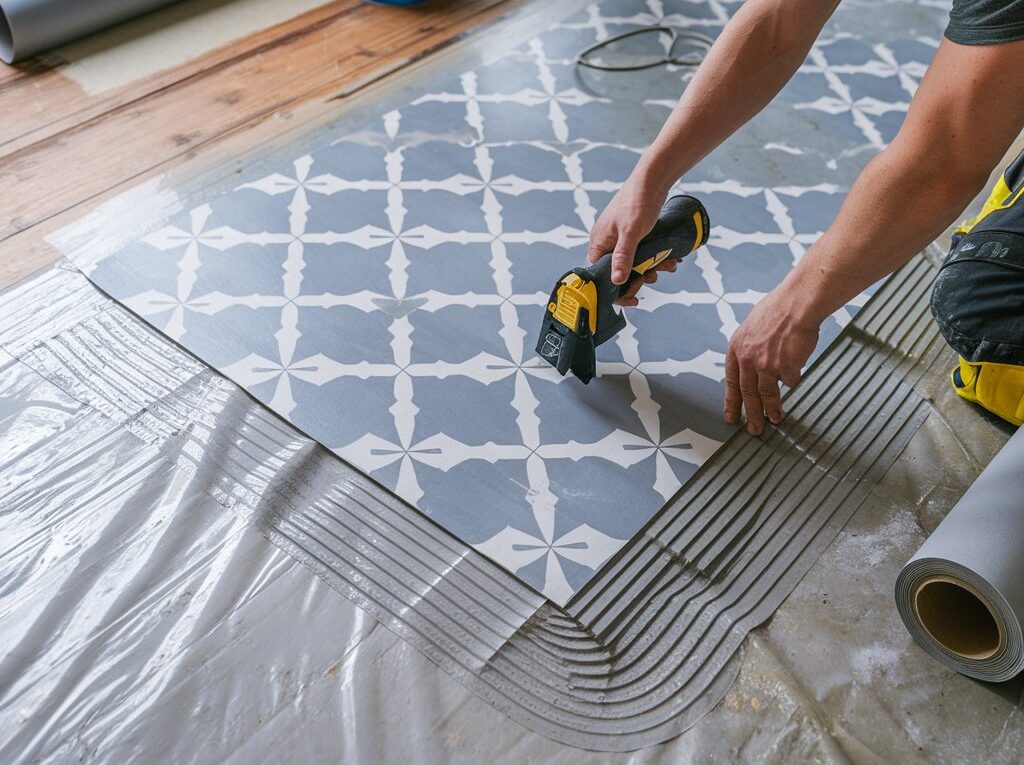
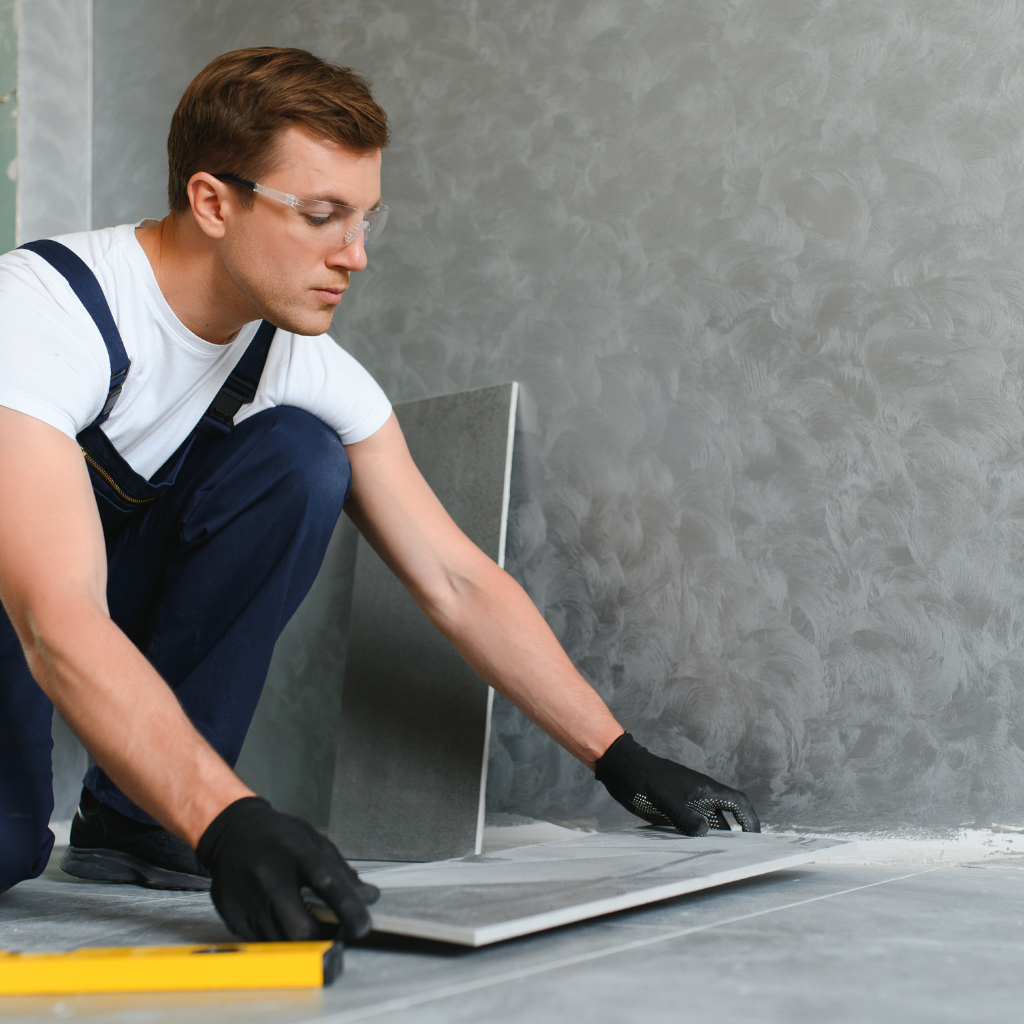
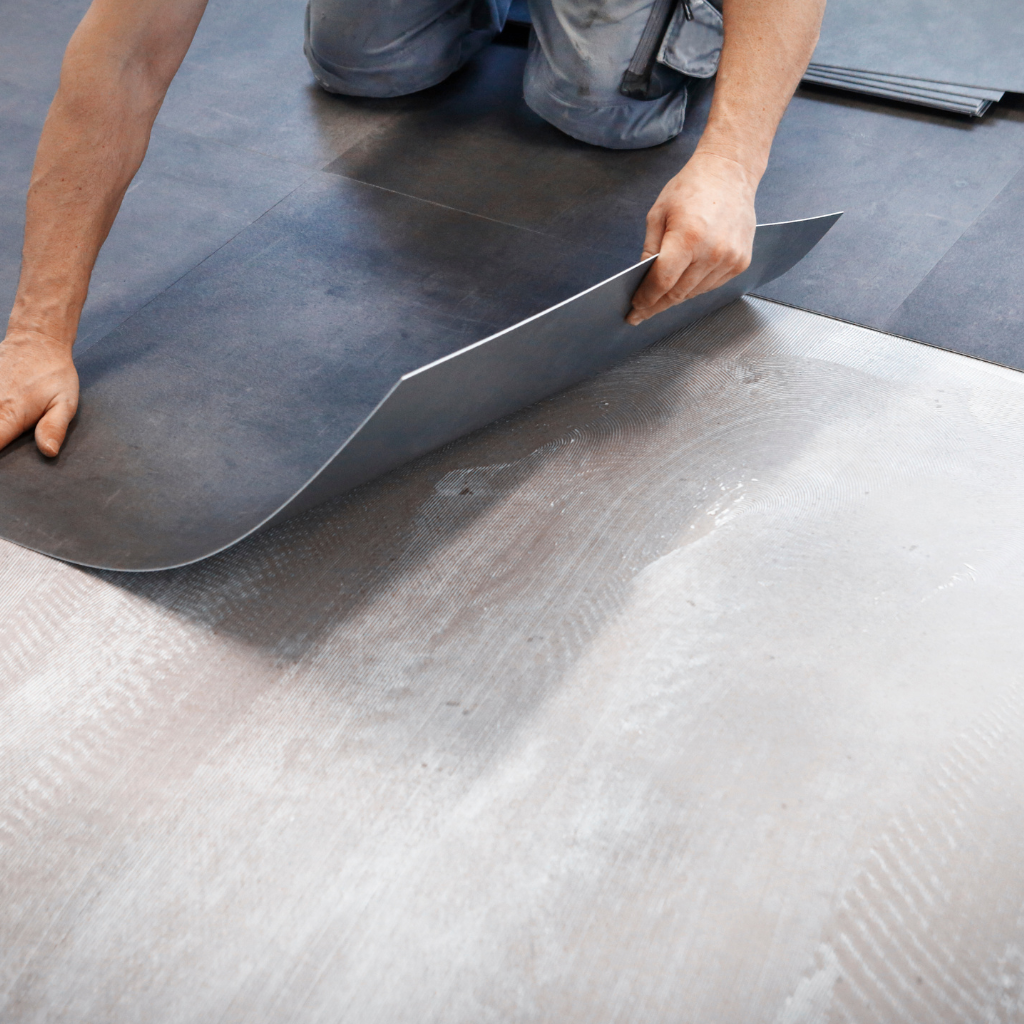
Preparing the concrete subfloor is another critical phase before installing new laminate flooring. Ensure that your base floor is clean, level, dry, and free from any debris. If laying over concrete floors apply damp proof membrane first; this protects against moisture which can warp wood flooring over time. At this stage, it’s also recommended to Clean Laminate Flooring thoroughly if you're working over existing surfaces or previously installed laminate to avoid any installation issues.
Acclimating your laminate planks involves leaving them in the room where they will be installed for at least 48 hours prior to installation. This allows them to adjust to the room’s temperature and humidity levels, key steps in avoiding warping post-installation.
Successful installation begins with the proper preparation of both your tools and workspace.

Laying laminate flooring can transform any room, giving it a fresh and modern look. To ensure a smooth installation process, lay laminate throughout, you will need all the necessary tools, tools right tools and materials.
Each item plays a crucial role in ensuring that your laminate floor installation is successful, making your space look stunning without common mistakes like not leaving an expansion gap or dealing incorrectly with existing flooring problems, such as damp areas or uneven surfaces.
Preparing the subfloor correctly is critical for a successful laminate floor installation. A well-prepared subfloor ensures your laminate flooring fits perfectly and lasts longer.
These steps lay the groundwork for a smooth and durable laminate flooring installation around a concrete subfloor in your home or project area, ensuring it looks great and functions well over time.
Acclimating your laminate planks is a crucial step before you learn how to lay laminate flooring on flooring in your home. This process involves allowing the planks to adjust to the room's temperature and humidity where they will be installed.
You should place the laminate packages in the room for at least 48 hours prior to installation. This ensures that when you fit your flooring, it expands and contracts properly, reducing issues like warping or gaps between boards.
Ensure that during this period, you keep the room at a consistent temperature and humidity level similar to what it will be normally. For homeowners planning on installing underfloor heating, it’s vital that this system runs two days before acclimating the laminate so that any potential moisture can evaporate beforehand.
Following these steps carefully helps guarantee a smoother installation process and prolongs the life of your floor.
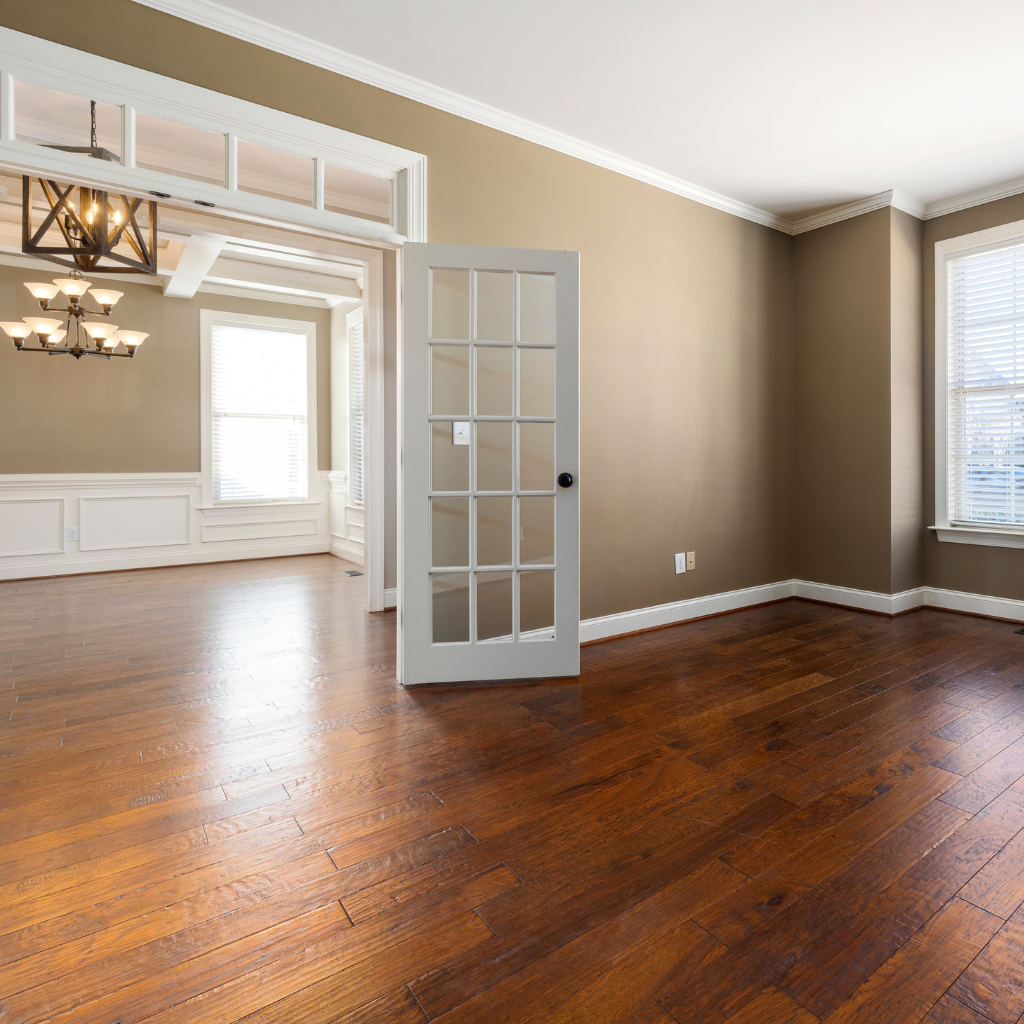
Determining the right starting point is crucial when you plan to install laminate flooring. The best place often lies at the room's longest wall or at a primary source of light, like a large window.
This approach ensures your laminate planks visually align well with the space, giving an appealing aesthetic. First, calculate the width of your room to decide if you need to trim the first or second row of planks.
A good practice is ensuring that both the first plank, the previous row, and the last row are roughly equal in width, which might require cutting your initial and final planks off accordingly.
A successful laminate flooring installation starts with proper planning and layout.
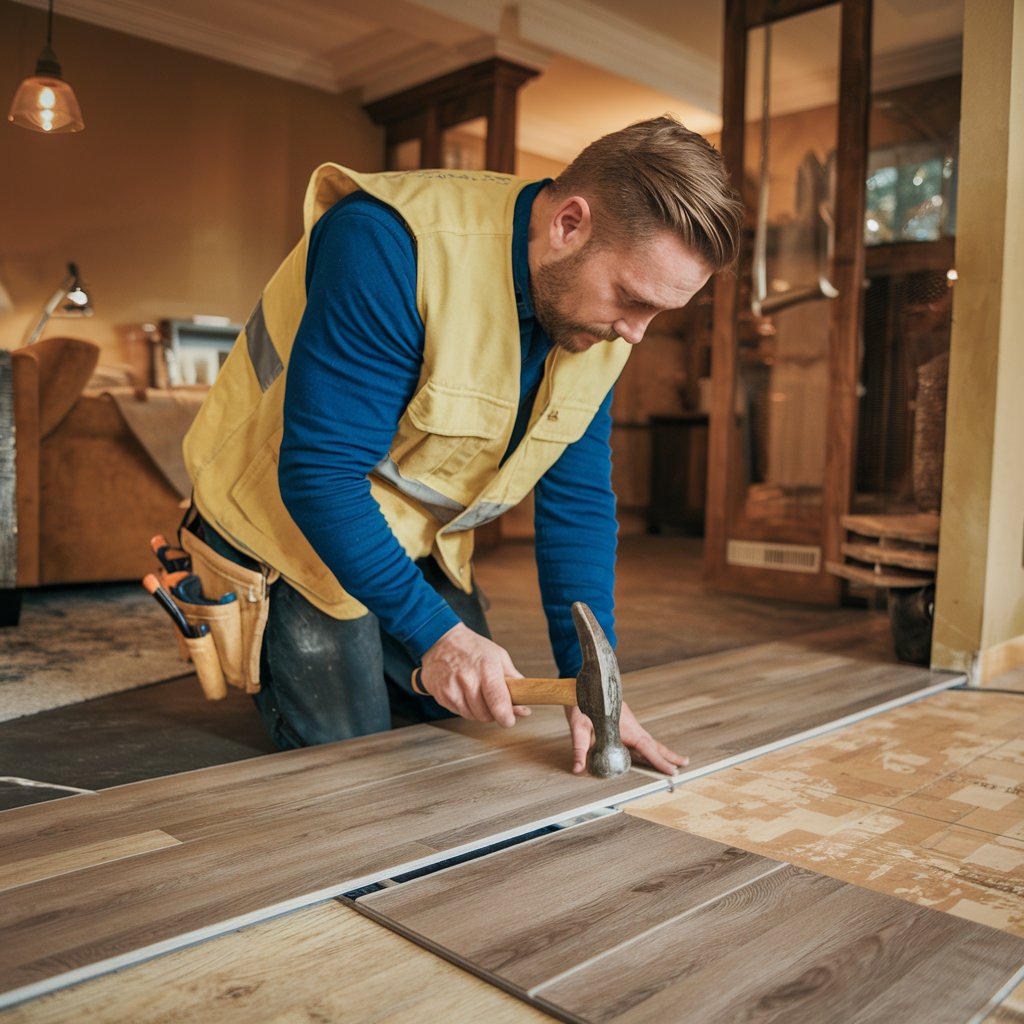
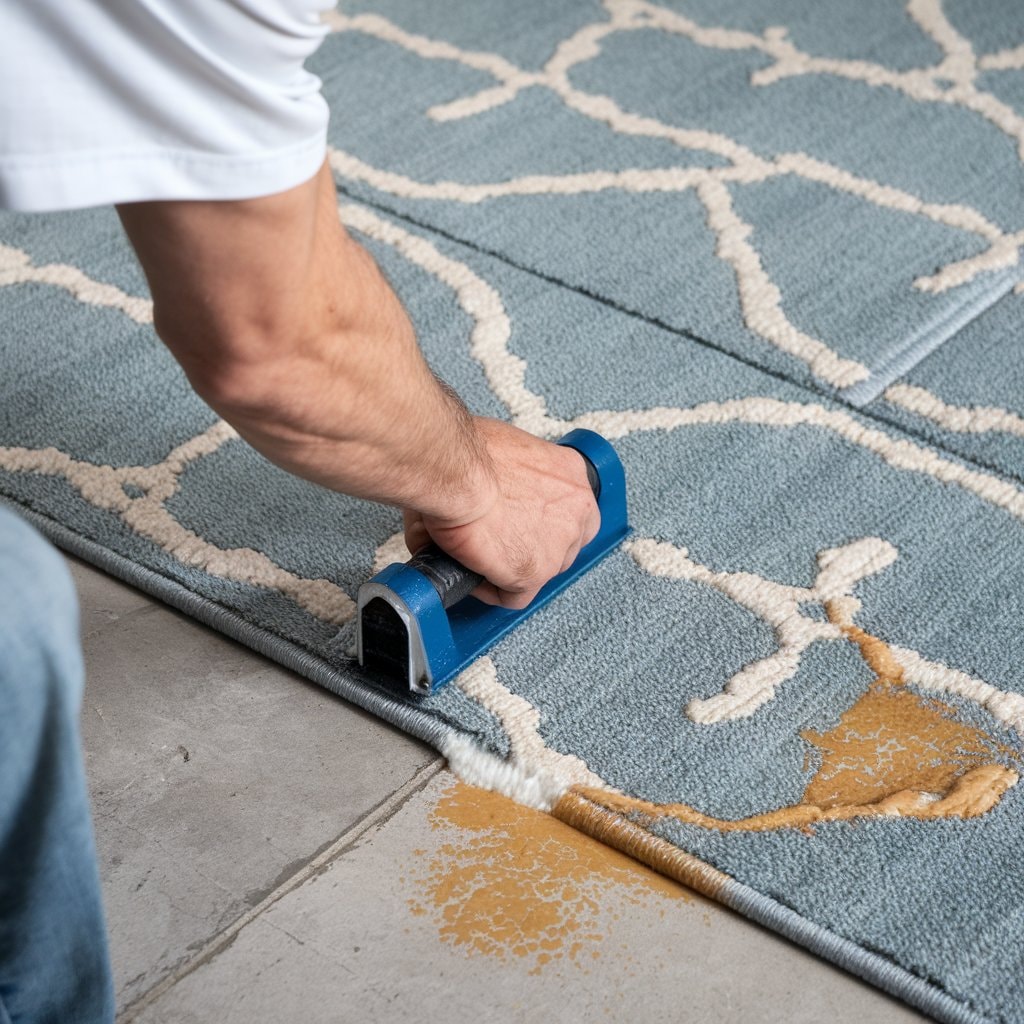
Next comes laying down your first row of laminate boards along your chosen wall while maintaining an expansion gap around the edges of the last board. This gap prevents buckling as it allows for natural floor movements due to temperature changes or humidity levels.
Use spacers between the flooring and the wall to consistently apply this gap throughout the installation process. Careful placement ensures each board snugly fits into its neighbour through their tongue-and-groove design before locking them together securely.

To lay your laminate flooring, the first step is choosing where to begin. Most experts suggest starting from the wall farthest from your door. This approach makes it easier as you move across the room.
Make sure this wall is made perfectly level and perfectly straight because it sets the direction for the entire floor.
The width of your laminate planks also affects where you start laying. For a polished finish, avoid ending with narrow strips against the opposite wall. Measure the room's width and divide by the plank width to plan out.
If it looks like you'll end up with less than half a plank's width on subfloor on the same row as the far side, shift your starting point to balance both sides of the room evenly around obstacles and fittings such as radiators and door frames.
Once you've determined the best starting point for your laminate flooring, it's time to begin laying the boards. Laying the first row of edge boards correctly is crucial as it sets the foundation for the rest of your wood flooring throughout.
Following these steps can transform any space, setting a solid base for laying additional rows installing laminate flooring, and achieving professional-looking results with laminate flooring around obstacles and throughout various spaces in your home or project area.
After laying the first row of the laminate floors and boards concrete sub floors, the next crucial step is ensuring an expansion gap. This gap prevents the laminate flooring from buckling as it expands and contracts with changes in temperature and humidity.
Following these steps will secure a professional finish and long-lasting performance from your newly laid laminate floor.
Cutting laminate flooring properly is crucial for a professional-looking finish. You will need the right tools, such as a laminate floor cutter, hand saw or circular saw. Always measure twice before marking your cutting line on the plank with a pencil and straight edge.
This ensures accuracy and minimises waste. For a clean cut, support the plank on a sturdy surface and cut with steady pressure to avoid chipping the wood adhesive.
Best practices include cutting laminate planks face down if using a circular saw and face up when using handsaws or jigsaws.
This approach helps in reducing splintering, allowing for smoother edges that fit perfectly against walls and around corners. Keep blades sharp for effortless cuts through this rigid material.
Fitting laminate flooring around radiator pipes requires careful measurements and precise cuts to ensure the flooring fits snugly without gaps or movement over time.
Choosing the right tools for cutting laminate planks ensures a clean, professional finish. Proper tools make it easier to fit the floor precisely, even around tricky areas.
Each tool has its specific uses in laying your laminate flooring efficiently and accurately, fitting the floor snugly against walls and around obstacles within your home.
Measuring and marking your cutting line accurately is a crucial step in attaching laminate flooring. This guarantees that the installing laminate flooring pieces will flawlessly align with the size and shape of the area they need to cover.
Precise measuring and marking can conserve time and resources, guaranteeing that each laminate piece accurately fits in its designated location on your floor, preventing needless waste.
For a clean cut on laminate flooring, selecting the right tools is crucial. Use a fine-toothed saw for manual cuts or an electric saw with a blade suited for laminate. This ensures smooth edges and reduces chipping.
Mark your cutting line clearly on the plank using a pencil rather than a marker to avoid smudging and inaccuracies in measurements.
A precise cut is not just about skill but also about choosing the correct tool and preparing appropriately, experts at laying laminate flooring around often advise.
Ensure blades are sharp before starting. Dull blades can cause rough edges and might damage the laminate flooring's surface, leading to wasted materials and extra costs. Keep measurements accurate to fit laminate flooring almost perfectly, avoiding gaps that could compromise the vinyl flooring's stability and appearance.
Fitting laminate flooring around obstacles requires accurate cutting and patience. Start by measuring the area around radiator pipes carefully. Use a pencil to mark these measurements on your fit laminate flooring plank.
Then, drill a hole slightly larger than the pipe's diameter at the marked spot. This allows room for expansion and ensures the radiator pipe is a snug fit without damage to the flooring.
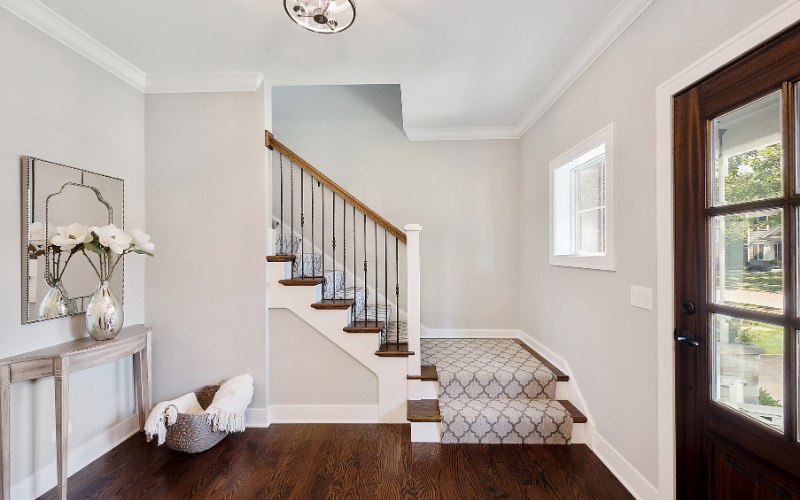
Laying laminate flooring around door frames demands attention to detail as well. Measure the width of the frame and transfer this onto your plank. Carefully cut using a jigsaw for precision, making sure you allow an extra 10mm for the plank to slide under the frame easily.
This technique hides cuts and gives a professional finish, ensuring your floor looks seamless from wall to wall.

Laying laminate flooring around radiator pipes requires precise cuts for a clean look. This task can be tricky, but with the proper steps, you can achieve a professional finish.
By following these steps, you ensure that laying laminate flooring around radiator pipes looks tidy and remains durable over time.
Laying laminate flooring around a door frame requires precision and patience. It's one of the trickier aspects of installation, but getting it right ensures a professional-looking finish.
Moving forward, we will explore how to deal with skirting boards when laying your laminate flooring.
Dealing with skirting boards is a crucial step when you're laying laminate flooring. Skirting boards can either be removed and reinstalled or undercut to ensure a seamless finish.
This approach ensures that your laminate flooring fits neatly against walls, guaranteeing an aesthetically pleasing finish while allowing room for natural expansion and contraction of the floorboards.
One common mistake during laminate installation is not leaving an expansion gap between the floor and the wall. This error can cause buckling as the flooring expands with changes in temperature and humidity.
Always ensure a gap of at least 10mm to avoid this issue. Another frequent error is improper preparation of the wooden subfloor. The wooden subfloor must be clean, level, and dry before you lay boards.
Failure to prepare it properly can lead to uneven surfaces or moisture damage over time.
Incorrect alignment of laminate planks also poses a significant problem. Planks should lock together snugly along both their long and short edges without gaps or overlaps. Starting incorrectly can make laying the rest of the flooring very challenging, leading to wasted time and materials.
Avoid these pitfalls by following a guide on how to lay the type of flooring correctly from start to finish.
Next up: How do you cut laminate flooring correctly?
Failing to leave an expansion gap is a significant mistake when laying laminate flooring. This oversight can lead to the boards buckling and lifting due to natural expansion and contraction.
Laminate planks expand in response to changes in temperature and humidity. A proper gap, usually between 8-10mm, should run along the walls of the room. This space allows the flooring to move without causing damage.
Always measure and ensure this crucial gap is present before securing the skirting boards back into place. Ignoring this step compromises both the look and longevity of your floor.
Next, we'll discuss improper preparation of the subfloor as another standard error that deserves attention.

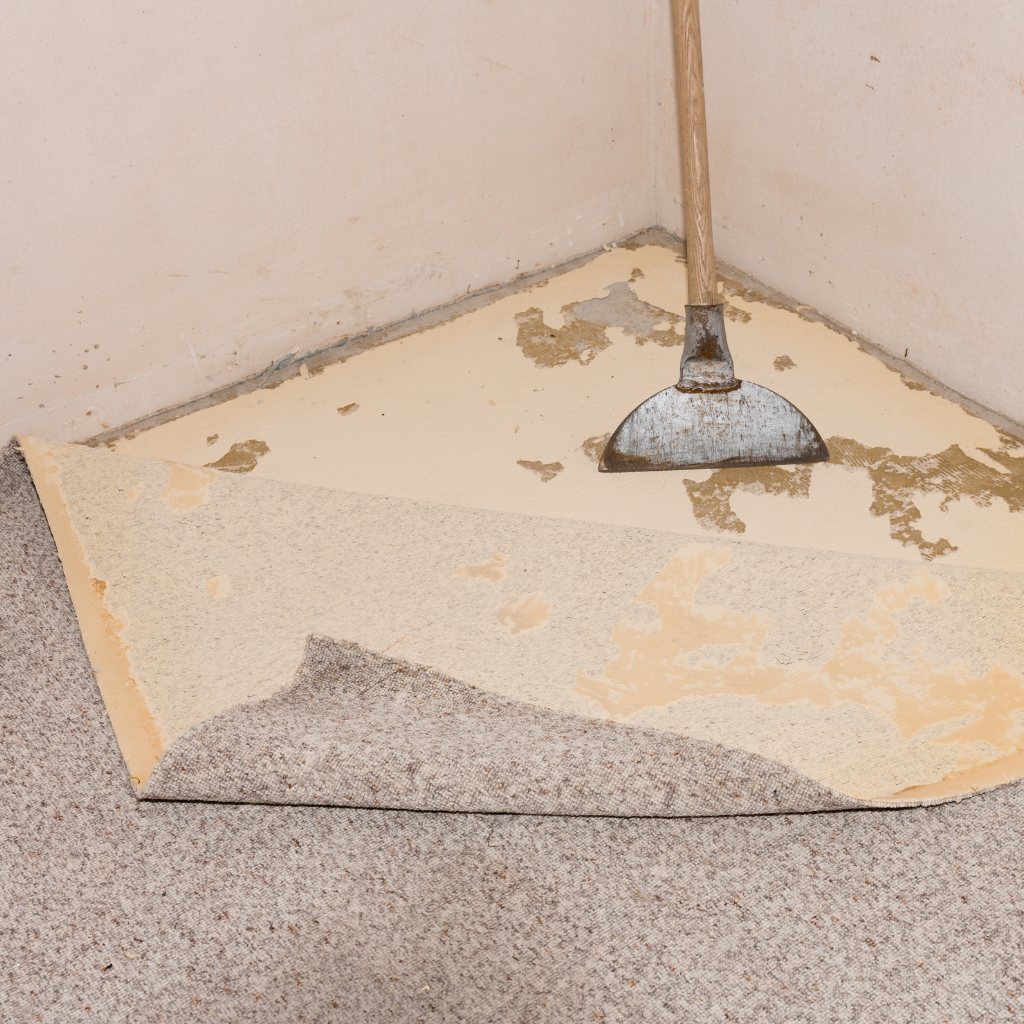
Improper preparation of the subfloor can lead to many problems with laying laminate flooring. If the surface is uneven, it might cause the laminate planks not to fit snugly together.
This could result in gaps or even cause the subfloor boards to lift over time. You must remove any previous flooring and thoroughly clean the subfloor before starting. Also, check for moisture levels; too much damp can damage your laminate, causing it to warp or swell.
Before you lay down any laminate planks, use a leveller to ensure that your subfloor is completely flat. Should there be any cracks or holes, fill them in properly. Skipping these steps might seem like saving time but ultimately leads to extra work fixing avoidable issues later on.
Once you have prepared your subfloor correctly, you're ready for acclimating your laminate planks—a crucial step for a successful installation.
Laying the laminate flooring requires precise alignment of each plank. If you lay a board incorrectly, it can throw off the entire room's layout. This mistake often results in uneven gaps between planks or an awkward fit around obstacles.
Homeowners and flooring fitters find that taking time to align the tongue and groove correctly prevents these issues. It ensures a smooth surface across the floor.
One standard error is not checking the alignment as you go. Each row needs to fit into the previous row snugly, one without forcing it. Forcing planks into place can damage their edges, making them harder to fit correctly and affecting the final look of your floor.
Always ensure each plank clicks securely into place before moving on to lay a full board in the next row, and final the next row.
With this step-by-step guide, laying laminate flooring becomes a manageable task. You now know the essentials for preparing your space and have all the tools needed. We've walked you through each stage, from prepping the subfloor to fitting around obstacles.
Avoid common mistakes by following our advice closely. This journey has set you up with the knowledge and confidence to enhance your home's beauty with laminate flooring.