Installing carpet tiles can transform a room, but choosing the right type and installation pattern makes all the difference. Monolithic carpet tile installation stands out as a popular choice for both its simplicity and aesthetic appeal.
This method aligns each tile in the same direction, creating a uniform look that is both modern and stylish. It's perfect for homeowners, interior designers, decorators, builders, and contractors looking to achieve a seamless floor finish. What is monolithic carpet tile installation? It's a straightforward approach where all tiles are installed with the same orientation, ensuring a cohesive and consistent appearance.
As part of our commitment to providing top-tier flooring solutions, we bring extensive experience in various installation methods directly to your doorstep. Our family-run business focuses on exceeding standards without breaking the bank.
Discover everything you need to know about monolithic carpet tile installation, from preparation to maintenance, with our expert guide. Get ready to lay those tiles right.
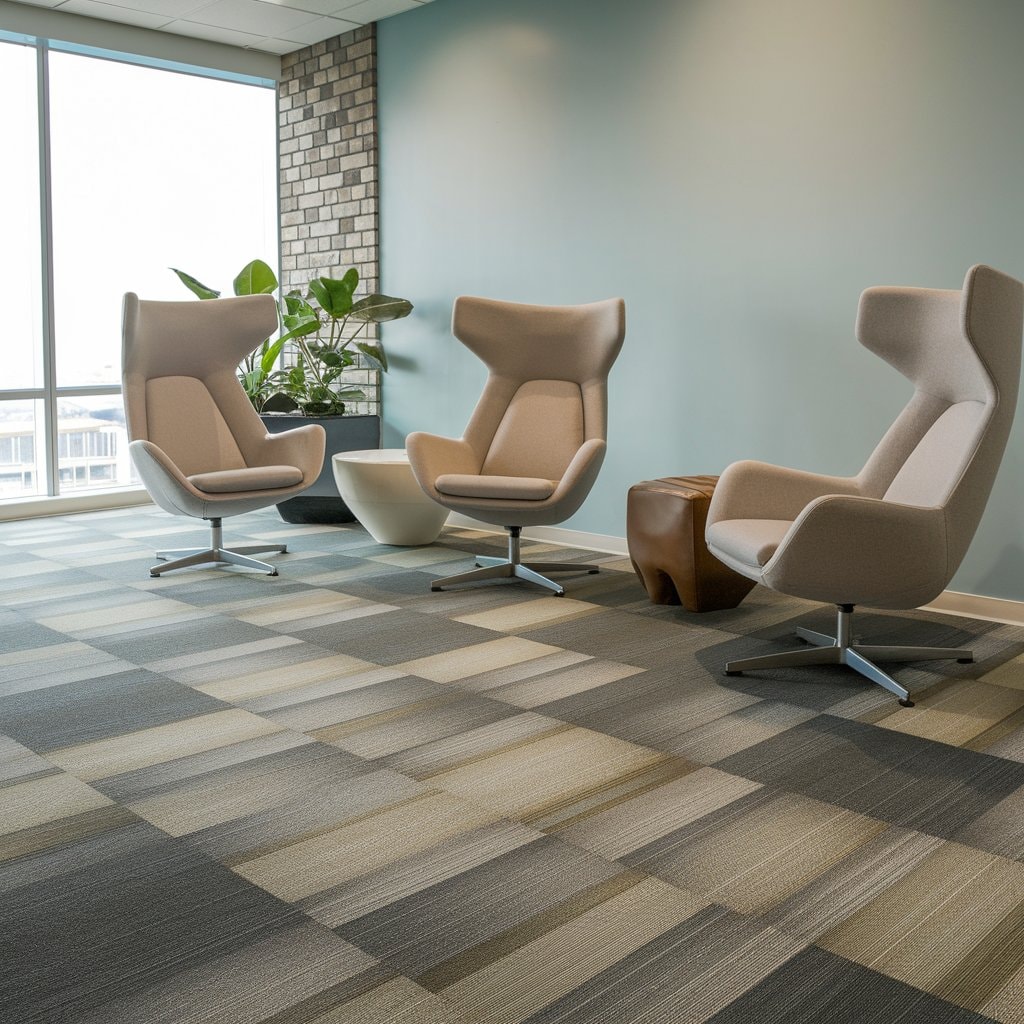
A monolithic carpet tile installation refers to laying carpet tiles in the same direction across a floor. This method creates a seamless look that closely mimics traditional broadloom carpets.
The main benefit of this technique is its ease of use and the uniform appearance it delivers, making it ideal for large spaces where consistency is essential. Monolithic installations use less time and often reduce waste, as the pattern does not require matching at seams like more complex designs do.
Monolithic patterns offer a sleek, cohesive flooring solution that can enhance and elevate any commercial or residential space.
Carpet tile installation patterns vary greatly, but choosing the right one depends on the area's function and aesthetic goals. Next, let's explore how to install carpet tiles effectively.
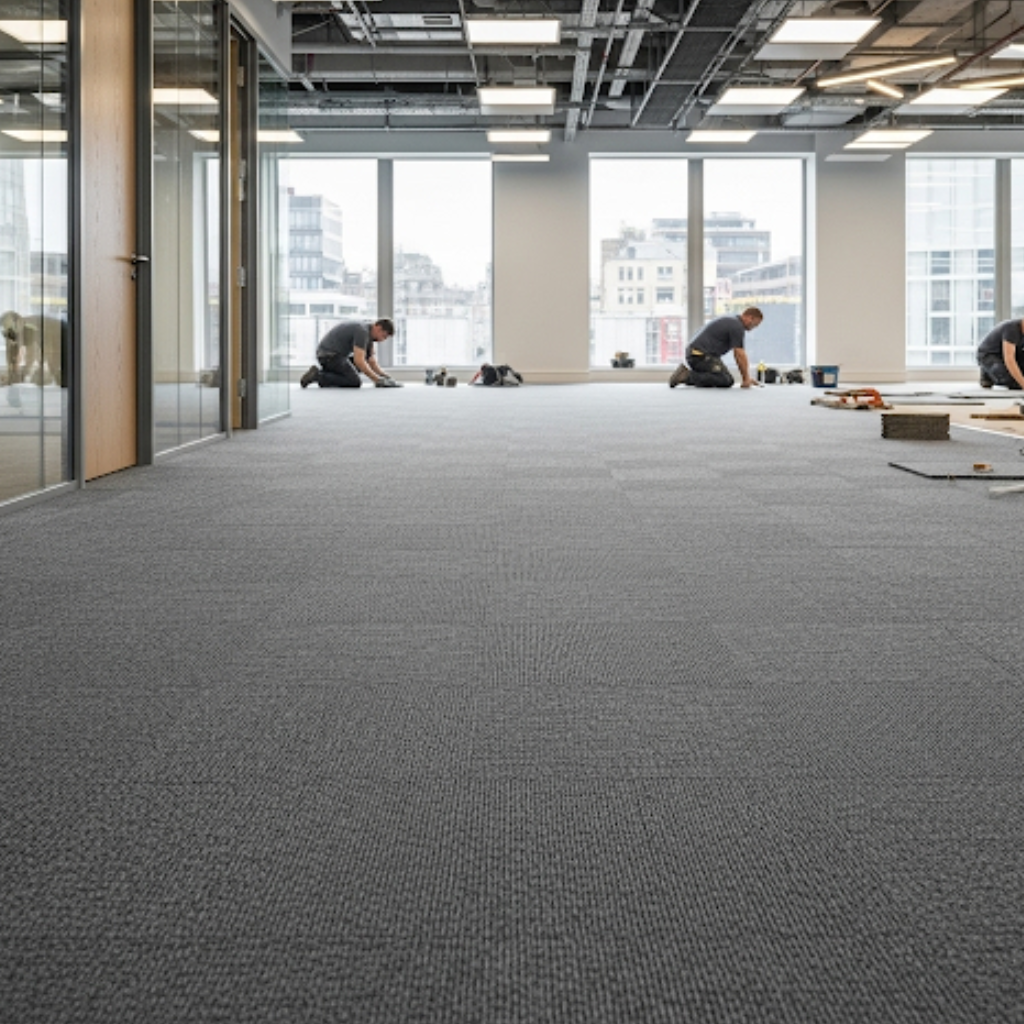
Carpet tile installation is a process that allows homeowners and interior designers to lay carpet tiles smoothly onto a subfloor. This method offers an easy way to upgrade flooring in homes and commercial spaces.
The proper adhesive is essential for ensuring a secure and lasting installation in this procedure, ensuring tiles stay firmly attached without damaging the surface beneath.
Laying carpet with planks and carpet tiles or squares requires careful preparation of the area. This ensures that whole tiles fit snugly together while half-size pieces fill the edges, creating a clean finish around the room's perimetre.
By following proper installation guidelines, you can achieve a professional look even with DIY installation efforts.

Monolithic patterns in carpet tiles involve positioning every tile vertical brick-like pattern so they all face the same direction. This simple yet effective method generates a consistent look throughout the floor.
Monolithic installation minimises the visibility of tile seams, promoting a sleek and unified appearance, much like broadloom carpeting or the smooth, elegant finish of a Saxony-style carpet. This approach is not only visually appealing but also functional, durable, and practical for areas experiencing high foot traffic.
One can comfortably install monolithic patterned carpet squares in various settings, owing to their design flexibility. They fit snugly together, ensuring that the overall layout stays intact over time.
Moreover, this kind of installation accelerates the fitting process compared with other intricate patterns like Ashlar or quarter turn since it requires few adjustments during alignment.
Tiles are straightforward to handle and can be cut to fit around edges or in smaller spaces, making them perfect for DIY projects or professional installations alike.
Monolithic installation patterns offer a seamless look that's both modern and easy to maintain. This pattern means carpet tiles are installed in the same orientation, creating a uniform appearance across the floor.
It's ideal for commercial spaces and homes where a clean, cohesive design is desired. Monolithic patterns also use less waste during installation because tiles fit together without needing to be rotated or aligned in different directions.
Homeowners and designers favour this method for its simplicity and elegance.
Builders and contractors find monolithic installations quicker due to the straightforward laying process. Tiles easily align next to each other, speeding up projects and reducing labour costs.
This efficiency doesn't sacrifice quality; it ensures every tile's width perfectly matches its neighbour for a flawless finish.
Choosing a monolithic pattern adds instant sophistication to any room while simplifying both installation and future maintenance.
Knowing how these benefits play into your project planning leads us directly into exploring effective preparations of the subfloor before beginning carpet tile installation.
Getting the subfloor ready for carpet tile fitting is critical. Make sure the surface is tidy, moisture-free, and flat. Clear away any particles and materials that may obstruct sticking.
Calculate the dimensions of the room to locate its centre. Use chalk lines to draw guide references from the centre in the direction of each wall. This aids in placing tiles uniformly across the area.
Initiate the placement of your carpet tiles from the room's centre, adhering to chalk lines for direction. Firmly press each tile in its spot, verifying it fits tightly next to its adjoining tiles without any gaps or overlaps.
In places that demand cut tiles for fitting, size them accurately and employ a sharp knife for exact cutting. The choice of adhesive matters in how effectively tiles adhere to the floor.
Carpet tape or vinyl composition tile glue are renowned options for DIY enthusiasts and professionals alike, attributed to their dependable performance in maintaining carpet tiles intact over a period.
Preparing the subfloor is a critical step before you install your carpet tiles. It ensures that the tiles lay smoothly and last longer.
Following these steps precisely prepares your subfloor optimally for carpet tile installation, contributing significantly to its success and durability over time.
Laying carpet tiles smoothly requires attention and precision. Here's how to achieve a professional-looking carpet tile installation for you.
Ensuring each step is followed with care will lead to expert carpet tile installation, offering years of durable flooring benefits. Next, we'll explore different popular carpet tile installation patterns that can transform any room's aesthetics.
After having positioned your carpet tiles uniformly, it's vital to affix them securely to the floor. Selecting the suitable glue for carpet tiles assures their firm placement and enduring lifespan.
The manner of application and the pedestrian traffic of the area dictate the adhesive you ought to use. In the case of areas with a high volume of footfall, a pressure-sensitive adhesive provides a solid bond while still making tile replacement feasible when required.
The secret to success resides in the precise placement of the tiles and the selection of a fitting adhesive for your installation needs.
For DIY carpet tile tasks, think about employing double-sided carpet tape or a specialist adhesive formulated for modular flooring. These alternatives simplify the process of application and empower homeowners to manage post-installation maintenance independently.
Always verify the producer's guidelines on adhesives to prevent any botches in installation.

Popular carpet tile installation patterns include Ashlar, Brick, and Quarter Turn. Each pattern offers a unique look that can transform any room. Ashlar brick-like pattern, lines up tiles in rows, with each row offset by half a tile's width from the next, for a staggered effect.
This technique creates a clean and modern appearance. The Brick pattern is similar to traditional brickwork, where each tile is lined up directly with the centre of the tiles above and below it for that classic design.
Quarter Turn installations rotate each square carpet tile 90 degrees from its neighbour, giving floors a dynamic texture and visual interest. Designs like Herringbone or Checkerboard are also options for those looking for something different.
With these patterns, homeowners and professionals offer a variety of options to suit various spaces and styles. Carpet tiles are easy to install compared with standard carpeting, allowing quick updates to flooring without heavy tools or complex methods.
Exploring the various carpet installation methods and patterns can transform your space. Each pattern offers a distinctive look and feel, fitting for different decor styles and spaces.
Choosing the correct pattern depends on your room's function, size, and style preferences. Each offers its benefits for aesthetics and practicality, ensuring there are options to meet all needs for installing carpet options effectively.
Selecting the correct pattern for your space involves considering the room's dimensions and its function. Ashlar patterns, with rows of carpet tile similar to brick layouts, suit larger areas by creating a seamless look that can make the illusion of larger spaces that are more extensive.
In contrast, a quarter-turn installation method, where tiles are installed at 90 degrees to each other, adds texture and is ideal for hiding dirt in high-traffic zones. This type varies from traditional methods but offers versatility in design.
Monolithic patterns provide a uniform appearance because all tiles face the same direction. It's helpful in commercial settings where simplicity and ease of maintenance matter most.
Each choice impacts the overall vibe of the room — monolithic installations bring sleek modernity; Ashlar exudes classic elegance; quarter turns inject dynamic motion. Reflecting on how you use the area helps pinpoint which pattern meets both practical needs and aesthetic preferences.
Next up, let's explore essential installation methods that can further influence your project's success.
Traditional and modern methods form the core of carpet tile installation. The conventional approach to carpet tile squares often involves laying the tiles from the centre of the room outwards, ensuring each tile fits snugly against its neighbours without overlap or gaps.
This method creates a uniform look and feel across the space. On the other hand, modern techniques might use different patterns like Ashlar, brick, and quarter turn to add visual interest and texture to floors.
Both methods need a clean subfloor free from particles and any other substance that may hinder adhesive bonding.
Choosing between using carpet tape or adhesive depends on your project's needs. Tape offers an easy, less permanent solution ideal for temporary setups or spaces needing frequent redesigns.
Adhesive provides a more durable bond suitable for high-traffic areas and commercial tile installations where longevity is paramount. Regardless of the choice, making sure tiles come with arrows on the back for directional alignment ensures a consistent pattern throughout an area, preventing installation failure that can occur with improper alignment.
Exploring the techniques behind carpet tile installation reveals a spectrum from traditional practices to modern methods. These approaches cater to various preferences, ensuring every project achieves its aesthetic and functional goals. This comparison highlights vital differences and considerations for homeowners, interior designers, decorators, builders, and contractors.
| Aspect | Traditional Methods | Modern Methods |
|---|---|---|
| Preparation | Involves manual checking of subfloors for level and moisture content. | Use of advanced equipment to assess subfloor conditions quickly. |
| Installation Technique | Primarily uses glue-down methods with broad adhesive application. | Employs tactics like peel-and-stick or interlocking tiles for faster installation. |
| Time and Effort | More time-consuming and labour-intensive, requiring skilled labour. | Designed for efficiency and ease, enabling quicker project completion. |
| Flexibility | Limited by the need for precise application and longer setting times for adhesives. | Allows for easy reconfiguration or replacement of individual tiles. |
| Cost Implication | Potentially lower initial material cost but higher labour expense. | May involve higher material costs but savings on labour and time. |
| Sustainability | Less focus on eco-friendly materials or recycling. | Increased emphasis on using sustainable materials and recycling old tiles. |
Carpet tile installation has evolved significantly. While traditional methods provide a solid foundation for understanding the process, modern techniques offer efficiency, flexibility, and a greener approach. Each project might favour one method over the other based on specific requirements, budget, and environmental considerations.
Using carpet tape and adhesive for carpet tile installation presents unique advantages and considerations for homeowners, interior designers, decorators, builders, and contractors. A comparative analysis between these two methods reveals critical insights for selecting the optimal approach for each discover of the various carpet top projects.
| Aspect | Carpet Tape | Adhesive |
|---|---|---|
| Installation Ease | Quick and easy to apply. Ideal for DIY projects. | Requires more time and precision, best suited for professionals. |
| Durability | Offers moderate durability. Suitable for light to medium foot traffic. | Provides high durability. Ensures tiles stay in place in high traffic areas. |
| Removability | Easy to remove or replace tiles. Leaves minimal residue. | Difficult to remove tiles. May leave residue that requires extra cleaning. |
| Cost | Generally less expensive than adhesive. Cost-effective for small areas. | More costly upfront but may prove economical for large spaces due to durability. |
| Application Surface | Works best on clean, dry, and smooth surfaces. | Adheres well to various surfaces but requires a properly prepared subfloor. |
| Health and Safety | Low VOC emissions. Safer for indoor air quality. | May emit VOCs. Requires ventilation during installation. |
Both carpet tape and adhesive provide significant advantages for installing carpet tiles. The choice between them depends on the project's specific requirements, including durability needs, installation environment, and budget constraints. Carpet tape stands out for ease of use and flexibility, while adhesive excels in providing a robust, long-lasting solution.
Maintaining carpet tiles after installation requires regular cleaning to ensure their longevity. Vacuum the tiles frequently to remove dust and dirt that can wear down the fibres. For spills, quickly blot them with a clean cloth to prevent stains from setting in.
Deep clean carpet tiles every few months using a mild detergent and warm water solution, taking care not to soak the tiles as moisture can damage the adhesive underneath.
To keep your carpet looking its best, rotate tile areas that are subject to frequent foot traffic. This strategy evens out wear and tear, extending the life of your installation. If half a tile becomes damaged or excessively worn, you have the advantage of replacing just that square rather than an entire floor section.
Ensuring tiles fit snugly together during initial installation minimises shifting and curling at edges, reducing trip hazards and maintaining a professional look for years to come.
Cleaning carpet tiles without harming the floor is crucial for maintenance. It ensures they stay in good condition and last longer.
Next, let's discuss tips for ensuring the longevity of carpet tile installations.
Maintaining the fresh look of your carpet tile installations and extending their life in any space is a matter of priority. Here's how you can ensure the durability of these adaptable flooring options.
Proceeding with these steps aids in preserving both the look and resilience, ensuring your selected designs and patterns keep enhancing value and style to your interiors well beyond the installation.

Moving on from tips for guaranteeing the installation of carpet tile monolithic tiles' prolonged lifespan, it's evident that the correct installation technique and appropriate care are vital. Monolithic carpet tile fitting offers an elegant appearance and unity, allowing areas to seem more expansive and coordinated.
This approach simplifies upkeep and also provides design diversity. For residential owners and professionals alike, getting the hang of effective carpet tile fitting can revolutionise any setting.
With a variety of patterns like Ashlar, quarter turn, brick layout or random patterns at hand, choosing an installation pattern that complements your room's aesthetic becomes straightforward.
Choosing a premium adhesive ensures the durability of your flooring endeavour. The back of the carpet tile needs to create a firm bond with the subfloor to avoid shifts or uplifting over time.
Trimming tiles to fit perfectly against walls and around hurdles delivers a professional look. Acquainting oneself with different installation methods enables you to make educated decisions for your unique needs, whether in domestic or commercial environments.
As you set out on laying your new floor, triumph lies in preparation, opting for appropriate materials, and strictly adhering to best practices throughout the installation procedure.