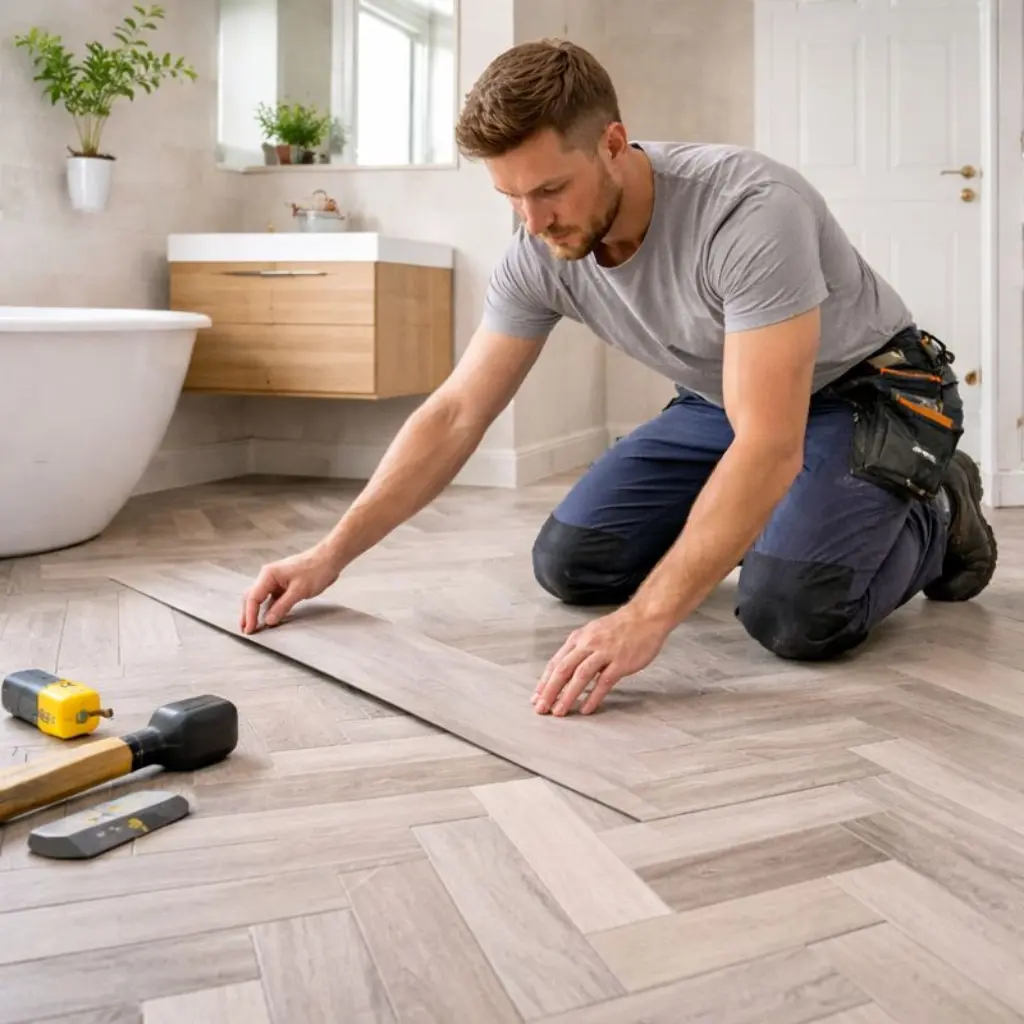
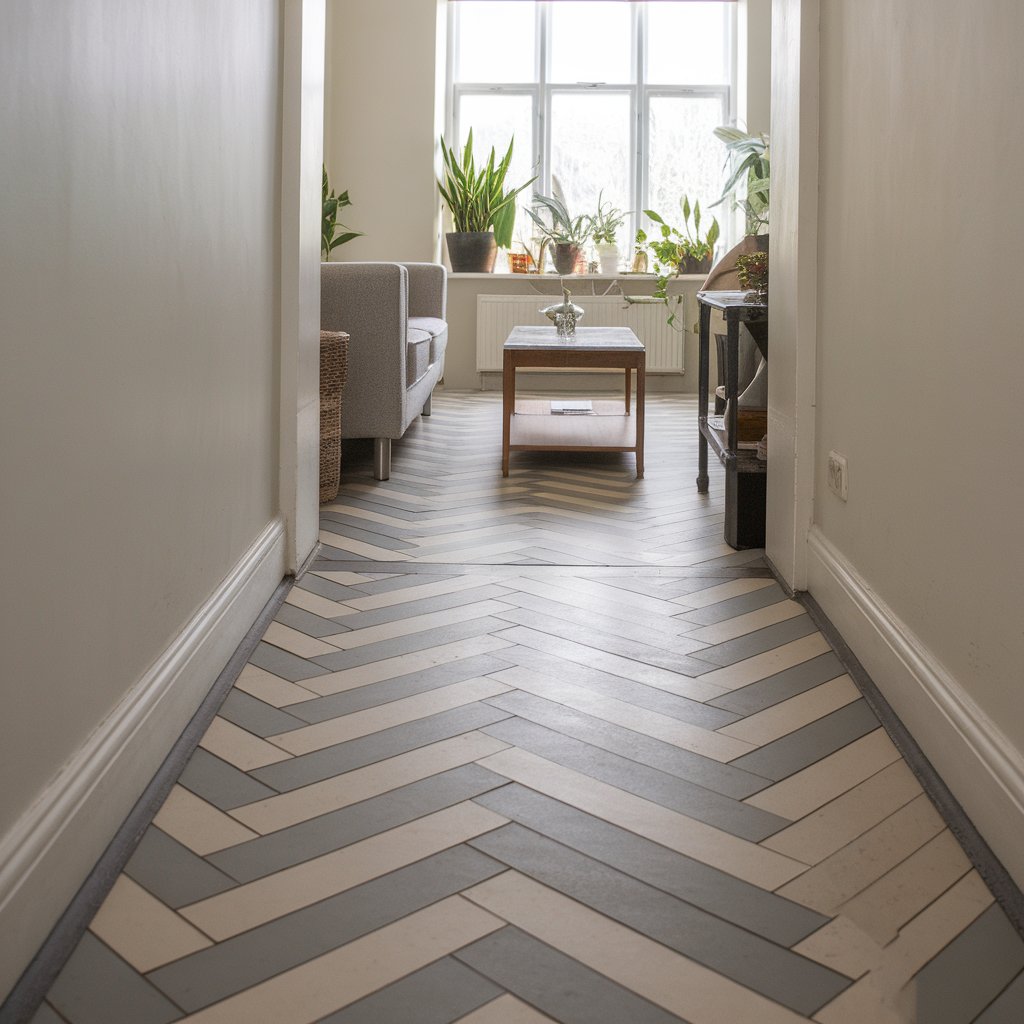
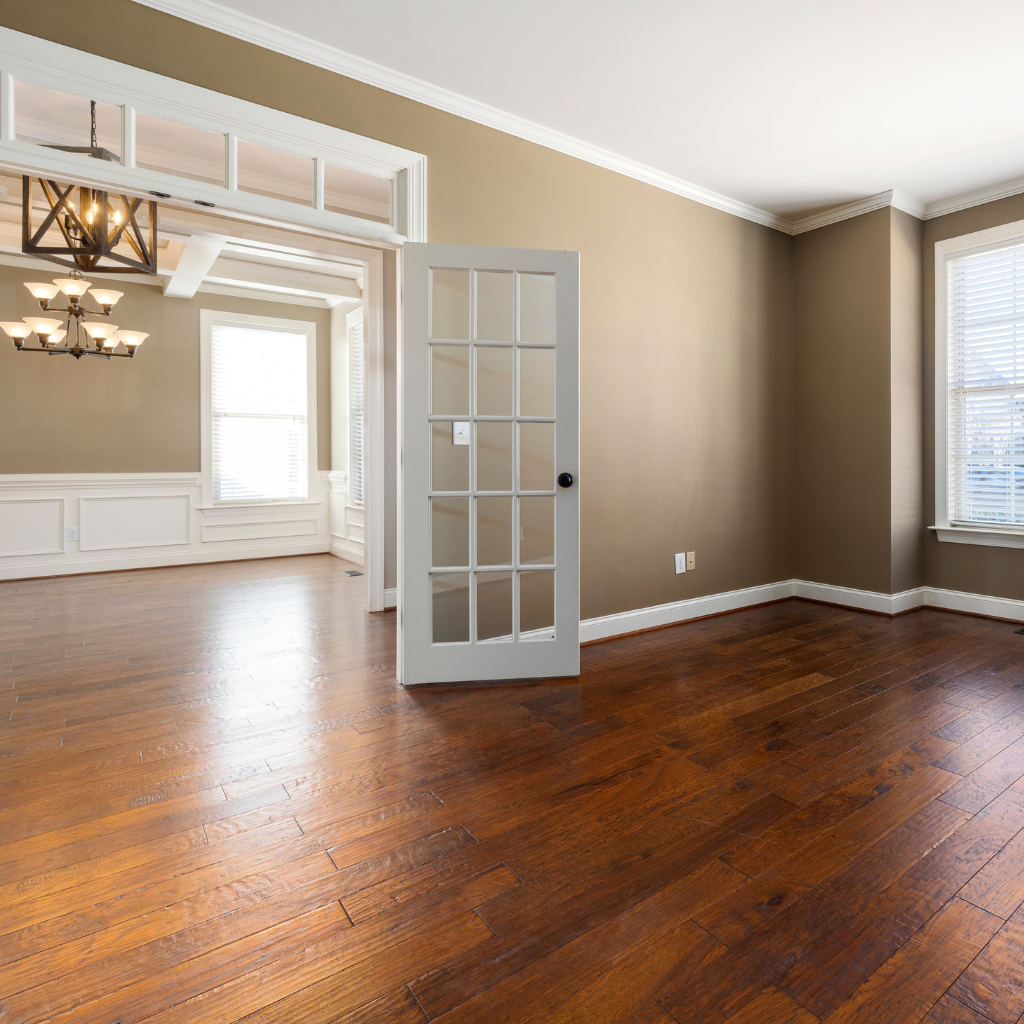
Many homeowners wonder how to install carpet underlay so their new flooring feels soft and holds up over time. The process involves more than just rolling out padding. Careful preparation and good techniques help extend carpet life and reduce noise. By choosing the right materials and taking the time to do each step well, you create a comfortable and long-lasting floor.
Carpet underlay is a layer of padding placed between the subfloor and the carpet. It offers comfort, insulation, and noise absorption. Homeowners often ask: Do carpets need underlay, or does carpet need underlay for every space? Most agree that underlay boosts carpet performance, makes it cosier underfoot, and helps your floor last longer. Below, we explore the core reasons for using underlay and consider what carpet underlay is designed to do in different settings.
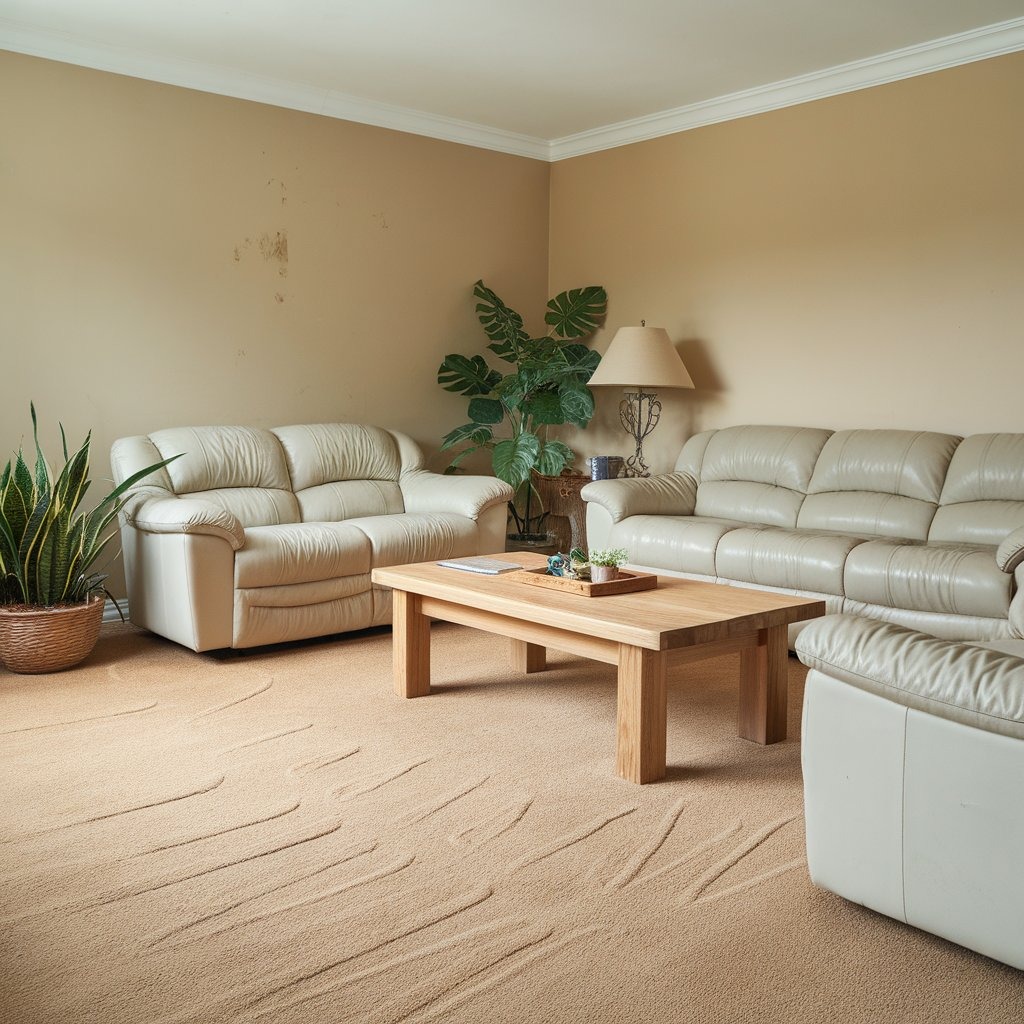
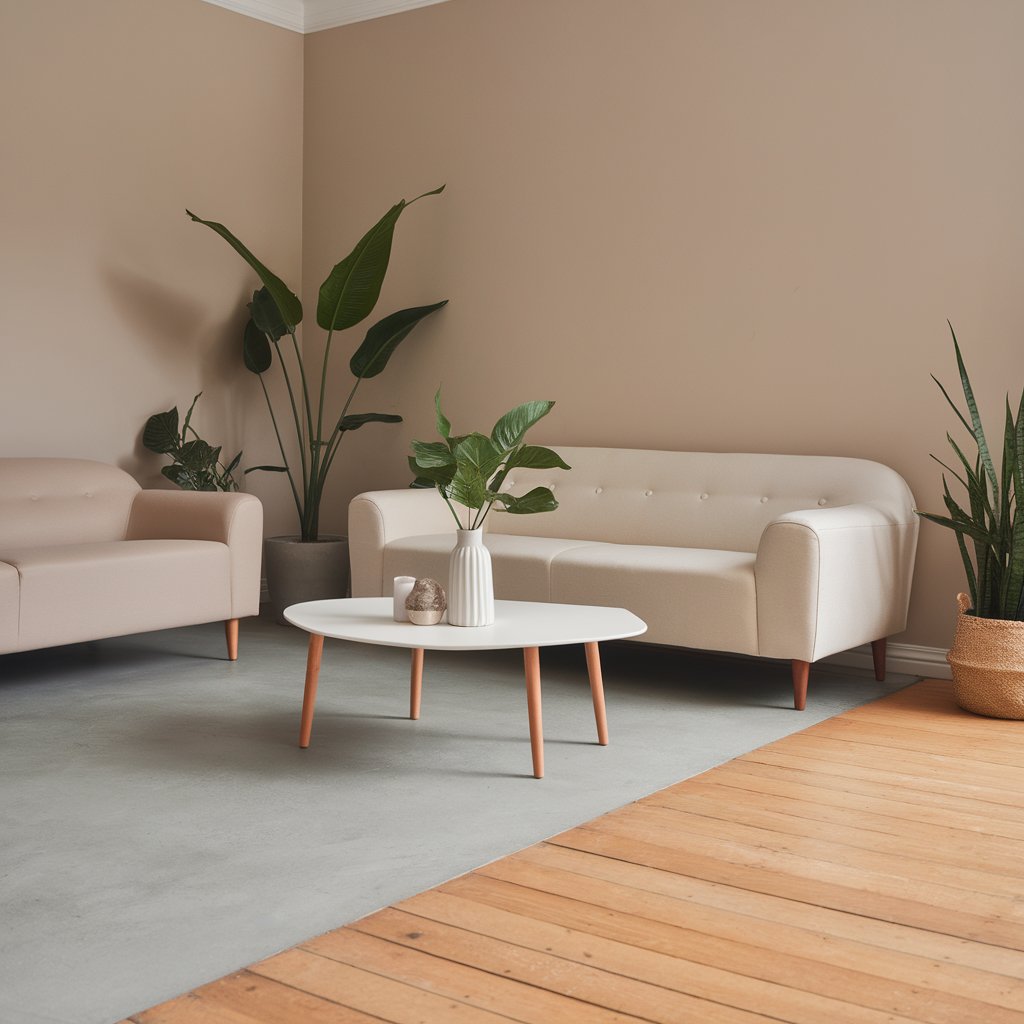
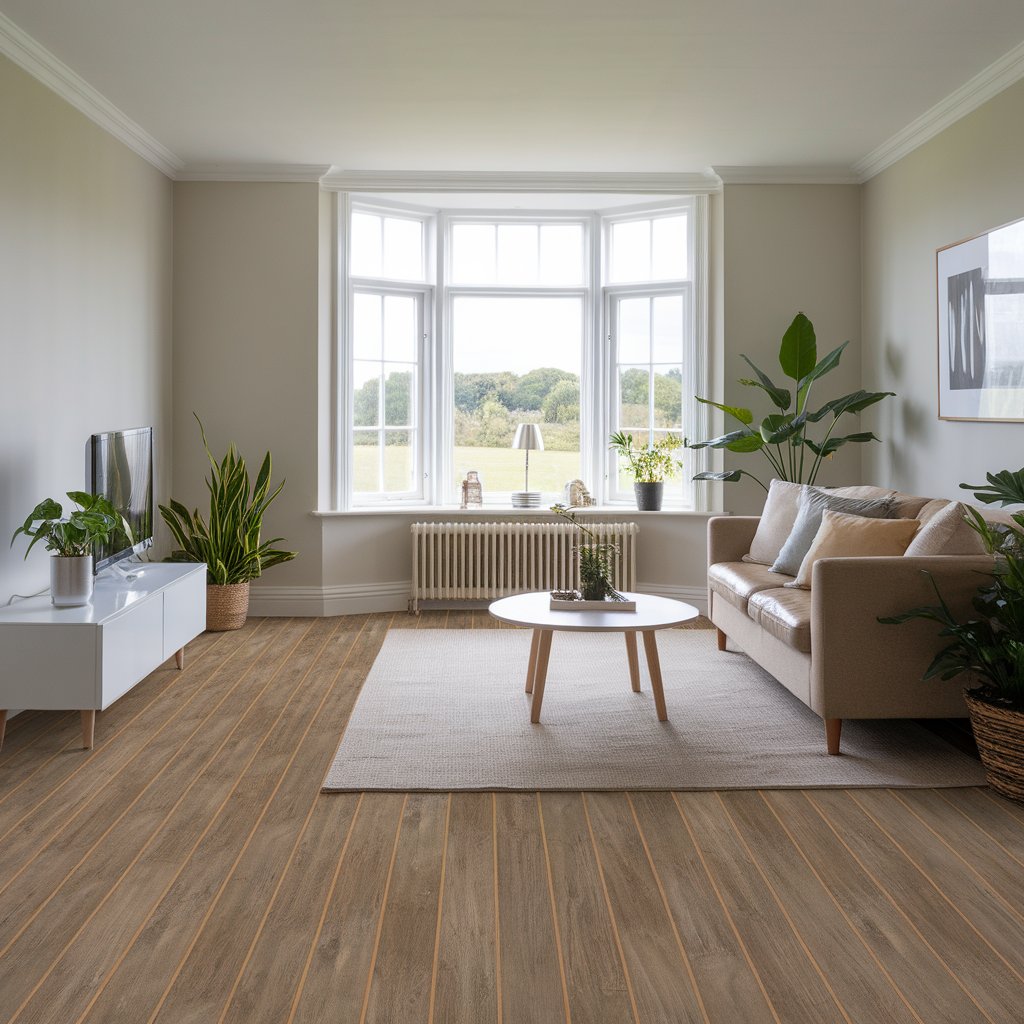
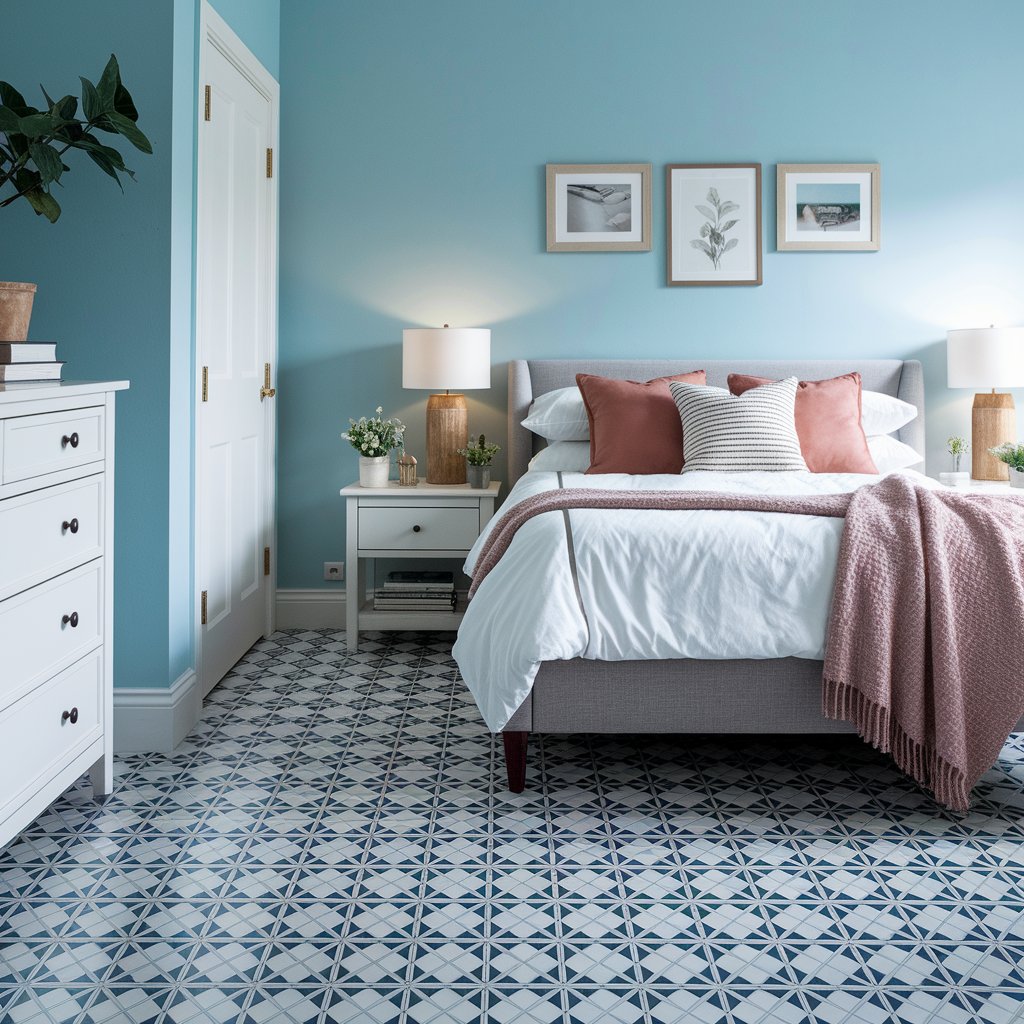
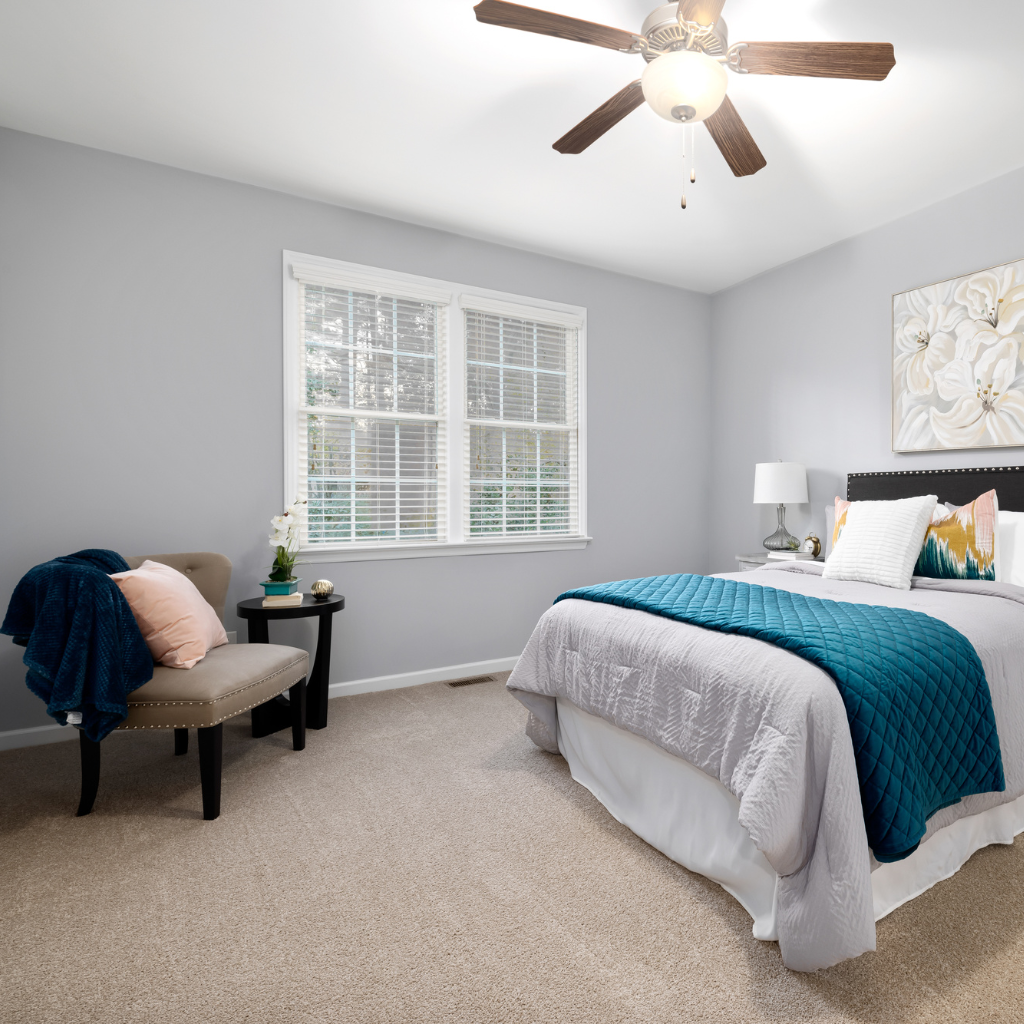
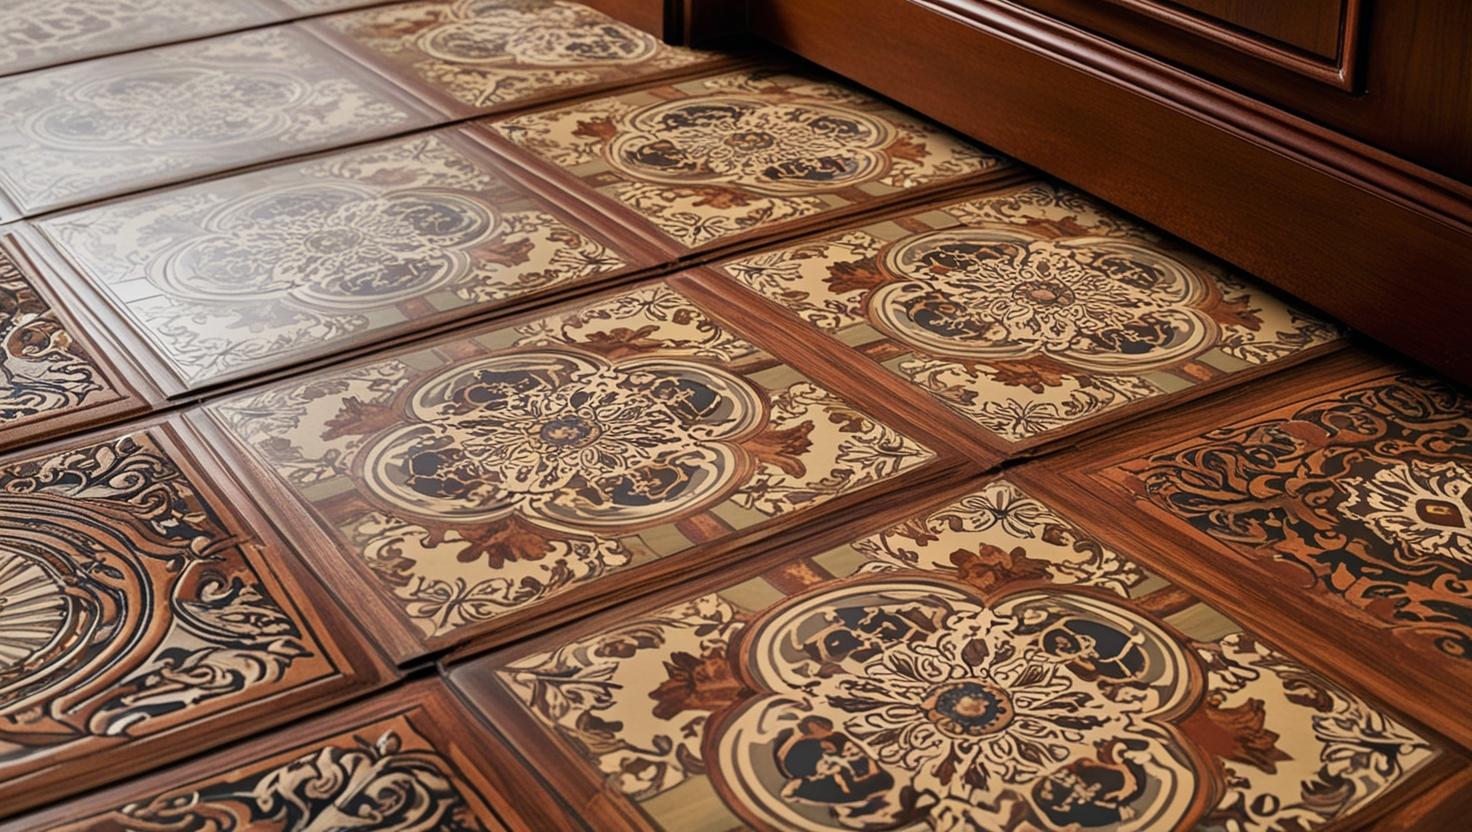
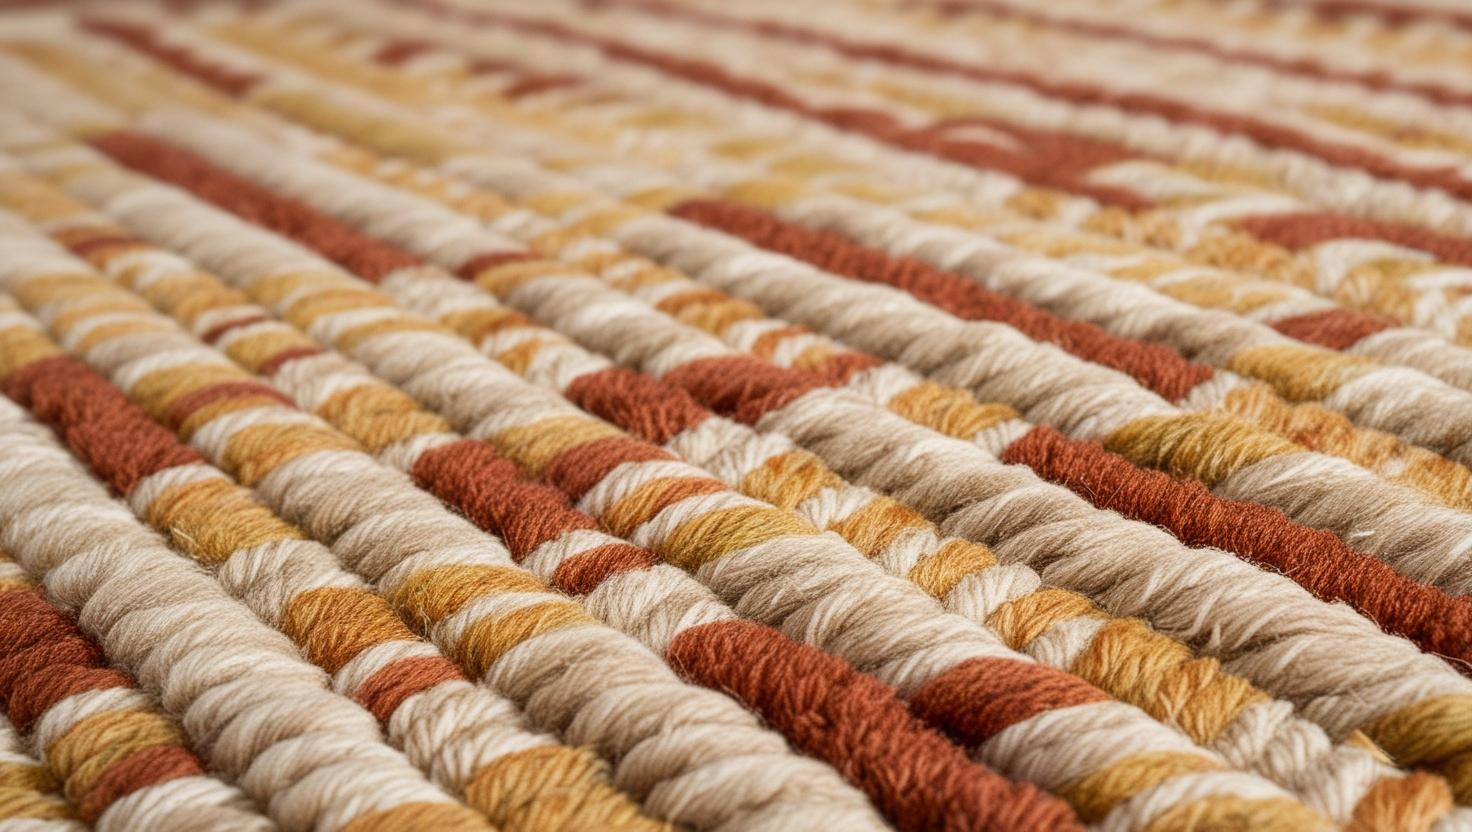
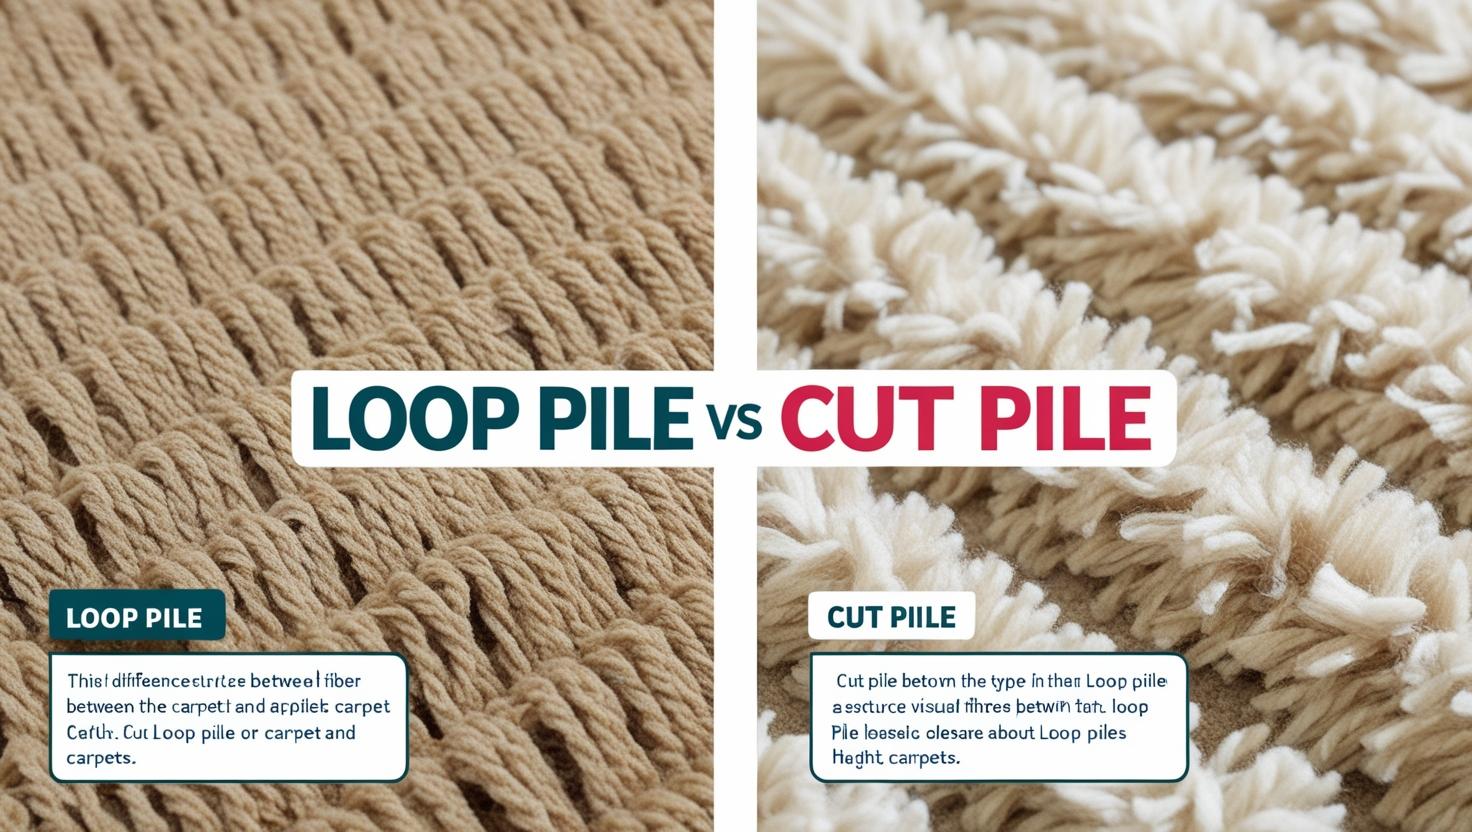
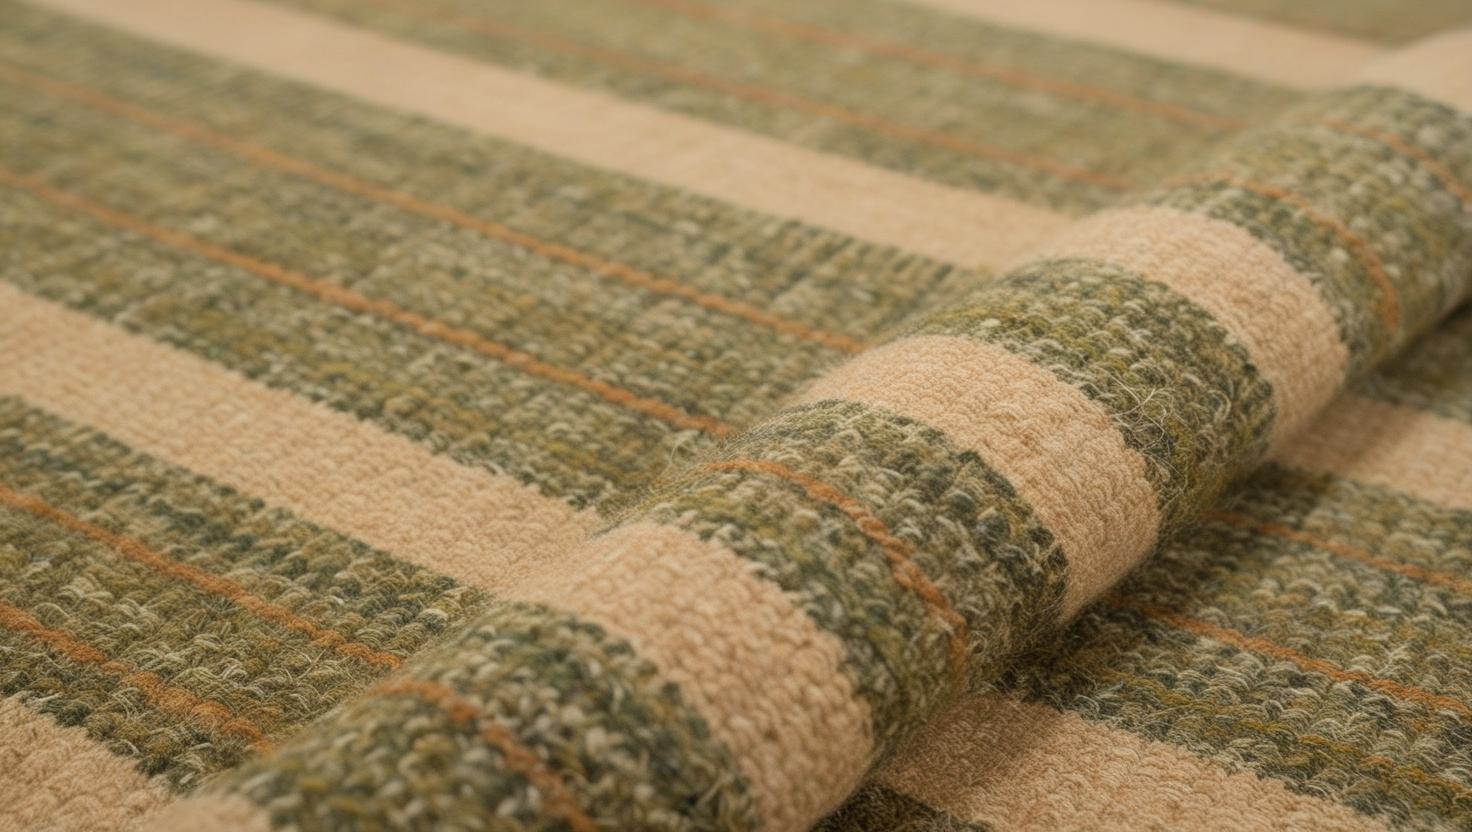
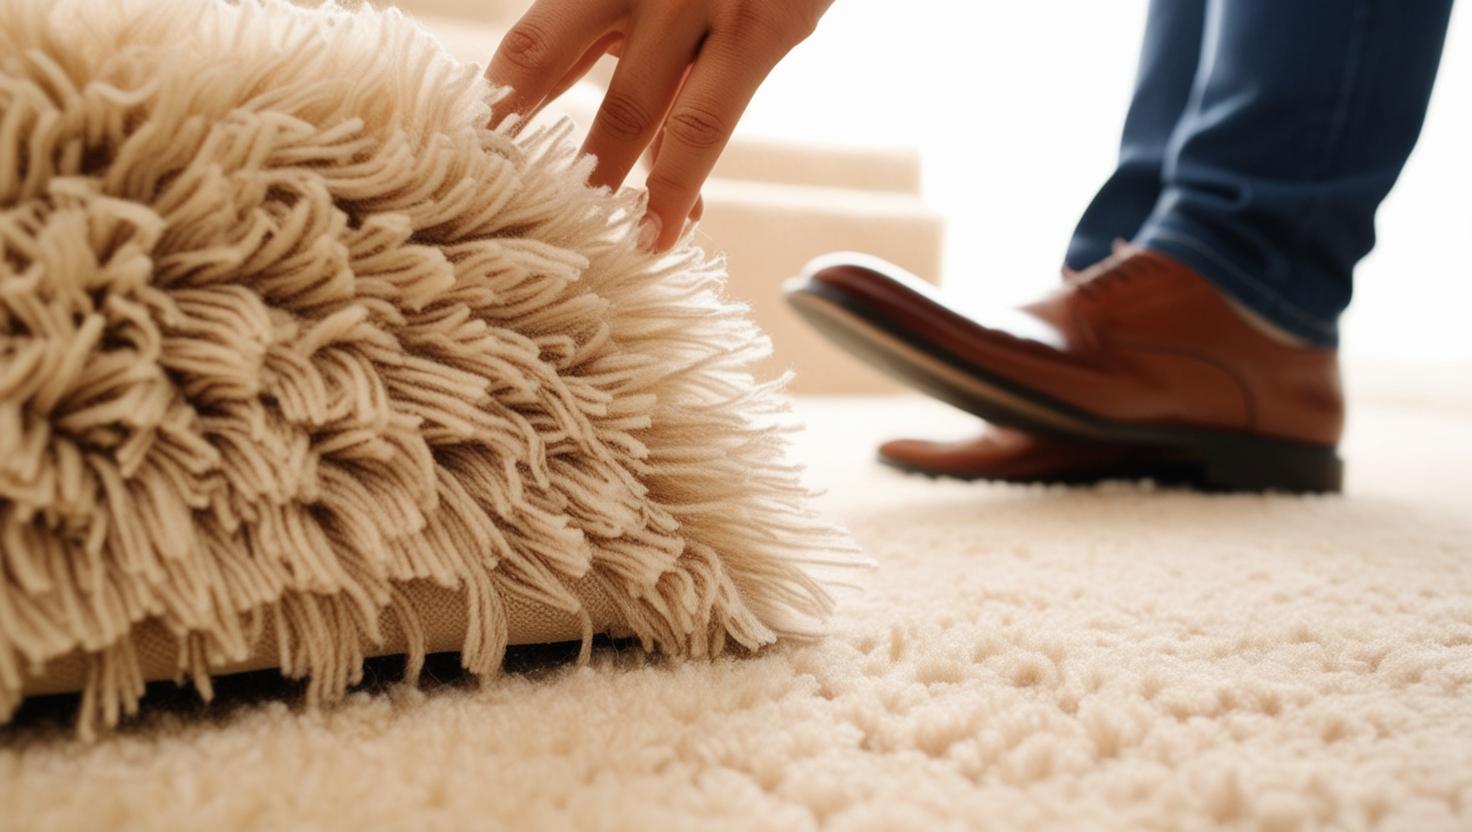
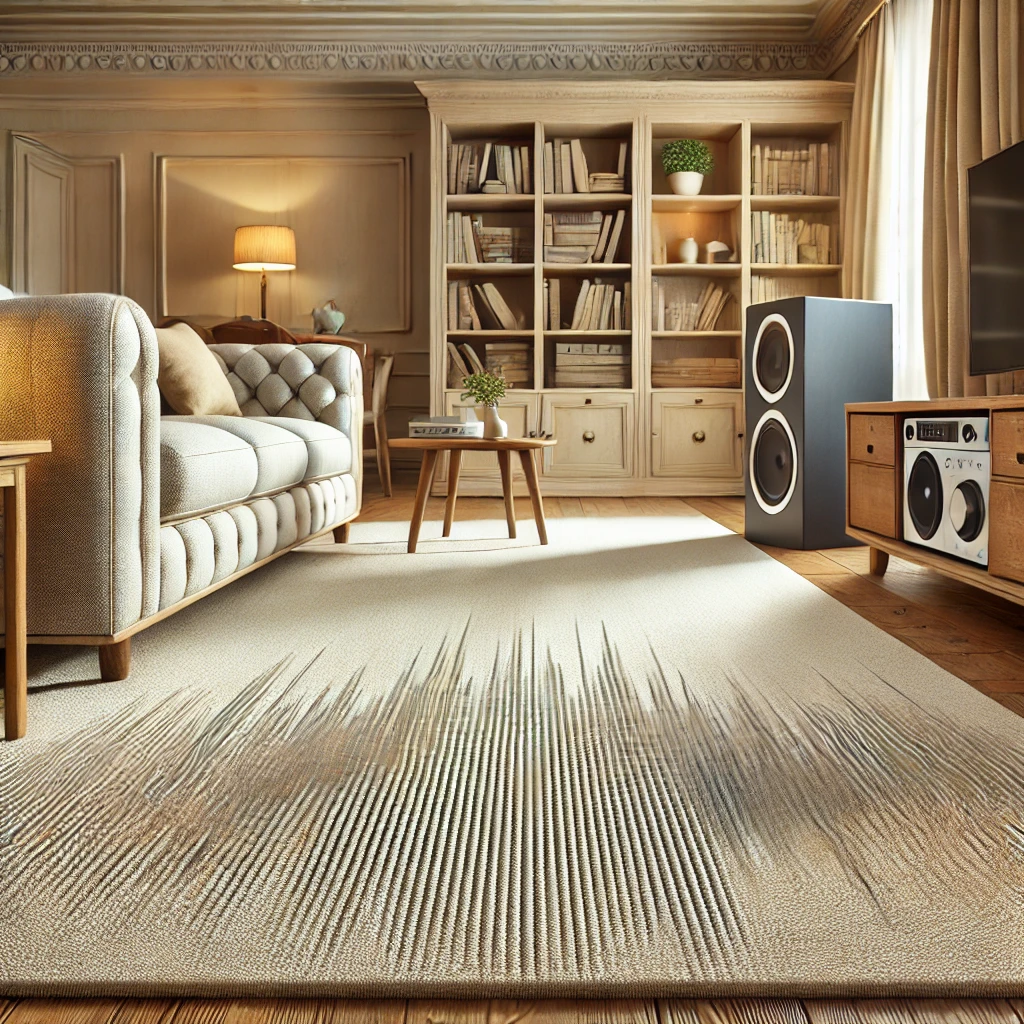
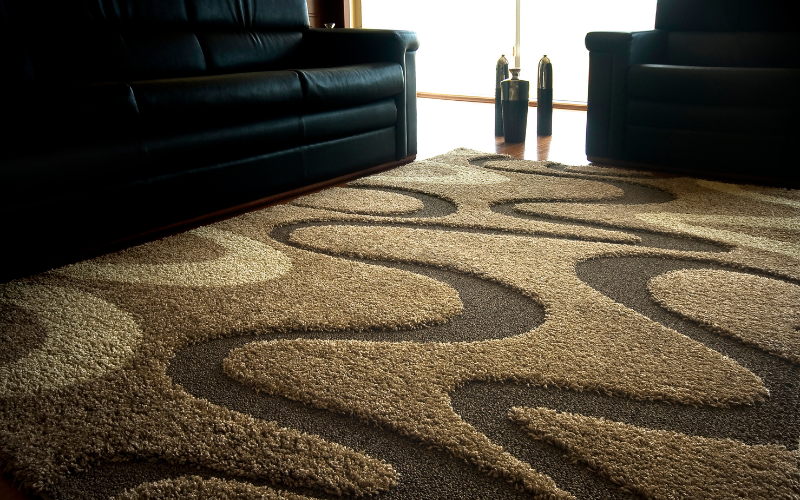
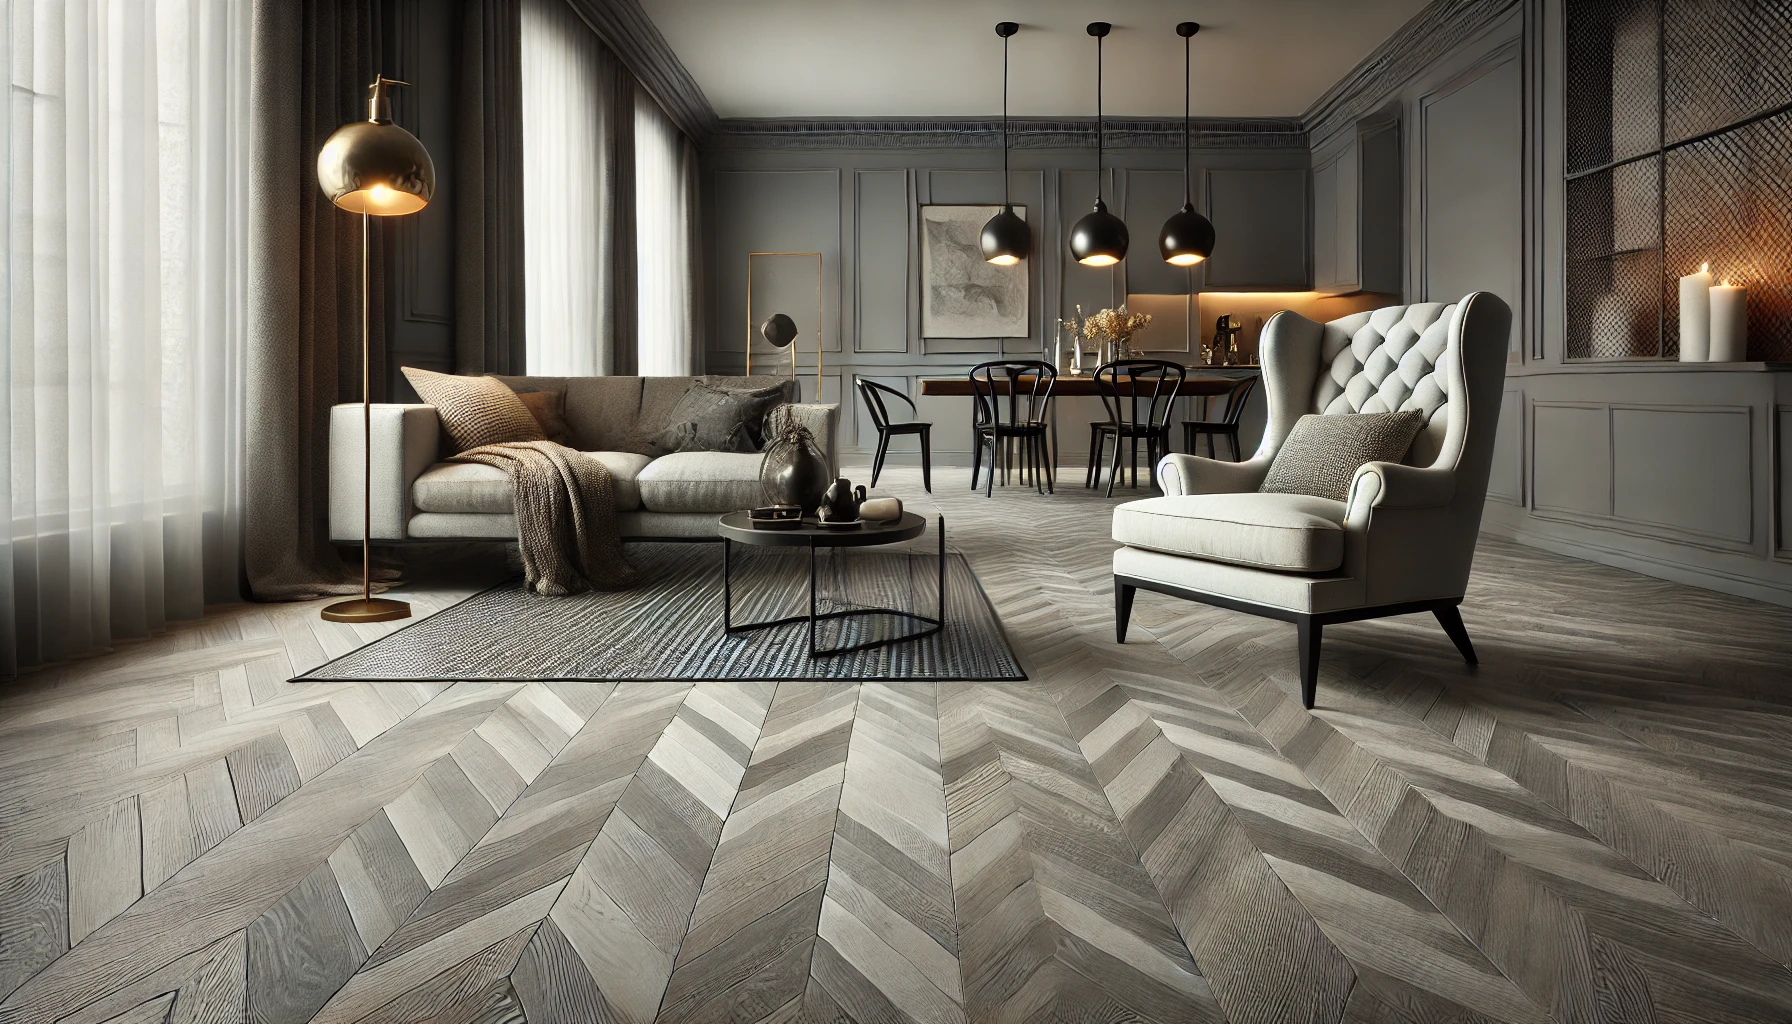
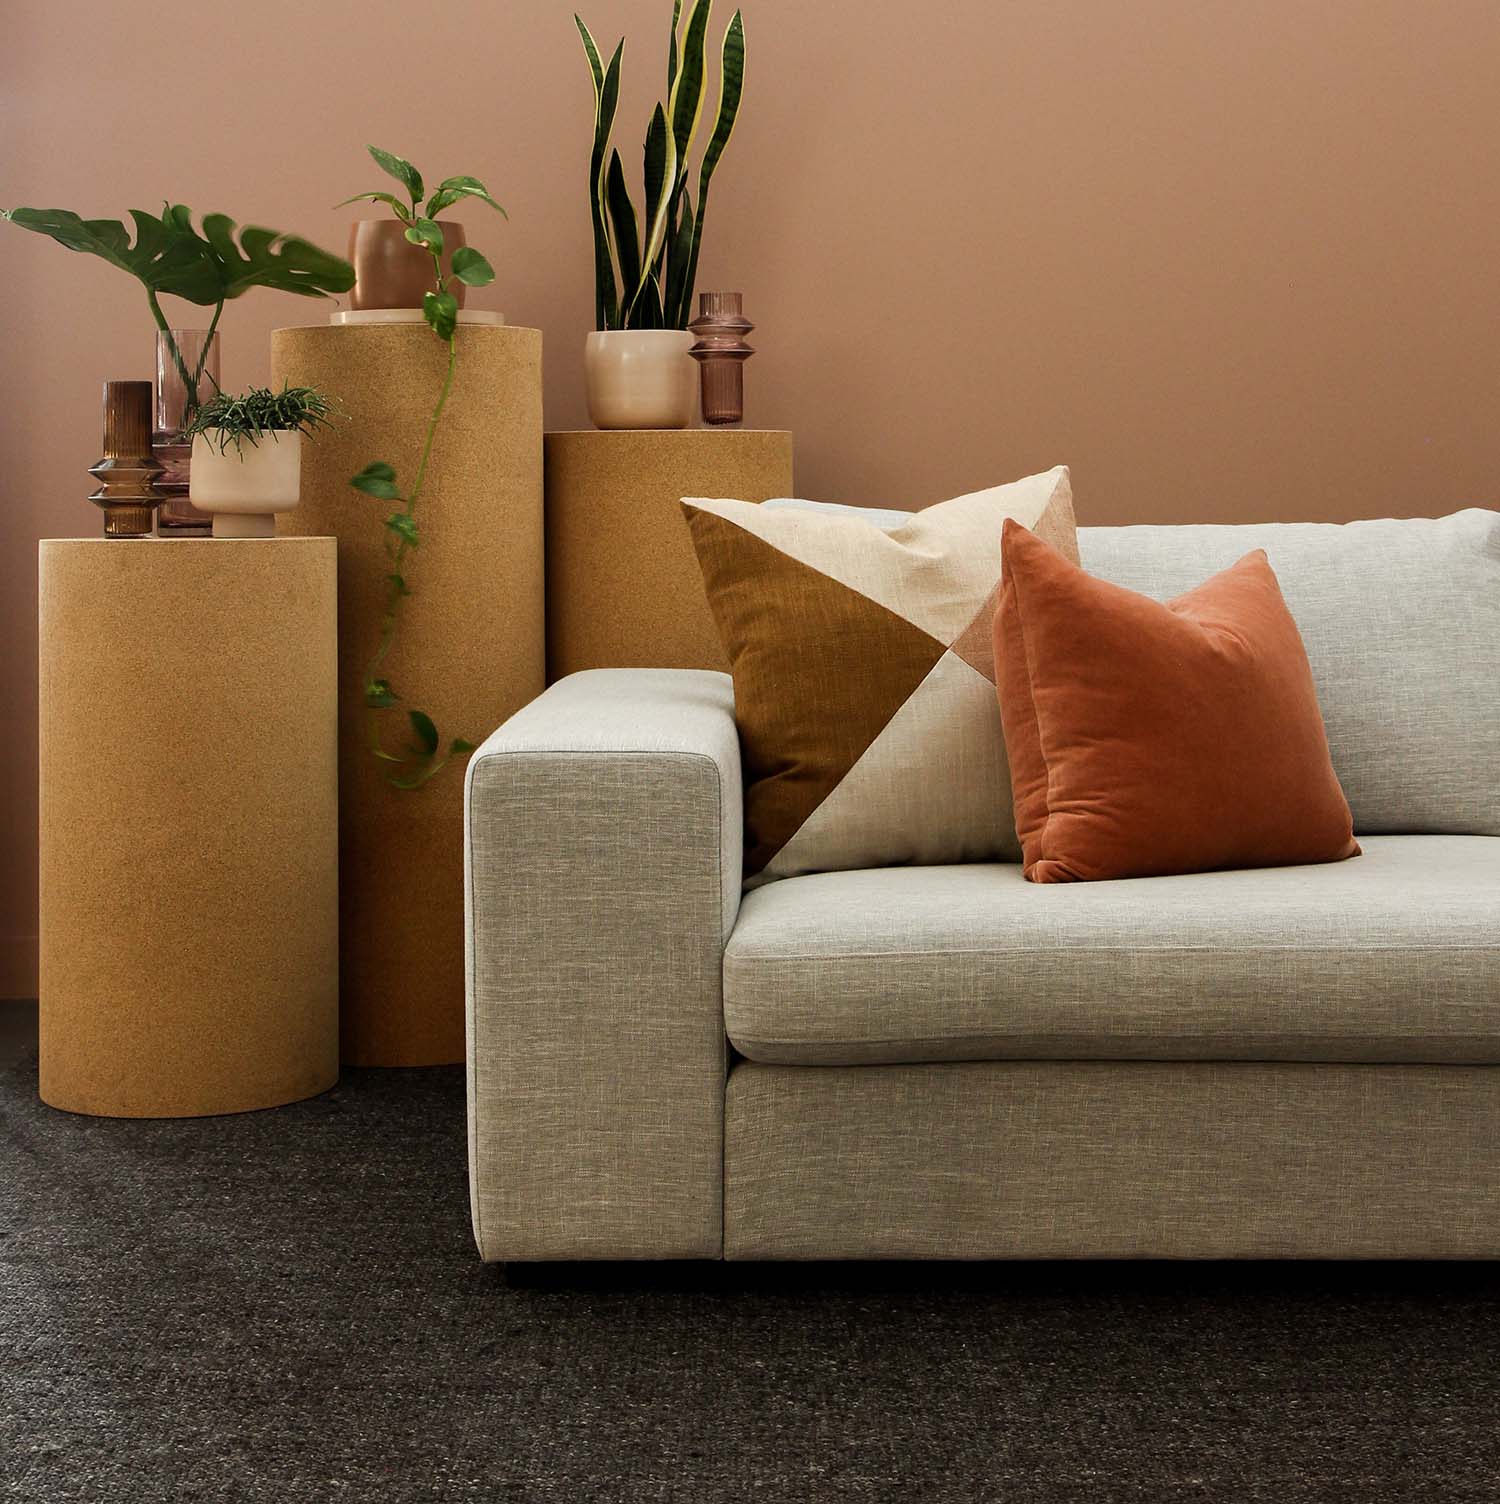
When thinking about fitting your carpet on a soft layer, remember that carpet and underlay work together to create a plush and inviting surface. Underlay can also reduce footstep noise, which is perfect for busy families or apartment living. Certain underlay materials, such as foam or rubber, help with insulation, keeping warmth locked inside on chilly days. They also add a bit of spring under each step, protecting the carpet fibres from grinding against hard surfaces. This means your carpet stays fresher and maintains its colour for a longer time. Proper underlay helps spread foot pressure, making it easier to relax and walk around the house. Whether you have a loop or cut pile carpet, the underlay forms a cushion that blends comfort and longevity into a single solution.

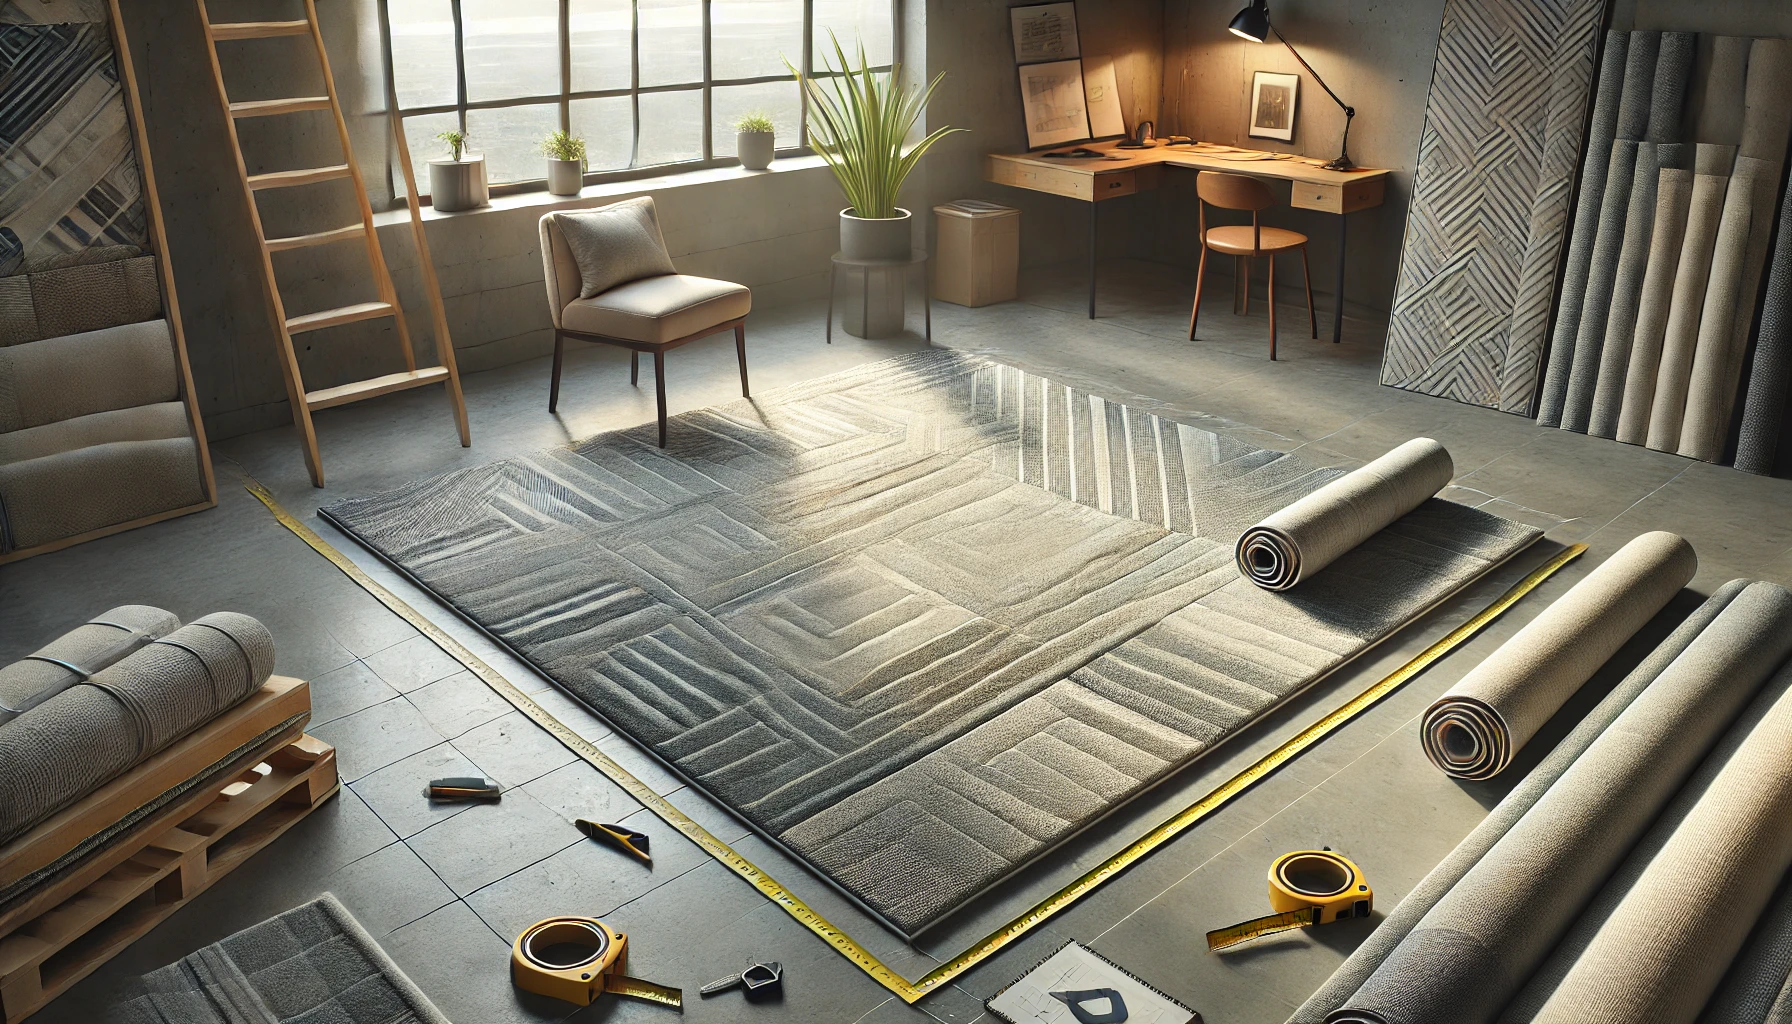
Learning how to lay underlay for carpet involves precise fitting along each wall. If you plan to lay underlay correctly, make sure you measure carefully and reach all corners. For neat edges, leave a slight extra material near the perimeter, then trim the underlay close to the carpet gripper later on. Pay attention to the edge of the room so the underlay lies flat without lumps. Gaps under the skirting or misaligned cuts can create wrinkles in the final installation. Some people forget to clean thoroughly before placing the underlay, but tidying the subfloor can keep dust from causing ridges and help the underlay sit firmly in place. By taking your time with these finishing details, you can be sure the carpet lays neatly on top.
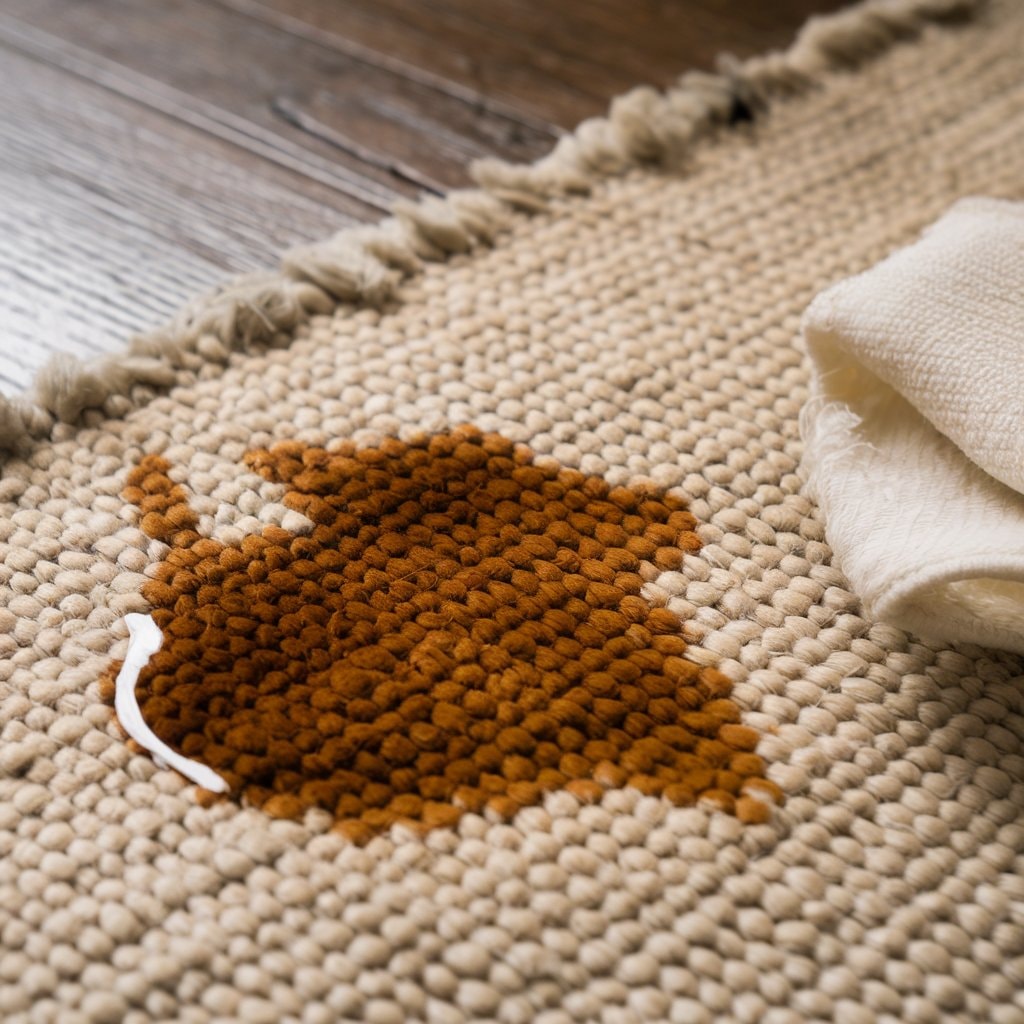
People often ask, Do I need underlay for carpet if the subfloor is old? It's almost always a good idea. Worn floor surfaces can be rough or uneven. Good underlay cushions those imperfections, reducing wear on your new carpet. If you skip the underlay, you risk feeling every bump and seam underneath, which makes your carpet less comfortable. Since old flooring can shift or creak over time, a quality underlay helps stable carpet fitting by evening out slight gaps. Overlooking this step can lead to early carpet damage, especially in high-traffic spots like hallways. Even on relatively smooth floors, underlay improves warmth, muffles sounds, and keeps your carpet fibres from flattening out too quickly.
Before you lay carpet underlay, it’s essential to address the floorboard condition and install the right carpet gripper. By taking care of these steps, you avoid bumps or loose spots underfoot. This section covers how to clear away debris, check for damages, and decide the best way to position the grippers. Careful preparation helps create a level base.
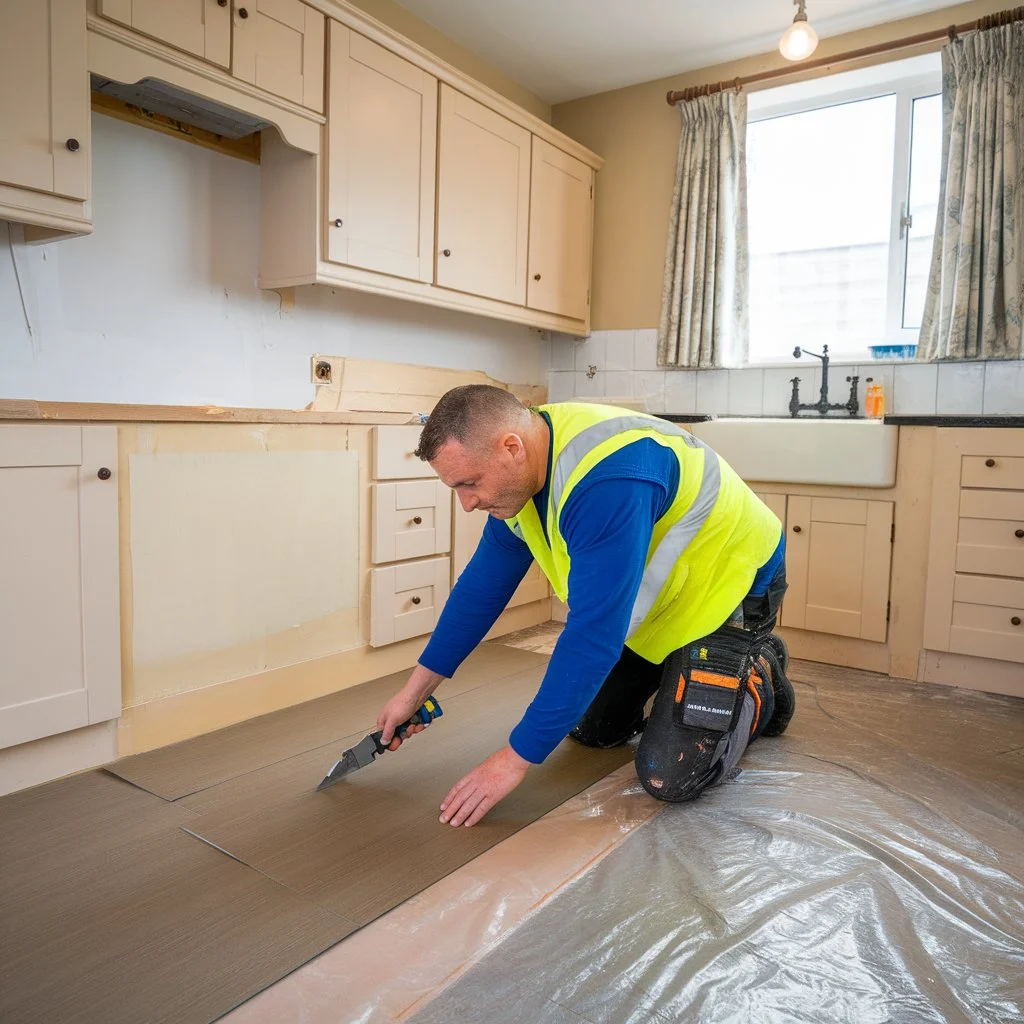
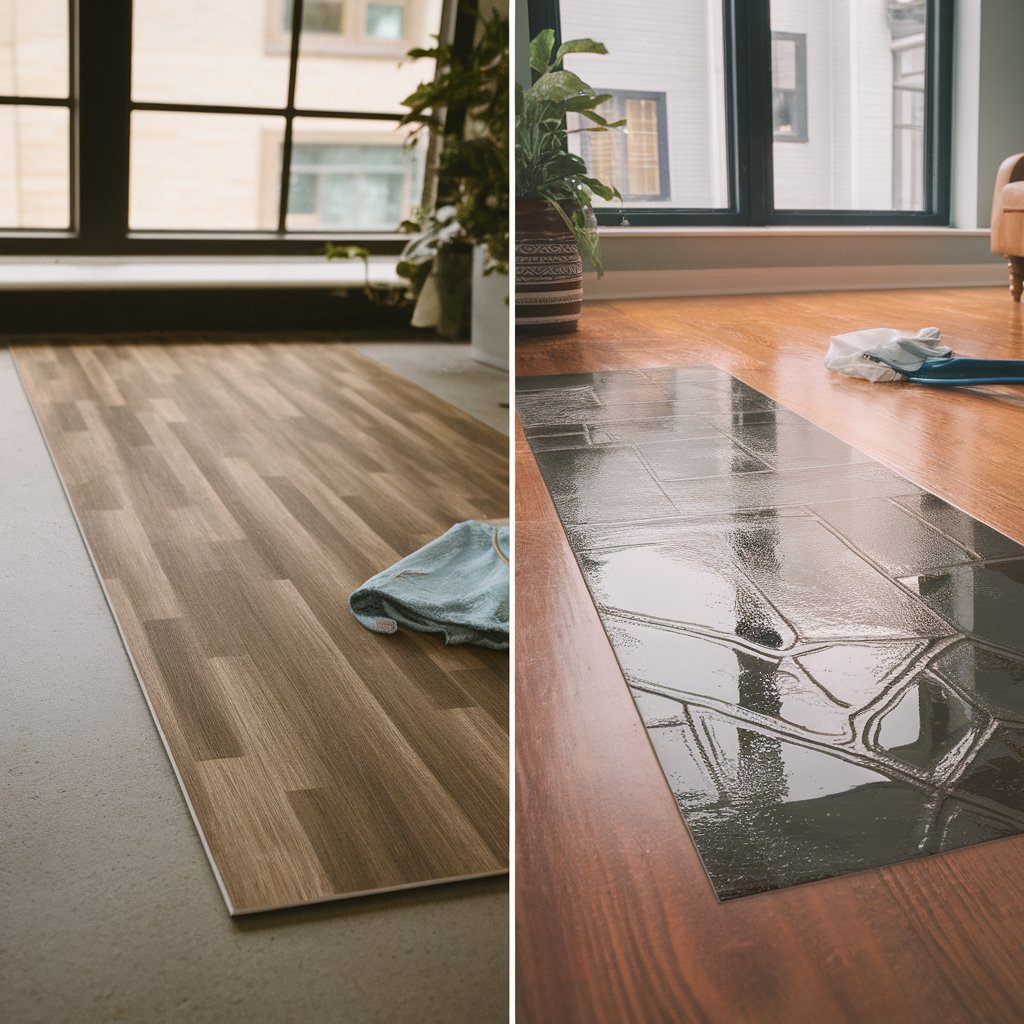
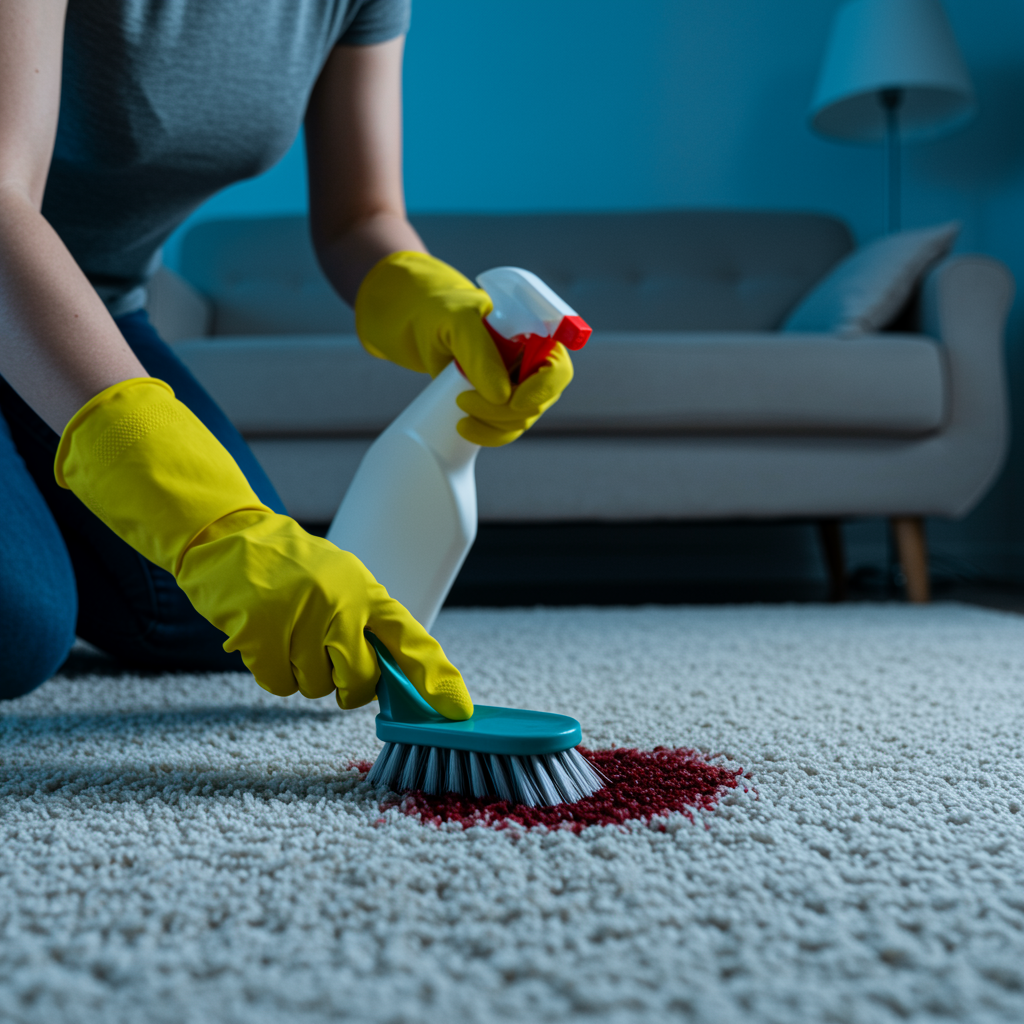
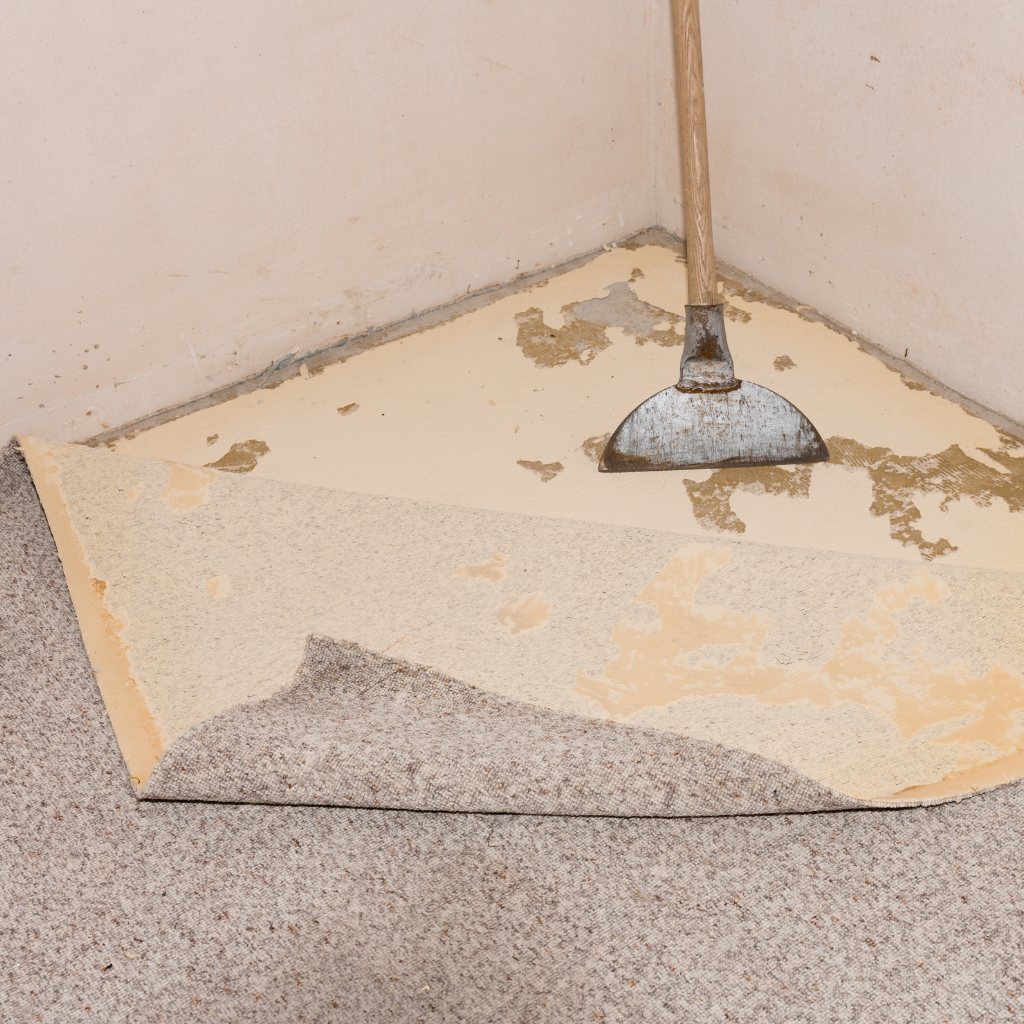
Old flooring might include an existing carpet or perhaps tiles. Start by cutting the material into manageable strips, then roll or lift it away. If you notice staples or nails left behind, pull them out or hammer them flush with the subfloor. Sweep thoroughly to get rid of small particles that can spoil the underlay’s smooth finish. For areas with glue residue, a gentle scraper or adhesive remover can leave the subfloor free of sticky patches. By investing time in this prep work, you clear a path for the fresh underlay to sit nice and flat. Once you’re done, you have a clean, ready surface to install carpet with fewer worries about lumps or other problems.
Sometimes folks skip proper checks and just decide to fix the underlay immediately. Yet the subfloor’s condition plays a key role in how well the padding holds up. A cracked or uneven subfloor can lead to bumps in the final setup. That’s why sanding high spots or using levelling compound on dips is essential. If you have a wooden floorboard base, check for squeaks. Loose boards should be nailed down securely. For concrete, fill any cracks and let it dry. By tackling these tasks now, your underlay fits snugly and forms a stable foundation. Skipping such checks might save time today, but it often leads to carpet snags and dips tomorrow.
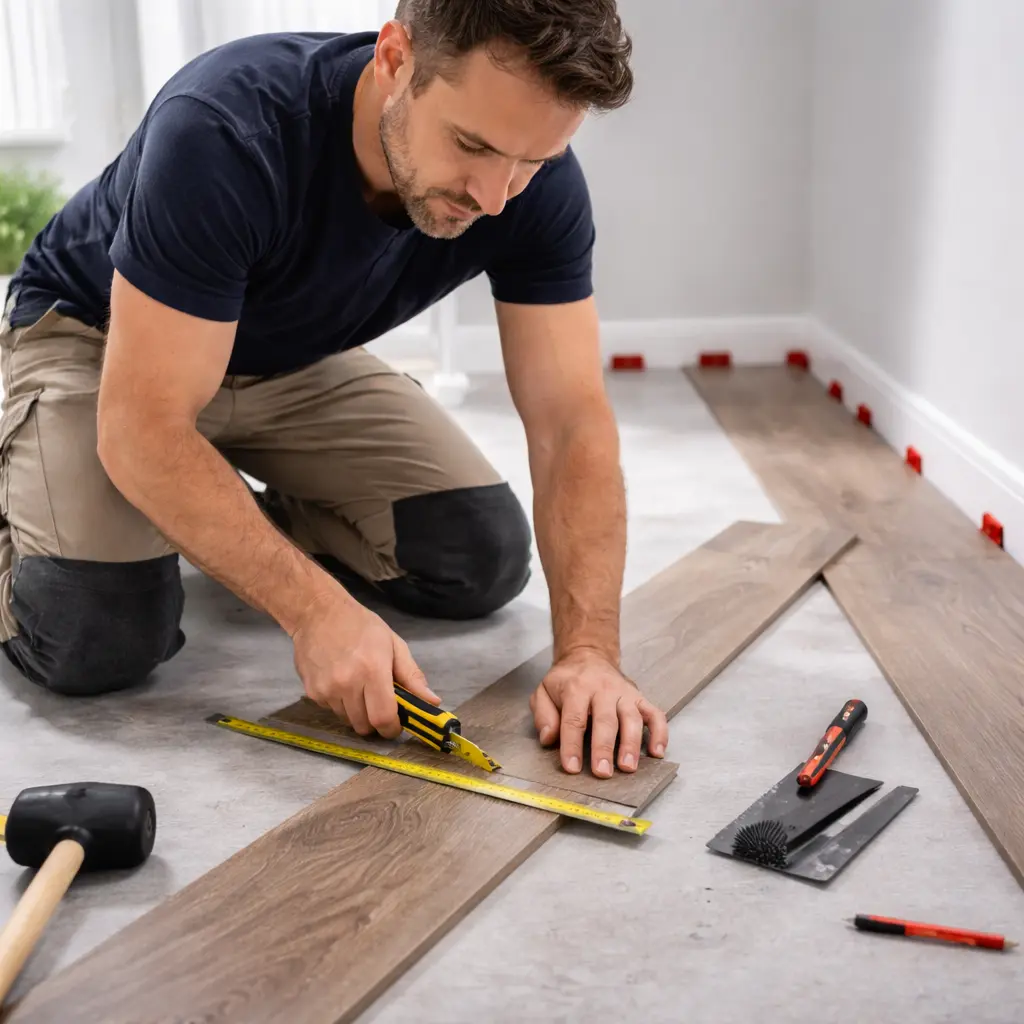
Once the underlay is in position, plan where to trim. Begin near the wall and allow a bit of underlay to overlap against the carpet gripper. Gently tuck and cut away excess so it lines up with the gripper’s interior edge. This ensures the carpet has enough room to lock onto the pins without lumps. Using a sharp utility knife avoids rough edges. Keep your cuts smooth and consistent, which helps the underlay sit flat. If you make a ragged cut, you might have trouble aligning the seam later. By focusing on neat trimming, you improve the final look and simplify the carpet fitting steps that come next. Details like this separate a good job from a great one.
This section gives you a clear path for laying your carpet on underlay to the floor. From unrolling the padding to ensuring proper ventilation, each part aims to help you avoid typical installation mistakes. By handling small details early, you can achieve a smooth, cosy floor that stays in place.

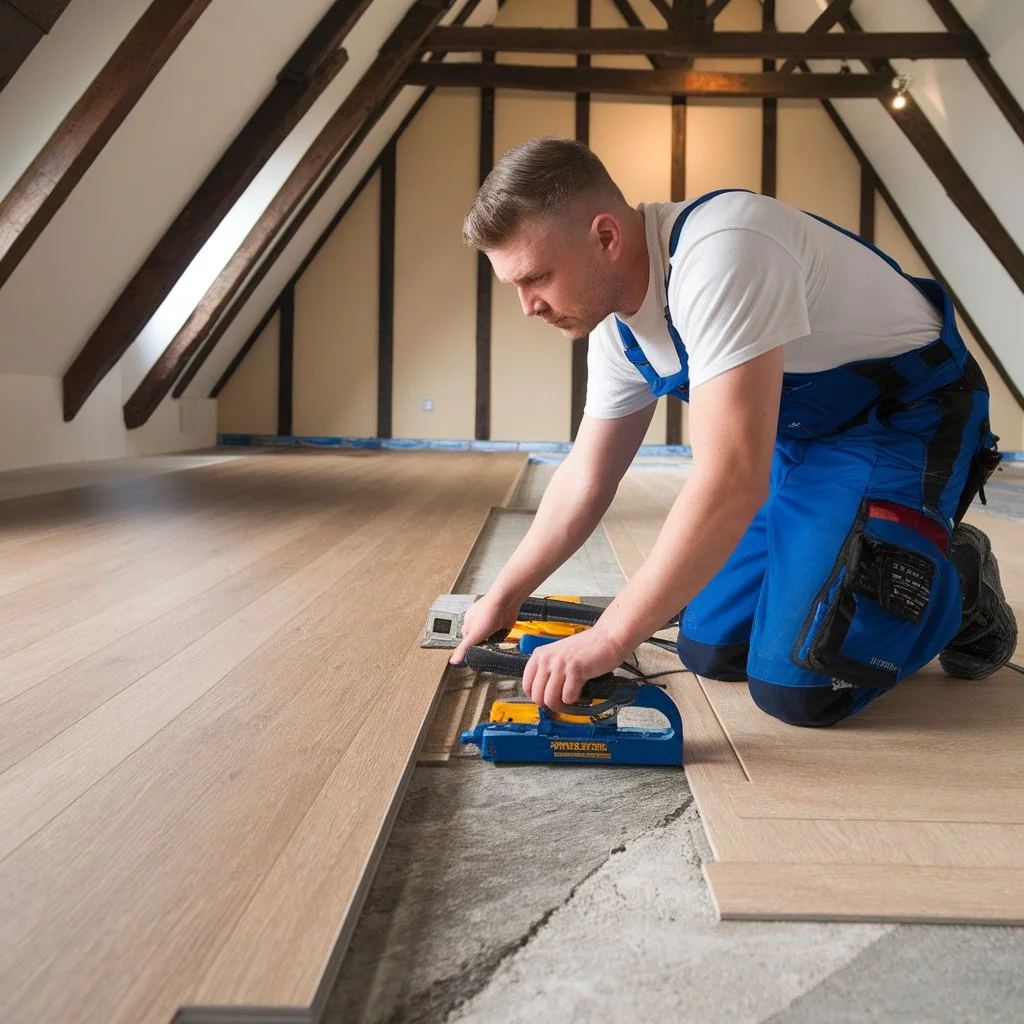
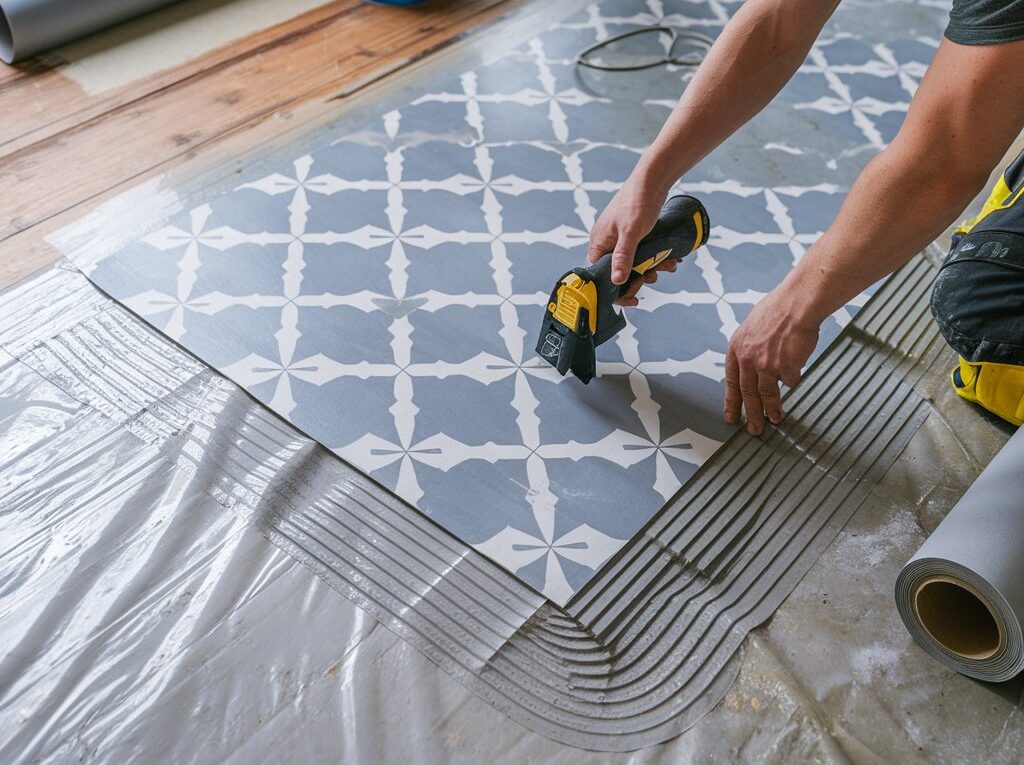
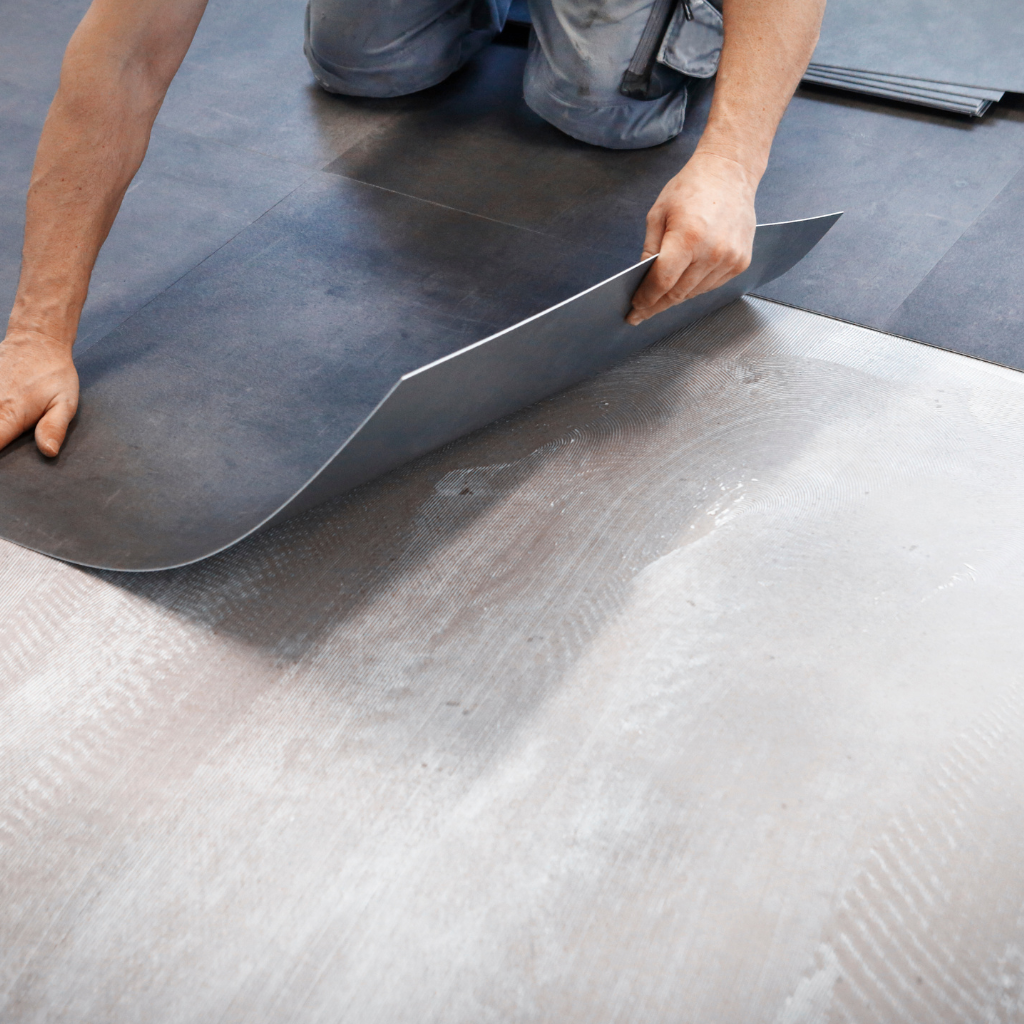
First, roll out the underlay in strips that match your room measurements. After that, position each piece edge to edge without overlapping. Overlaps can cause lumps under the carpet. Secure any seams with tape designed for flooring. This step prevents your carpet from moving around later. Always align the underlay with the carpet’s intended direction if the maker suggests a specific orientation. A stable underlay base goes a long way toward keeping the top layer free of ripples. Some rooms might have tricky corners, so plan your cuts carefully to fit around piping or built-in cabinets. Avoid guesswork by taking extra measurements. With consistent coverage, you reduce friction and help preserve your carpet’s freshness.
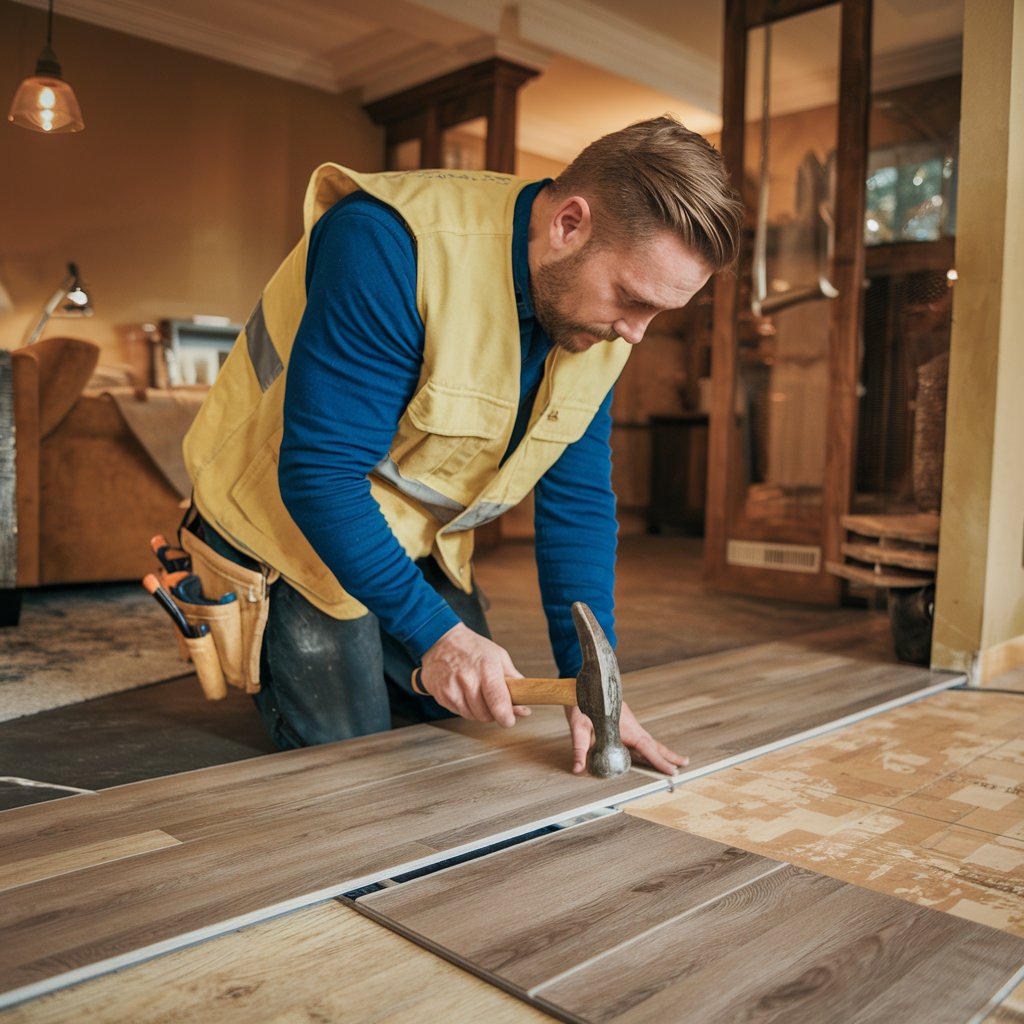
Before the underlay is fully finished, double-check that your carpet gripper is installed at the edge of the room. A gripper’s primary function is to hold and tension the carpet, so the pins should face the walls. Leave a small gap of about the thickness of your finger between the wood strip and the wall. This gap allows the carpet to tuck neatly. If you misplace the gripper, you might not achieve the tight stretch needed. Secure the strips with nails, glue, or special fasteners, depending on your subfloor type. In doorways, cut the gripper slightly shorter to allow for transition strips or thresholds. Properly arranged grippers help maintain a neat, stable floor for years.
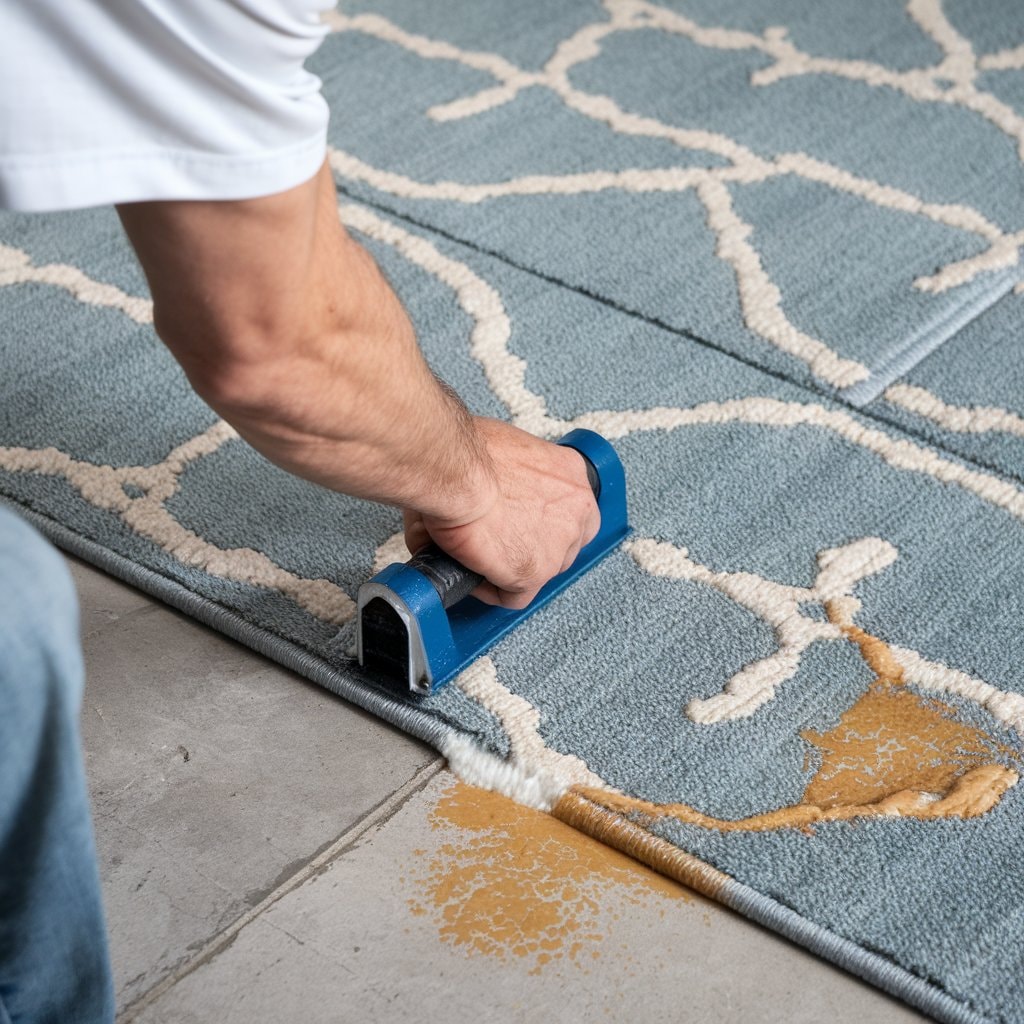
Each carpet has its underside texture. Some have a woven backing, while others use a synthetic layer. Always check the manufacturer’s notes to see how the underside of the carpet should align with your underlay. If the backing is stiff, it can show lumps if the underlay is creased underneath. Smooth out any folds in the underlay before rolling the carpet across. Kneel or walk lightly on the carpet surface to drive out air pockets, then trim the edges so the carpet fits snugly. Finally, secure the rug onto the gripper rods by pressing or stretching it in place. This final tensioning step helps avoid sagging or wrinkles, leaving you with a polished finish that will last.
Whether it’s your first time or your tenth, fitting carpet is simpler with expert pointers. Small touches like consistent tension, tidy edges, and solid seam sealing can transform an average installation into a home improvement triumph. These tips help you save time, money, and frustration.
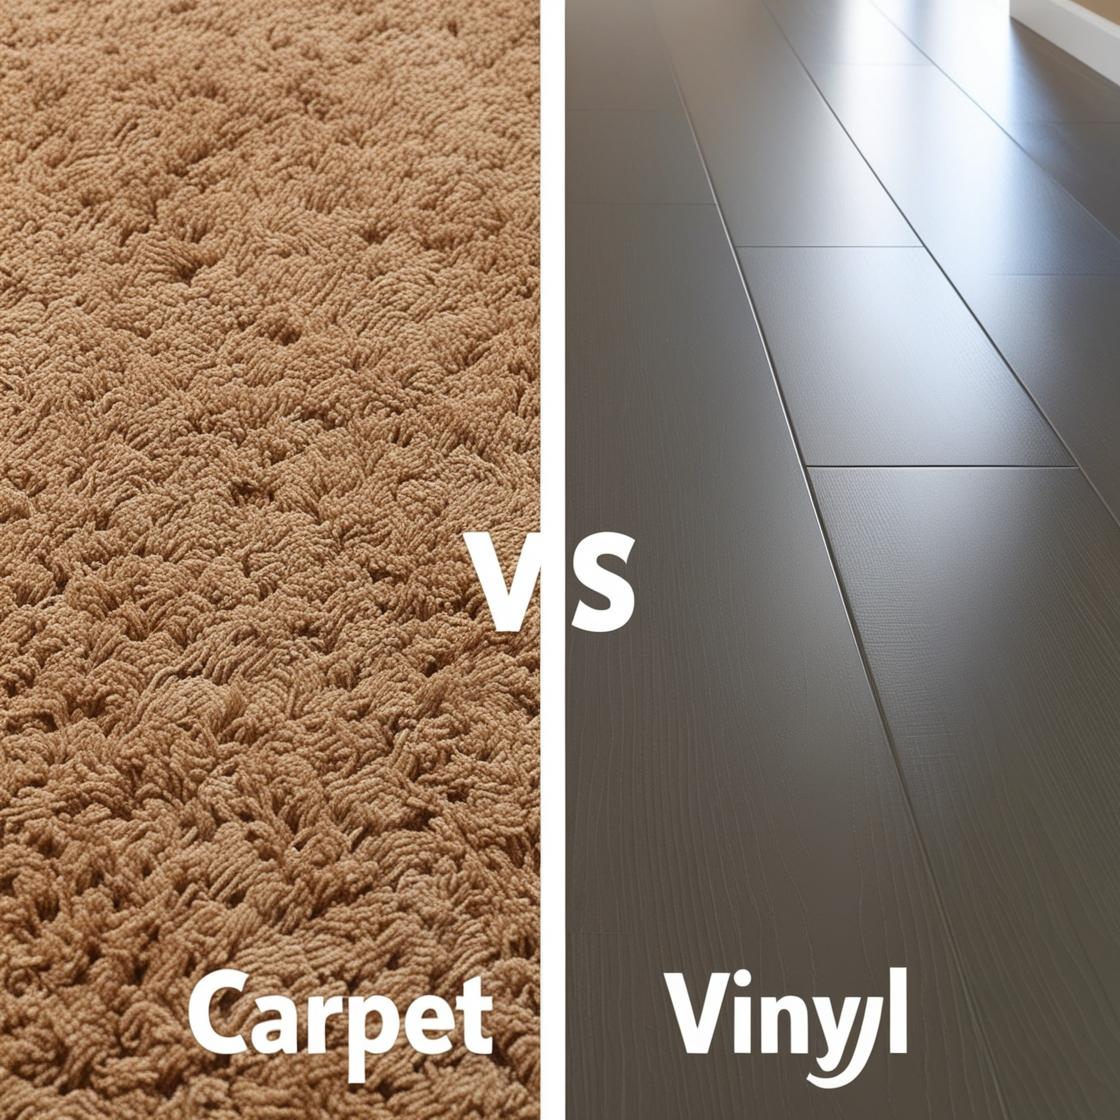
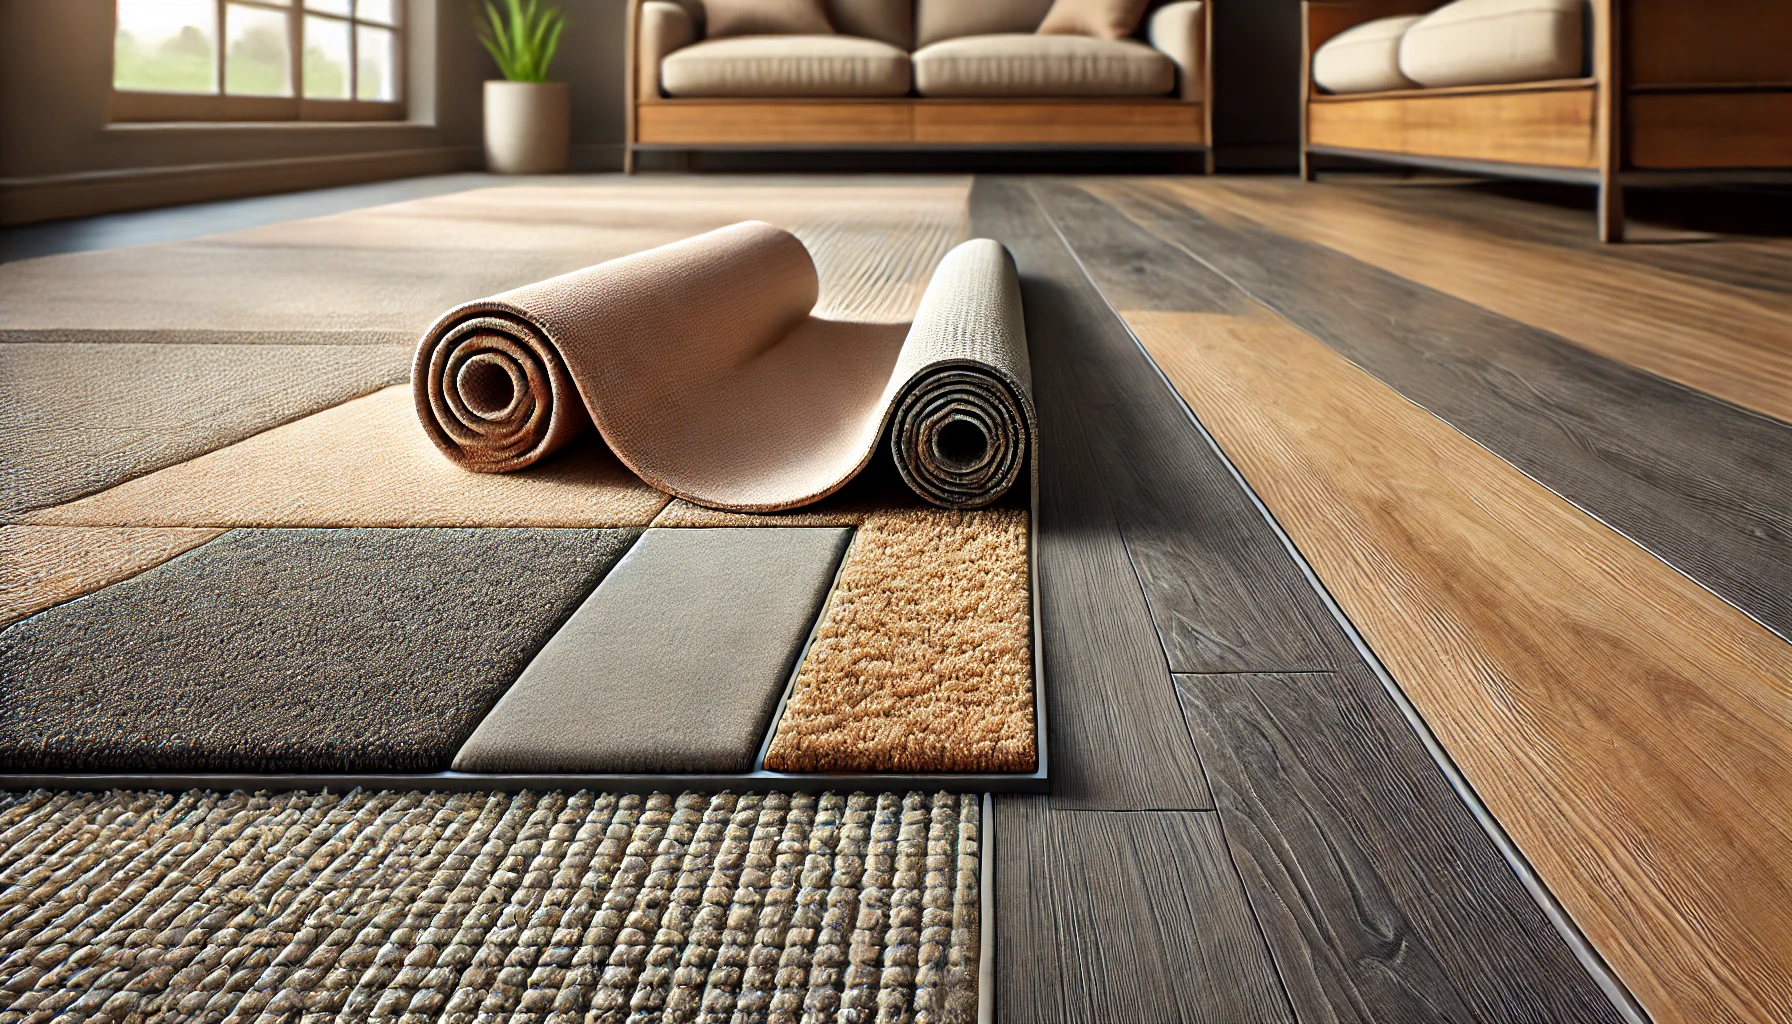
Not all carpets pair well with every underlay. Dense loop piles often benefit from a firmer underlay, while plush cut piles do better with medium cushioning. Matching the right pad thickness to your carpet type can minimise premature flattening. If you use a luxurious, thick underlay on an already deep carpet, you risk making door clearances tight. Meanwhile, a thin underlay on a tall carpet might allow lumps to be felt. Ask your carpet supplier about recommended pairings. A well-chosen rug and underlay combo softens footsteps, insulates rooms, and stands up better to daily foot traffic. You might spend more upfront, but the payoff is a floor that stays fresh and comfortable for many years.
Wrinkles often appear when the underlay shifts or the carpet loosens over time. To lay carpet underlay properly, staple or tape the underlay securely around edges and seams. Confirm that you’re not leaving lumps or folds trapped underneath, especially near room corners or around fixed furniture. When it’s time to place the carpet, use a power stretcher or knee kicker for a firm hold against the grippers. This tension helps the rug stay flat, even in high-traffic areas. If you notice small bumps, gently lift and reposition that area of the underlay before the final stretch. By going slowly and smoothing each section, you dramatically reduce the chance of unsightly folds creeping in later.

When you install carpet across multiple rooms, smooth transitions are key for a professional finish. Use a transition strip where carpet meets tile or hardwood. If the subfloor changes level, consider a ramped strip to keep the edge safe from flaking. For tools, many experts suggest a carpet trimmer, bolster or stair tool, and stair rods if you’re working on steps. Choose the proper adhesives and tapes designed for carpet or underlay, as generic formulas might let go faster. Keep your utility knife sharp to avoid jagged cuts. These careful touches help your carpet lie neatly and give your entire home a unified look, making the final result as pleasing to your eyes as it is to your feet.
Properly learning how to lay a carpet with underlay transforms your space, giving it both comfort and style. From removing old flooring and installing a carpet underlay to aligning each seam, patience and care matter. If you follow these steps, your carpet should remain cosy, stable, and great-looking for years. If you feel unsure about any phase, qualified professionals can handle the details and ensure a flawless finish. Whether you do it yourself or hire expert help, the result is a floor that you can take pride in every time you step inside.