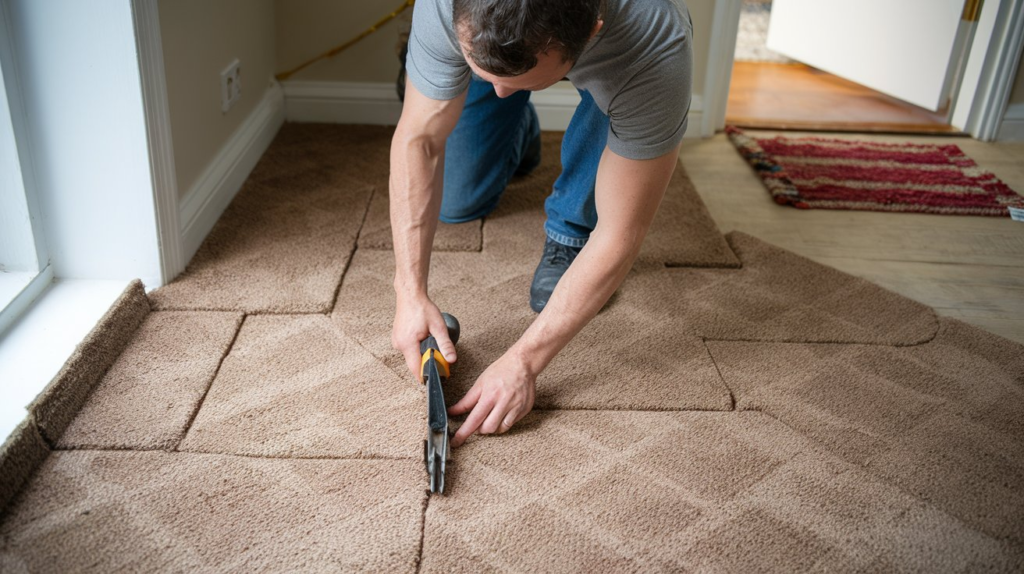
Carpet tiles are a favoured option for many homes and offices, offering an easy way to add comfort and style to any room. Whether you're working with standard tiles or fitting custom carpets into unique layouts, finding the best way to cut carpet tiles can pose a challenge, especially when dealing with corners and tight spaces.
Proper cutting techniques ensure seamless transitions and a professional-looking finish that can transform any space. This article offers valuable insights into the precise methods of laying carpet tiles, focusing on achieving perfect fits around obstacles and ensuring longevity.
With years of experience in providing top-tier flooring solutions directly to your doorstep, we understand the importance of accurate installation. Our family-run business prides itself on delivering exceptional service and advice on everything from choosing carpet tiles to installing them efficiently in your home or office.
Discover expert tips for cutting carpet tiles like a pro.
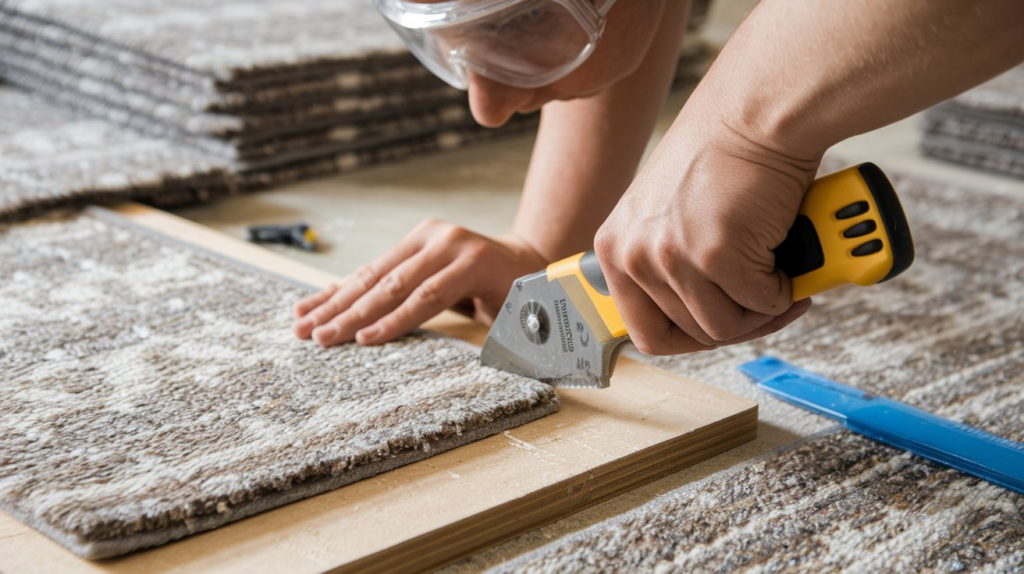
To cut carpet tiles properly, you will need a few essential tools. A sharp utility knife is vital for precise cuts and can handle most cutting tasks with ease. Ensure your utility knife has a fresh blade to avoid fraying the edges of the cut carpet tiles afterwards.
You'll also require a straight edge or ruler to guide your cuts and make them perfectly straight. For marking out your cut lines clearly, chalk or a marker pen will be necessary.
Always use a new blade in your utility knife to ensure clean, smooth cuts.
A tape measure is indispensable for accurately measuring both the space where you intend to lay carpet tiles and the tiles themselves. Accurate measurements are crucial for achieving a professional finish without wasting materials.
Armed with these tools, cutting carpet floor tiles becomes an easy task that ensures seamless carpet transitions even around tight spaces.
Discovering how to prepare the floor before installing your precisely cut carpet tiles is next on our agenda.
Accurately cutting carpet tiles guarantees a professional finish to your floor project. Having the correct tools simplifies the task and results in neater cuts.
With these essential tools gathered, your next step is to concentrate on preparing the floor for the installation of attractive carpet tiles.

After discussing the essential tools for cutting carpet tiles, it's clear that mastering the use of a utility knife is crucial for DIY flooring projects. To cut through carpet tiles efficiently, ensure your utility knife has a sharp blade.
A dull blade can tear the carpet pile instead of slicing a sharp knife cleanly through it. Change blades regularly to maintain precision in your cuts.
For an accurate cut, firmly press down on the utility knife and follow your marked line without hesitation. Keep your fingers clear of the cutting path to prevent injuries. Practice makes perfect; try cutting on scrap pieces before moving onto actual tiles you need to install securely around the perimeter or in corners.
This hands-on experience will increase your confidence and improve your skill at laying tiles precisely where they need to be, ensuring professional-looking results every time.
To ensure a straight cut line when installing carpet tiles, first measure and mark your cutting line carefully on the top tips On the back of the tile, use a straight edge or ruler to guide your utility knife as you cut through the tile.
This technique prevents wavy lines and ensures each piece fits snugly next to its neighbour. Accuracy is critical in laying carpet tiles, especially in corners and around obstacles where precision cuts make all the difference.
A sharp utility knife and a firm, steady hand are essential for achieving clean, straight cuts on carpet tiles.
Now that you have mastered cutting for a perfect fit, preparing the floor before installation becomes your next step. A well-prepared surface makes laying tiles easier and leads to better results.
Checking the subfloor condition is crucial before you start laying the carpet tiles. Make sure the floor is flat and free of cracks. If you find any damage, fix it first. This step ensures that your carpet tiles on a concrete floor will lie evenly and last longer.
A clean surface is critical to a successful installation. Sweep and mop your floor to eliminate all dirt and debris. For better results, consider using an underlay beneath the carpet tiles. It improves comfort and extends the life of your carpet tiles.
Inspecting the subfloor condition is a crucial step before laying carpet tiles. A stable, clean, and level surface ensures your carpet tile installation goes smoothly. Look for any cracks or uneven areas that could affect the final look.
Make sure to seal these problems or use underlay for an even better finish. This prep work helps in achieving professional-looking results suitable for home flooring projects.
A damp subfloor can ruin your new carpet tiles by causing mould growth or tile warping over time. Always check moisture levels with a meter, ensuring they fall within acceptable ranges suggested by the manufacturer.
Keeping the subfloor dry and well-prepared will extend the life of your carpet tiles and maintain their appearance in large areas or tight spaces alike.
Preparing the floor before laying carpet tiles ensures the result looks professional and lasts longer. A clean surface is crucial for a successful installation. Dust, dirt, and moisture can hinder the adhesive's ability to bond correctly with both the subfloor and the tiles.
This could lead to tiles shifting or peeling over time, ruining your hard work. Before starting your flooring project, take the time to check and clean your subfloor thoroughly. Seal any cracks or holes to create an even base for your carpet tiles. If you're also planning to clean other types of flooring, check out these cleaning tips for tiles to maintain a spotless finish throughout your home or office.
Using underlay also enhances this process by providing a smoother surface that supports adhesion and adds another layer of durability to your flooring solution. It improves noise reduction properties, too, making it an essential step for rooms where comfort and quiet are priorities.
By ensuring cleanliness from the beginning, you lay a strong foundation that will support your chosen carpet tiles well into the future, maintaining their appearance and functionality.

After ensuring the surface is clean for putting down carpet tiles, it's important to consider the employment of underlay. Underlay behaves as a supportive base that boosts comfort and endurance.
It elevates insulation, lessens noise, and can even prolong the life of your carpet tiles by supplying an extra protective layer against wear and tear.
A competent underlay makes every step on your carpet softer and lengthens its lifespan, says a recognised flooring expert.
Underlay also performs an essential repair function in smoothing out minor flaws on the subfloor. This preparation means you can place carpet tiles more easily, achieving superior outcomes.
Despite being hidden once installed, selecting the correct underlay is a significant step for successful floor renovation projects.
The Best Way to Cut Carpet Tiles: Tips for Installing and Laying Carpet in Corners 5
Laying carpet tiles requires precision and patience. Follow these steps to ensure your flooring looks professional and lasts for years.
Following these steps will help you achieve a neat look while installing carpet tiles effectively in any space.
Taking careful measurements and plotting the tile layout are essential steps for achieving a professional finish. Begin by identifying the room's midpoint. Doing so helps establish a balanced aesthetic with whole tiles in view upon entry, resulting in less noticeable cut tiles around the margins.
Identify this central point by measuring both the room's width and length. Ensure to mark it distinctly on your subfloor.
Following that, slightly reposition your starting point if it aids in preventing tiny tile bits at the border. It is preferable to shift a few centimetres rather than contend with tricky tile fragments later.
Draw guidelines from your commencement point extending to every wall. These lines will maintain your installation's alignment as you place tiles in the same direction, forming a uniform pattern throughout all the tiles and the room.
Taking time to plan appropriately guarantees each piece fits flawlessly, simplifying the task and yielding top-quality results.
Beginning your carpet cleaning and tile installation from the middle of the room ensures a symmetrical layout. This method makes sure that any cut tiles needed to fit along the edges are evenly sized, which improves the overall look of your flooring.
It also helps in making accurate adjustments for rooms that may need to be more perfectly square. To identify this central starting point, measure and mark the midpoint of each wall. Then, draw lines between these points to divide the room into four equal quadrants.
Laying carpet tiles from this centre point outwards allows for easy alignment and directional consistency across the whole floor area. Ensure all tiles face in the same direction unless you choose a specific pattern that requires alternating orientations.
This technique aids in achieving a seamless appearance. It eliminates common errors during DIY installations or when laying down new designs for renovations or updates in home decor and commercial spaces alike.
Laying the carpet tiles in the same direction is crucial for a professional finish. Each tile has arrows on the back that guide you. Make sure these arrows point in the same direction across your whole room.
This uniformity creates a seamless look and prevents mismatched patterns or textures.
Before you start laying, decide on your starting position. Adjust this based on room shape and tile pattern. Consistency here makes installation smoother and ensures the best results. Aligning all tiles correctly from the beginning saves time and avoids unnecessary adjustments later on.
Cutting carpet tiles around obstacles requires precision and the proper technique. Here are steps to ensure clean cuts and a professional finish in tight spaces.
These steps help navigate through installing carpet tiles around tricky areas, ensuring that DIY renovations look professional every time.

To cut carpet tiles around the perimeter, you need precise techniques. First, measure the gap between the wall and your last full tile. Mark this distance on a new tile using a straight edge to ensure accuracy.
Then, lay another tile on the floor on top of the one to be cut, making sure it's flush against the wall as a guide for where to cut. This method helps adjust for any uneven edges of the room.
Always make sure your knife is sharp for cleaner cuts along the line.
For corners and irregular shapes, create paper templates of the area. Place these templates onto your tile to mark cutting lines accurately. This way, you fit tiles neatly around obstacles like door frames or pipes without wasting material due to mis-cuts.
Cutting carpet tiles to fit corners and irregular shapes can seem challenging at first. Homeowners and builders need to mark the cutting line accurately on the tile they plan to adjust.
First, place the whole tile over the last full tile nearest to the corner or obstacle, ensuring it overlaps. Then, take another whole tile and butt it against the wall or obstruction as a guide for marking your cut line on the overlapping tile.
This technique ensures precision without guesswork.
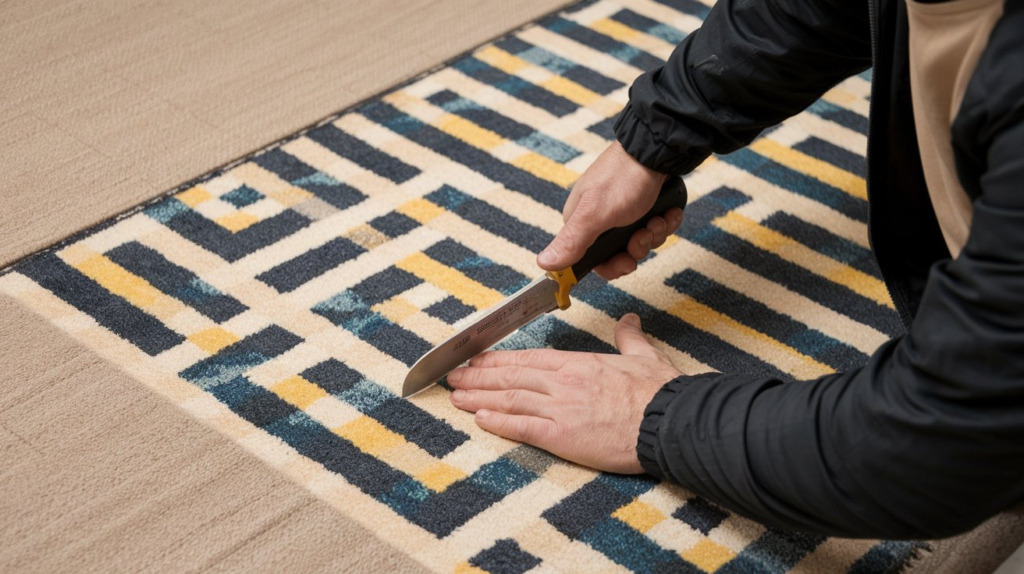
For complex cuts around door frames or other protrusions in concrete, use a sharp utility knife and follow your marked lines closely. Always cut onto a firm surface to avoid accidents and ensure clean edges.
With patience, you'll find that even awkward spaces become easy to tackle, leaving no visible gaps in your finished flooring design—laying tiles with accuracy transforms any room renovation project into a professional-looking space homeowners will cherish.
Securing carpet tiles properly ensures a long-lasting finish that can enhance any room. The process involves easy steps that need careful attention for the best results.
We will be focusing on corner installations next.
Employing double-sided tape or carpet tape is an integral step in making sure that your carpet tiles stay securely in position. This approach is unusually practical for locales with high foot traffic where the tiles necessitate added stability to avert movement.
House owners and contractors alike regard this advice as indispensable for both room transformations and new fittings. The process is simplified by removing the tape's protective layer and pressing it onto the subfloor before positioning all the tiles.
Implementing this adhesive affords a swift resolution and guarantees prolonged outcomes without impairing the surface underneath. Interior designers frequently suggest this method when working on tasks that require an uncomplicated yet dependable flooring solution.
It permits adaptability if you opt to alter your arrangement or substitute tiles over a while, making it a popular choice for those interested in improving their home’s interior with the least amount of trouble.
Applying carpet tile glue provides the extra hold needed for a secure installation, especially in high-traffic areas. This method ensures that each tile stays firmly in place, eliminating any movement and reducing wear over time.
Homeowners and professionals alike prefer using a specific adhesive designed for use with carpet tiles. Spread the glue evenly onto the subfloor before laying down the tiles. This step is essential for attaining a polished result and prolonging the life of your carpet.
To complete this task effectively, follow the manufacturer’s instructions on drying times. It often needs at least 24 hours to set fully before walking on or adding furniture to the other side of the room.
Next, focus on finishing touches like rolling and trimming to ensure everything looks great and functions well.
After installing carpet tiles, the next step is to roll them. This ensures they stick well onto the floor and blend seamlessly together. Use a lightweight roller for this task. It helps press down the tiles firmly against the adhesive underneath, whether that's double-sided tape or glue.
If you don't have a roller, walking over each tile cautiously can also do the trick.
When laying your tiles in a checkerboard pattern, be mindful of the pile direction to maintain a consistent look. Trimming comes into play around edges and corners where whole tiles might not fit perfectly. A sharp utility knife works best for these cuts. Double-check your measurements before cutting to prevent any errors that could waste materials and save money.
Trim slowly along your marked line for precision cutting of the carpet tile, making sure to avoid cutting off thin slivers. This ensures it fits snugly against walls or other obstacles without leaving gaps or overlaps. These steps are vital in achieving professional-looking results in your DIY carpet laying project.
Mastering the art of laying carpet tiles enhances room renovations, transforming spaces with warmth and style. From selecting the right tools to cutting tiles accurately, every step is vital for a professional finish.
The correct installation techniques ensure durability and aesthetic appeal, making DIY projects successful. Perfectly installed carpet tiles improve home environments, proving that choosing quality materials and adhering to proper methods pays off in both appearance and longevity.