To remove vinyl flooring and tile glue, gather tools like a utility knife, scraper, and heat gun. Pry up vinyl edges, soften adhesive with heat, and scrape steadily. For glue, identify the type, focus on the thick perimeter, and use a solvent as needed. Clean the subfloor by sweeping and mopping, checking for stubborn glue. Inspect and repair the subfloor for a stable foundation. There's more to learn about ensuring a smooth vinyl flooring transition.
Before you start removing vinyl flooring, it's helpful to understand its types, common uses, and benefits.
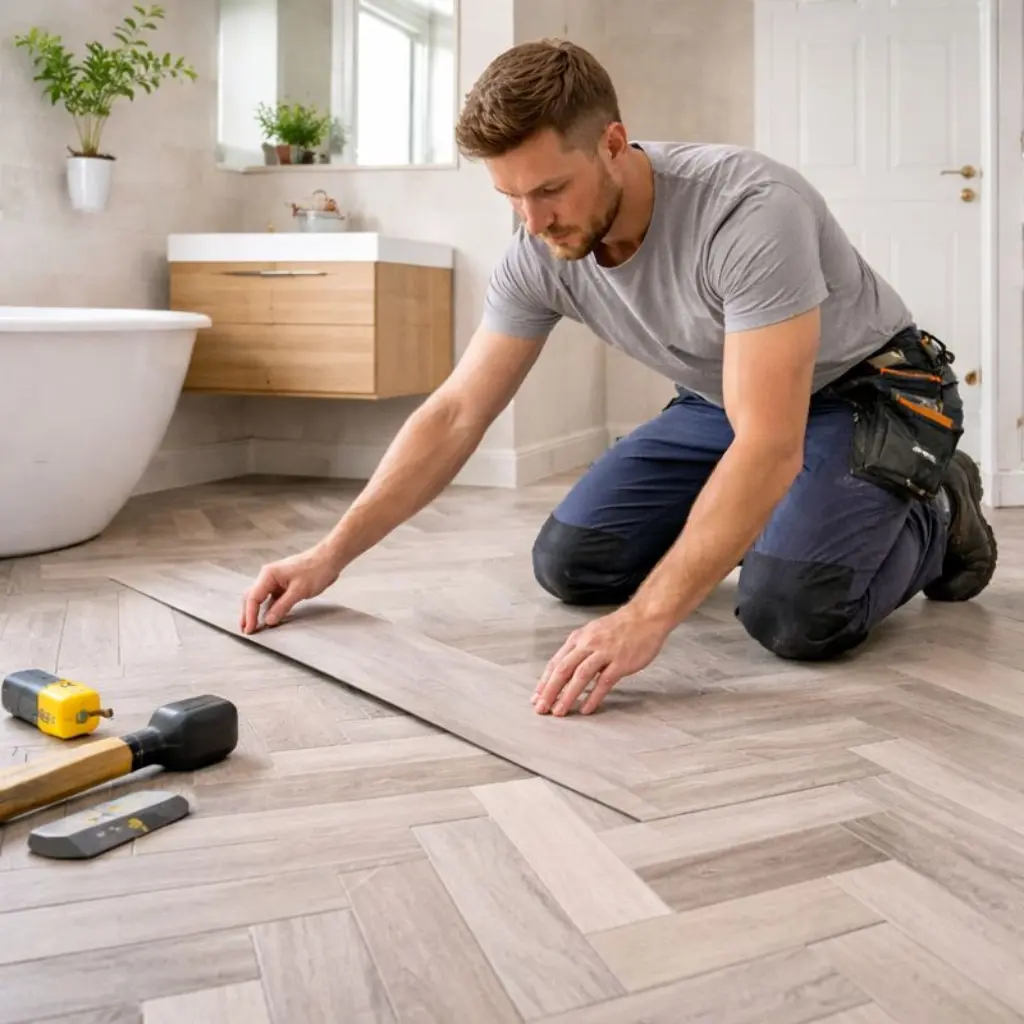
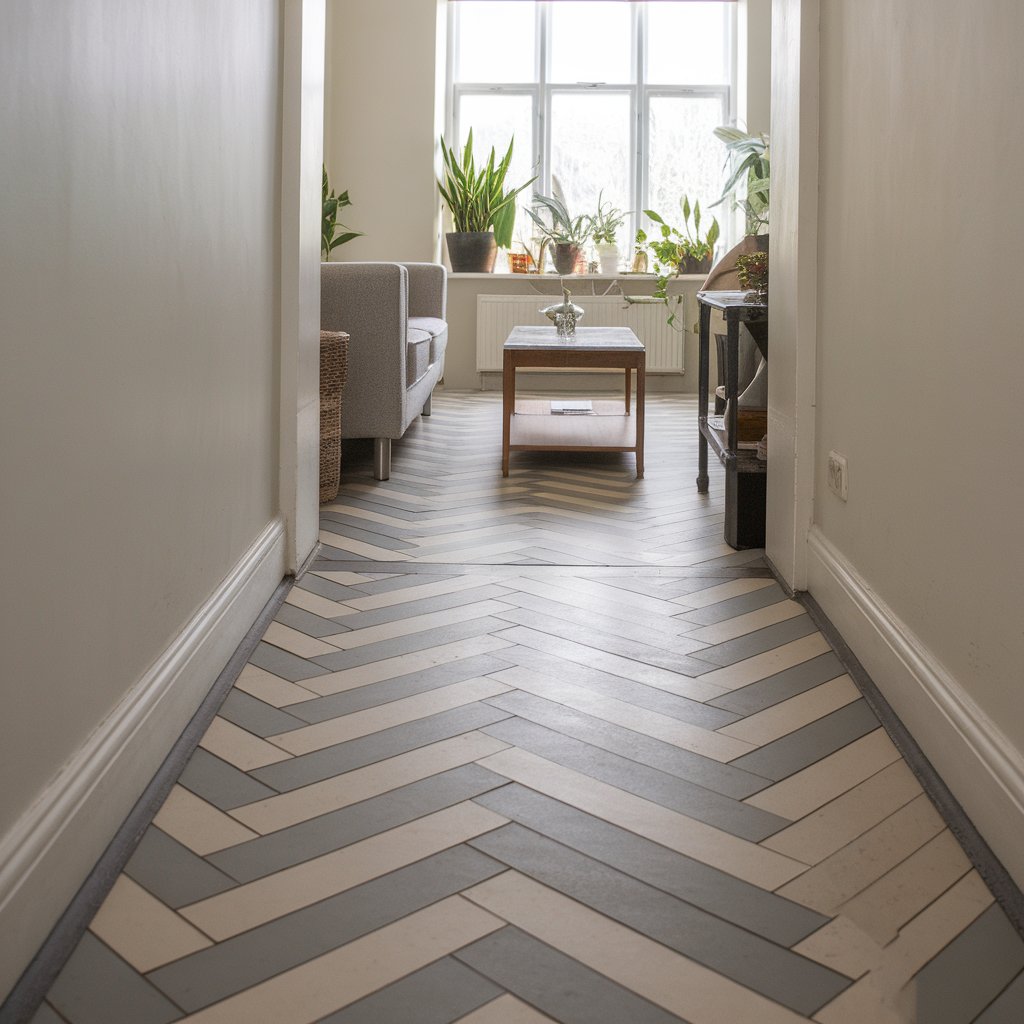
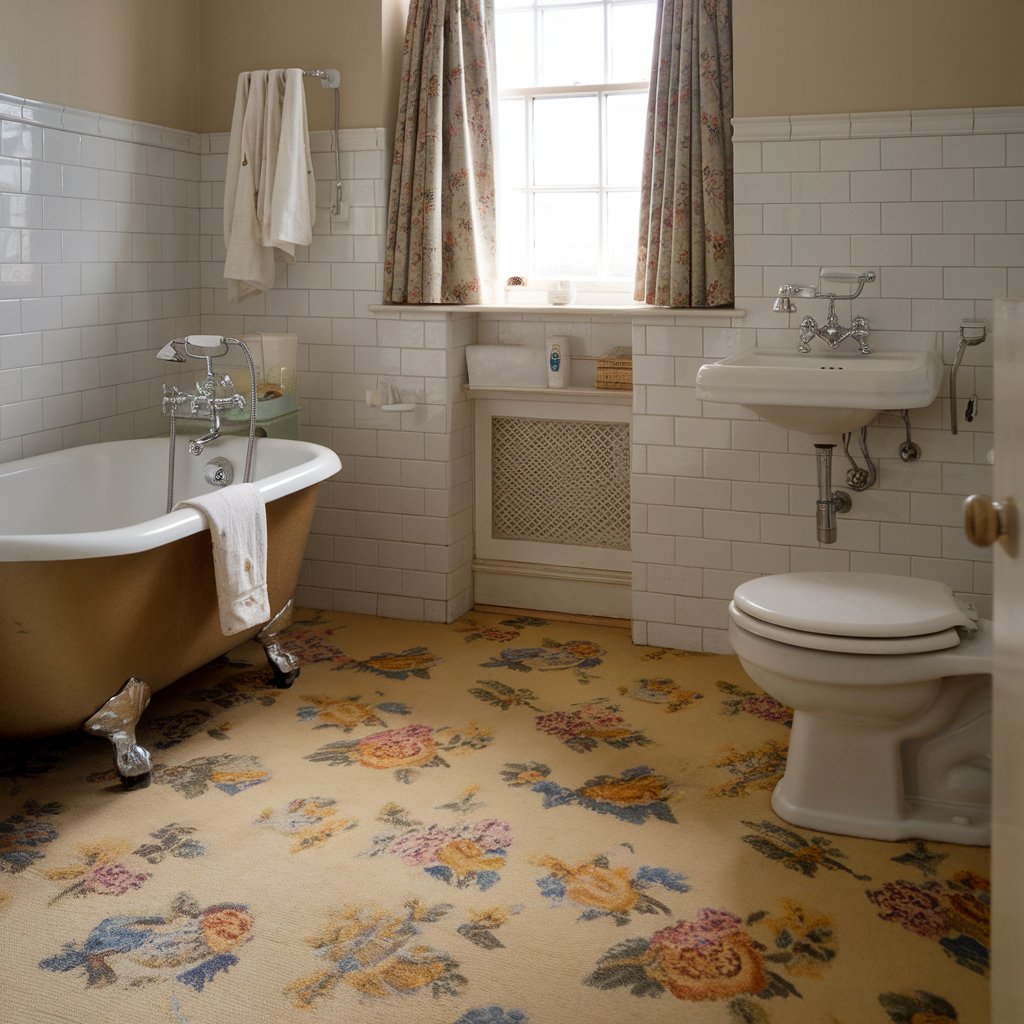
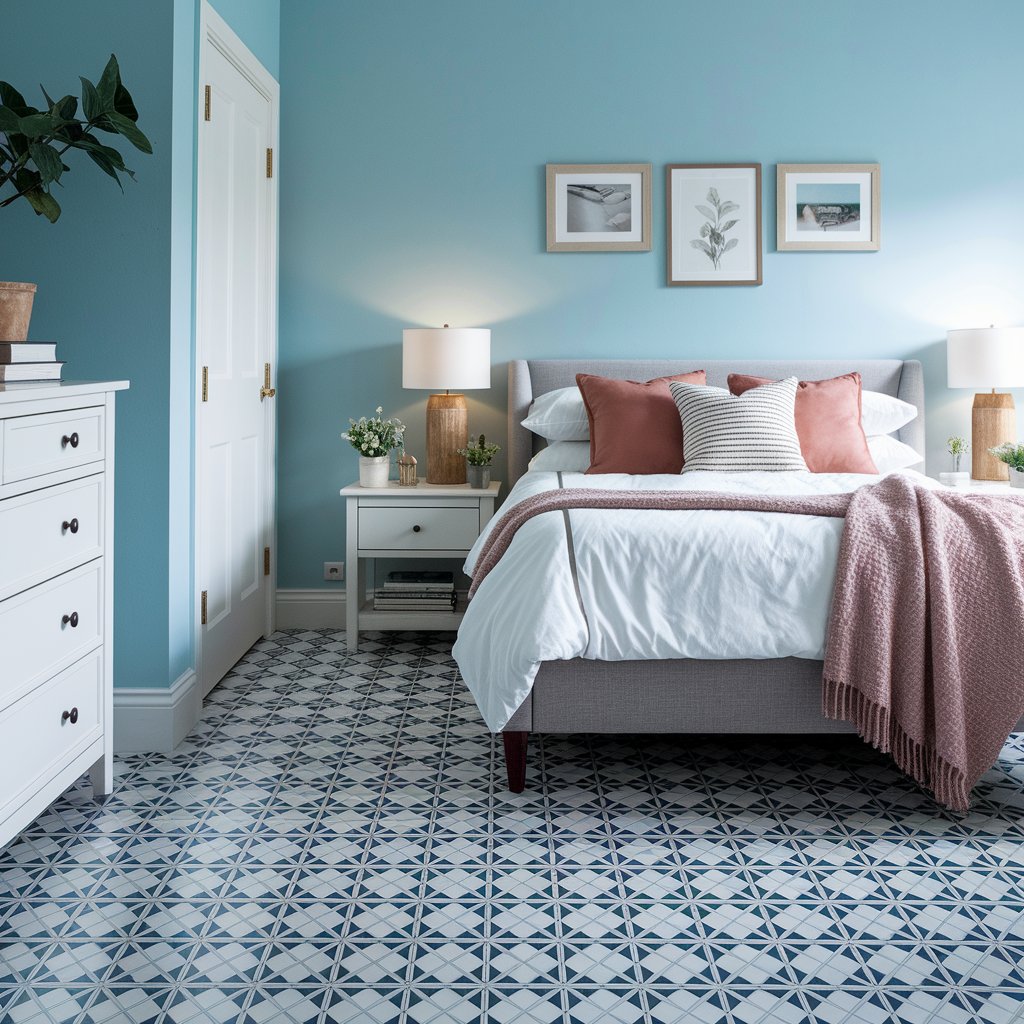
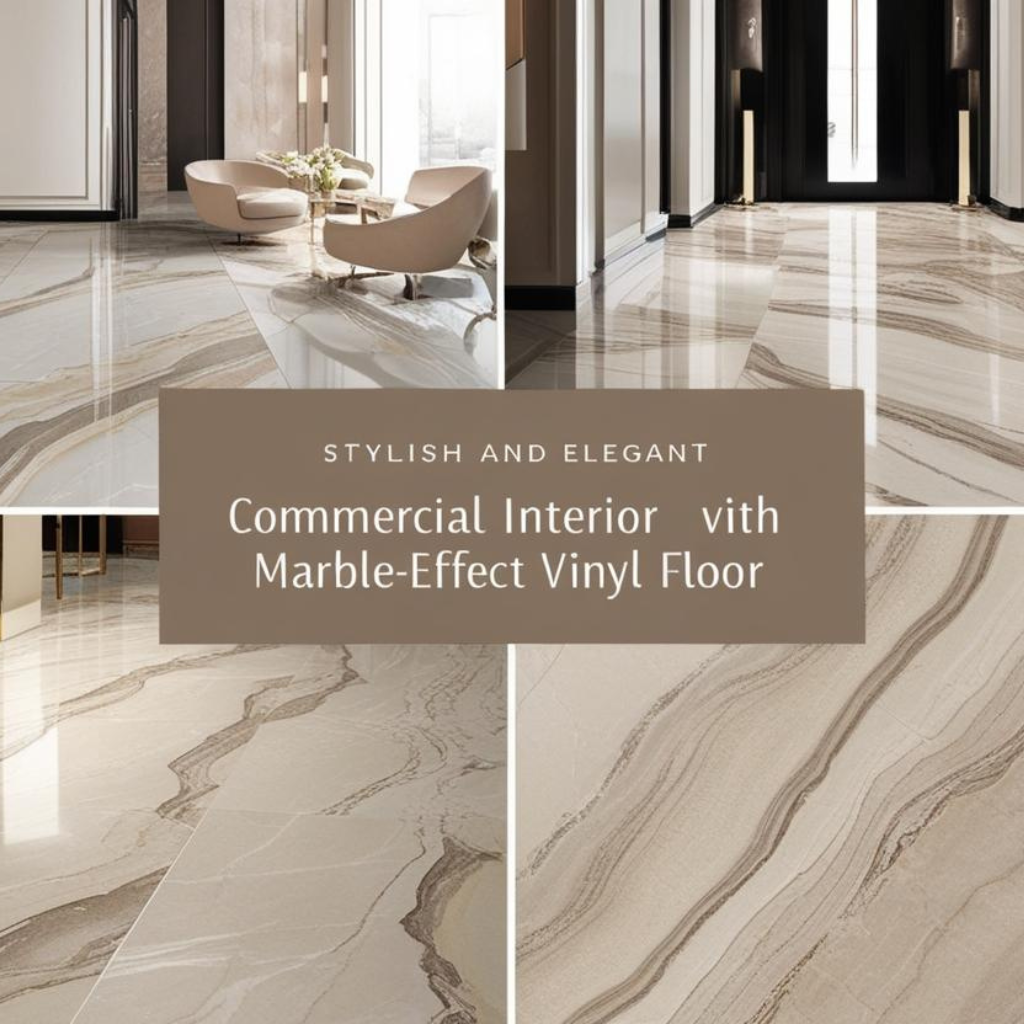
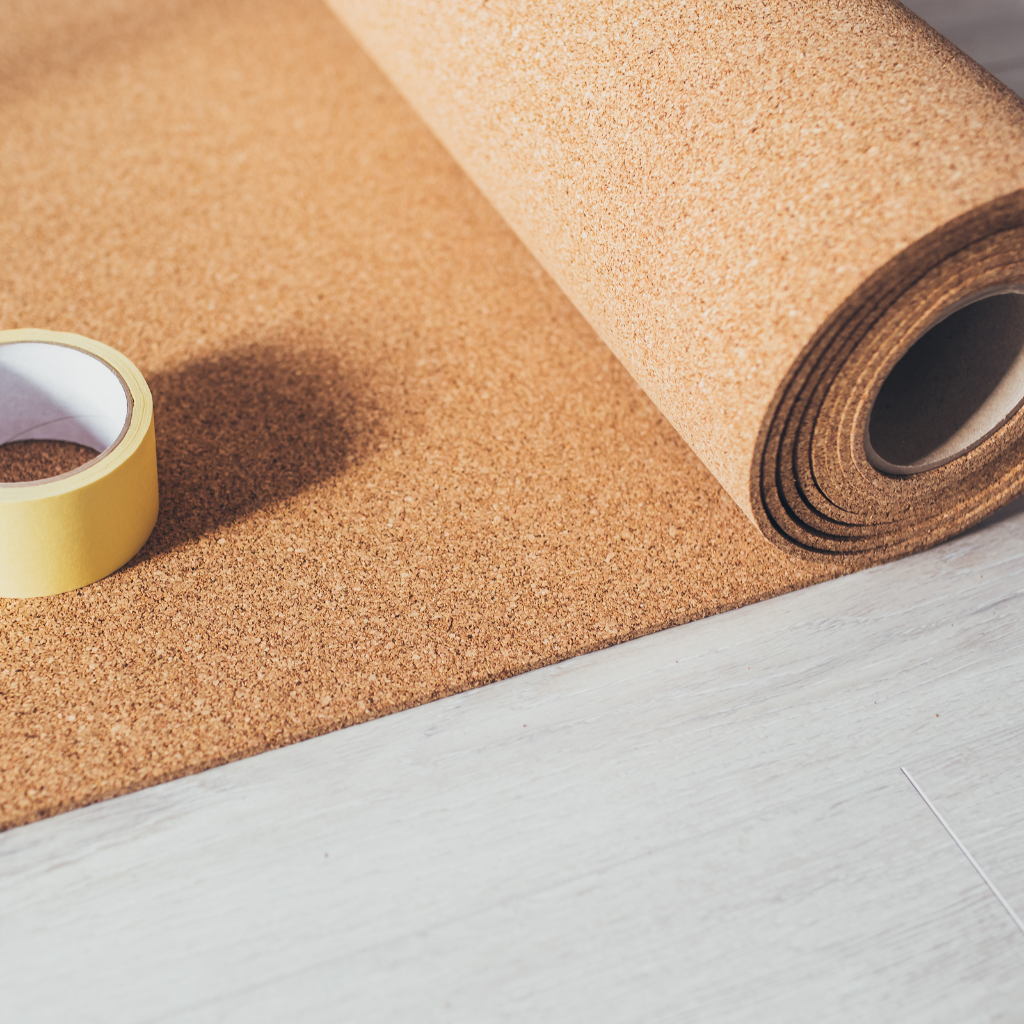
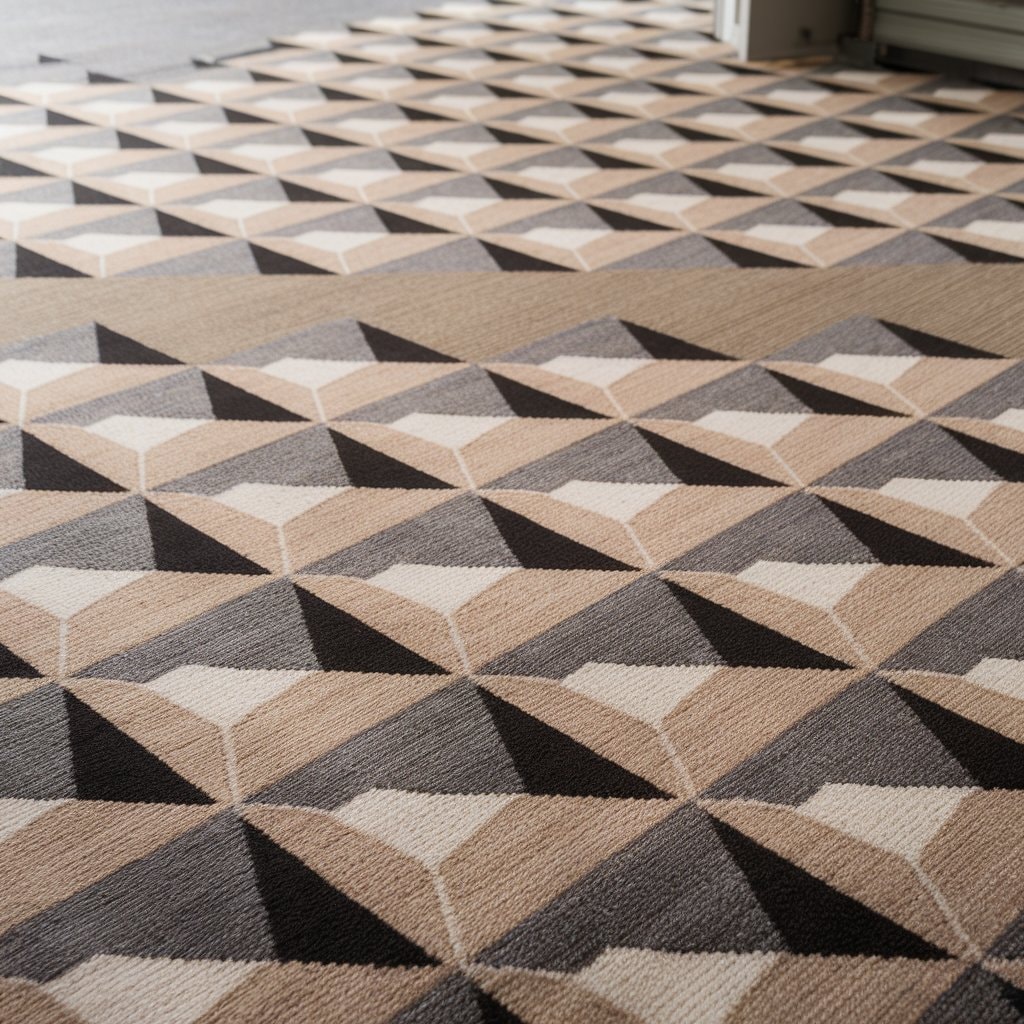
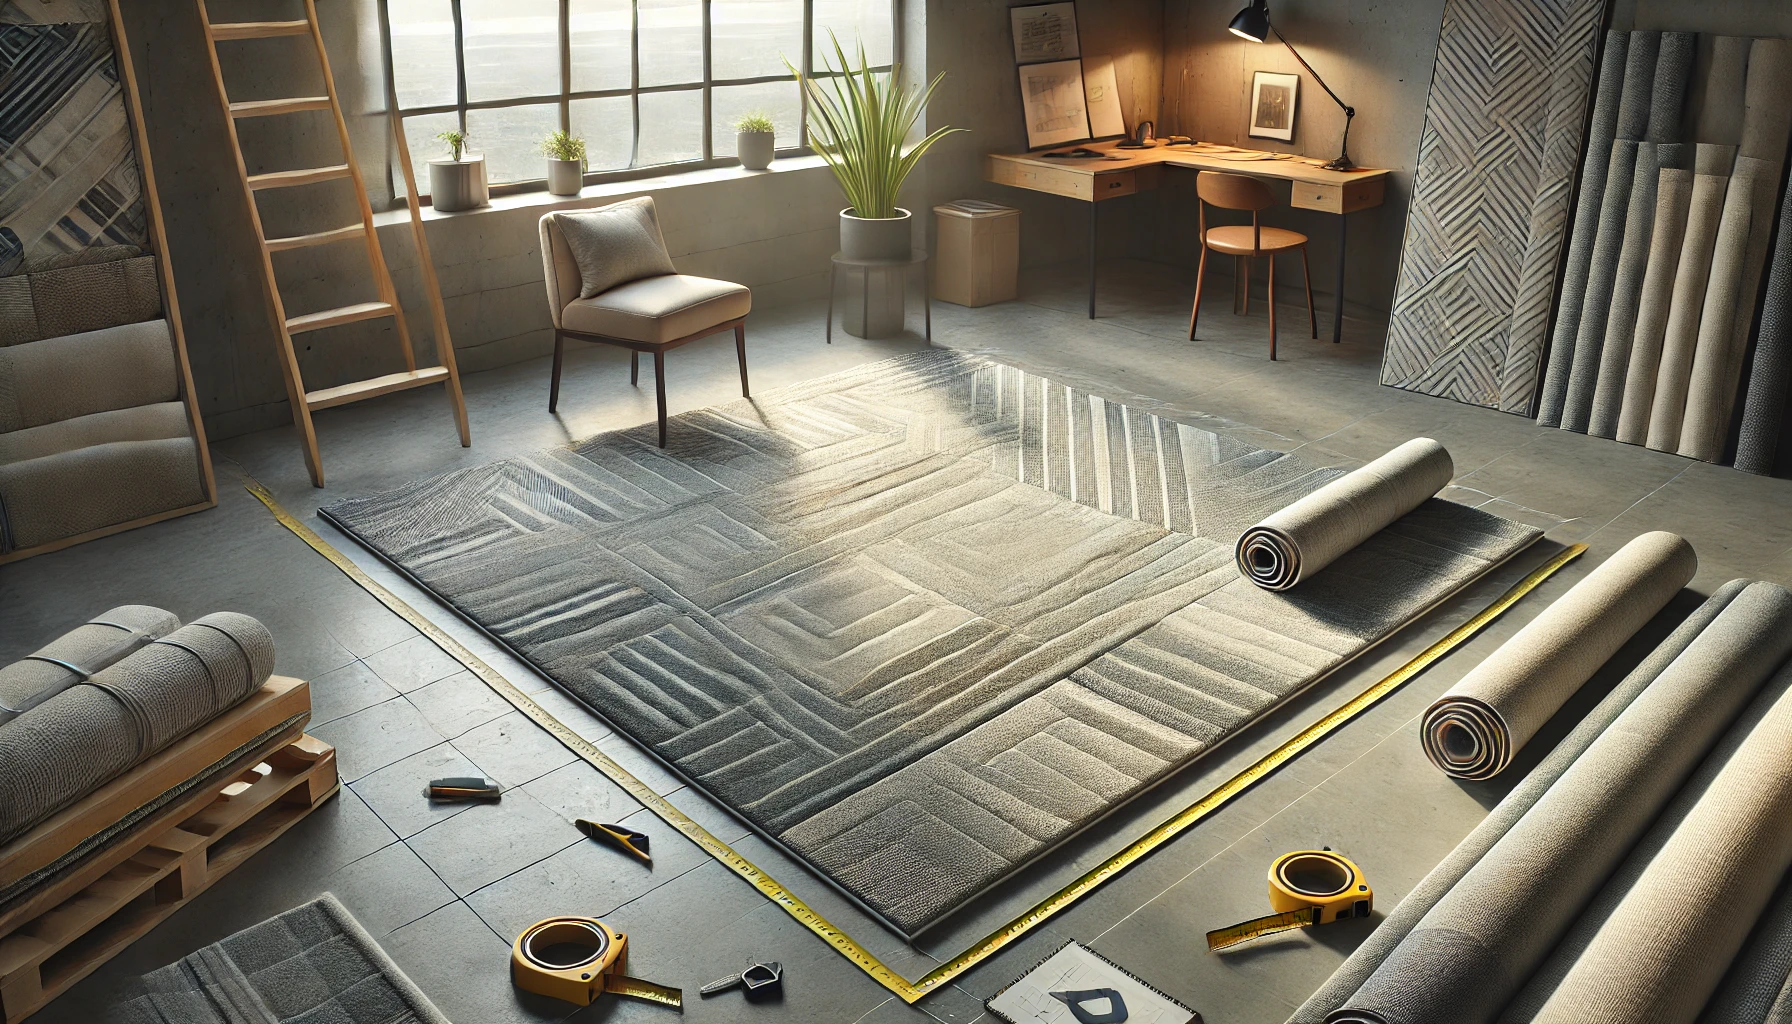
Vinyl flooring comes in several forms, like sheets, tiles, and planks, each serving different needs in your home. Known for its durability and water resistance, vinyl tile flooring is popular in kitchens and bathrooms.
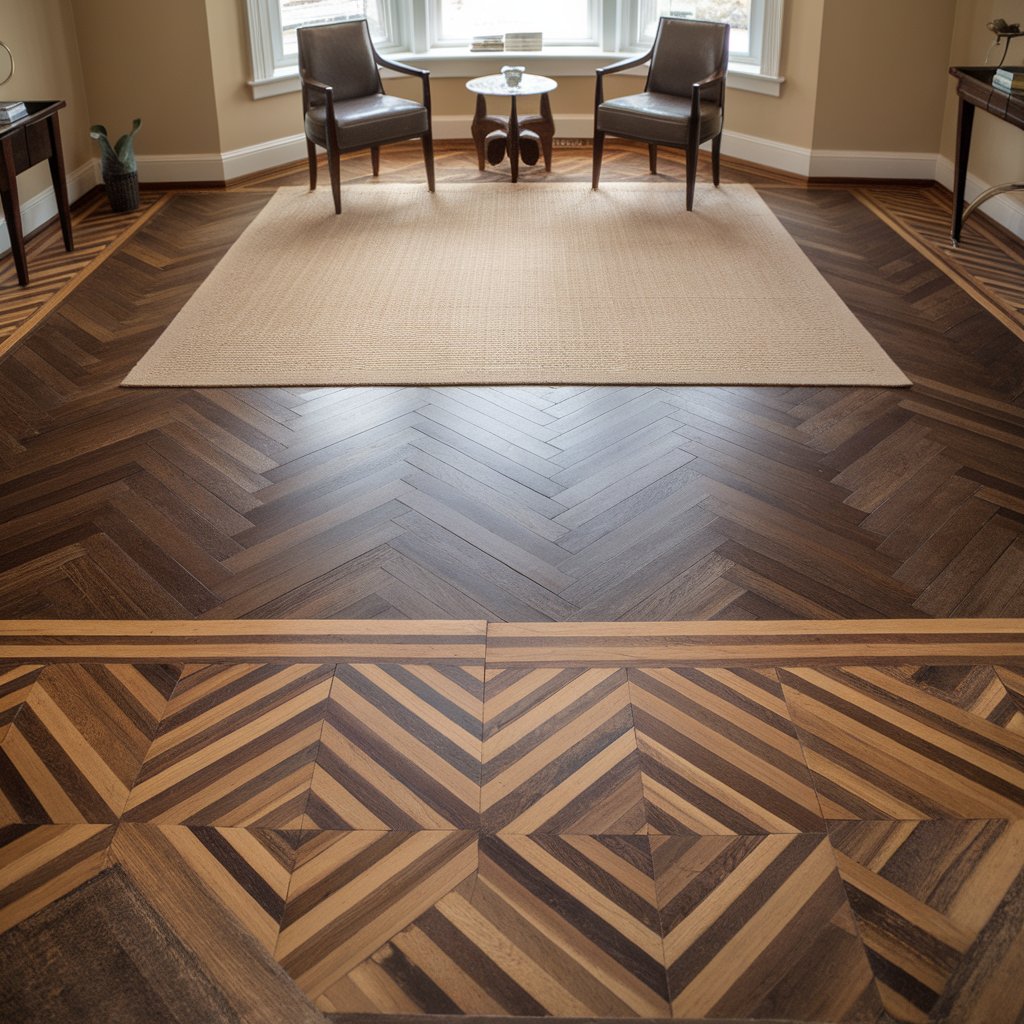
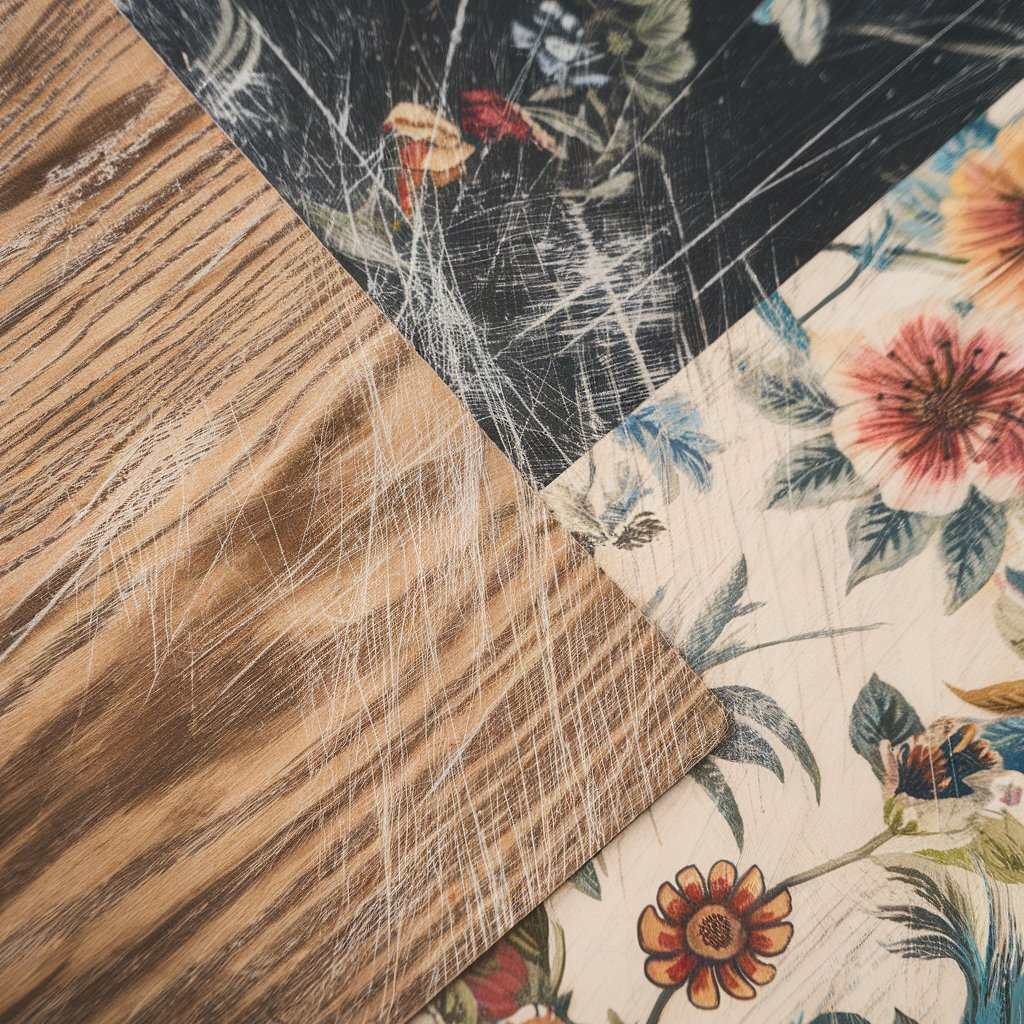
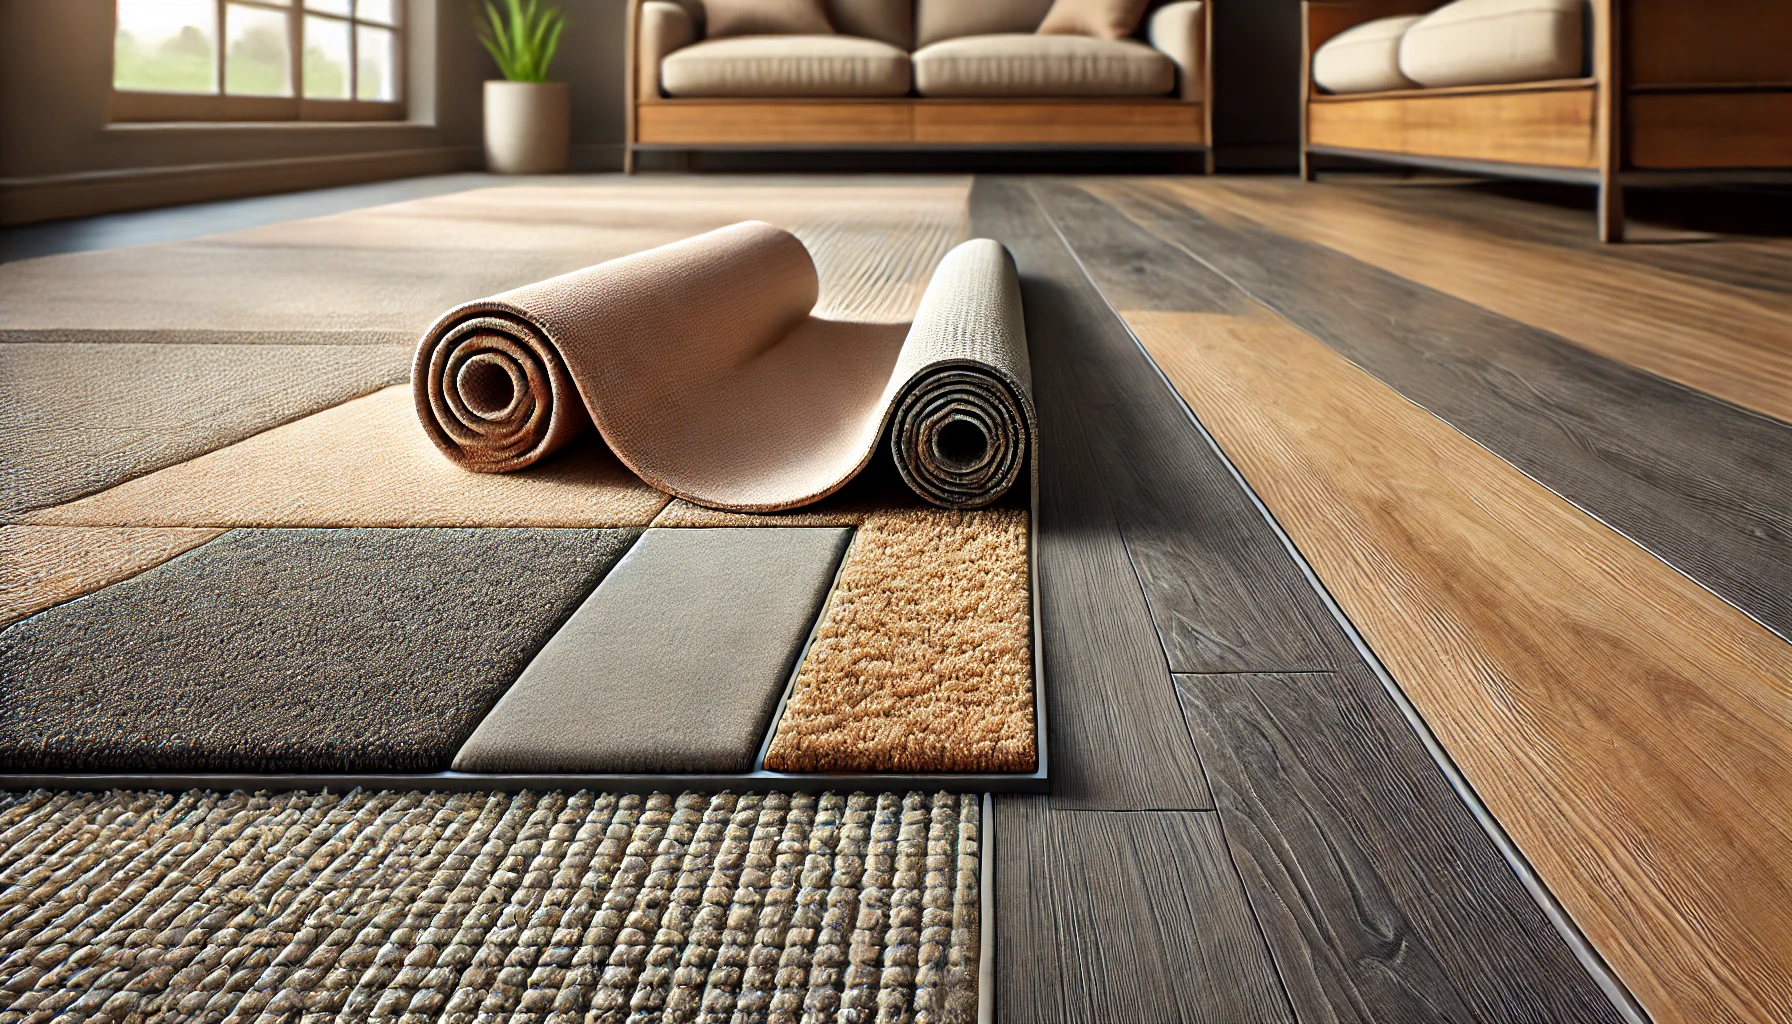
Vinyl flooring offers a versatile array of options, making it a popular choice for many homeowners. As you explore, you'll discover luxury vinyl, which mimics high-end materials while offering durability and affordability. Learn about the different types of luxury vinyl tile to find the perfect match for your space and style.
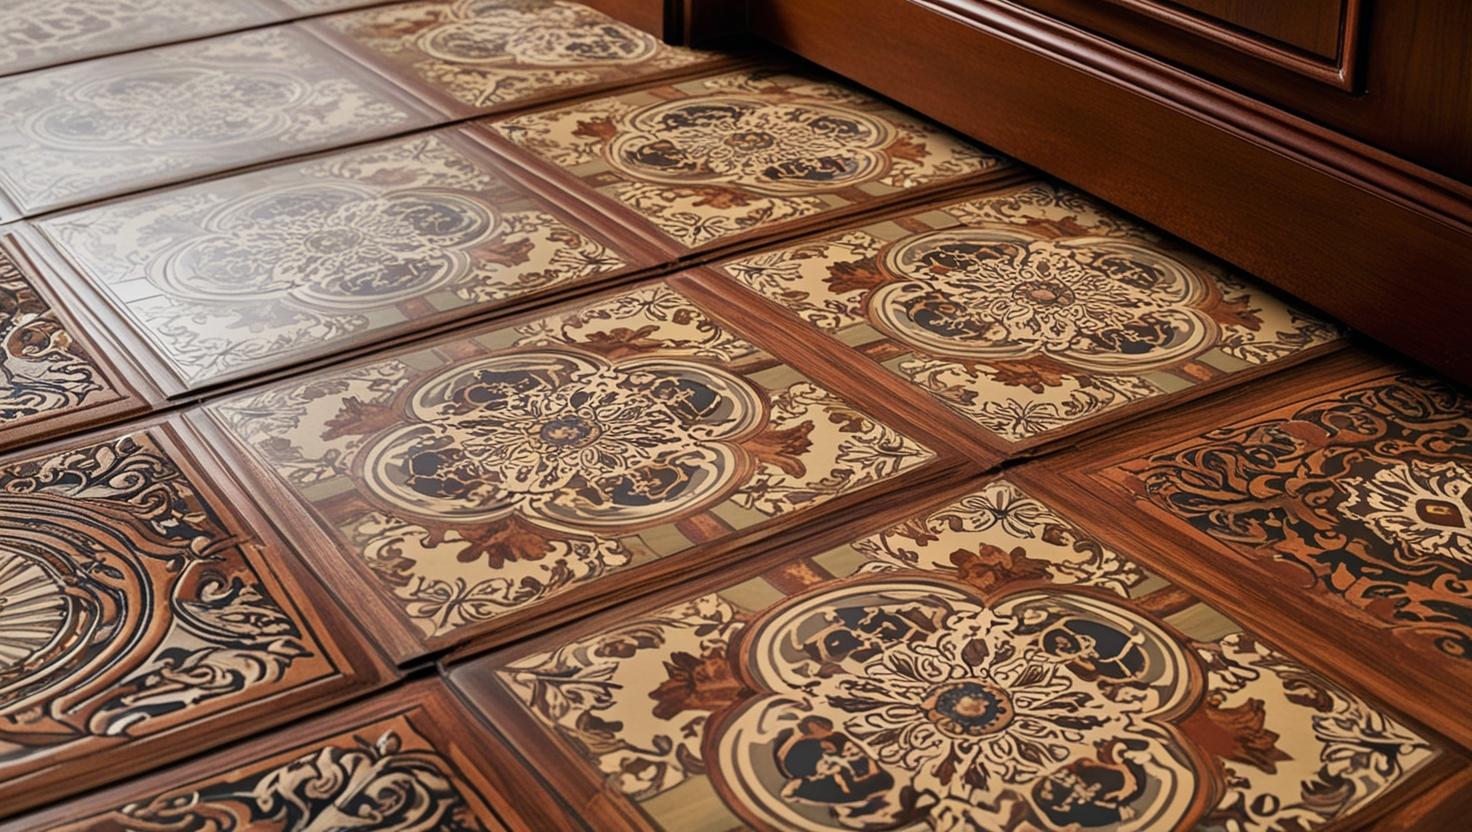
For those with old vinyl flooring, upgrading to luxury vinyl can be a stylish transformation. Vinyl tile is another fantastic option, perfect if you're aiming for a classic tile look without the hassle of grout.
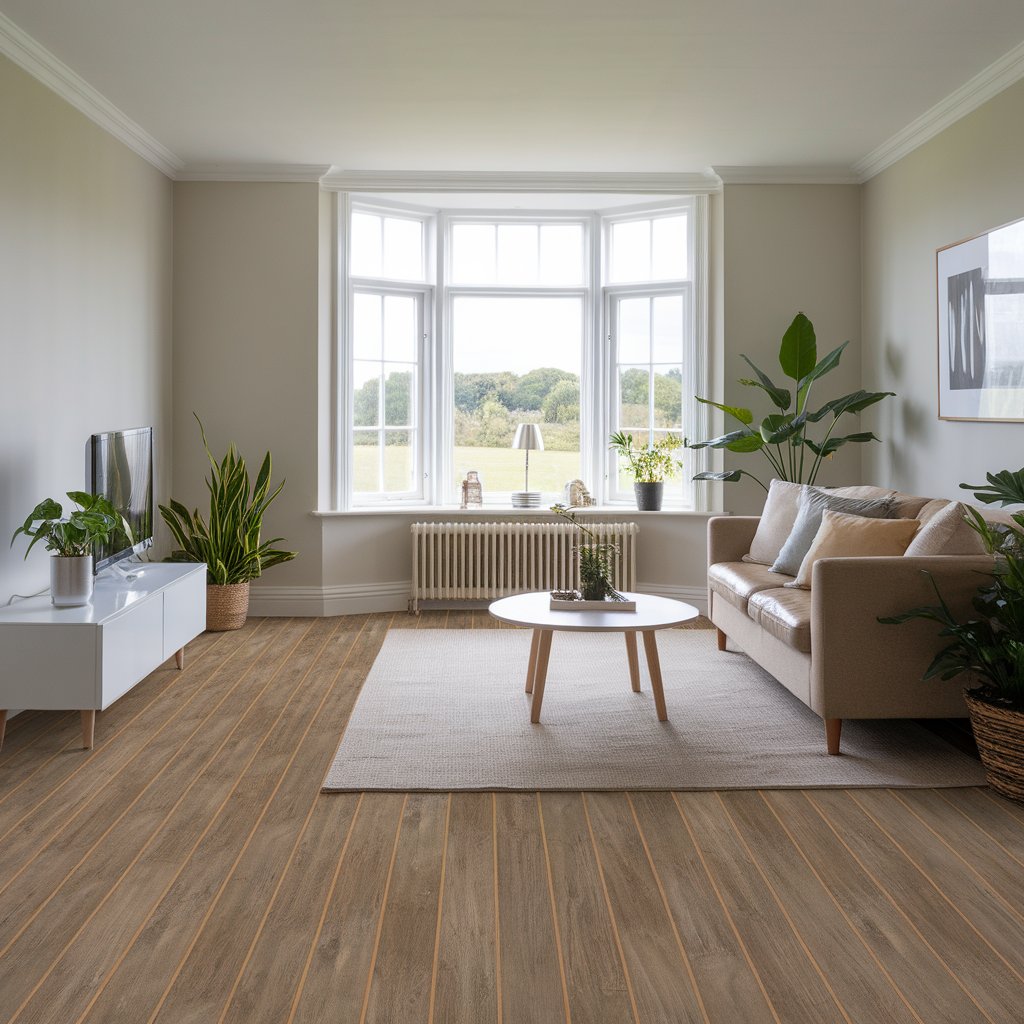
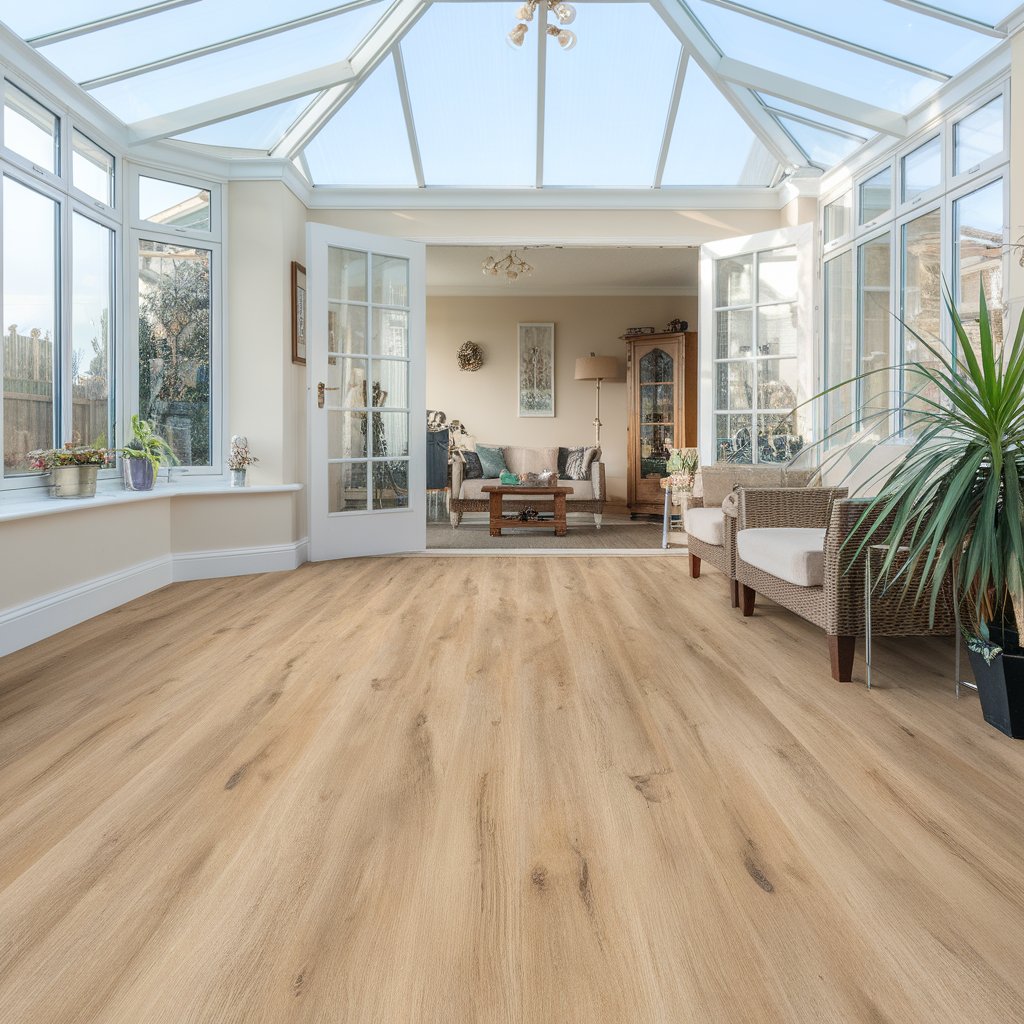
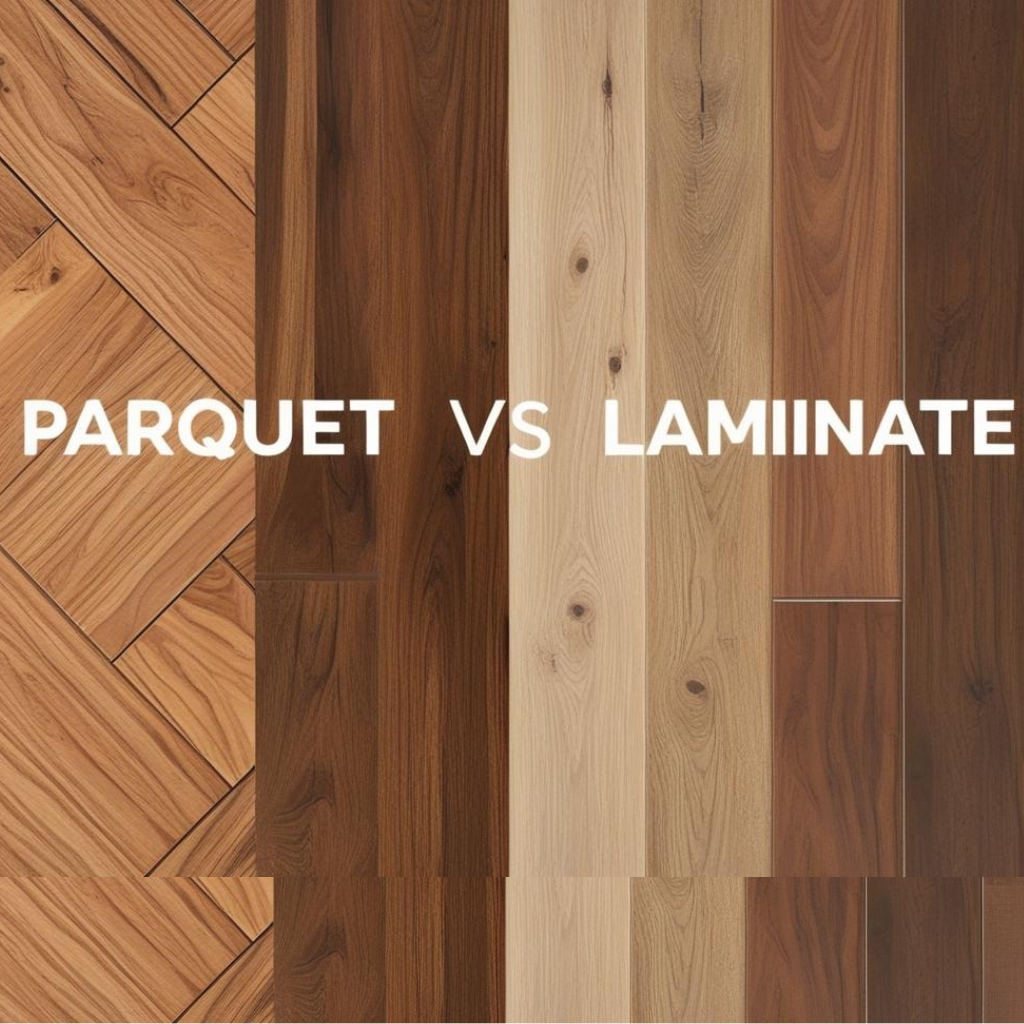
If you're drawn to the warmth of wood, vinyl plank flooring provides the aesthetics without the upkeep. Unlike traditional laminate, these planks resist moisture better, which is ideal for welcoming spaces like kitchens and bathrooms.
Embracing these choices helps you create a home that feels like a true reflection of your style and needs.
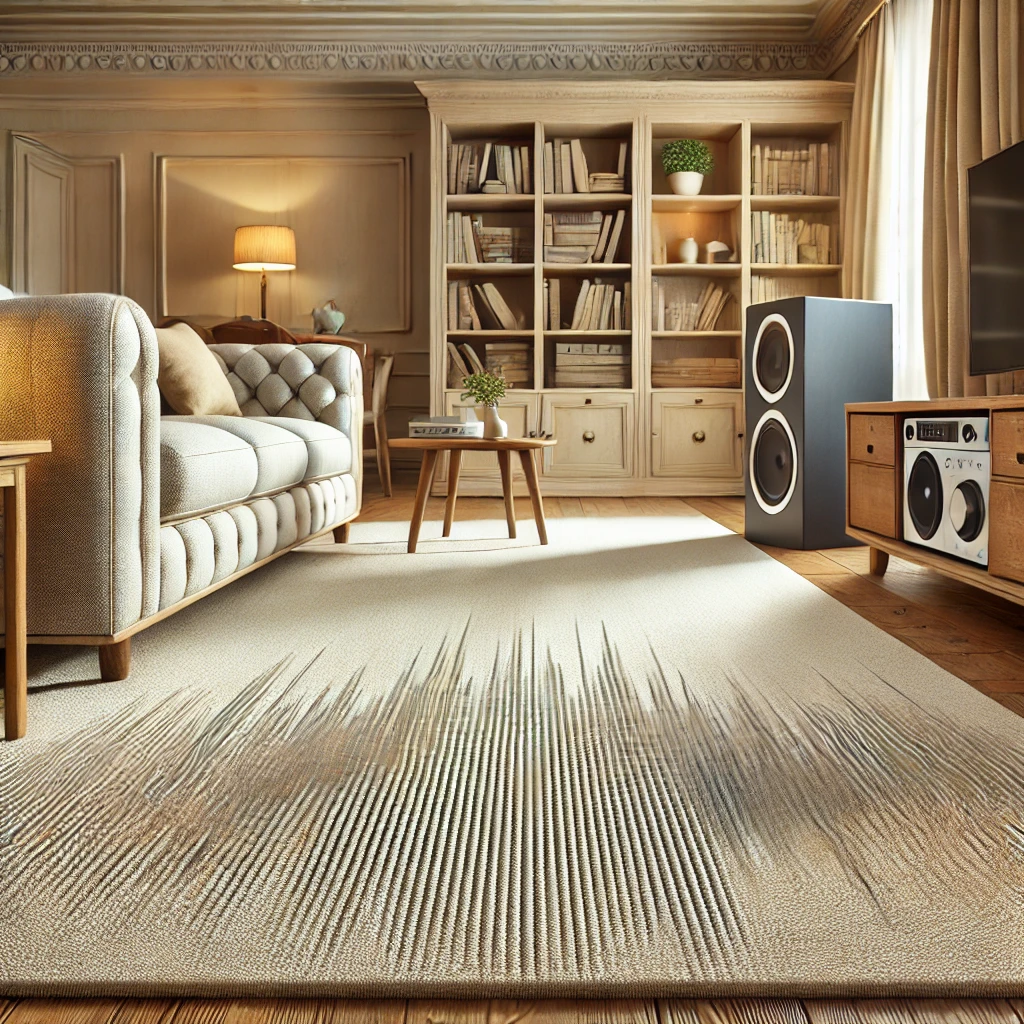
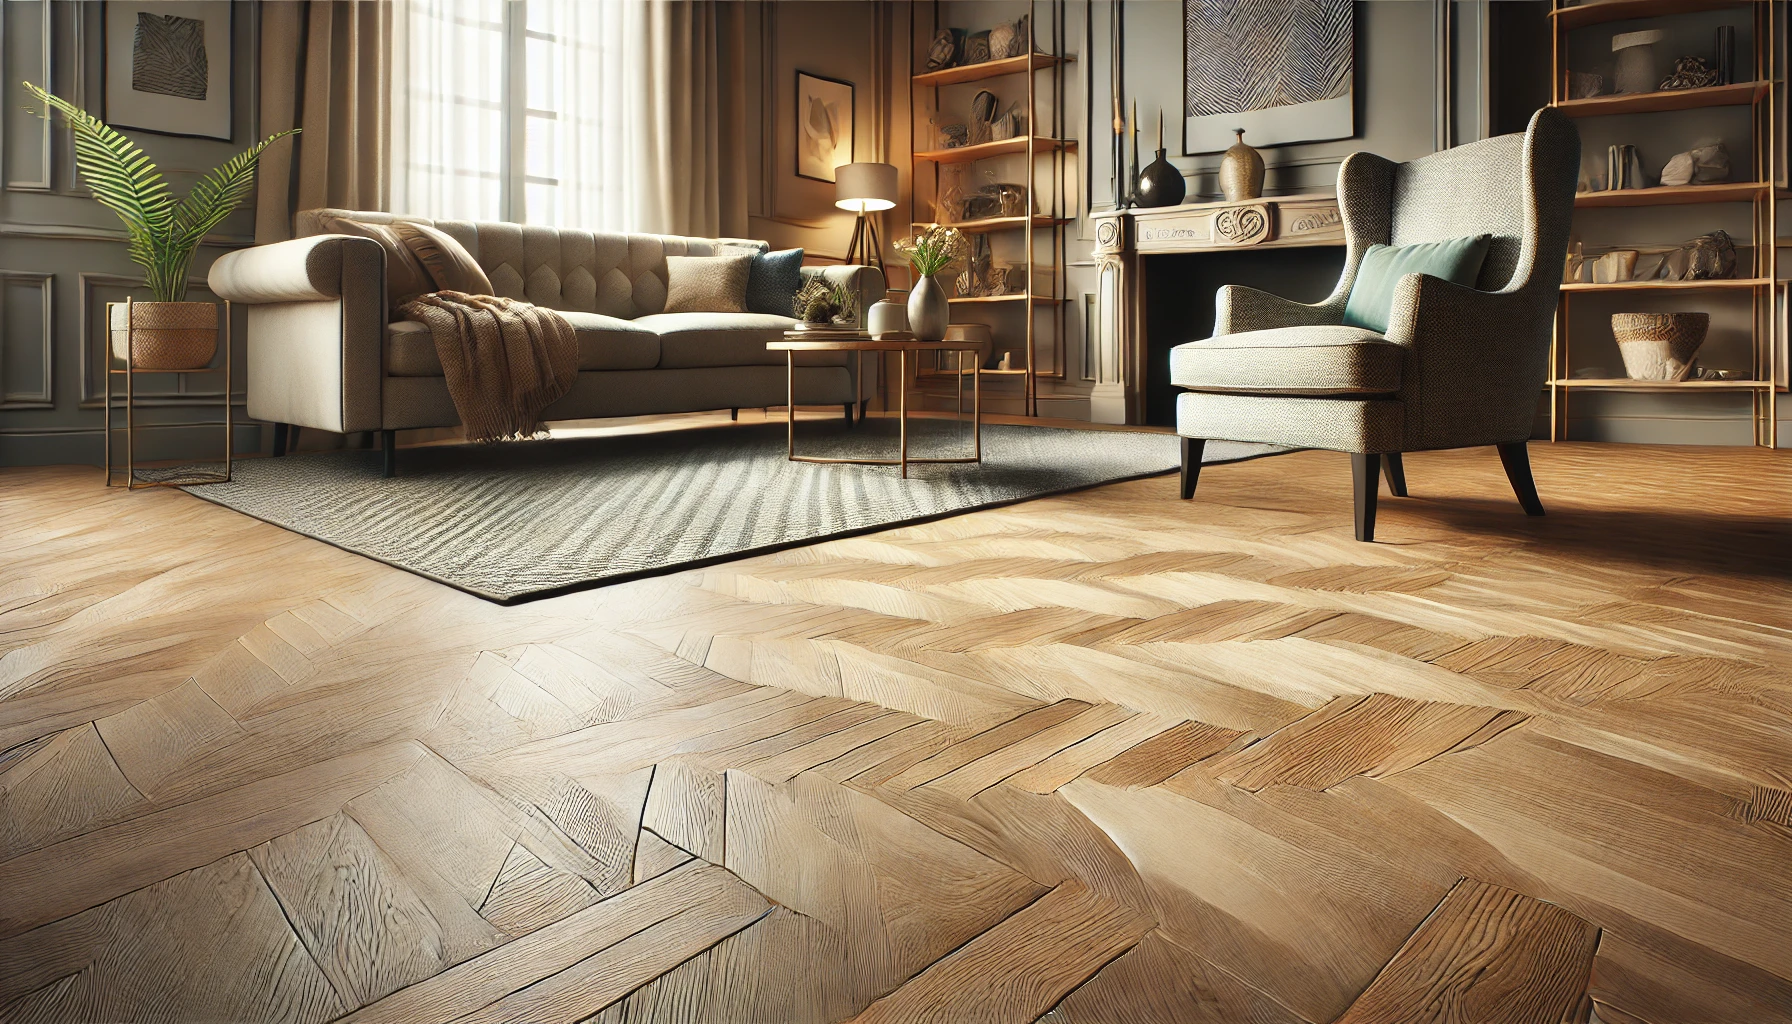
Flooring often plays a crucial role in setting the tone and functionality of a space, and vinyl flooring is no exception.
You'll find that vinyl effortlessly blends style and practicality, making it a popular choice for various areas in your home. Whether you're looking to enhance your bathroom with a waterproof surface or seeking a comfortable underfoot experience in your kitchen, vinyl can meet your needs.
Here are three common uses for vinyl flooring:
Embrace the versatility and warmth vinyl flooring brings to your home.
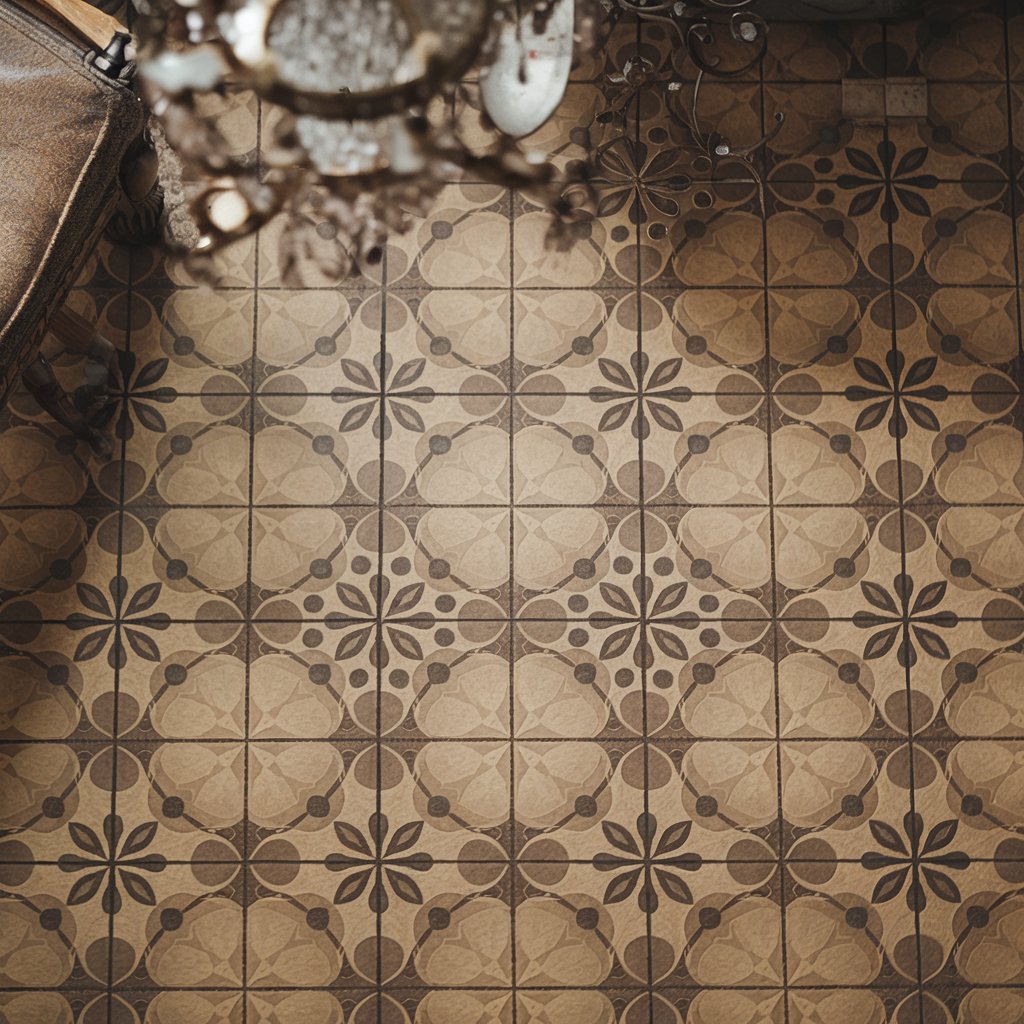
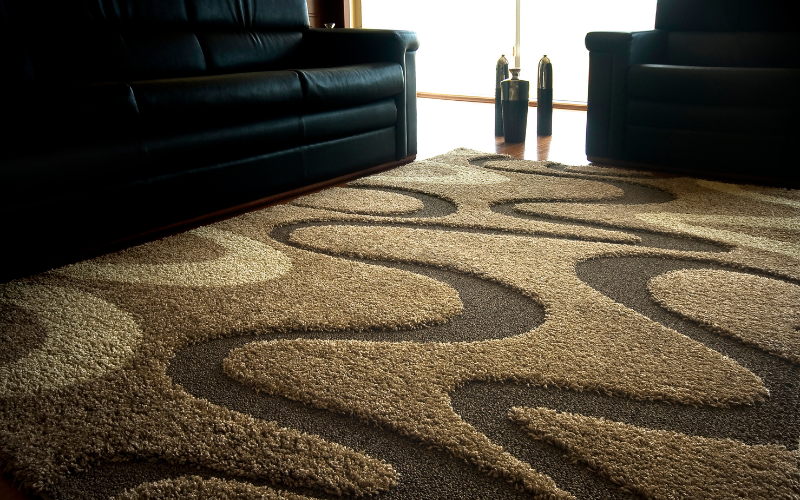
Imagine stepping onto a surface that combines both elegance and resilience—that's what you get with vinyl tile flooring. This flooring solution offers the aesthetic of high-end materials without the hefty price tag, creating a space where you truly belong.
Vinyl flooring isn't only stylish but also durable, standing up to daily wear and tear. It's a perfect fit for families and social gatherings, providing a warm, inviting atmosphere.
Installing vinyl tile flooring is straightforward because it uses an adhesive that bonds firmly to the subfloor. You won't have to worry about stubborn glue or tedious maintenance.
Plus, it's water-resistant, making it ideal for kitchens and bathrooms. With vinyl flooring, you gain a practical, beautiful solution that transforms any room into a welcoming haven.
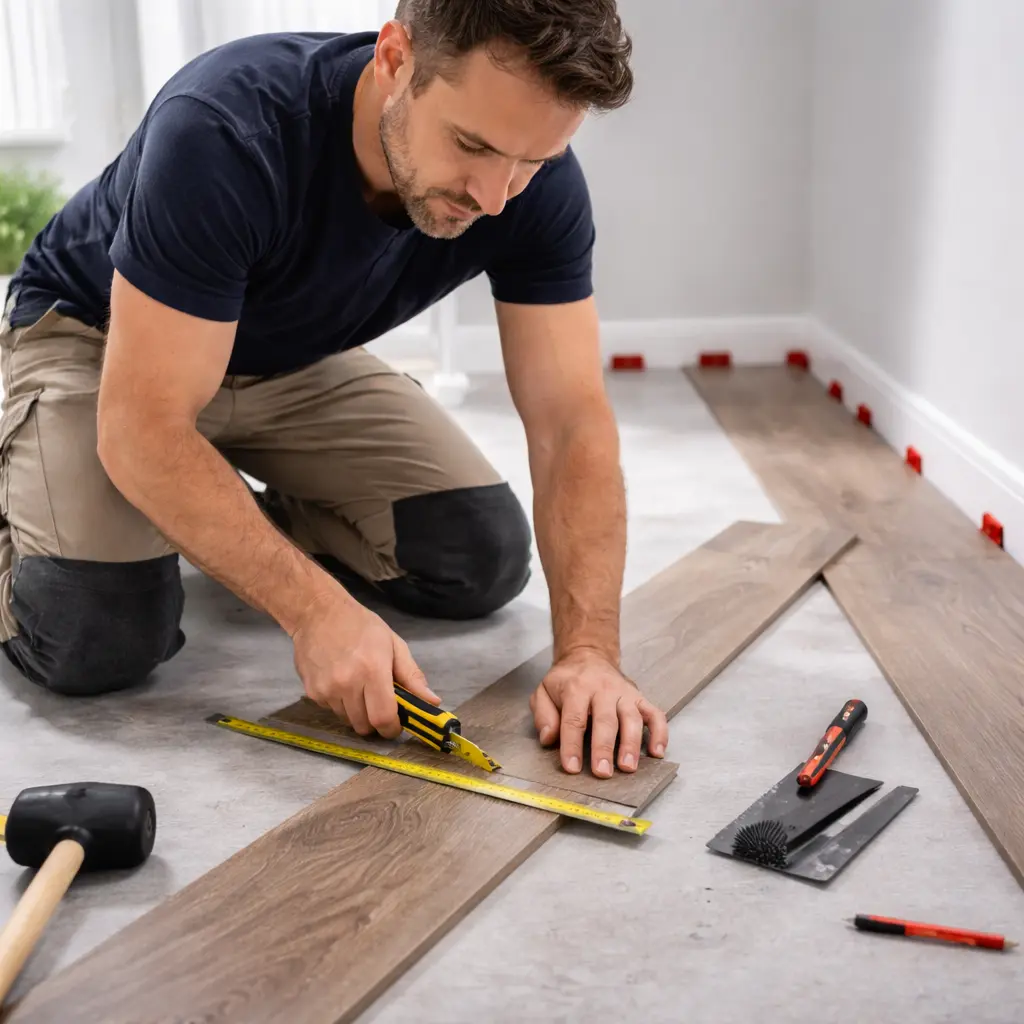
Before you start removing vinyl flooring, gather all the necessary tools like a utility knife, scraper, and pry bar.
Assess the floor's condition to understand how much effort will be needed for removal.
Don't forget safety precautions—wear gloves and a mask to protect yourself from dust and sharp edges.

When preparing to remove vinyl flooring, it's crucial to gather the right tools to ensure a smooth and efficient process.
Having the right equipment not only makes the task easier but also connects you with a community of DIY enthusiasts who appreciate the value of quality tools.
Here's what you'll need:
With these tools, you're ready to join the ranks of successful DIYers!
With your tools ready, it's time to take a closer look at the vinyl flooring's condition. Inspect the subfloor and determine if the old vinyl needs removal. Older vinyl, especially from the 1980s, may contain asbestos. If you want to remove it, proceed with caution. Knowing the condition lets you plan effectively and safely.
Consider these factors:
| Condition Check | Action Needed |
|---|---|
| Vinyl is peeling | Remove old vinyl |
| Cracks present | Inspect the subfloor |
| Discolouration visible | Check for asbestos |
| Adhesive residue | Prepare for extra work |
| Securely attached | Difficult removal ahead |
Ensuring safety is paramount when preparing for vinyl flooring removal. You're not alone in this task, and taking the proper steps will connect you with countless others who prioritise their well-being.
Start by recognising that old flooring might contain asbestos, a hazardous material.
To protect yourself and feel secure during the process, follow these safety precautions:
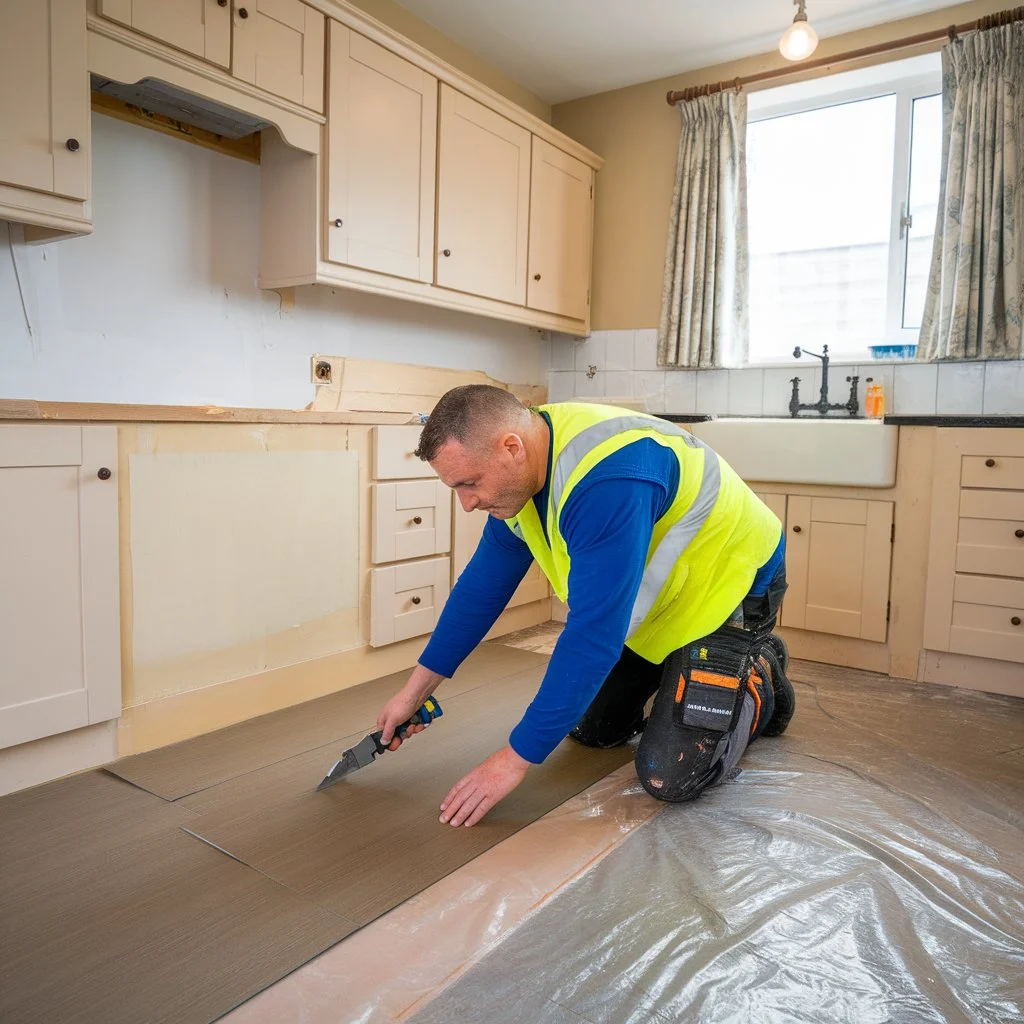
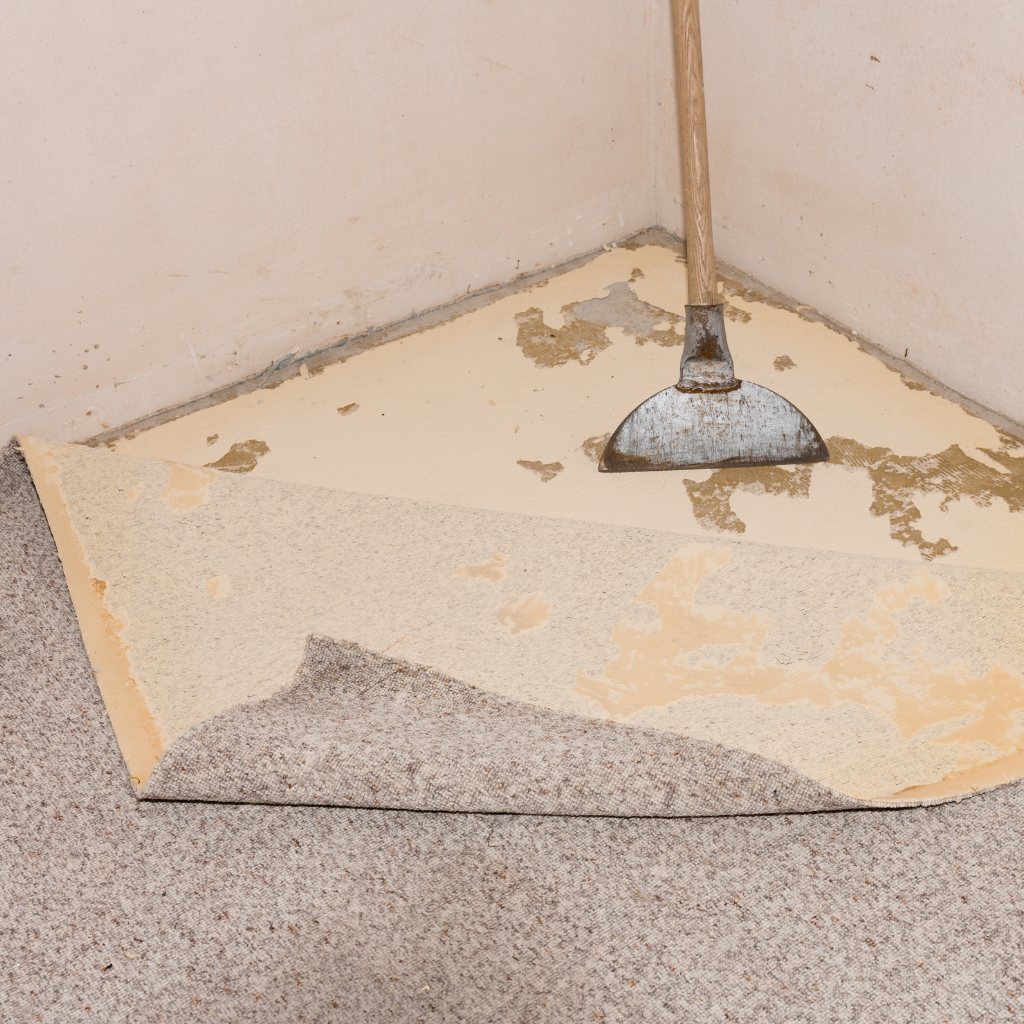
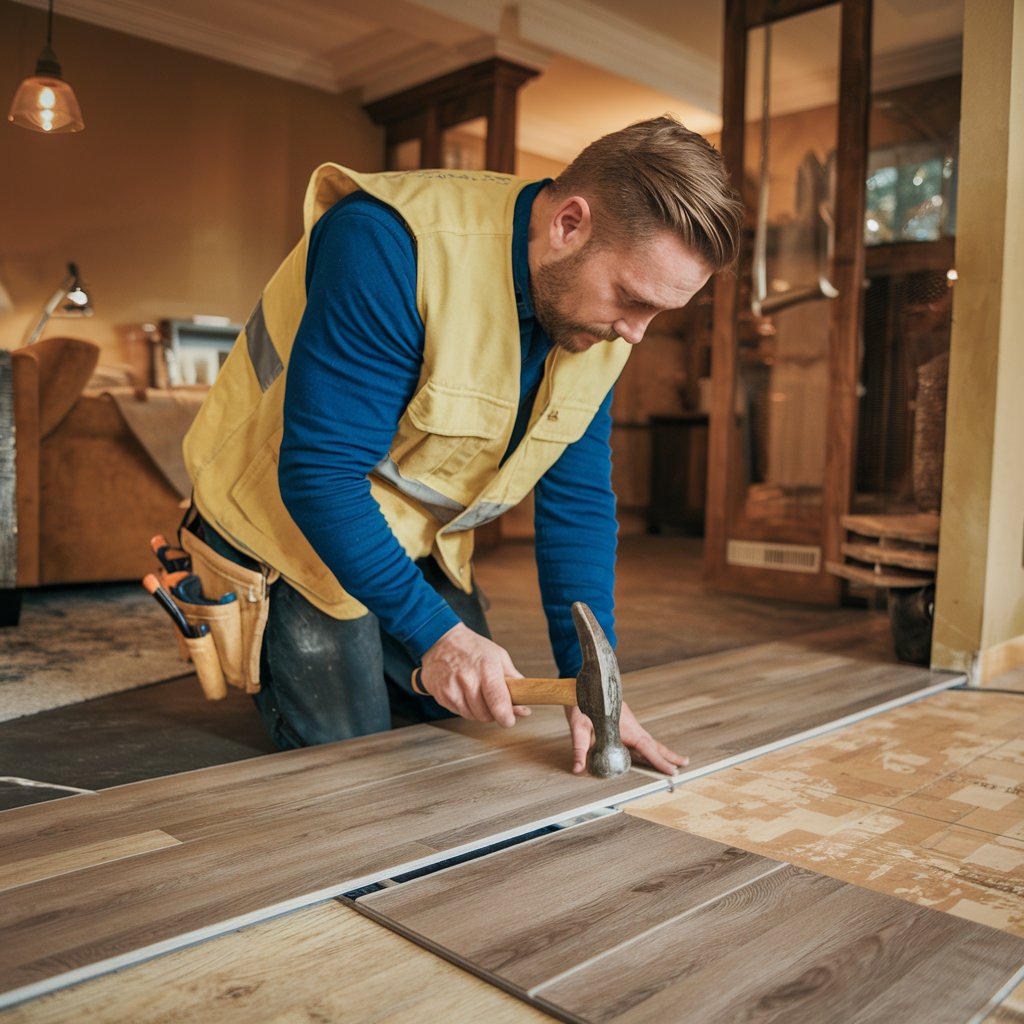
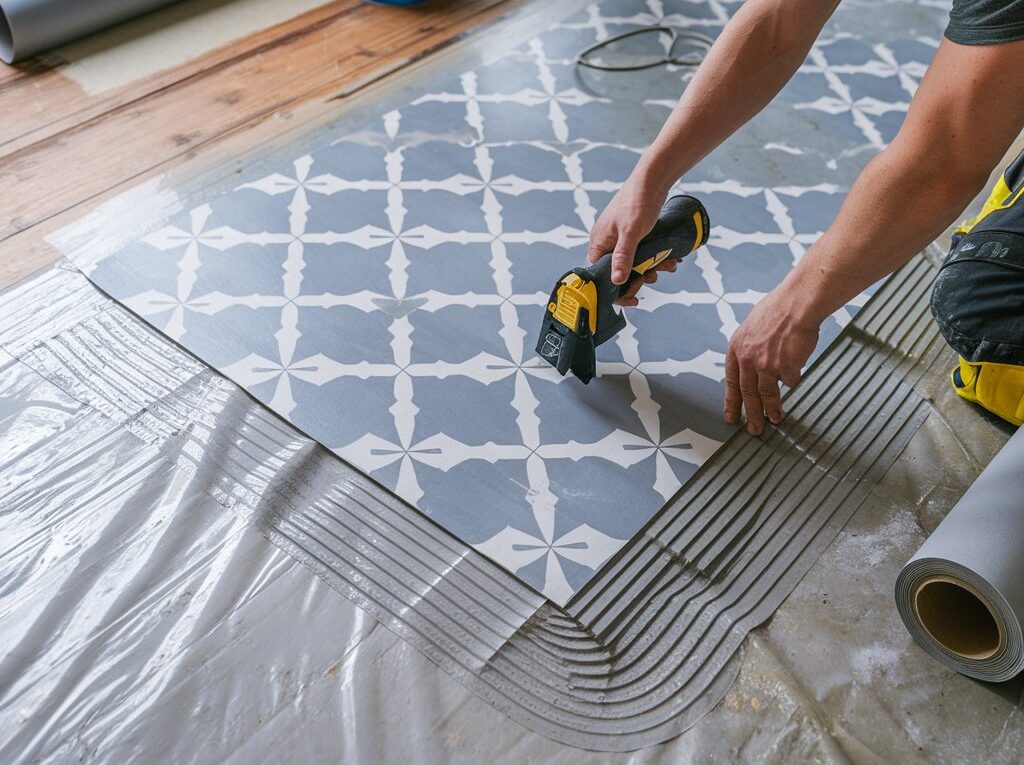
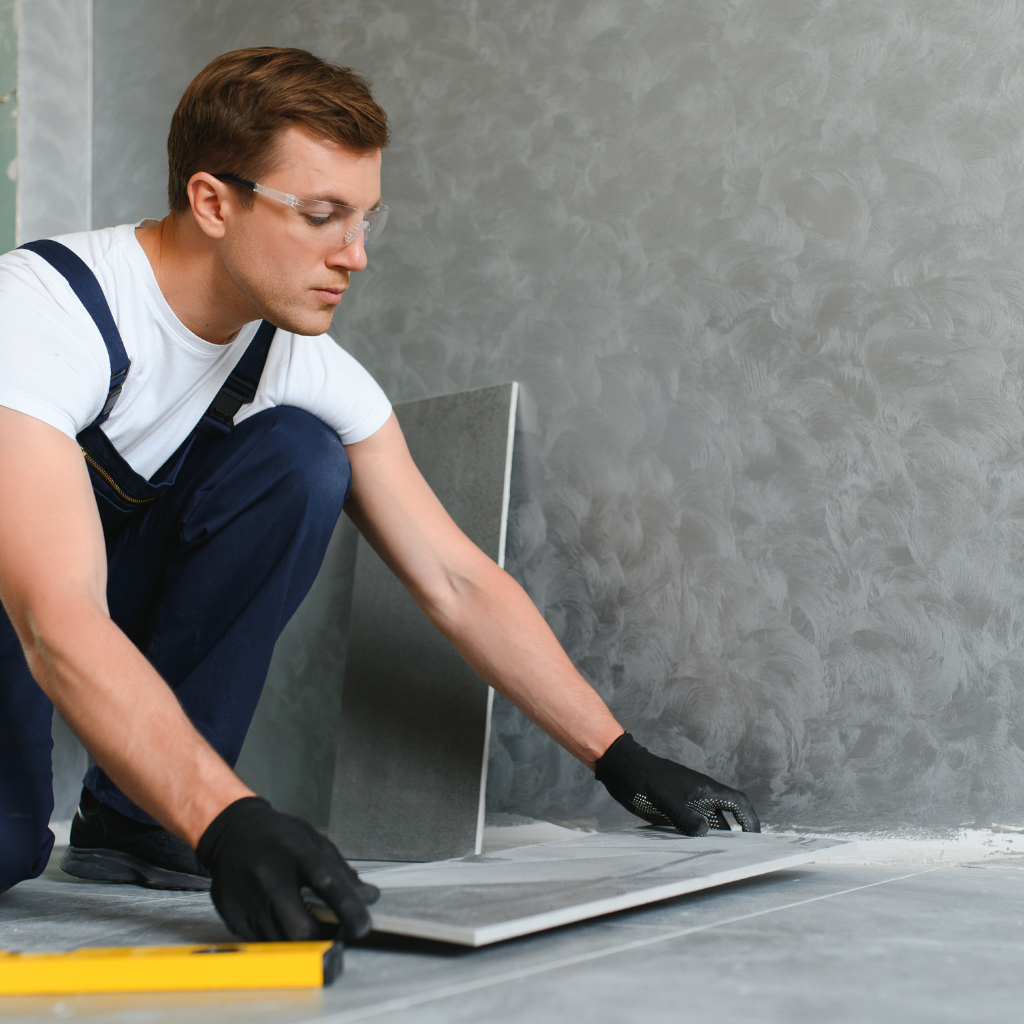
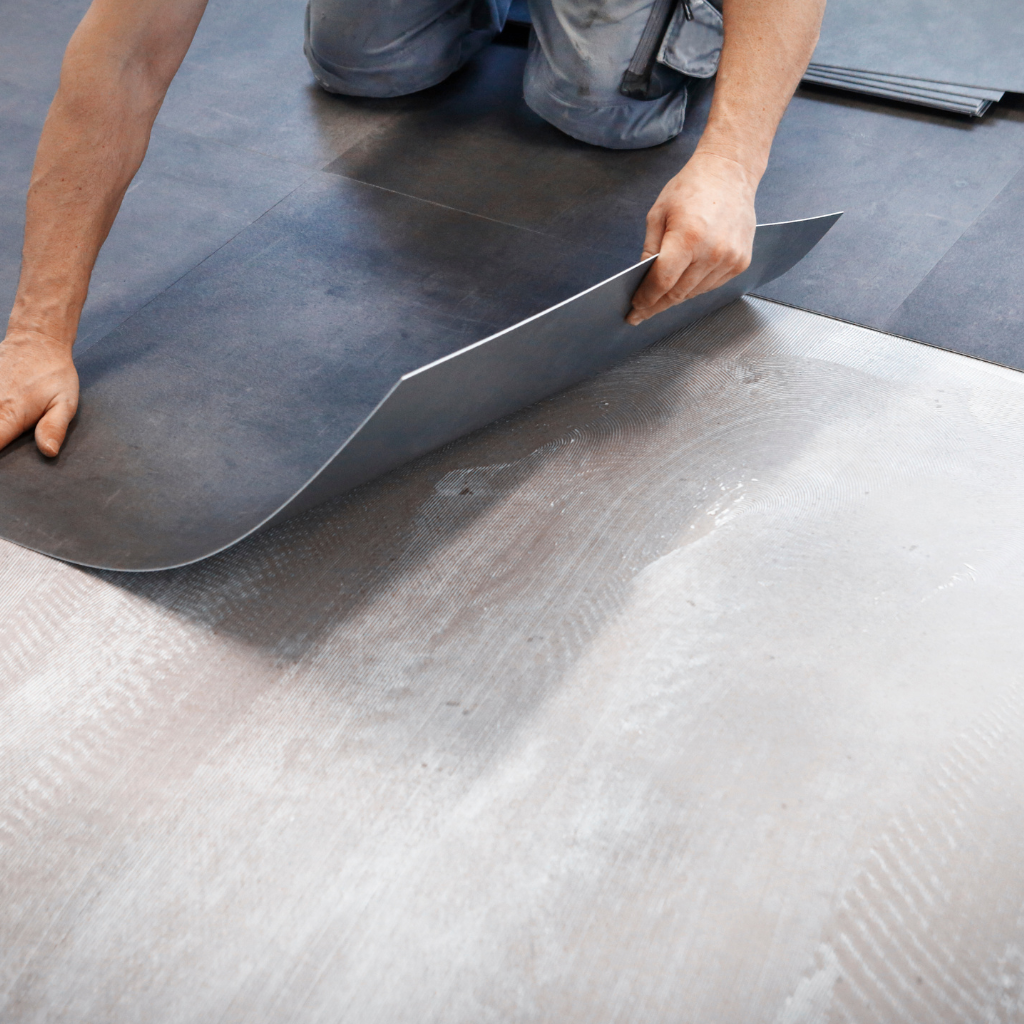
Now that you're ready to tackle the removal process, start by lifting the vinyl planks or tiles carefully.
Next, address any adhesive residue left on the subfloor to ensure a clean surface.
Finally, follow these efficient methods to remove old vinyl flooring without damaging the underlying material.
Removing vinyl planks or tiles can seem daunting, but breaking it down into manageable steps makes the process straightforward.
You're not alone in tackling this project, and together, we'll get through it.
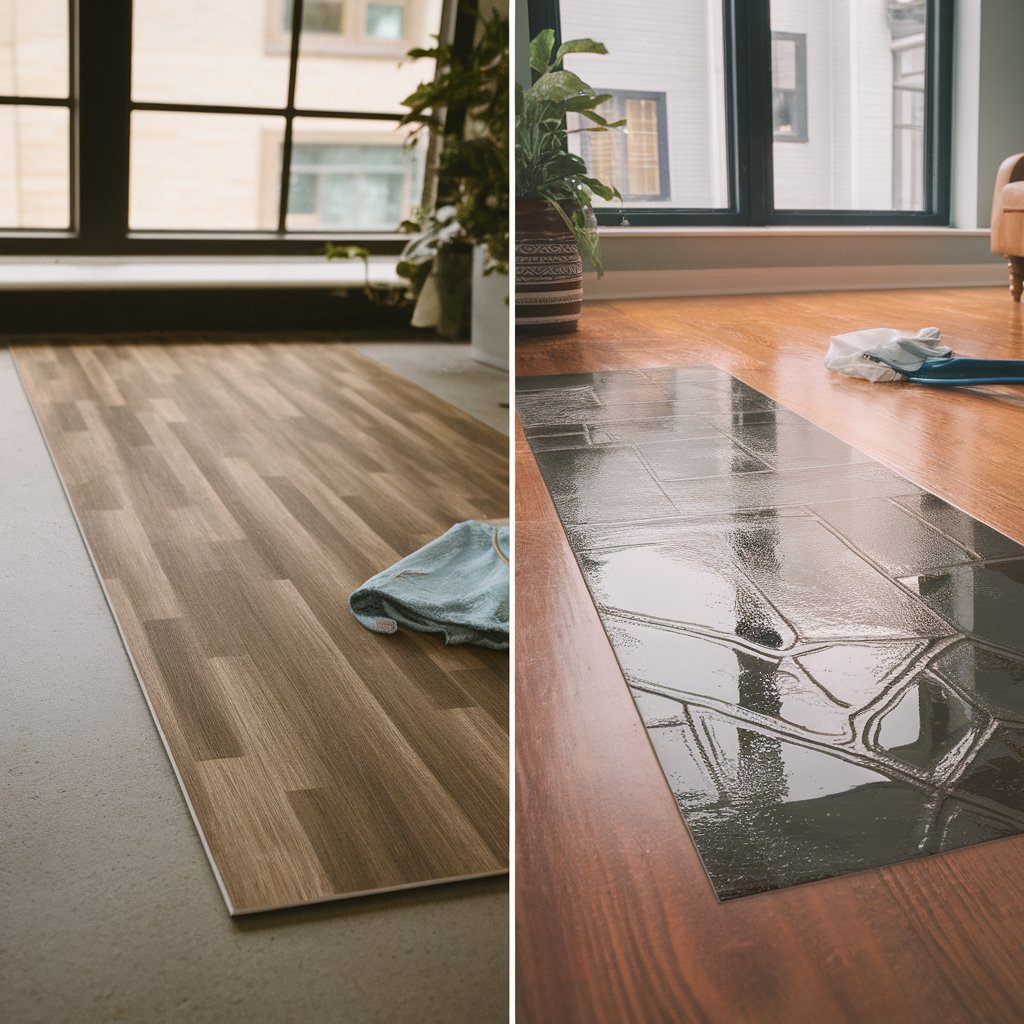
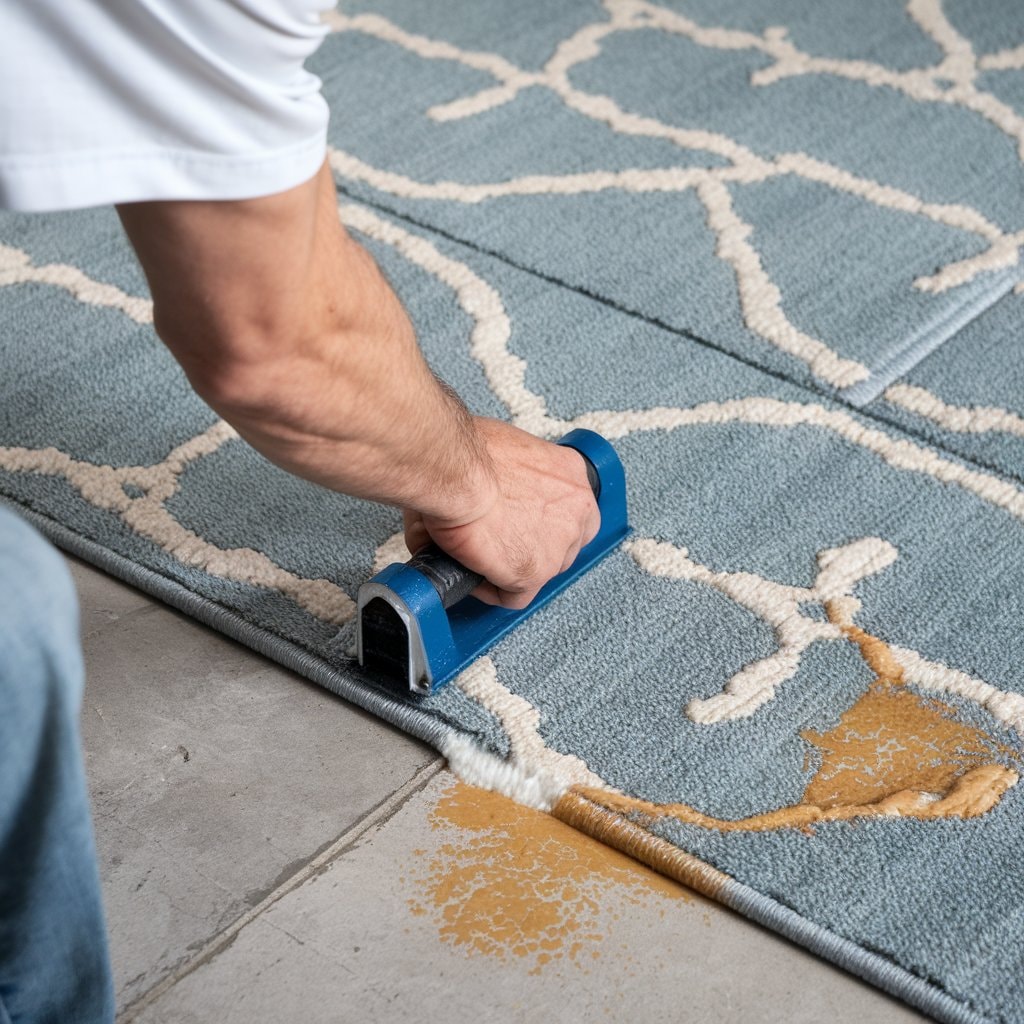
Tackling the adhesive left on the subfloor is a crucial step in ensuring a clean surface for your next flooring project.
Start by using a sturdy scraper to remove as much flooring glue as possible. You're not alone in this process; many have faced the same sticky challenge.
For stubborn spots, apply a solvent to soften the glue, making it easier to scrape away. If needed, a chisel can be your ally for those hard-to-reach areas.
Remember, persistence is key, and patience will reward you with a smooth, ready-to-renew subfloor.
Embrace this community of DIY enthusiasts; together, you're creating spaces that reflect who you are.
Feel the satisfaction as you prepare for the next exciting stage of your project.

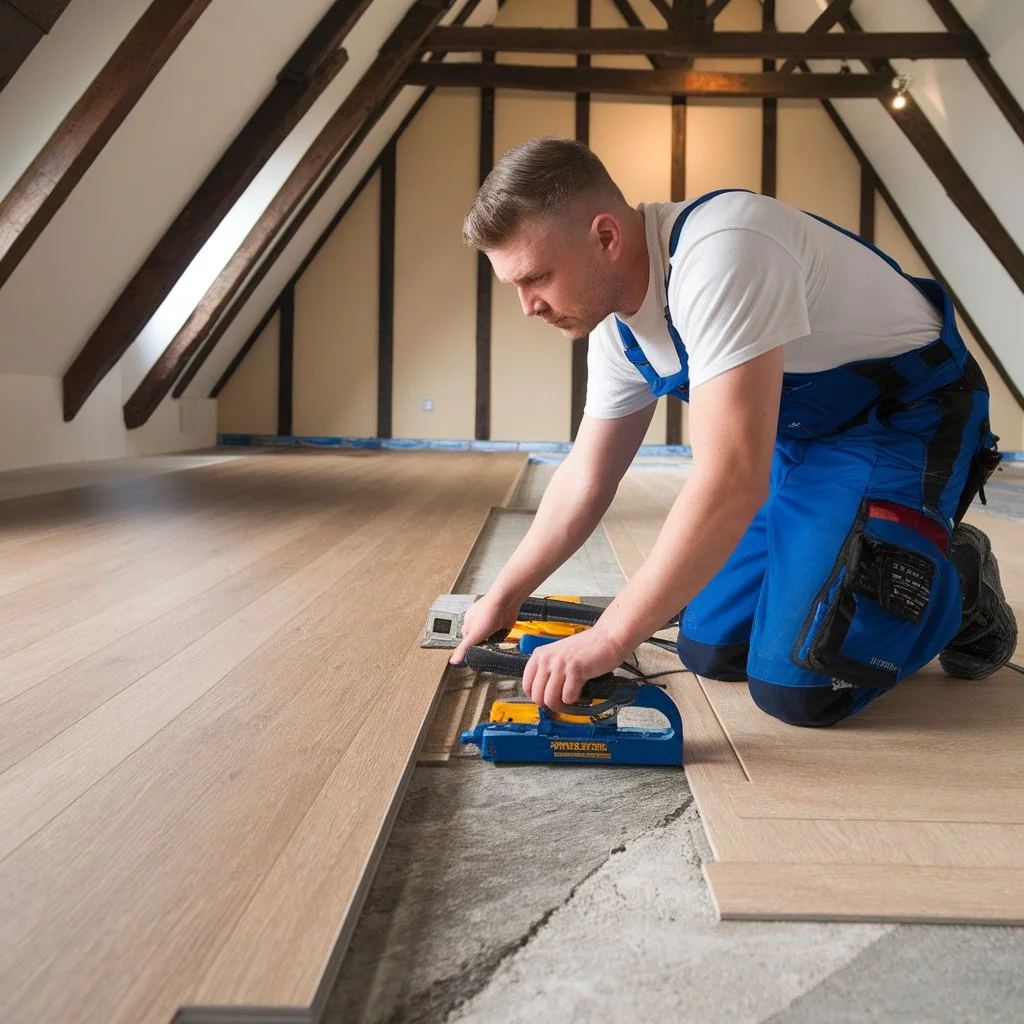
When you're ready to remove old vinyl flooring efficiently, preparation is your best friend. Start by gathering your tools and creating a plan. This step-by-step guide will help you feel confident and connected to the task:
When you're tackling the sticky residue left behind, it's crucial first to identify the type of adhesive used on your subfloor.
Different adhesives require specific techniques for efficient removal, so knowing what you're dealing with can save you time and effort.
Once the glue is gone, don't forget to thoroughly clean the subfloor to prepare it for any new flooring installation.
Before you can successfully remove vinyl flooring, it's crucial to identify the type of adhesive used, as this determines the best removal method. Understanding the adhesive is like knowing the secret handshake to a community: it connects you to the right approach.
Here's how to start:
Identifying the adhesive empowers you to tackle the task with confidence.
Removing tile glue from the subfloor requires patience and the proper techniques to ensure a smooth surface for future flooring.
Once you've got the old flooring removed, it's time to tackle the stubborn adhesive. Start by focusing on the perimeter of the room, where glue tends to be thickest. A heat gun can soften the glue, making it easier to scrape away.
Use a sturdy scraper to remove the softened glue, working your way inward. If you're wondering about other ways to remove vinyl glue, consider a solvent designed explicitly for adhesive removal.
This guide on how to remove glue emphasises working methodically and patiently. By taking your time, you'll create a welcoming space ready for the next steps in your flooring journey.
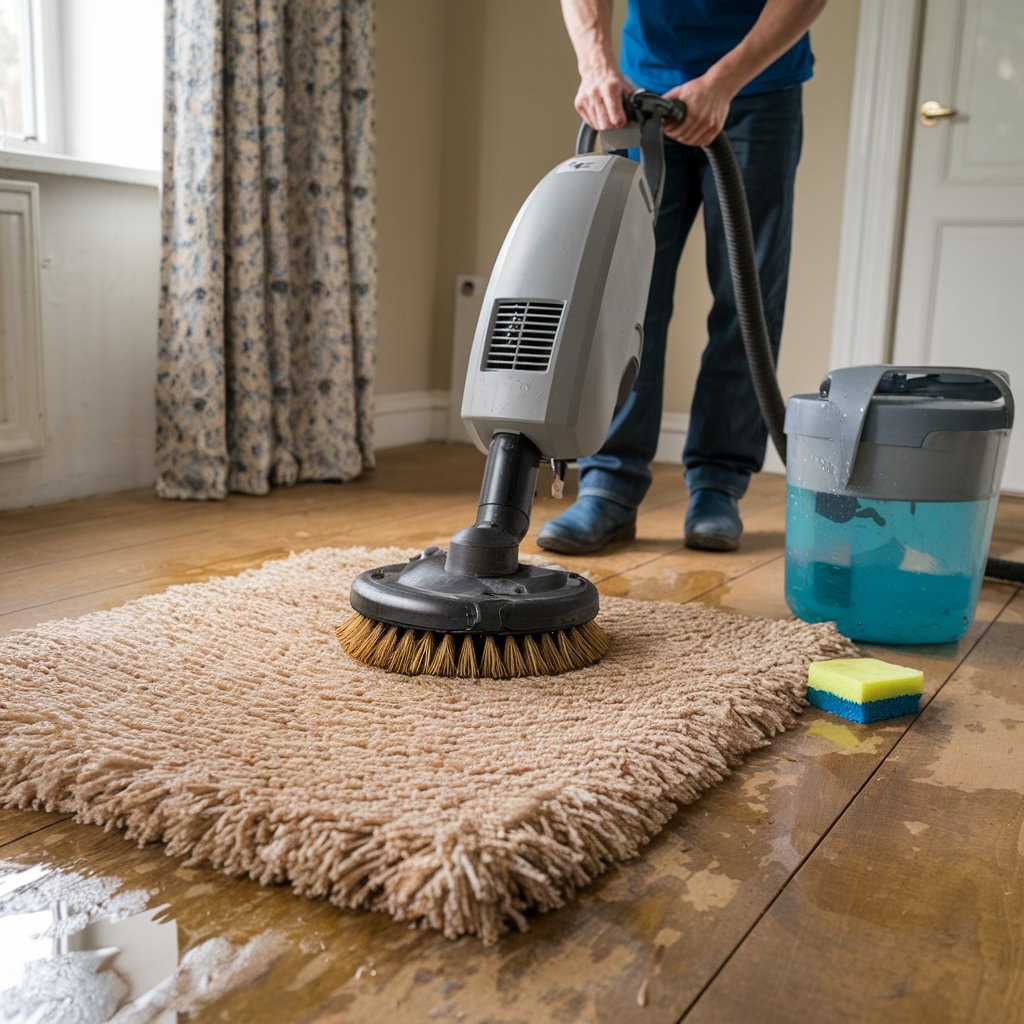
After you've successfully scraped away the glue, it's crucial to clean the subfloor thoroughly to prepare it for new flooring.
Taking care of your subfloor ensures that your new vinyl flooring will last and look its best. Here's a step-by-step guide to help you with the cleaning process:
Before installing new flooring, you need to inspect the subfloor for any damage or uneven areas.
If you find issues like cracks or weak spots in the plywood or other materials, repair them to ensure a smooth base.
Once repairs are complete, clean the surface thoroughly so it's ready for the new flooring.

Once the old vinyl flooring is out of the way, you'll need to turn your attention to the subfloor to ensure it's in good shape for the new flooring.
Inspecting the subfloor is crucial to achieving a flawless finish and feeling proud of your work. Start by focusing on the perimeter and centre, as these areas often reveal hidden issues.
When you discover any damage in the plywood or other subfloor materials, it's crucial to tackle repairs before laying new flooring. Start by assessing the damage and determining how extensive the repairs need to be. Use a remover to clean any leftover debris. Cut the vinyl and floating floor material around the perimeter to expose the damaged area. Replace any compromised sections to ensure a solid base for your new flooring.
Here's a quick guide:
| Task | Tools Needed |
|---|---|
| Assessing Damage | Flashlight |
| Cleaning Debris | Remover, Broom |
| Cutting Vinyl | Utility Knife |
| Replacing Material | Saw, Nails, Hammer |
Fixing the subfloor not only strengthens your home but also connects you to a community of DIY enthusiasts who value quality craftsmanship.
To ensure your new flooring lasts, start by thoroughly preparing the subfloor. This step is crucial for creating a smooth, even surface that supports your new flooring and enhances its durability.
Engage in this process as part of a community looking to create inviting and comfortable spaces.
You've successfully tackled the challenge of removing vinyl flooring and stubborn tile glue. By understanding your flooring, preparing properly, and following a clear step-by-step guide, you've set the stage for a smooth renovation. With the old glue gone, your subfloor is now ready for a fresh start. Whether you're installing new tiles, hardwood, or carpet, your diligent preparation ensures a lasting finish. Embrace the transformation and enjoy the new look of your space!