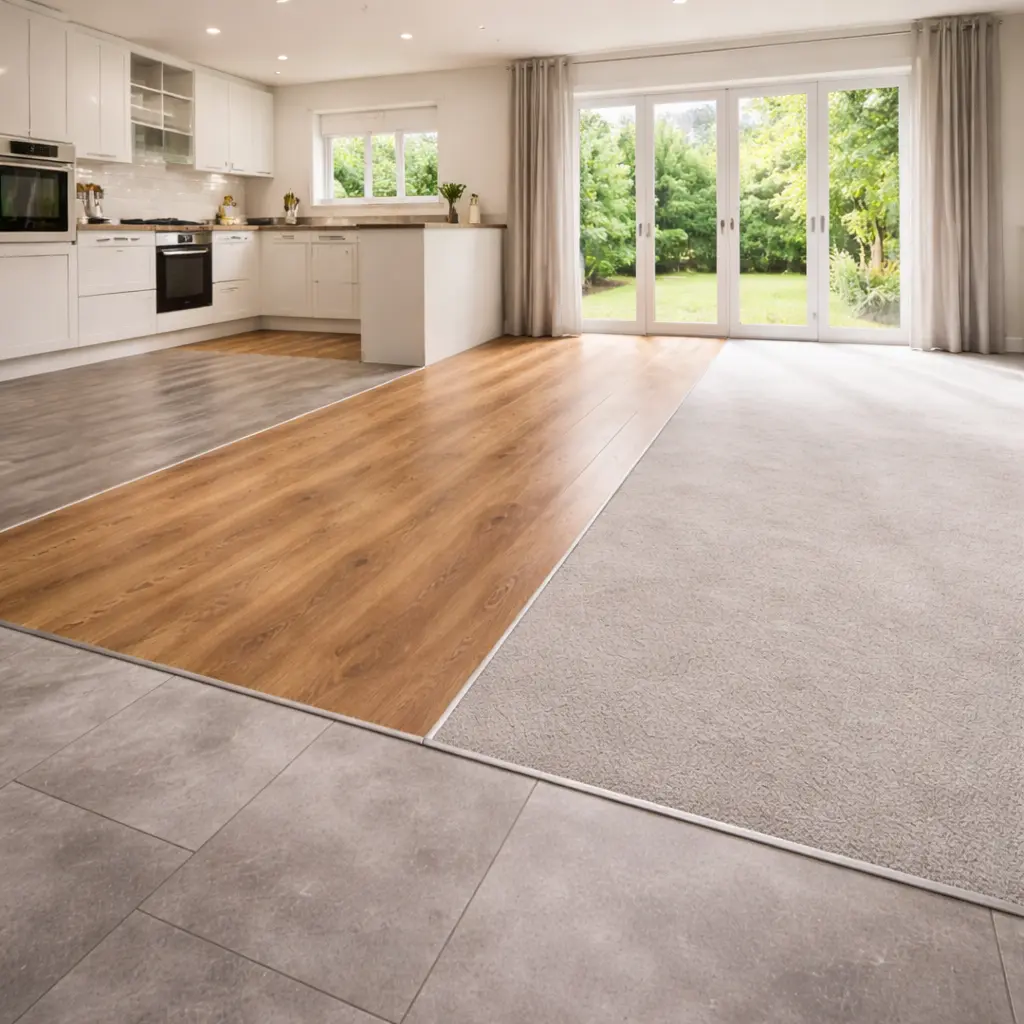
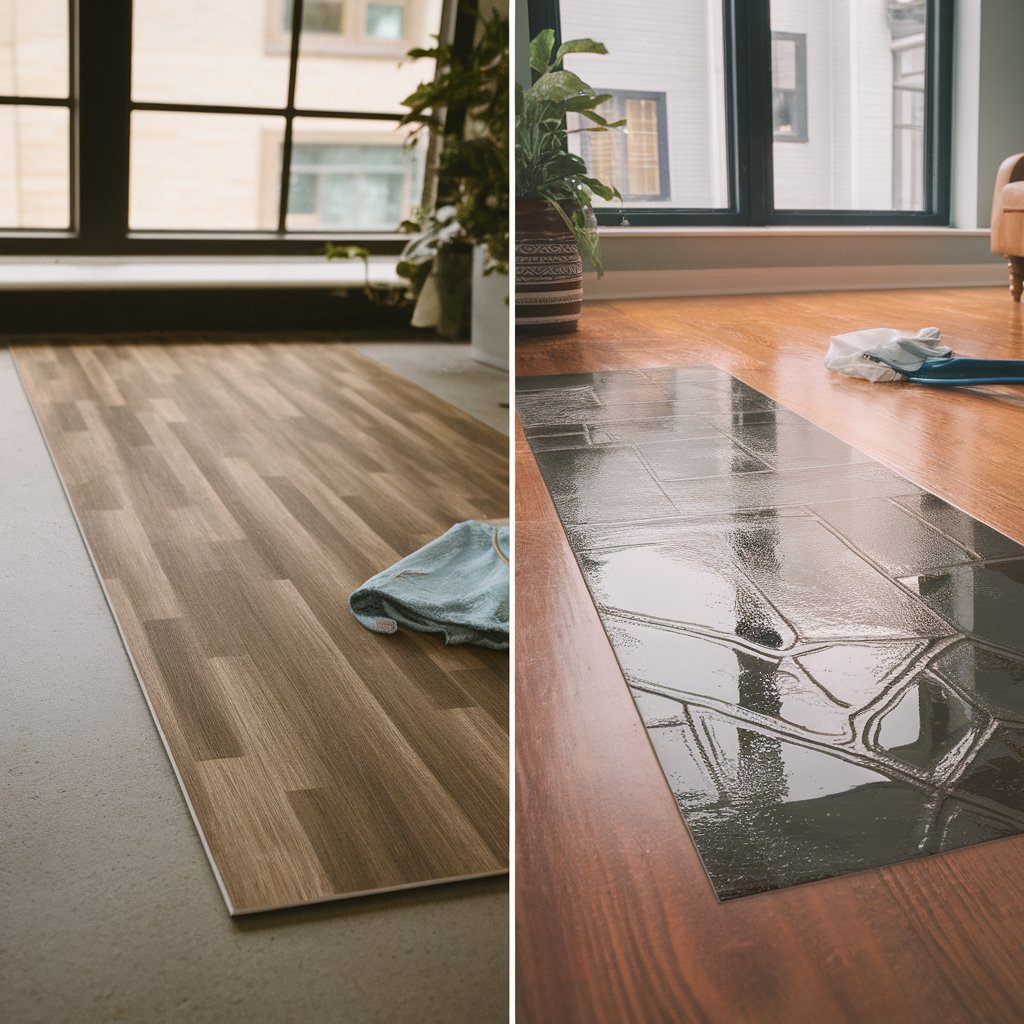
Transform Your Space with Easy-to-Lay Vinyl Flooring: A Step-by-Step Guide
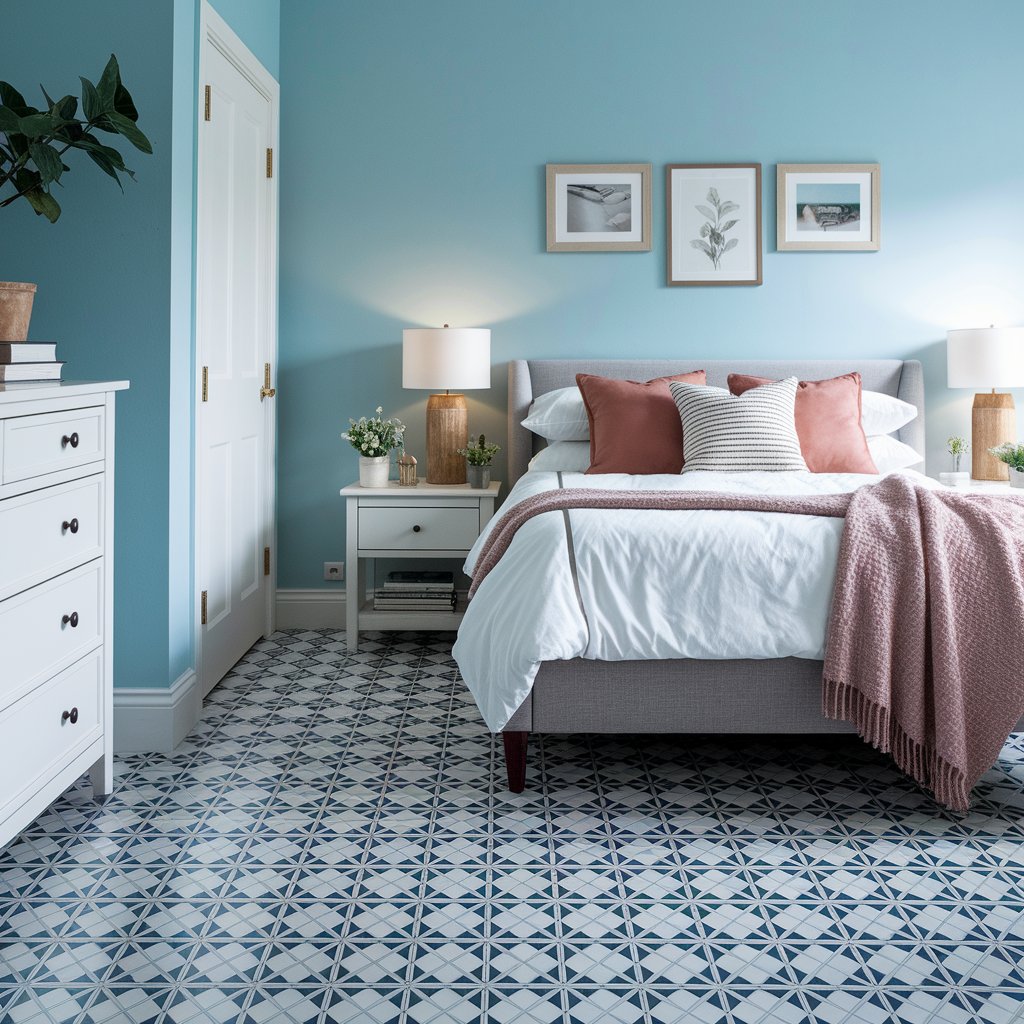
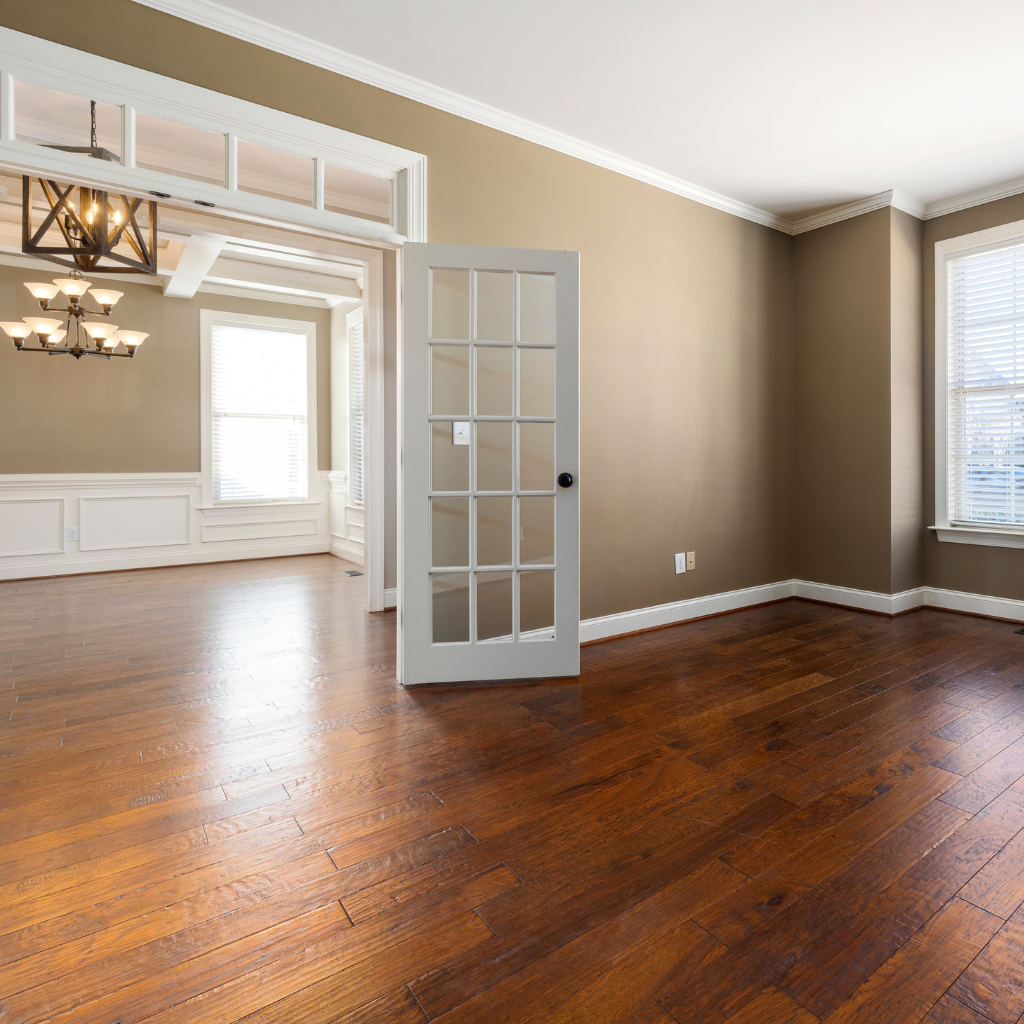
Laying vinyl flooring can transform a room, making it brighter and cleaner. Many people think this job is too hard for them. But with the right guide, anyone can do it. Our step-by-step guide on how to lay vinyl floor will show you easy ways to fit your new vinyl flooring layout perfectly.
This means you will not have to worry about making mistakes.
Our family business knows floors very well. We bring high-quality carpets, vinyl, and laminate straight to your door. We make sure you get the best without paying too much. Let us show you how to lay your vinyl flooring properly.
Please keep reading and see how simple it is.
What Tools Do You Need to Lay Vinyl Flooring?
To install vinyl flooring successfully, you need the correct set of tools. Essential items include a utility knife for cutting sheet vinyl, a notched trowel to spread adhesive evenly on vinyl sheet flooring and a floor roller to press the vinyl flat onto the subfloor.
Don't forget a tape measure, which is crucial for accurate cuts and fits around corners and edges.
Preparing your workspace also involves gathering materials like adhesive suitable for securing vinyl flooring, silicone sealant for waterproofing areas such as bathrooms and kitchens, and even plywood sheets if an underlay is necessary.
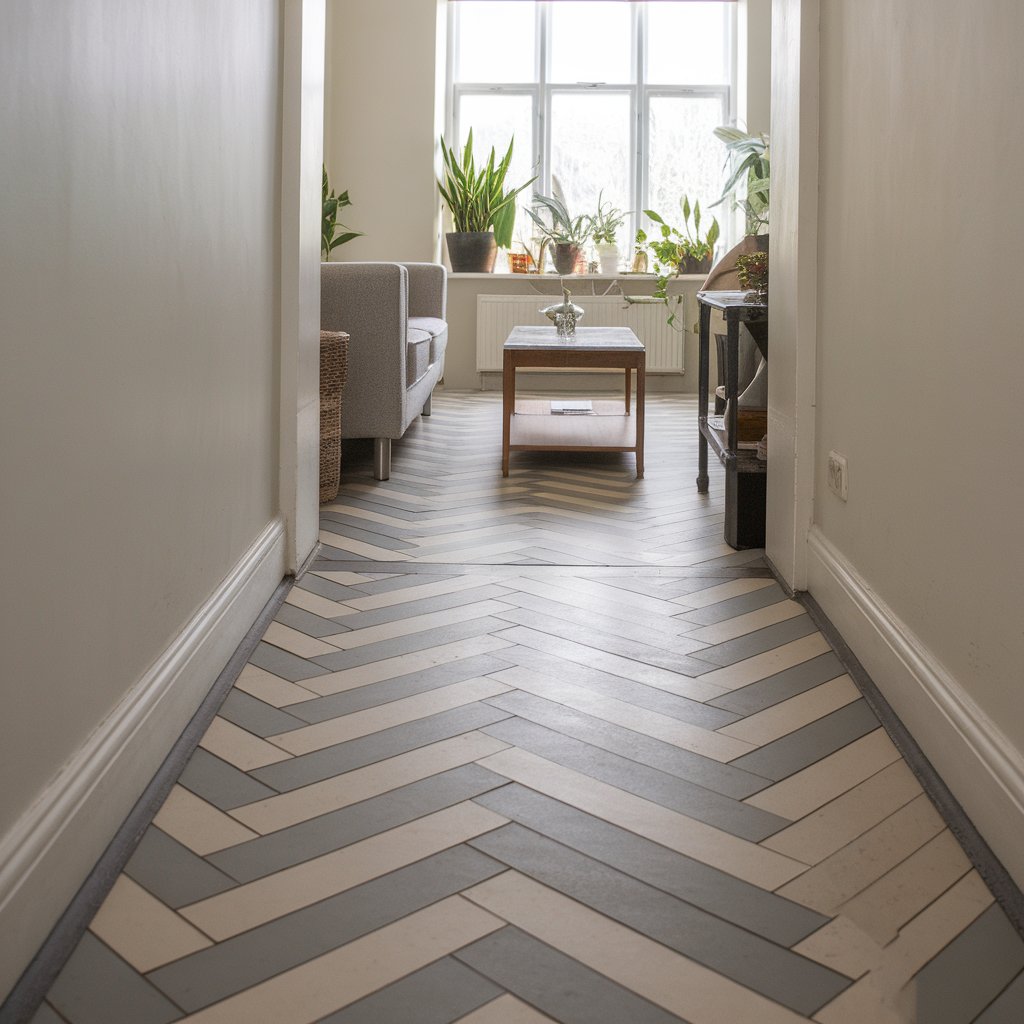
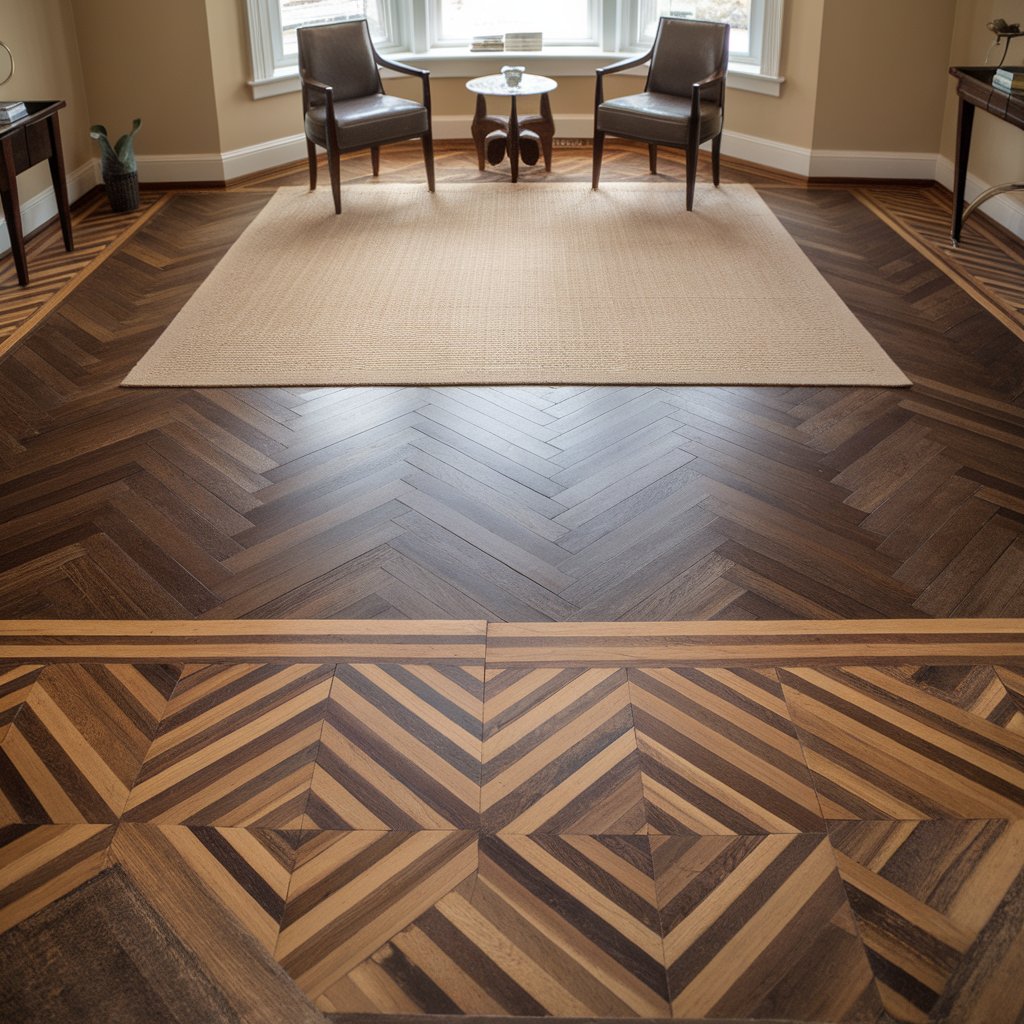
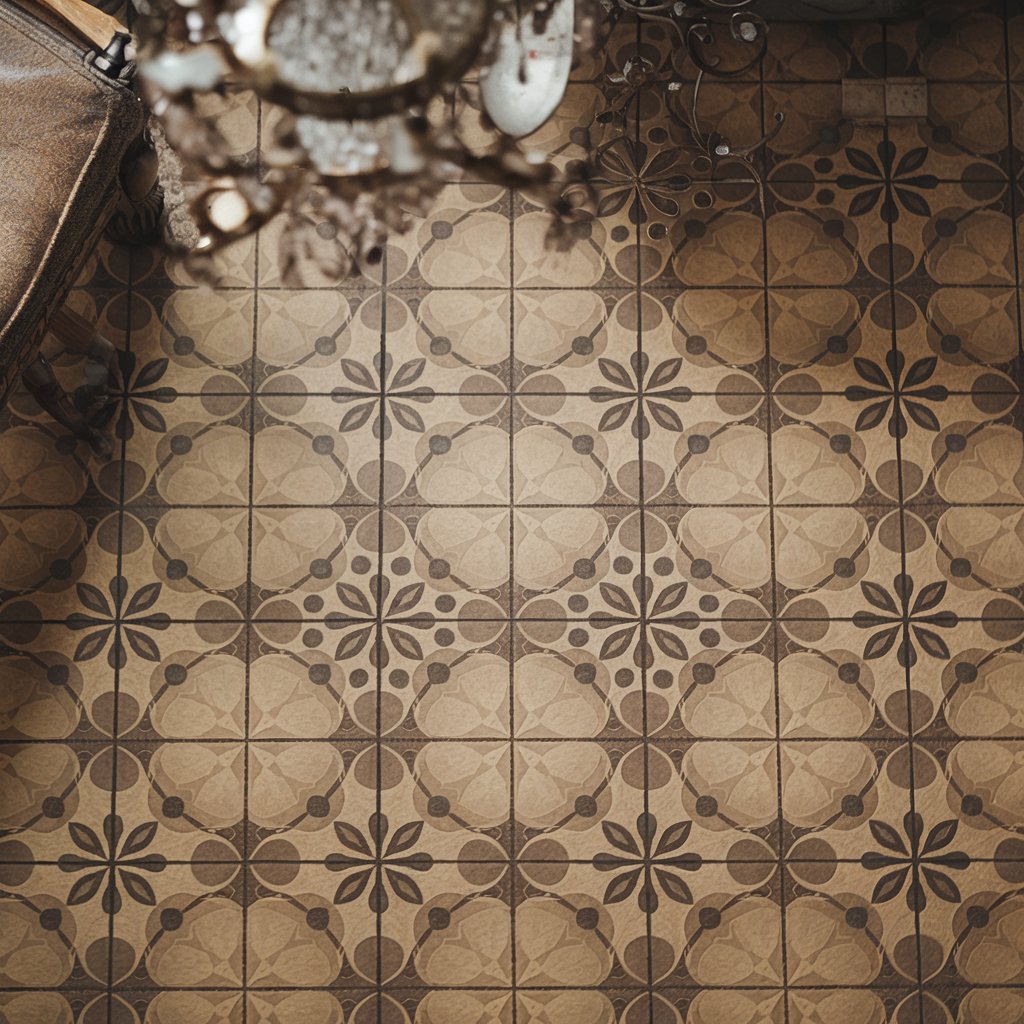
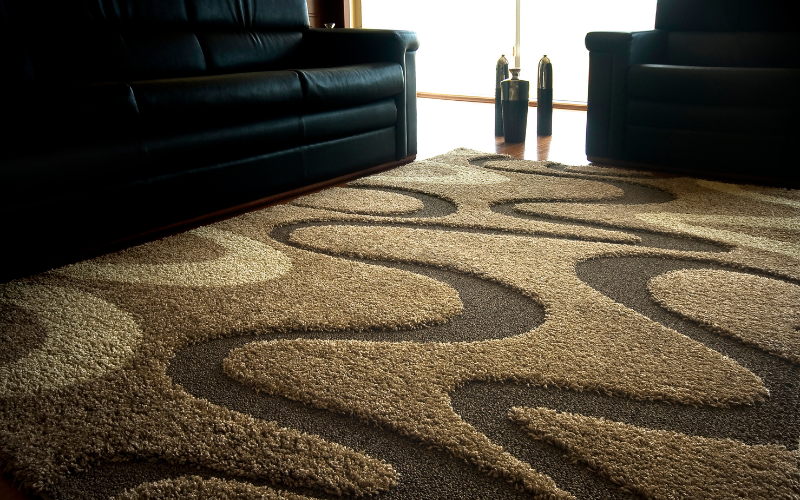
If you’re unsure where to start or are looking for creative inspiration, check out Vinyl Flooring Ideas to explore designs, patterns, and layout tips that suit different rooms in your home.
Ensuring all these tools are on hand before you start will make the installation process smoother.
Essential Tools for Laying Vinyl
Laying vinyl flooring requires the right tools for a smooth and successful installation. Here's a list of essential equipment you'll need to lay your new flooring effectively.
Tape Measure - Essential for getting accurate room dimensions and ensuring your sheet vinyl fits perfectly.
Utility Knife - A sharp utility knife makes precise cuts on vinyl sheets, especially around obstacles.
Straight Edge or T-square - Helps in keeping your cut straight line straight when measuring and cutting the vinyl.
Adhesive Trowel - If you’re using adhesive for your vinyl, this tool ensures an even spread across the subfloor.
Notched Trowel - Useful for applying glue with precision in areas where it's needed most.
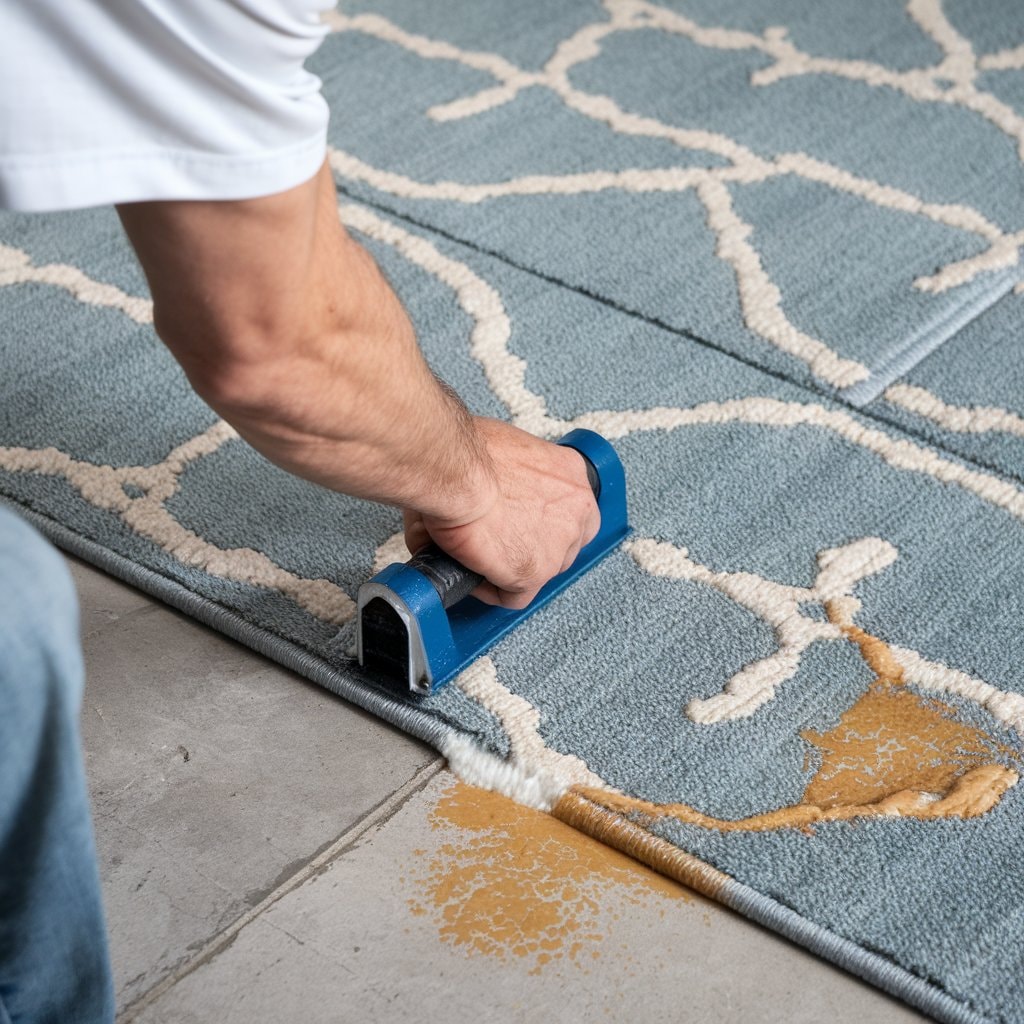
Floor Roller - After laying the vinyl, roll this over the top to press it firmly into the adhesive, removing any air bubbles.
Chalk Line Tool - Use this to snap a straight guideline across your subfloor before laying the vinyl down.
Spacers - Keep these around the edge of the room to allow expansion, particularly important in warmer climates.
Jigsaw or Handsaw - Required for cutting shapes out of your vinyl to fit around corners, toilets, or sinks accurately.
Silicone Sealant – Apply this around edges, especially in bathrooms or kitchens, to prevent water damage under the flooring.
Each item plays a vital role in ensuring that fitting vinyl flooring is as easy and error-free as possible. Make sure you have all these tools ready before you start laying sheet vinyl to guarantee a flawless finish on your new floor.
Adhesive and Other Materials
After gathering your essential tools for laying vinyl, the next step focuses on choosing the right adhesive and other materials for loose laying. This ensures a flawless installation and long-lasting finish to your new vinyl floor.
Vinyl flooring adhesive is crucial for securing sheet vinyl in place. Opt for a high-quality, water-resistant type if you’re installing vinyl flooring in a bathroom or kitchen to prevent lifting and warping.
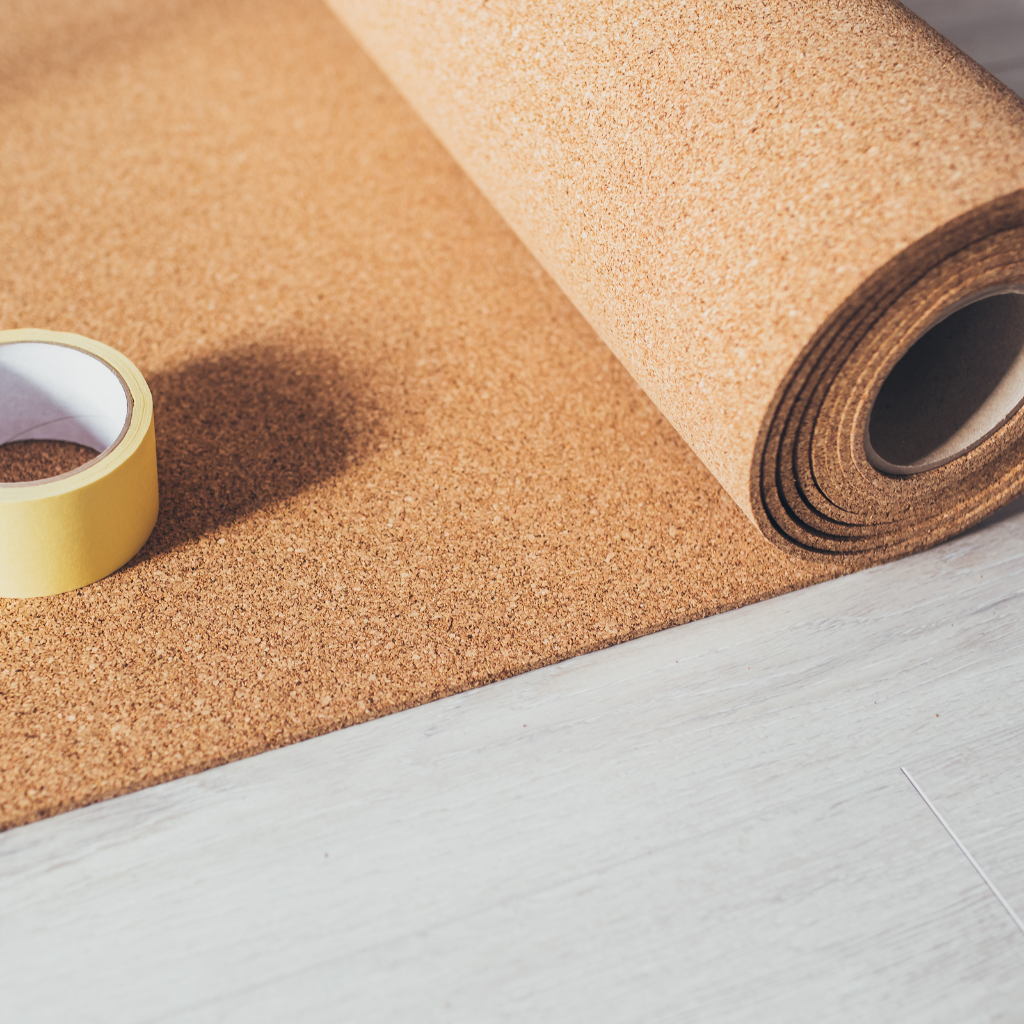
Underlayment is sometimes necessary, especially for luxury vinyl tile (LVT) or if you aim to lay the vinyl over concrete. It provides a smooth base, reducing noise and adding comfort underfoot.
Silicone sealant comes in handy around the edges of the room or near fixtures like bathtubs and sinks. It creates a waterproof barrier that protects your floor from moisture.
Skirting boards may need removal before installation and reattachment afterwards. This process keeps the edges of your vinyl looking neat against the wall.
Transition strips join two sheets of vinyl or connect vinyl flooring to other flooring types in different rooms smoothly, without uneven surfaces.
A tape measure is essential not just for measuring space but also to ensure you buy enough material to cover your area with some excess for mistakes or future repairs.
Utility knives are used to cut the vinyl precisely, ensuring it fits perfectly around corners, under door frames, and alongside skirting boards.
A bolster chisel might be required to remove existing tiles or vinyl planks before laying down new vinyl flooring, especially during renovation projects.
Metal straightedges help achieve clean, straight cuts across sheets of vinyl, vital when trimming material to fit across the room’s dimensions.
Notching trowels spread adhesive evenly across the subfloor before laying down sheet vinyl, ensuring a whole floor covering without gaps.
Choosing these materials carefully will contribute significantly toward achieving a professional-looking finish on your new floor while also extending its lifespan through proper installation and maintenance practices.
Preparing Your Tools and Workspace
Laying vinyl flooring starts with setting up your tools and workspace correctly. This ensures a smooth installation process from start to finish.
Clear the room of furniture and any obstructions to create a spacious working area. Moving everything out makes it easier to measure, cut, and lay your vinyl flooring.
Gather all essential tools for laying vinyl, including a utility knife, tape measure, straight edge, and notched trowel for spreading adhesive evenly.
Check the condition of your subfloor; it needs to be clean, dry, and smooth before you start laying the vinyl.
Have a roll of vinyl ready, along with adhesive and any other materials specific to your type of vinyl flooring.
Use silicone rubber at edges where the vinyl meets walls or fixtures for a neat finish that prevents water from seeping underneath.
Ensure you have knee pads for comfort since you’ll be spending a lot of time on your knees, cutting and fitting the vinyl into place.
Prepare a large, flat surface outside the room to cut large sheets of vinyl accurately without damaging them or the floor beneath.
Measure your room temperature; make sure it is not too cold or too hot, as extreme temperatures can affect how the vinyl lays down and adheres to the subfloor.
Check if you need underlay for your type of vinyl flooring; this layer can help with insulation and cushioning, but isn't suitable for all flooring types.
Keep your tools organised in one area so you can easily find what you need during each step of the installation process.
By following these steps carefully, you're setting up a solid foundation for successfully installing your new sheet vinyl flooring.
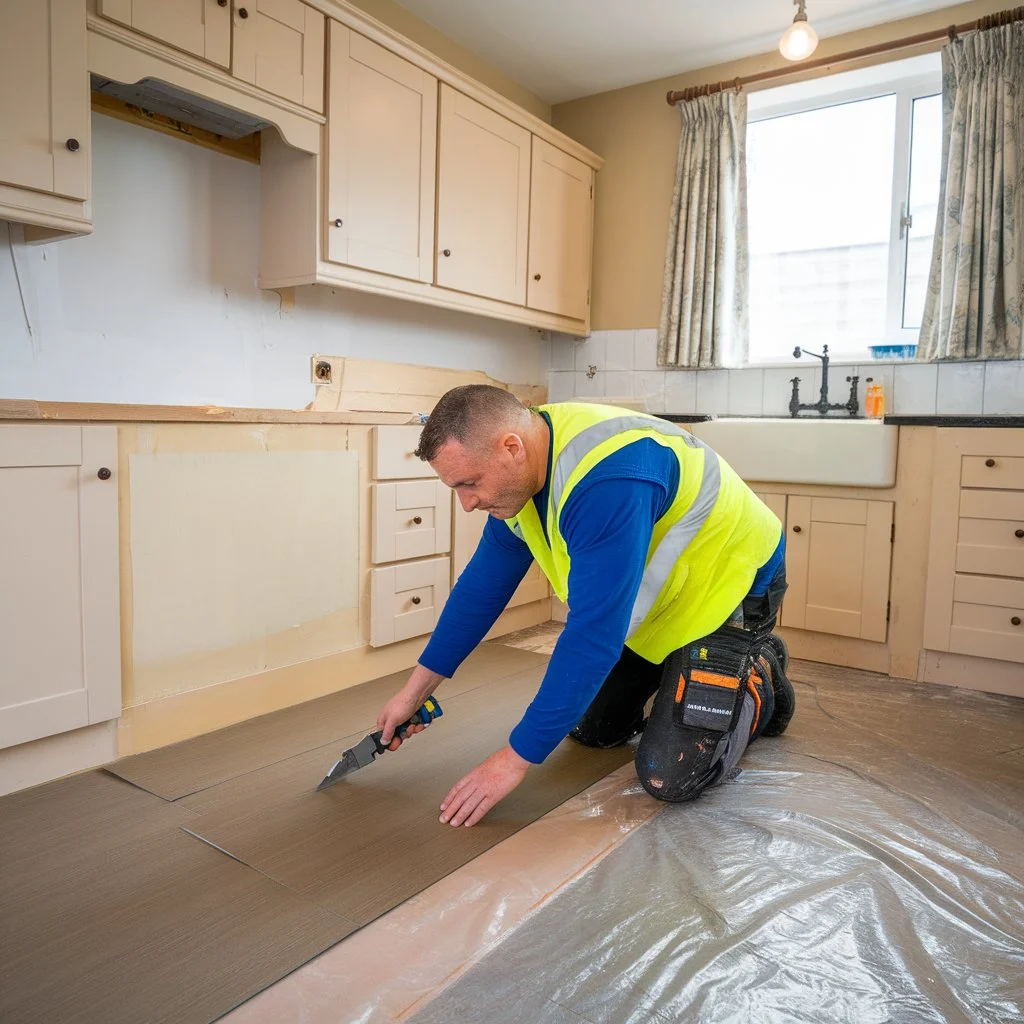
How to Prepare Your Floor for Vinyl Installation
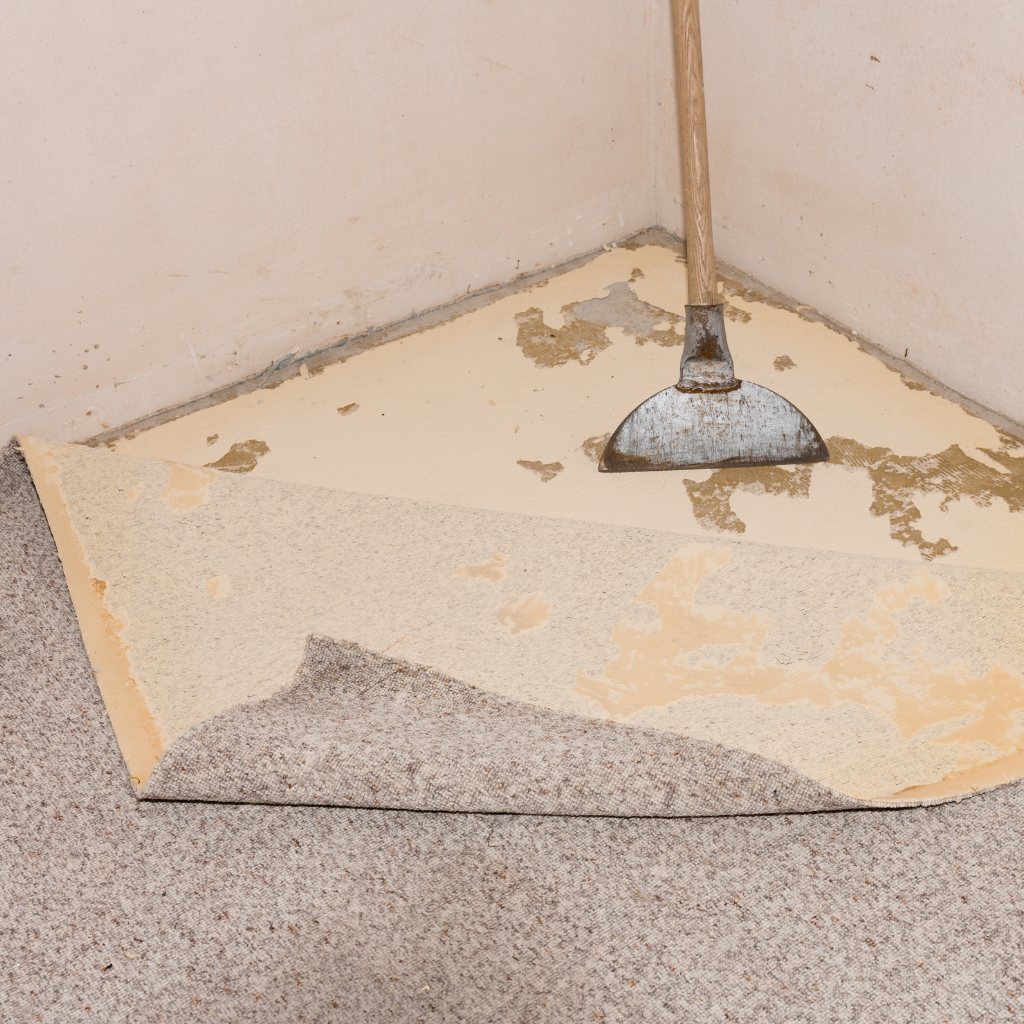
Preparing your floor for vinyl installation is a crucial step to ensure a smooth, lasting fit. Start by cleaning and smoothing the subfloor. Remove all dirt, debris, and any old flooring materials thoroughly.
A clean base prevents bumps or irregularities under your new vinyl flooring. Check if you need underlay for vinyl flooring; it can provide extra cushioning and sound insulation, especially important in high-traffic areas.
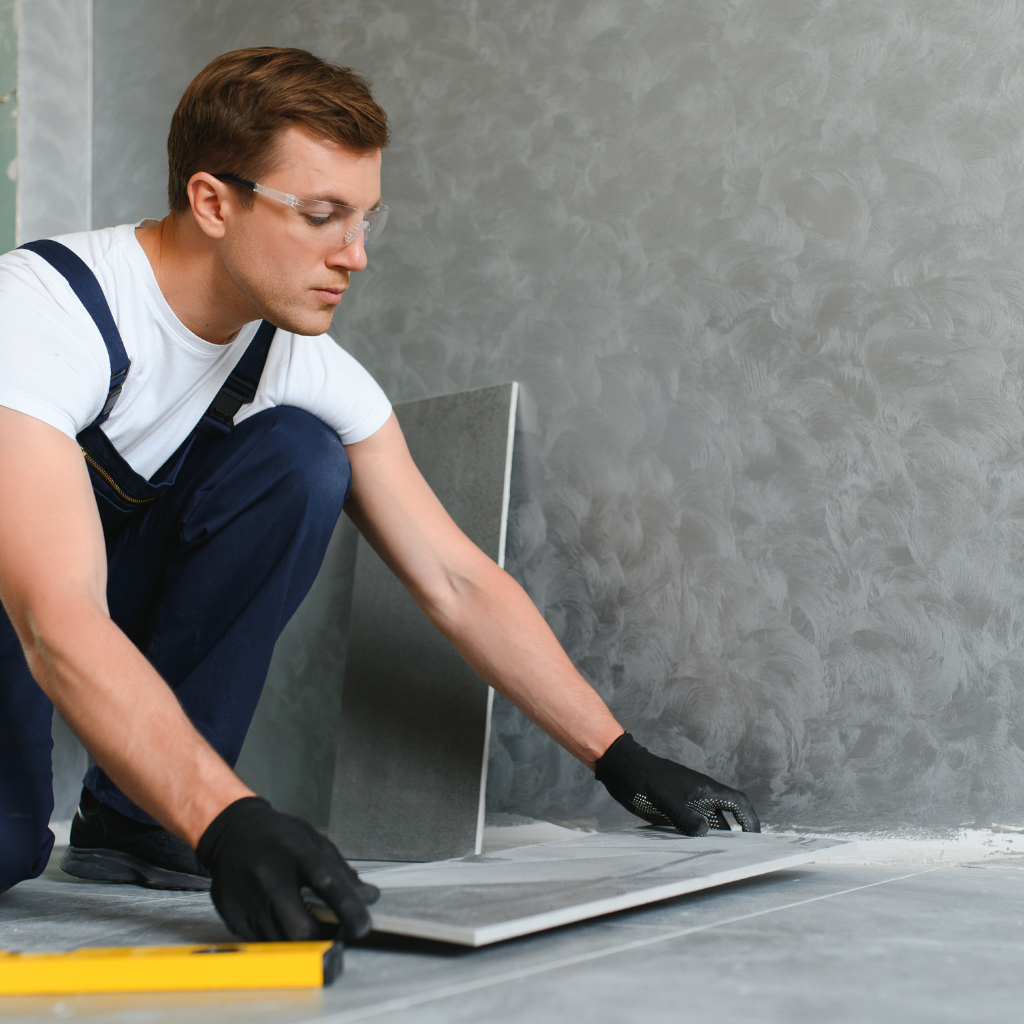
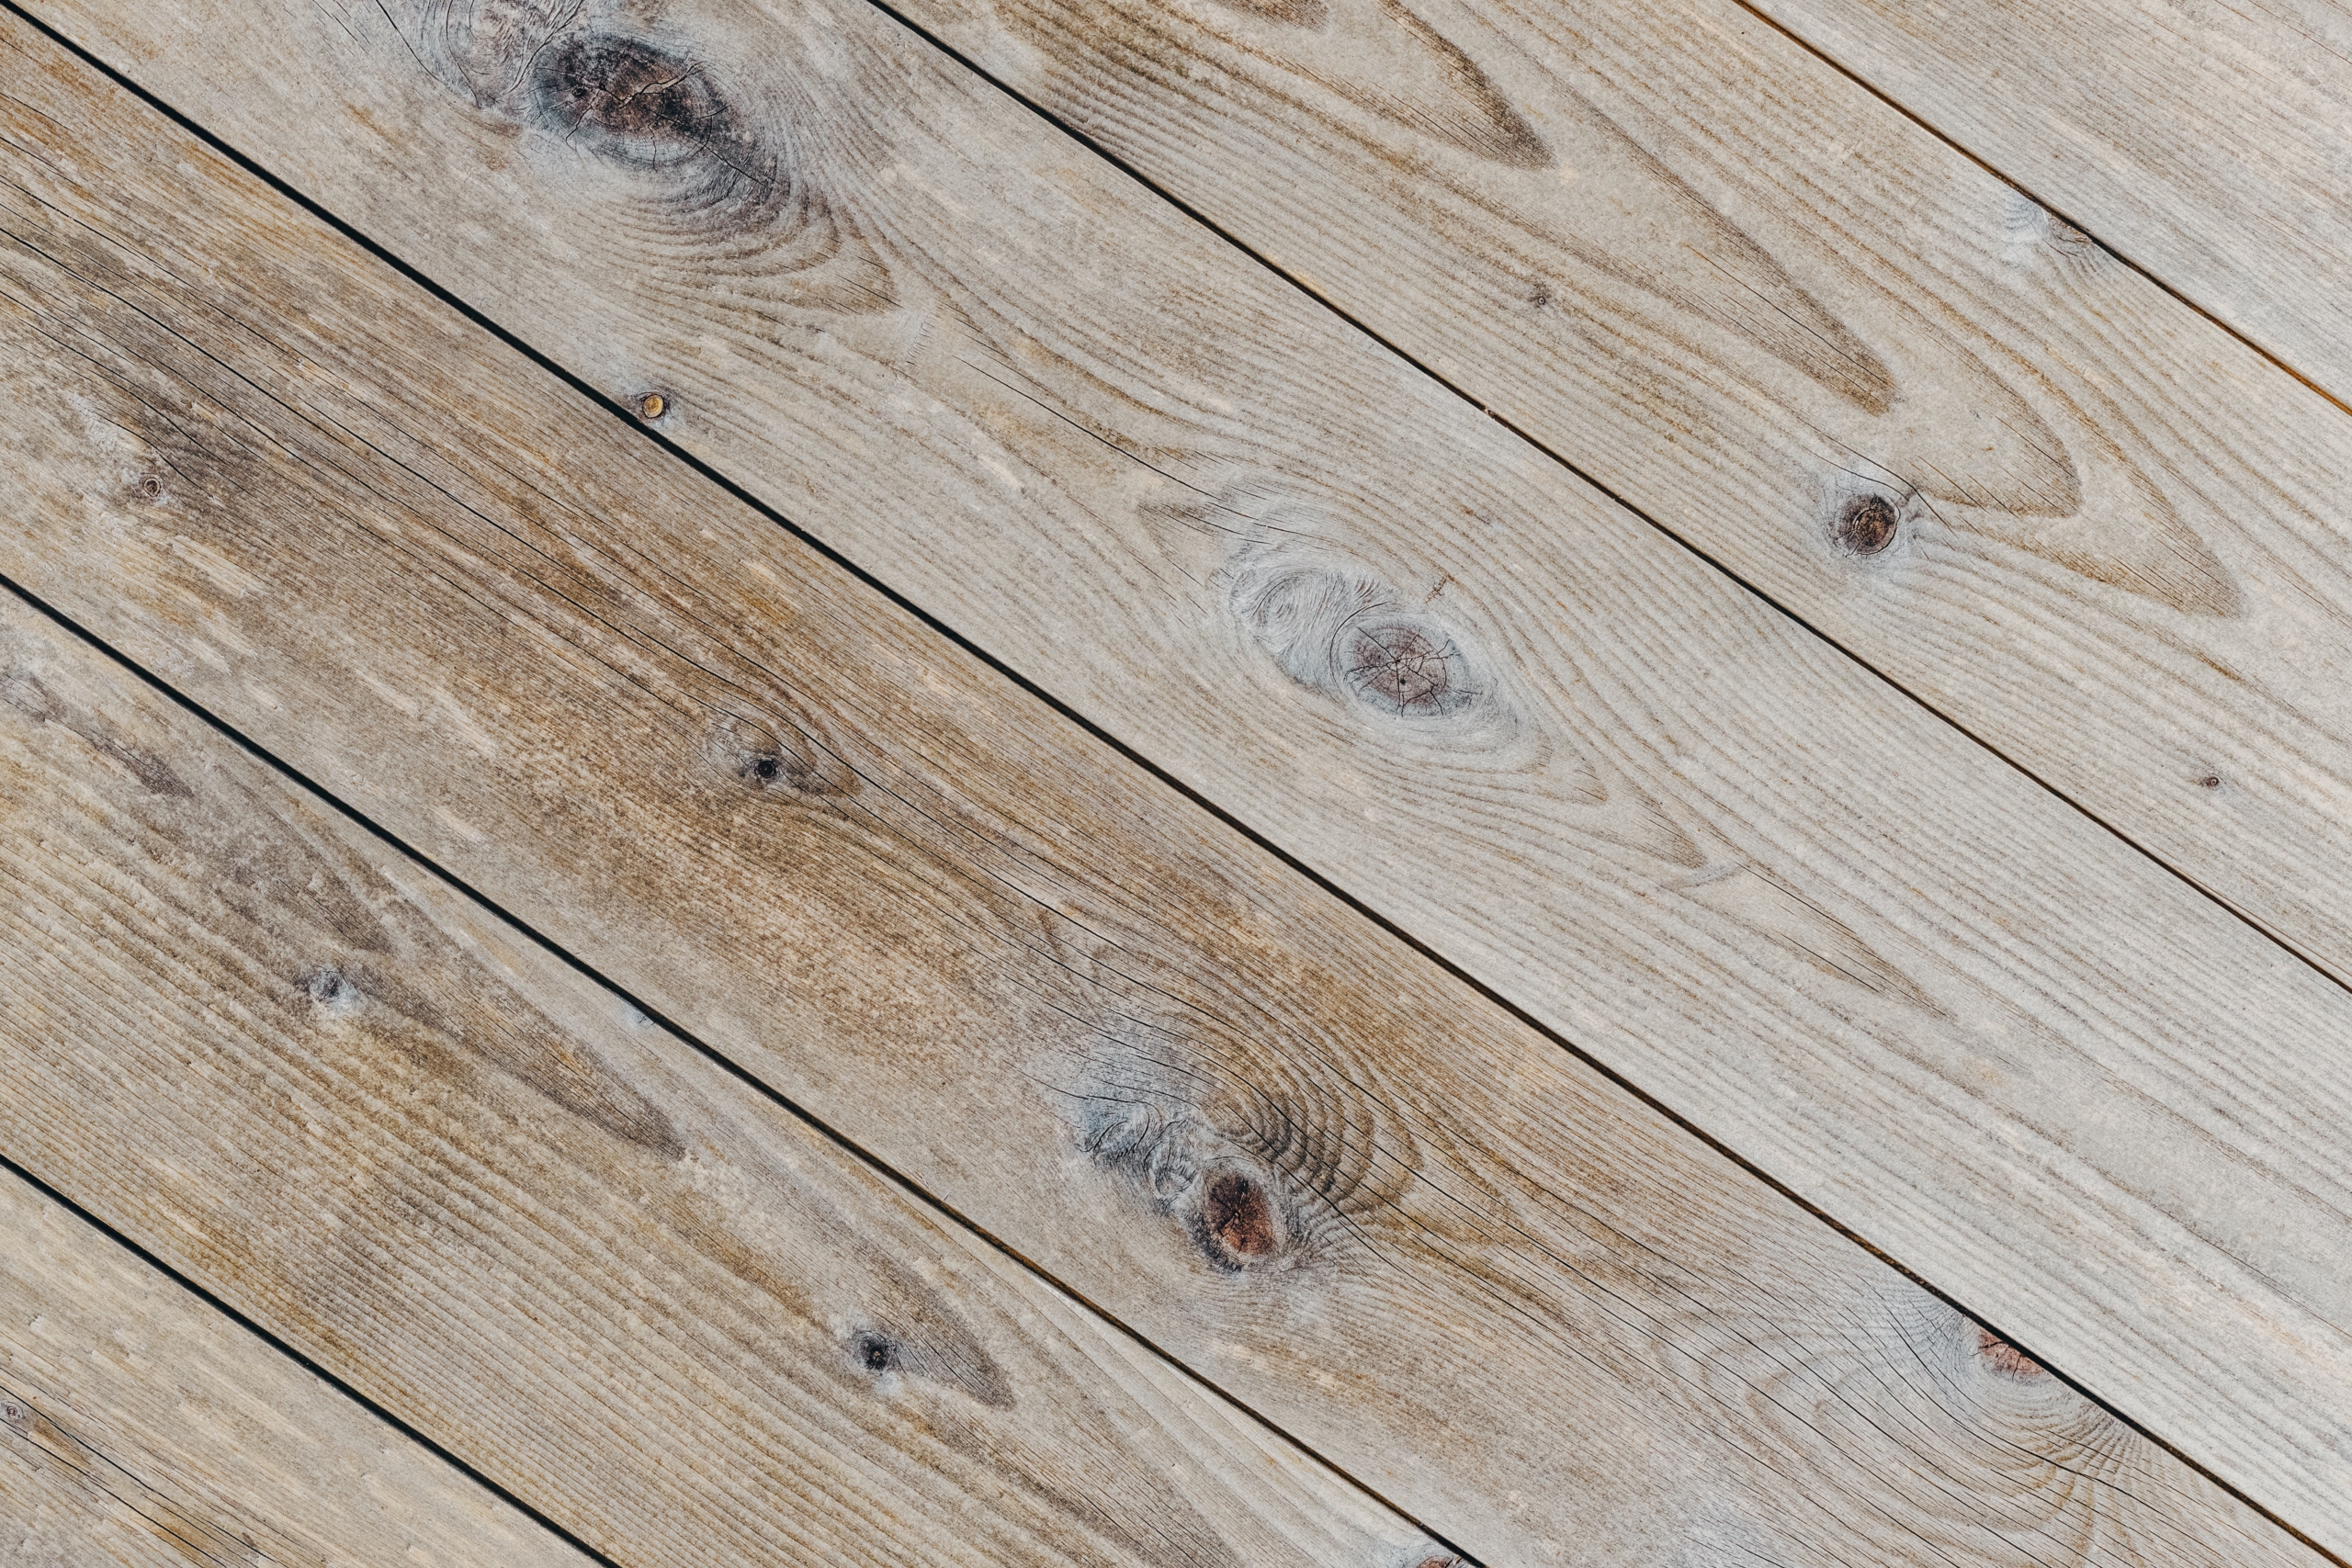
Next, tackle any uneven surfaces by using a self-levelling compound on concrete floors or sanding down wood floors. This step makes sure the surface of the wooden floor is completely flat before laying the vinyl.
Uneven surfaces can lead to problems later on, such as gaps or peeling edges of the vinyl floorings. By taking care to prepare your substrate properly, you help your new floor look its best and last longer.
Cleaning and Smoothing the Subfloor
Initiating a vinyl floor fitting begins with an accurate reading of the subfloor. This procedure assures your vinyl floor fitting proceeds without obstacles and endures lengthier.
De-clutter the room of furnishings and extract any old flooring facade to uncover the subfloor.
Brush or suction the whole area to eliminate dust, grime, and minor fragments.
Inspect the subfloor for protruding nails or screws. Push these fixings below the exterior to inhibit rips in the vinyl.
Patch up any cavities, fissures or low areas with a suitable filler compound. Permit it to dry as per the product's guidelines.
Leverage a long level or straight margin to pinpoint high regions on the subfloor. Sand these regions down until they are even.
Post-sanding, suction again to collect all dust formed by smoothing tasks.
If you stumble upon hard-to-remove adhesive residue from older flooring, utilise an adhesive remover created for this task.
Evaluate if your subfloor has sufficient moisture resistance for vinyl fitting, particularly valuable in kitchens and bathrooms where humidity is higher.
Administer a primer if suggested by your vinyl flooring's maker; this will aid in affixing the floor covering to the underlayment more effectively.
In conclusion, ensure the room’s temperature has been consistent for a minimum of 24 hours prior to initiating your vinyl floor project.
This thorough groundwork constructs a stable foundation for your new luxury vinyl floor, assuring it aligns flawlessly around each corner and rim of the room, all the while preserving its sturdiness over the years.
Do You Need Underlay for Vinyl Flooring?
Selecting an underlay for your vinyl flooring can significantly improve the results. The underlay works as a base for the vinyl, enhancing its texture and lasting durability. It assists in levelling out minor subfloor flaws, ensuring that the surface is ideally suited for laying sheet vinyl flooring.
A high-quality underlay also acts as a layer of insulation, maintaining floor warmth and decreasing noise, advantages particularly noticeable when installing high-end vinyl flooring in high-traffic areas of your house.
The decision to use an underlay depends on the style of vinyl flooring you're planning to install. For example, if you are installing sheet or vinyl products or glue-down vinyl tiles or vinyl planks, separate padding might not be necessary, as these products usually come with their own felt or foam backing.
On the other hand, if you prefer click vinyl planks or tiles, placing them on an underlayment will make the installation easier and improve the overall appearance and texture of your floor.
This backing helps maintain the excellent appearance of your freshly laid floors whilst providing additional comfort underfoot.
Dealing with Uneven Surfaces
Addressing uneven surfaces is paramount prior to laying down your vinyl flooring. A not-so-level floor could lead to issues such as fissures and wear on your fresh floor.
Examine the subfloor in detail for any irregularities or indentations. Utilise a long spirit level to detect elevated spots and depressions all over the surface.
Use a power sander to reduce any elevated areas. This aids in producing a more even surface for your vinyl flooring.
Apply a self-levelling compound to lower spots. Adhere to the product instructions, combining it with water until it attains the suitable consistency.
Allow the levelling compound to dry thoroughly as per the guidelines given by the manufacturer, typically 24 hours, prior to moving forward.
Recheck the surface using a spirit level to confirm it's level now. Repeat the filling and sanding steps if required.
Clean the whole area by sweeping and vacuuming to eliminate dust and debris resulting from the sanding and filling operations.
Start laying down your vinyl flooring on the prepared surface, commencing from one corner of the room and proceeding to the opposite end.
Firmly fix the vinyl against skirting boards, confirming no spaces are left where damp could find its way in.
Trim any extra vinyl around hindrances such as pipes or corners using a sharp knife, making sure that cuts are accurate for a tidy finish.
Overlap two vinyl sheets slightly at an angle, then slice through both layers for an ideal seam.
Make sure to perform every procedure attentively to prevent ripping the vinyl or creating air pockets under the surface, which may form if air becomes stuck during the installation of spray adhesive.
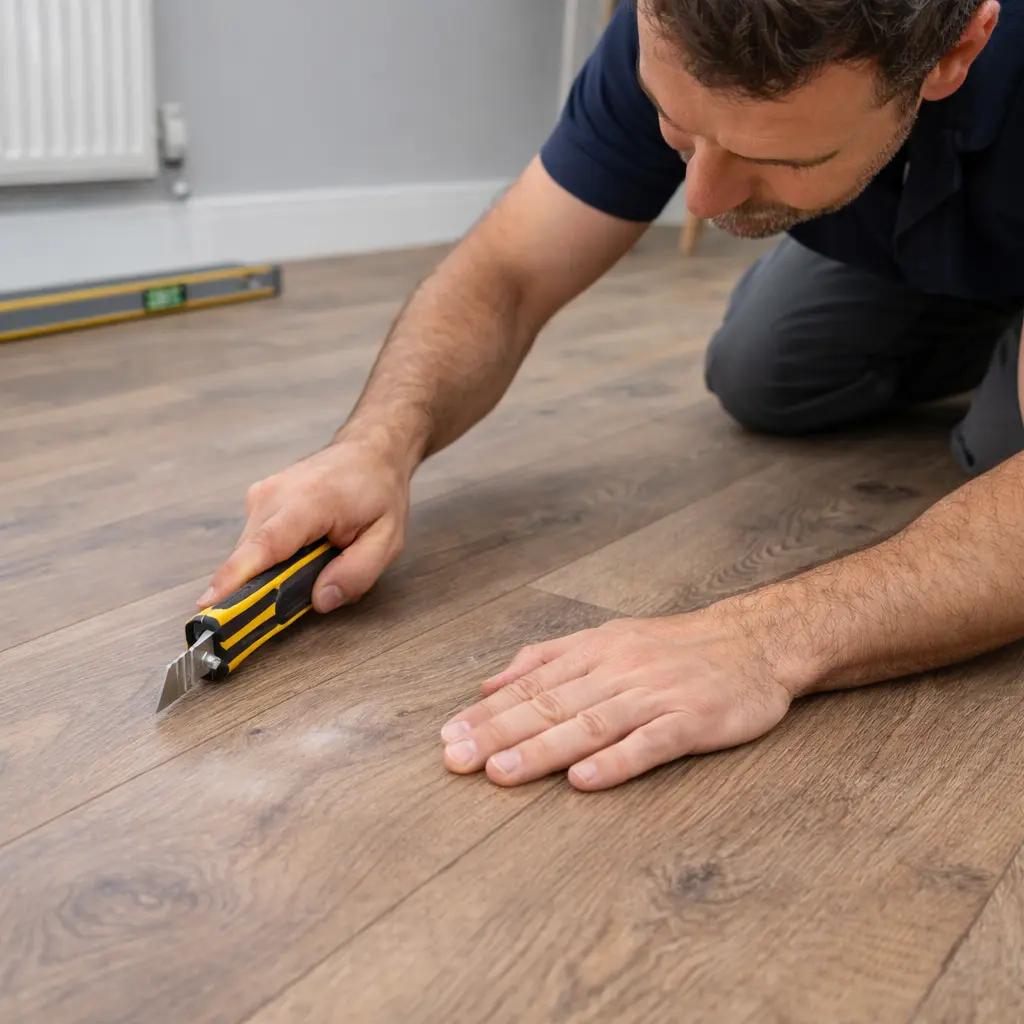
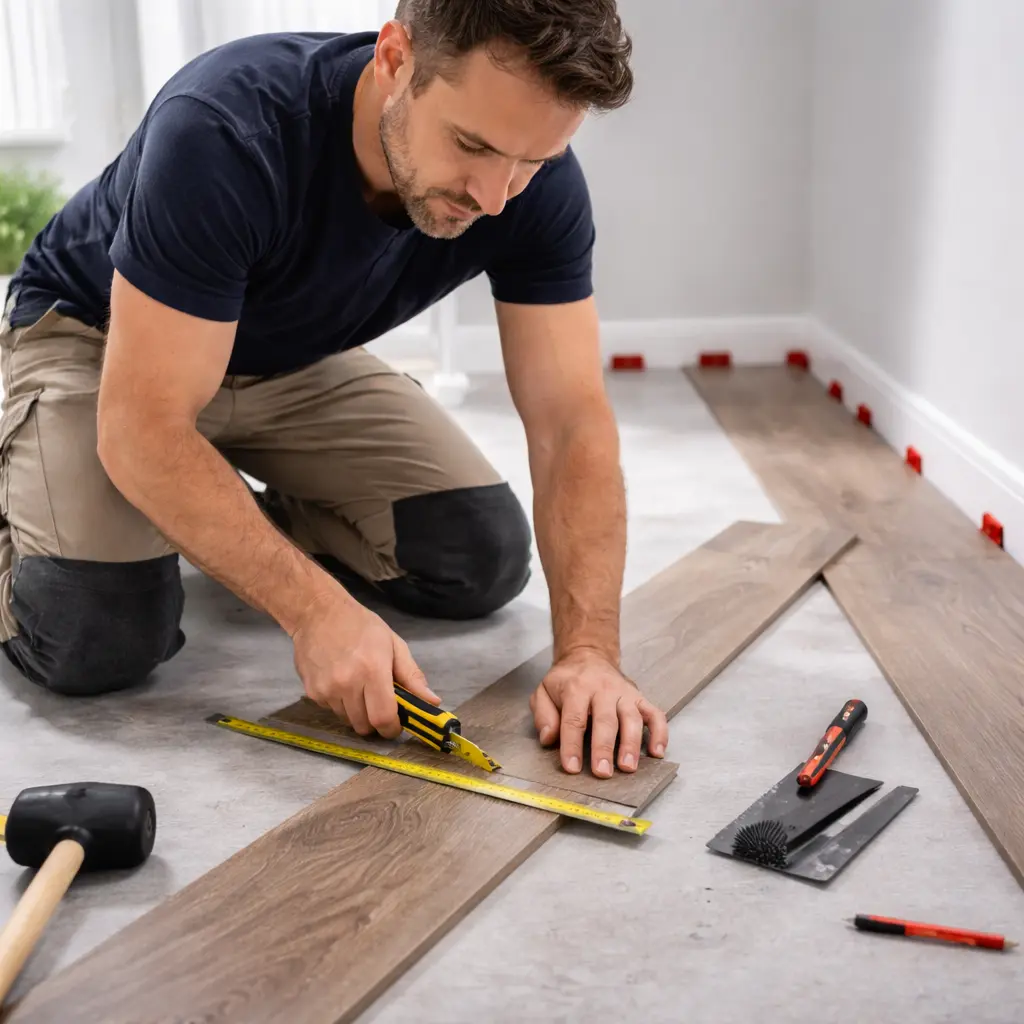
How to Cut Vinyl Flooring to Fit Your Space
Measuring and cutting vinyl sheets ensures a perfect fit for your space. First, lay the vinyl against the skirting boards and mark where you need to cut, keeping the sheet parallel to laying flooring, the longest side of the room.
Use a straight edge and a sharp knife to make straight lines, precise cuts. This method helps prevent any gaps or overlaps in your flooring.
When dealing with obstacles like pipes, external corners, or edges, accurate measurements become crucial. Trace around these areas onto the vinyl using a pencil, then carefully cut out these shapes. Joining two sheets of vinyl demands attention too; overlap them slightly at the edge, cut through both layers so they match perfectly, then secure them together on the floor.
These steps ensure your vinyl sheets lie flat and fit beautifully around every corner and edge in your room.
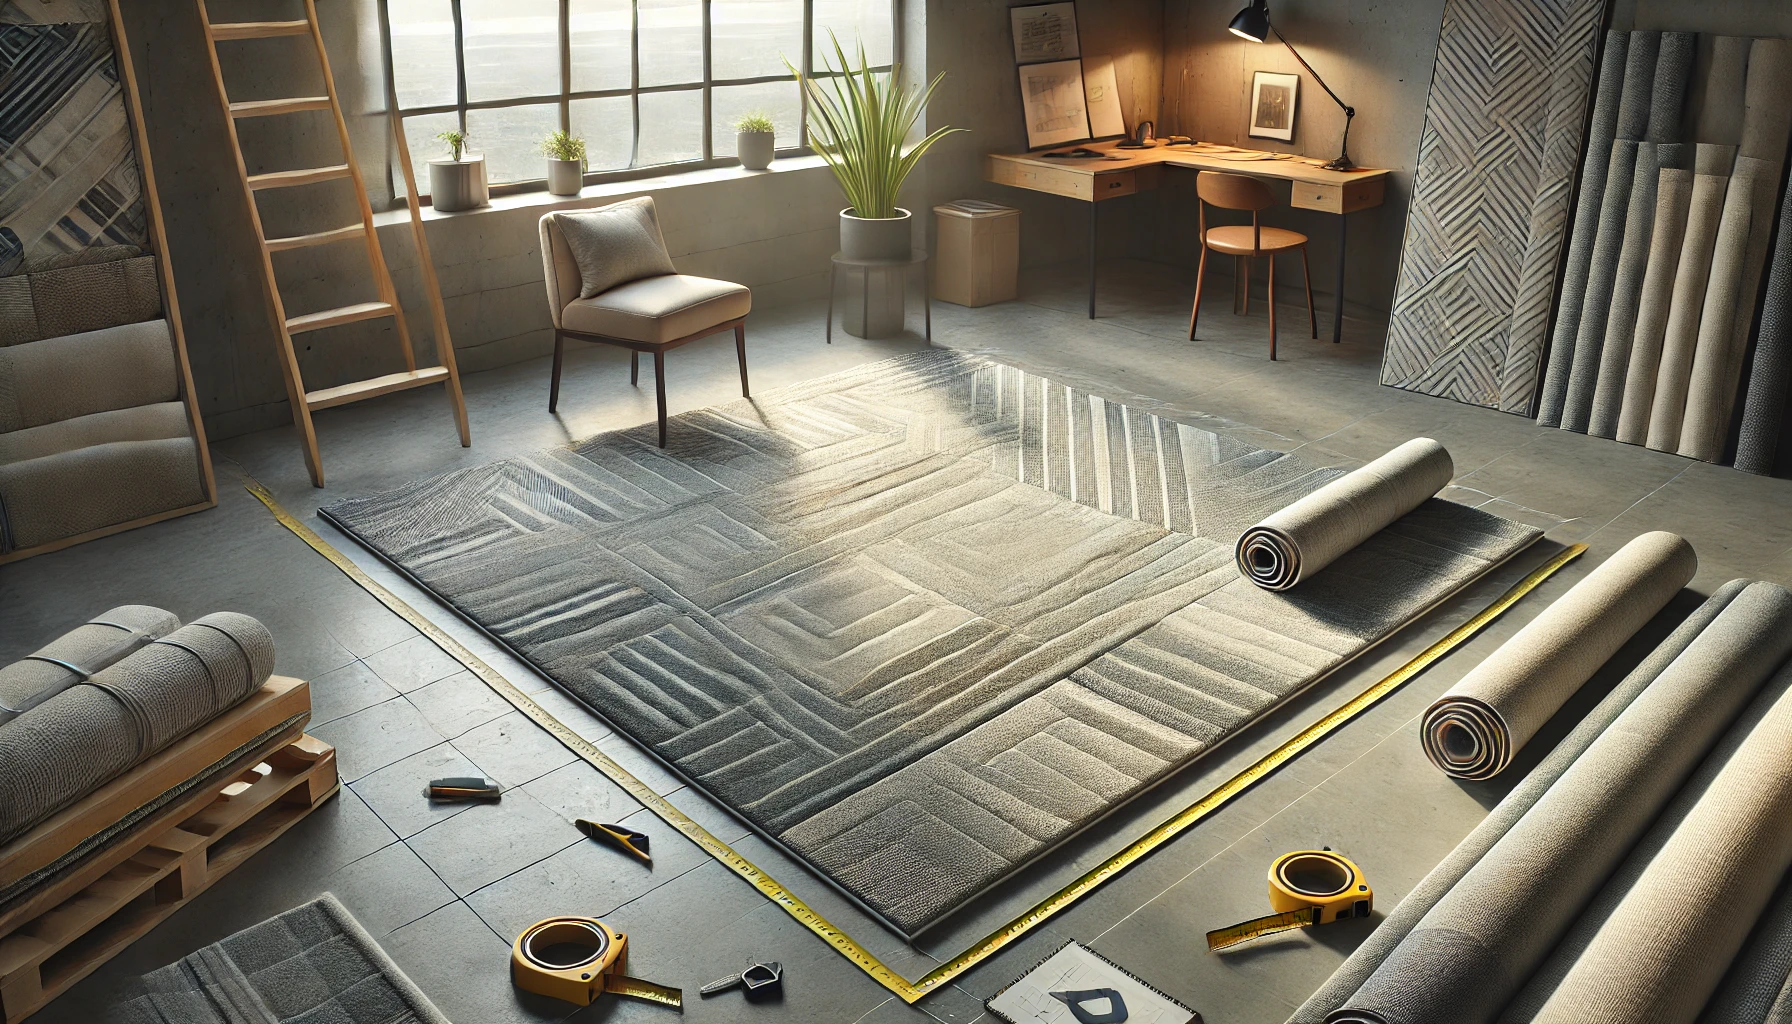
How to Measure and Cut Vinyl Sheets
Measuring and cutting vinyl sheets accurately is crucial for a smooth installation. You need to follow precise steps to ensure the last vinyl product fits your space perfectly.
Measure the room's length and width using a tape measure. Add 10 cm to each measurement for trimming.
Draw a diagram of the room on paper, noting measurements and any obstacles like cabinets or pipes.
Place the vinyl roll in the room where you plan to lay it. This helps it acclimatise.
After 24 hours, unroll the vinyl on a clean, flat surface outside the installation area.
Transfer your room measurements onto the vinyl using a straight edge and a marker. Ensure accuracy.
To cut, use a sharp utility knife and a straight edge as a guide. Apply firm pressure for clean edges.
For complicated cuts around corners or obstacles, make cardboard templates first.
Secure the vinyl with adhesive tape at the edges before making intricate cuts to prevent slipping.
Check your cut piece by placing it in the intended area without securing it down.
Trim any excess material at walls or fixtures using the utility knife for precision.
This process makes laying your flooring easier and ensures an attractive finish around every corner and edge of your space, keeping your new vinyl looking its best.
How to Lay Vinyl Flooring: A Step-by-Step Guide to Install Sheet Vinyl 4
Cutting Around Obstacles and Edges
Cutting vinyl flooring to fit around obstacles and edges is crucial for a professional finish. This task requires precision and patience to ensure that the vinyl fits perfectly in your space.
Here is how you can achieve this:
Identify the obstacles, such as pipes, corners, or skirting boards, where you need to cut the vinyl.
Measure the area around the obstacle with a tape measure to know exactly how much vinyl you need to trim.
Use a pencil to mark on the vinyl where you should cut it. Make sure these marks are accurate.
Place a piece of scrap wood beneath the section of vinyl you plan to cut through. This protects your floor.
For straight cuts, use a sharp utility knife and a straight edge guide like a ruler or spirit level.
Execute curved cuts by making slight relief cuts up to the marked straight line if fitting around rounded objects.
For cutting around pipes, drill a hole at the centre point that matches the pipe's diameter plus extra for expansion room.
Cut from the edge of the vinyl up to this hole before laying it down to slide around the pipe smoothly.
Trim excess material carefully after your first fitting attempt if it's not quite right – better too big than too small initially.
Lay the flooring into position gently after each adjustment until it fits snugly against all obstacles and edges.
Press down firmly along edges and corners using a hand roller or block of wood wrapped in cloth to ensure good adhesion without tearing the vinyl.
This method allows for precise adjustments without compromising on appearance or durability once laid down correctly against various shapes and fixtures within your home’s layout, ensuring an impeccable finish every time.
Joining Two Sheets of Vinyl
After cutting around obstacles and edges, the next step is joining two sheets of vinyl. This ensures a smooth and seamless finish on your floor. Here’s how you can achieve that:
Lay the first sheet of vinyl in place. Ensure it's flat and smooth against the subfloor.
Position the second sheet of vinyl flooring so that it slightly overlaps the first.
Use a straight edge to mark where the two sheets meet.
Cut through both sheets along the marked straight line to ensure they fit together perfectly.
Peel back the top sheet and apply vinyl adhesive under both edges where they will join.
Gently lay down the sheets over the adhesive, pressing firmly to secure them together.
Wipe away any excess adhesive with a damp cloth immediately to avoid staining.
Roll over the seam with a flooring roller to eliminate air bubbles and ensure a tight bond.
Allow the adhesive to dry completely before walking on it or adding furniture to the room.
Following these steps will help you create a virtually invisible seam, giving your space a professional-looking finish. Joining two sheets of vinyl correctly is key for an even surface that lasts for years without peeling or separating at the edges.
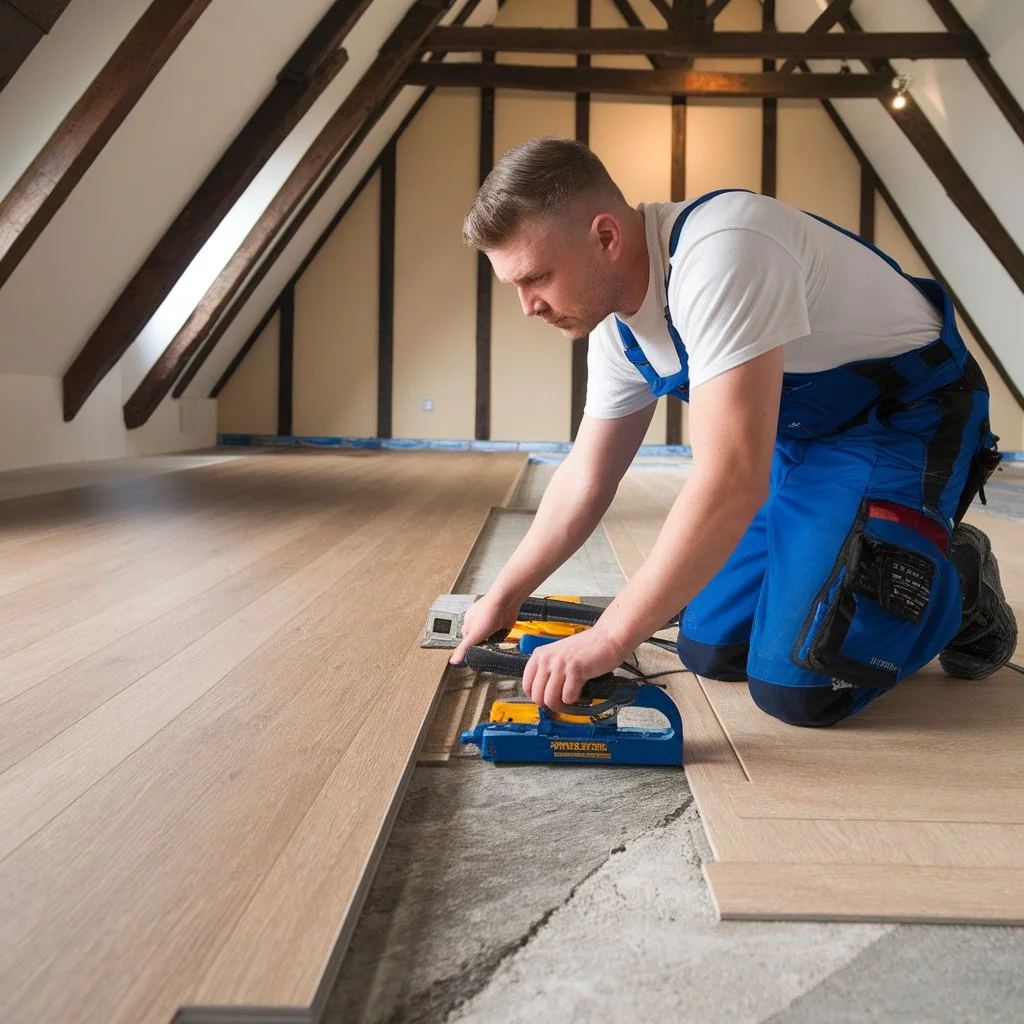
How to Lay Vinyl Flooring in Different Areas of Your Home
Laying vinyl flooring in your kitchen requires accuracy and patience. First, measure your space carefully to know how much vinyl you need. Clean the floor thoroughly before starting.
Use adhesive specifically designed for vinyl to secure the vinyl immediately between it to the underlayment. Cut the vinyl carefully around appliances and cabinets, ensuring a snug fit.
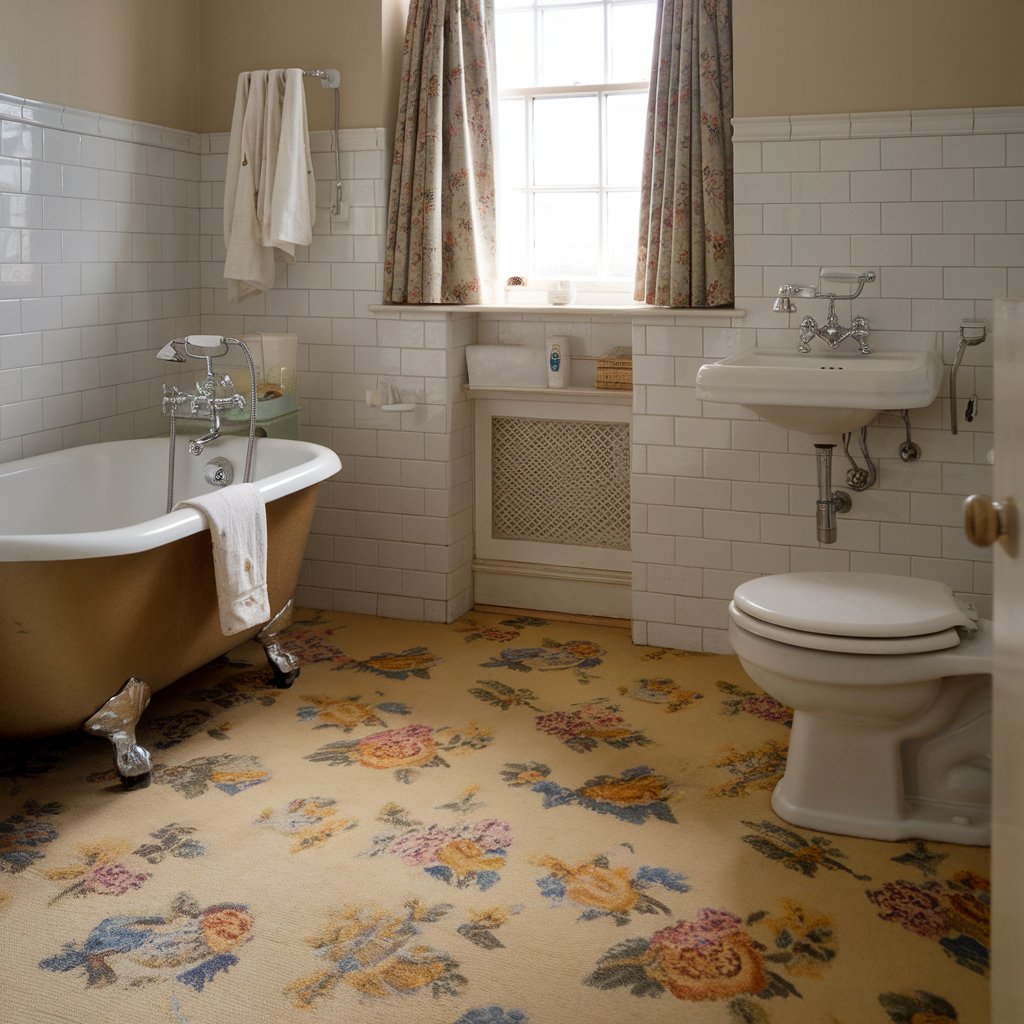
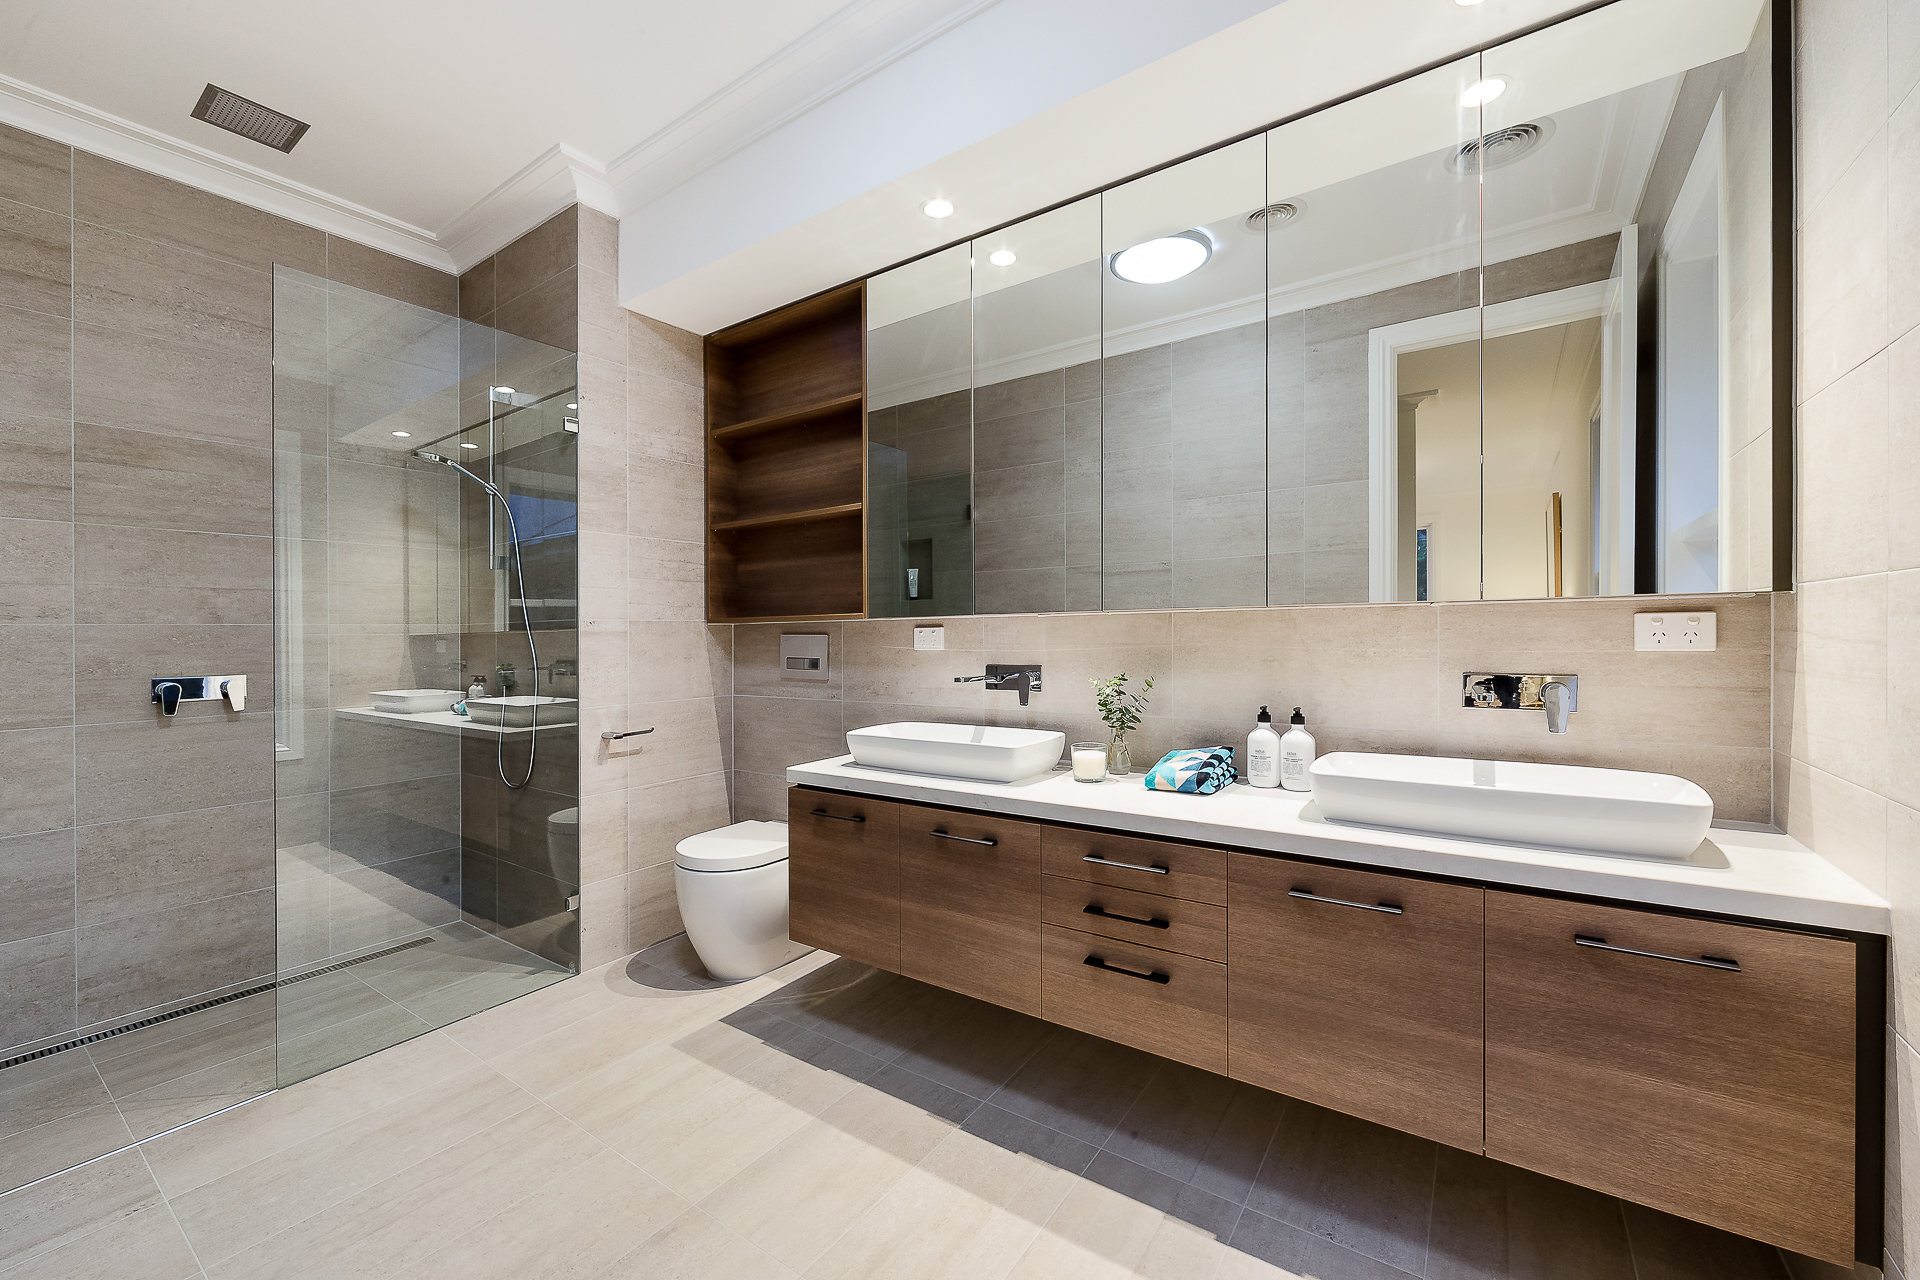
Installing vinyl in a bathroom demands attention to detail. Ensure the floor is level and dry before beginning. Seal edges around the bath and toilet base to prevent water damage. For corners and edges, use a sharp knife to cut the vinyl into shape, allowing it to lie flat against walls and fixtures.
For a successful installation, always press down firmly on the vinyl as you lay it in place.
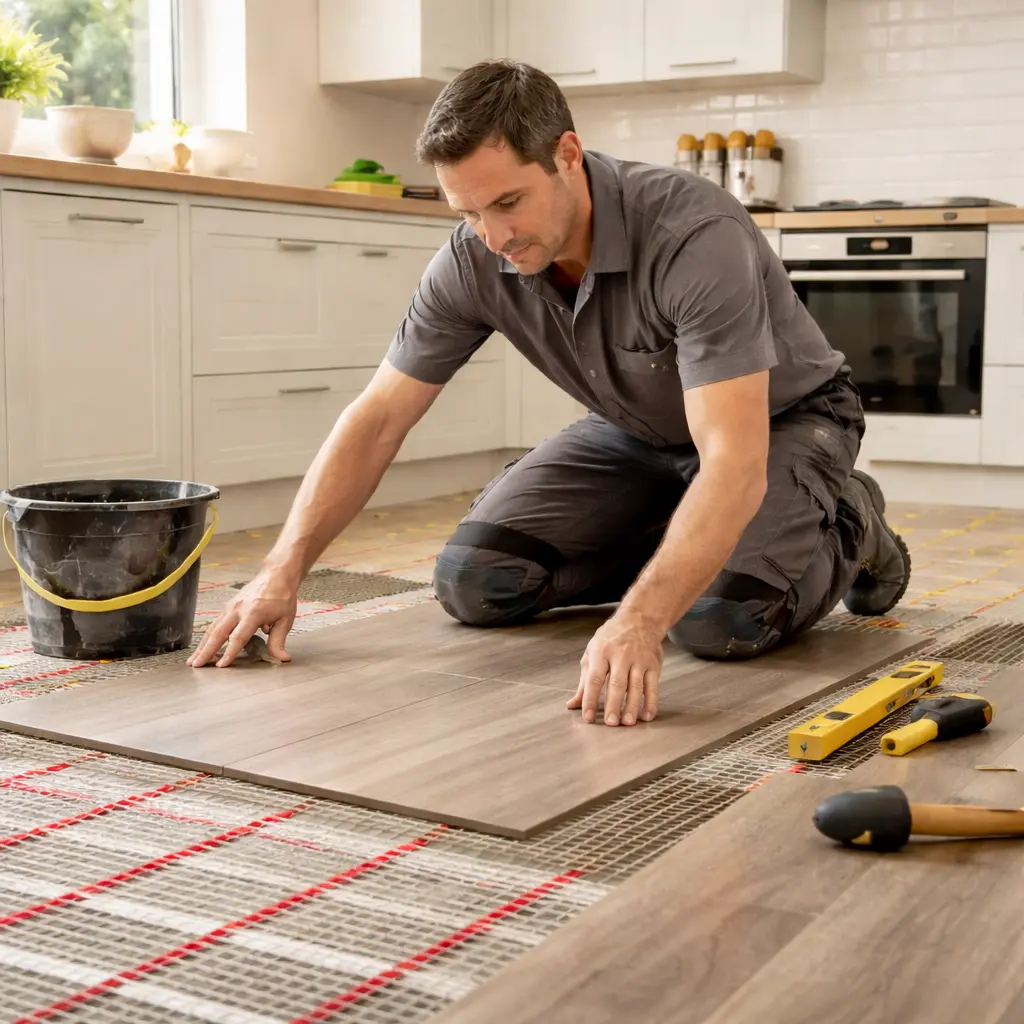
Laying Vinyl Flooring in a Kitchen
Laying a vinyl floor in your kitchen upgrades its look while offering an easy-to-maintain surface. Here's a straightforward guide to help you fit vinyl flooring in your kitchen, a vital area of your home.
Measure your kitchen space accurately to determine how much vinyl flooring you need. Include every corner and edge for a precise measurement.
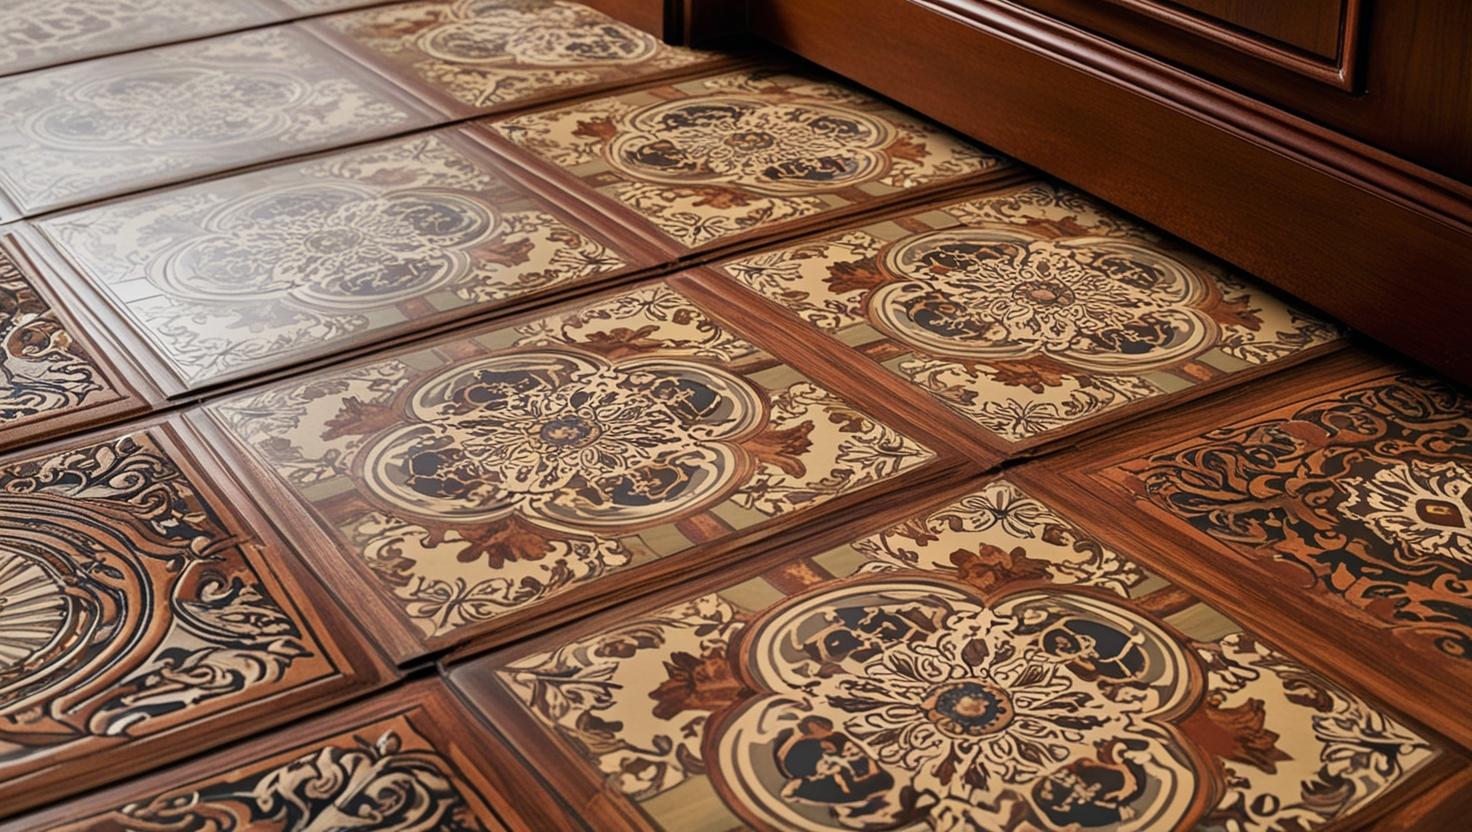
Select the correct type of vinyl flooring for your kitchen. Luxury vinyl flooring is durable and water resistant to spills, making it ideal.
Clear the kitchen area completely before beginning the installation process. This means moving appliances and furniture out of the room.
Clean the subfloor thoroughly, ensuring it's free from dust, dirt, and moisture, which could affect the adhesive.
Check the subfloor for any unevenness or damage. Use self-levelling compound to ensure a smooth base for your vinyl.
Cut the vinyl according to your measurements, keeping in mind obstacles like cabinets or islands.
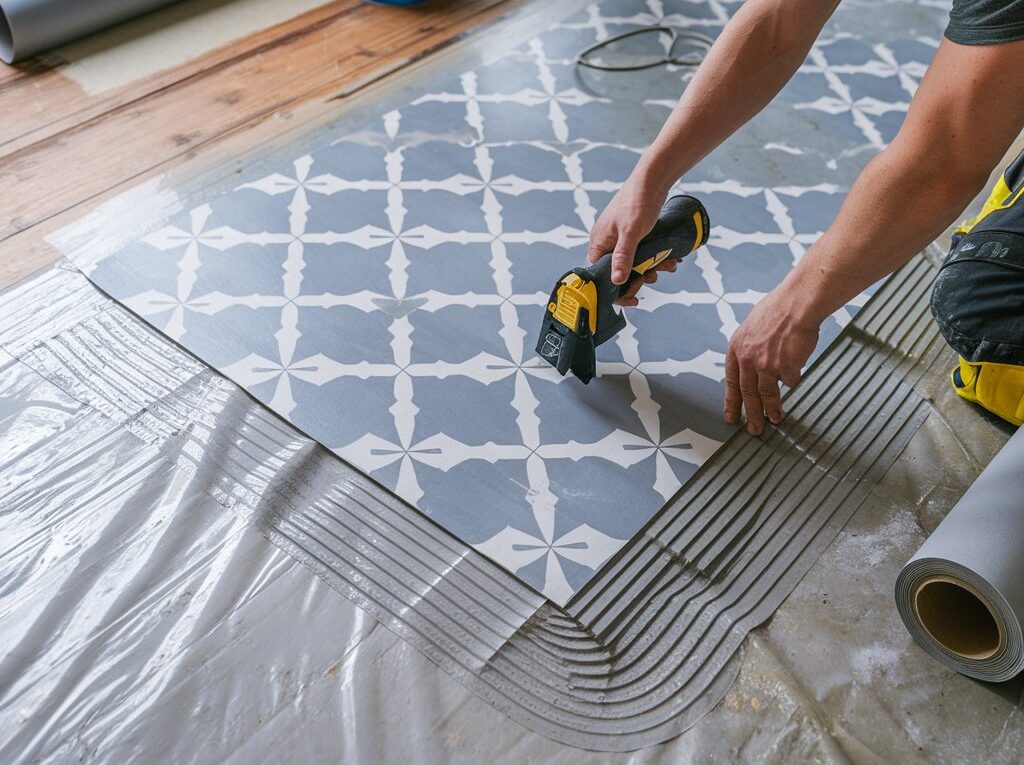
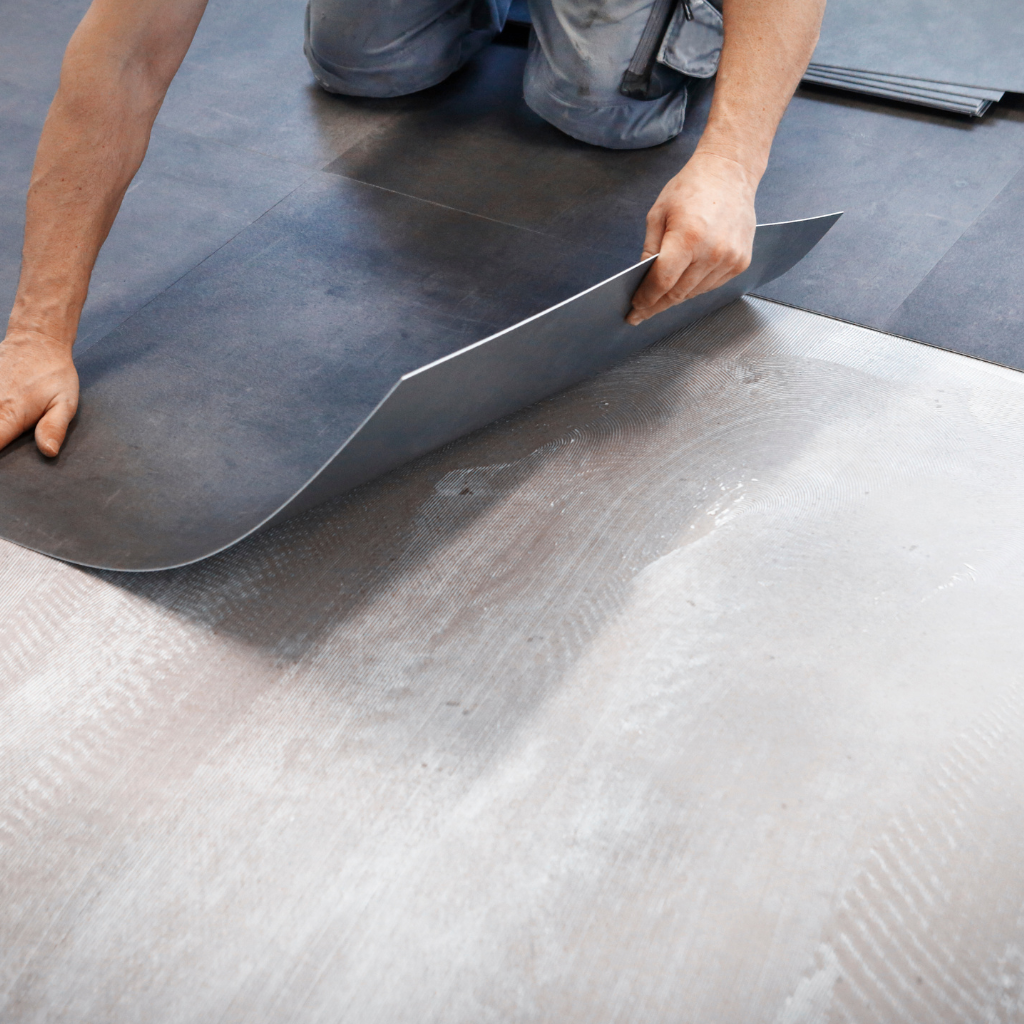
Apply adhesive evenly across the subfloor if you're using sheet vinyl flooring that requires glue-down installation.
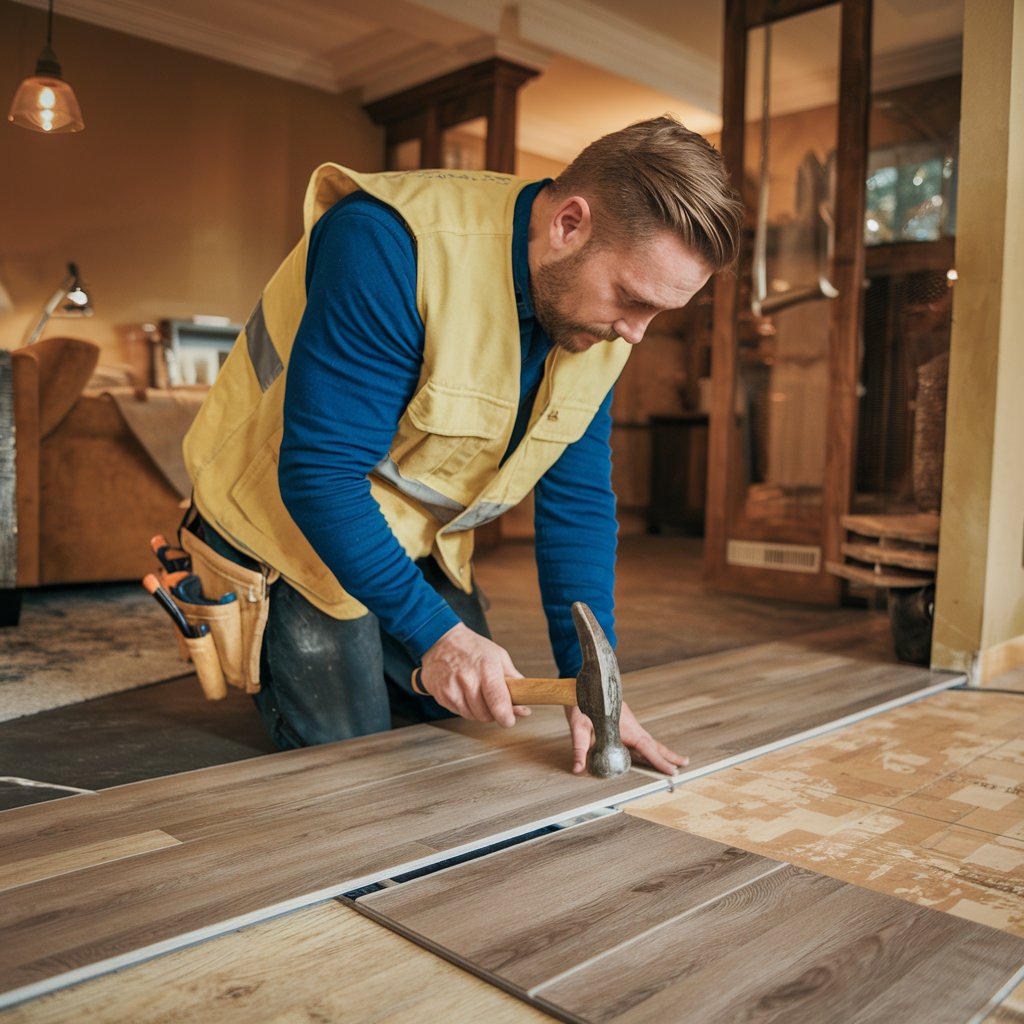
Carefully lay the first row of vinyl against the longest wall, pressing firmly into place and smoothing out any bubbles or wrinkles with a hand roller.
Continue laying the vinyl, making sure each piece fits snugly against the previous one without gaps or overlaps.
Trim excess vinyl around edges and corners with a utility knife for a clean finish.
Reattach skirting boards onto the wall rather than resting on top of the new floor to secure them neatly in place.
Let the adhesive dry according to the manufacturer's instructions before moving furniture back into place or walking heavily on your new floor.
This step-by-step guide helps ensure that installing your new kitchen floor goes smoothly, leaving you with a beautiful and durable surface ready to withstand everyday kitchen challenges.
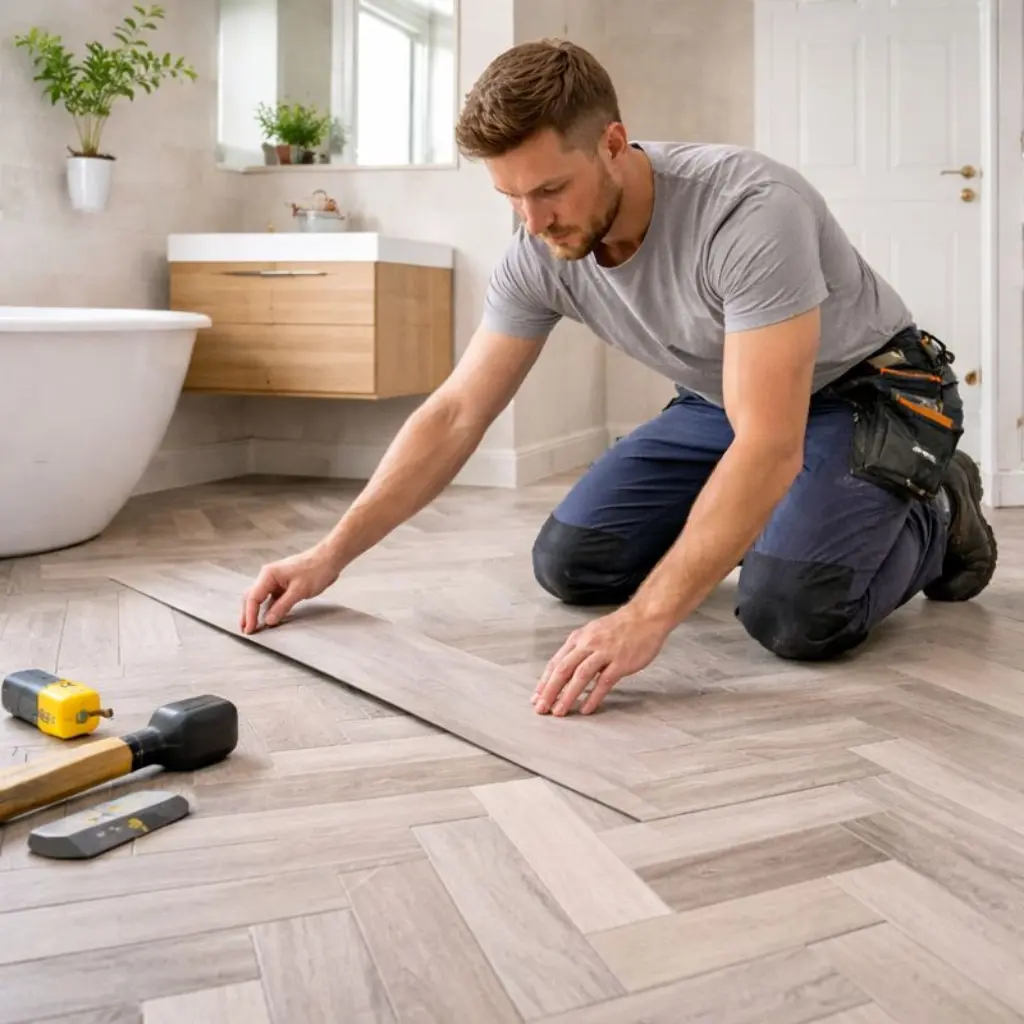
Installing Vinyl Flooring in a Bathroom
Installing vinyl flooring in a bathroom offers a waterproof and durable option. You’re laying vinyl flooring that can easily handle high moisture environments like bathrooms. Here's a step-by-step guide:
Measure your bathroom accurately to ensure you order enough vinyl. Include every nook around the base.
Clean and dry the subfloor completely before starting the installation. Any moisture can damage the vinyl.
Check if your bathroom floor is even. Use a leveller to identify any uneven surfaces.
Cut the vinyl according to your measurements. Keep the side of the sheet parallel to the wall for easier alignment.
Apply adhesive to the subfloor carefully, following product instructions closely.
Gently lay the vinyl flooring onto the adhesive, starting from one side of the room.
Use a hand roller or block to press down on the vinyl into place, ensuring there are no air bubbles underneath.
Trim away excess vinyl around edges and obstacles with a sharp knife for precision cuts in the vinyl around toilets or sinks.
Seal edges with silicone sealant to prevent water from getting under your new floor.
Leave the floor untouched for at least 24 hours to let the adhesive set appropriately.
Next, we'll move on to fitting vinyl around corners and edges for those tough spots in other areas of your home.
Fitting Vinyl Around Corners and Edges
Fitting vinyl flooring around corners and edges necessitates accuracy and patience. This process assures your floor appears professional and endures longer.
Determine the area where the vinyl will meet the floor with precision. Utilise a tape measure to obtain exact dimensions of corners and edges.
Produce a cut in the vinyl flooring slightly larger than your measurements. This offers you additional material to manage in the event of mistakes.
Position the vinyl at the angle of each corner. Push it firmly to determine where it fits snugly against both surfaces.
Indicate any surplus material with a pencil where the vinyl intersects walls or fixtures. These marks function as a guide for trimming.
Employ a sharp utility knife to trim away the extra vinyl, cutting slowly for accuracy.
Push the vinyl against skirting boards or baseboards with care. Avoid using force, which can rip the vinyl.
For constricted spots, use a flap of vinyl technique: create a small cut that permits the material to fold neatly around obstacles.
Affix skirting boards onto the vinyl lightly at first, examining alignment before exerting more pressure.
If connecting two sheets of vinyl near an edge or corner, ensure they align ideally without open spaces or overlaps before sealing them.
Seal edges with suitable adhesive to prevent lifting and assure water resistance, particularly vital in bathrooms and kitchens.
After positioning and fixing all pieces, roll over them with a flooring roller to expel air bubbles and ensure the bond between the floor and adhesive.
This systematic process aids in accurately installing your flooring, tackling every corner and edge for a smooth finish that brings style to your home while assuring longevity.
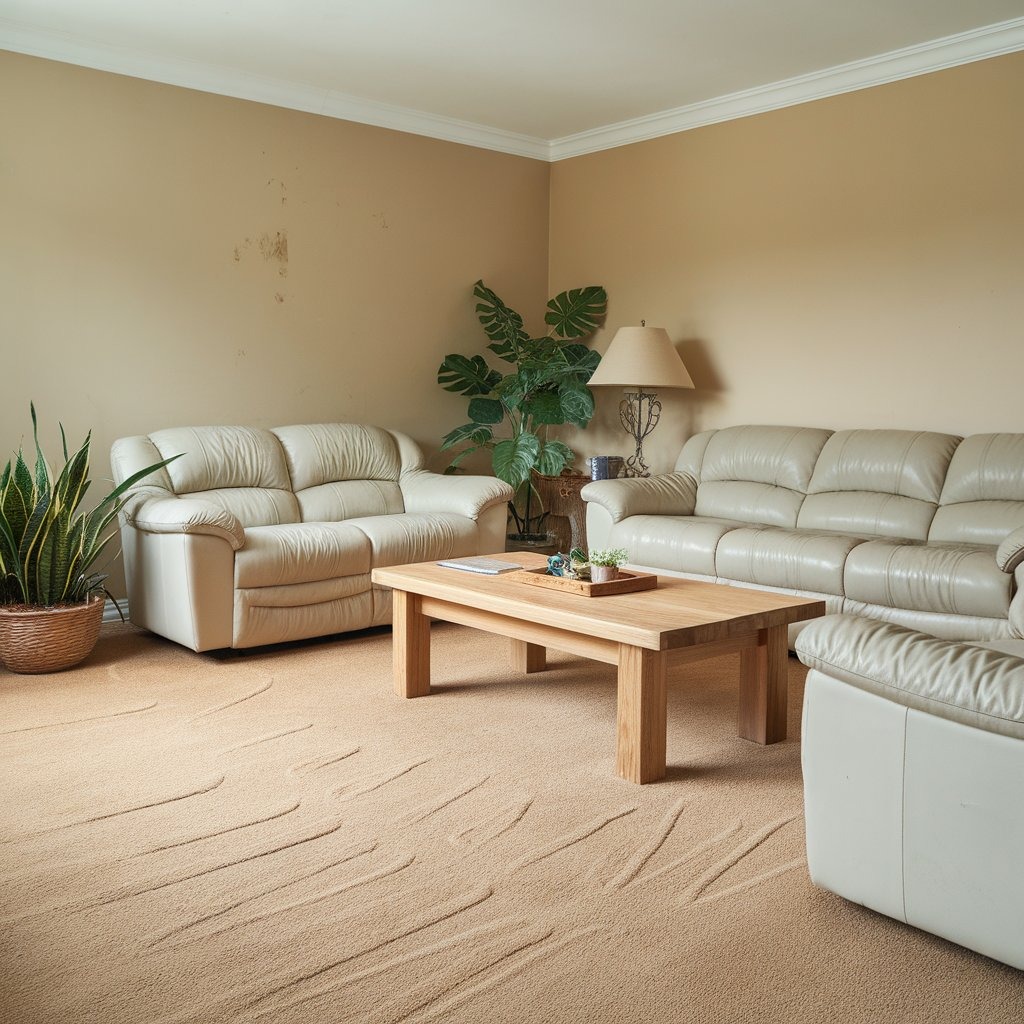
How to Maintain and Care for Your New Vinyl Floor
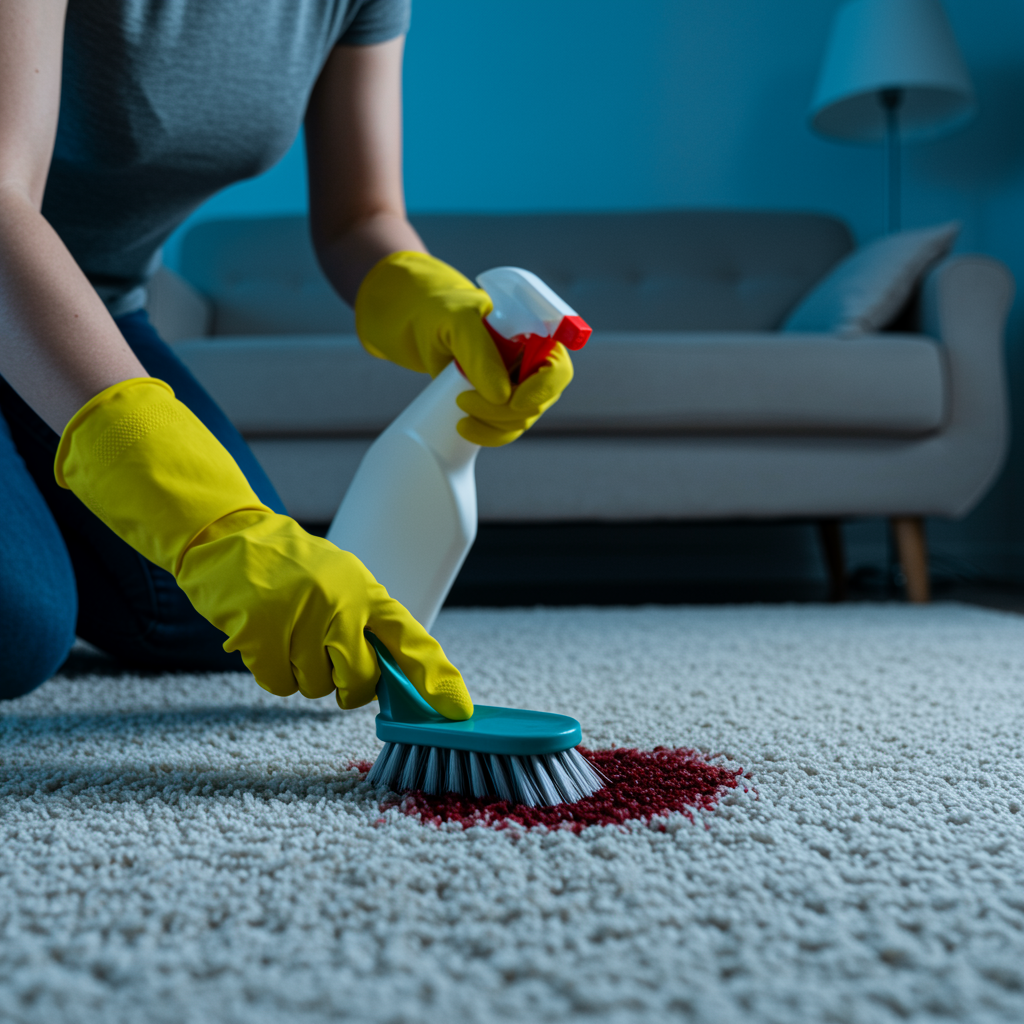
Regular cleaning and maintenance are essential to keep your vinyl flooring looking its best. Sweep or vacuum it daily to remove dust and dirt that can scratch the surface. For a deeper clean, use a damp mop with mild detergent; this helps prevent any buildup of grime.
Make sure you do not soak the floor, as too much water can damage vinyl over time.
Protecting your vinyl floor from damage requires some simple steps. Place felt pads under furniture legs to avoid scratches when moving items around. Keep sharp objects away from the floor, and immediately wipe up spills to prevent stains.
If minor damages occur, repairing them promptly ensures your flooring remains in top condition for years to come. Most cuts or scratches can be fixed with a sealing compound designed for polyvinyl chloride surfaces.
Invest in good-quality doormats at every entrance to reduce the amount of dirt brought onto your new vinyl floors.
Regular Cleaning and Maintenance Tips
Keeping your new vinyl flooring in top condition involves simple, regular care. This guide will help you maintain its appearance and durability for years to come.
Sweep your floor daily to remove dirt and grit that can scratch the vinyl surface.
Mop up spills promptly to prevent stains from setting into the flooring.
Use a damp mop with mild soap and water for cleaning; avoid using harsh chemicals that can damage the finish.
Place doormats at entrances to catch dirt before it gets on the floor.
Move heavy furniture carefully; lift rather than drag it across the floor.
Keep sharp objects away from the floor to prevent cuts and nicks.
Use a soft, nylon-bristled brush for tough stains, gently scrubbing until they lift away.
Avoid wearing high heels or any footwear that might puncture the vinyl.
For deep cleaning, use a specialised vinyl floor cleaner as recommended by manufacturers.
How to Lay Vinyl Flooring: A Step-by-Step Guide to Install Sheet Vinyl 5
Protecting Your Vinyl Floor from Damage
Moving beyond regular cleaning, safeguarding your vinyl flooring from damage is crucial for maintaining its appeal over time. Use protective pads under furniture legs to prevent scratches and tears in the vinyl.
These simple additions make a huge difference in preserving the floor's integrity. Avoid dragging heavy items across the concrete floor in the room; always lift them or use a trolley. This prevents tearing and ensures your flooring stays in top condition.
Ensure shoes with sharp heels or damaged soles are not worn on vinyl surfaces, as they can indent or even tear the vinyl. Place doormats at entrances to reduce the amount of dirt and grit tracked onto your floors, which can act like sandpaper against the smooth surface of the vinyl.
The combination of these precautions helps keep your vinyl flooring looking as good as new, protecting it against daily wear and ensuring it lasts for years to come.
Conclusion
Laying vinyl flooring by yourself can save you money and give your space a new look. Follow these steps to ensure a smooth installation. With the right tools and preparation, anyone can do it.
Proper care will keep your floor looking good for years. This guide shows how to put vinyl flooring down and demonstrates how easy it can be to update your home’s floors.
We use cookies on our website to give you the most relevant experience by remembering your preferences and repeat visits. By clicking “Accept All”, you consent to the use of ALL the cookies. However, you may visit "Cookie Settings" to provide a controlled consent.
This website uses cookies to improve your experience while you navigate through the website. Out of these, the cookies that are categorized as necessary are stored on your browser as they are essential for the working of basic functionalities of the website. We also use third-party cookies that help us analyze and understand how you use this website. These cookies will be stored in your browser only with your consent. You also have the option to opt-out of these cookies. But opting out of some of these cookies may affect your browsing experience.
Necessary cookies are absolutely essential for the website to function properly. These cookies ensure basic functionalities and security features of the website, anonymously.
Cookie
Duration
Description
cookielawinfo-checkbox-analytics
11 months
This cookie is set by GDPR Cookie Consent plugin. The cookie is used to store the user consent for the cookies in the category "Analytics".
cookielawinfo-checkbox-functional
11 months
The cookie is set by GDPR cookie consent to record the user consent for the cookies in the category "Functional".
cookielawinfo-checkbox-necessary
11 months
This cookie is set by GDPR Cookie Consent plugin. The cookies is used to store the user consent for the cookies in the category "Necessary".
cookielawinfo-checkbox-others
11 months
This cookie is set by GDPR Cookie Consent plugin. The cookie is used to store the user consent for the cookies in the category "Other.
cookielawinfo-checkbox-performance
11 months
This cookie is set by GDPR Cookie Consent plugin. The cookie is used to store the user consent for the cookies in the category "Performance".
viewed_cookie_policy
11 months
The cookie is set by the GDPR Cookie Consent plugin and is used to store whether or not user has consented to the use of cookies. It does not store any personal data.
Functional cookies help to perform certain functionalities like sharing the content of the website on social media platforms, collect feedbacks, and other third-party features.
Performance cookies are used to understand and analyze the key performance indexes of the website which helps in delivering a better user experience for the visitors.
Analytical cookies are used to understand how visitors interact with the website. These cookies help provide information on metrics the number of visitors, bounce rate, traffic source, etc.
Advertisement cookies are used to provide visitors with relevant ads and marketing campaigns. These cookies track visitors across websites and collect information to provide customized ads.