Master the Elegance: DIY Installation of Herringbone Laminate Flooring Made Easy
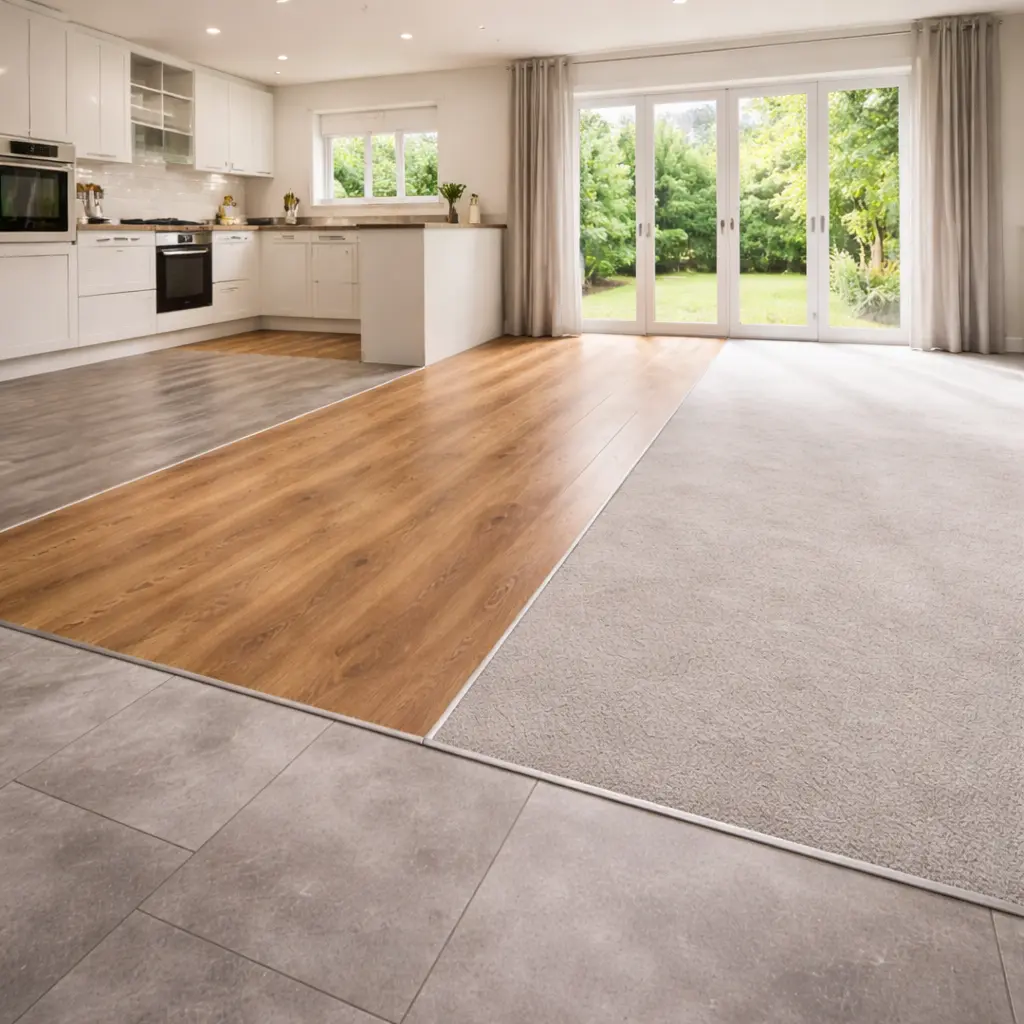
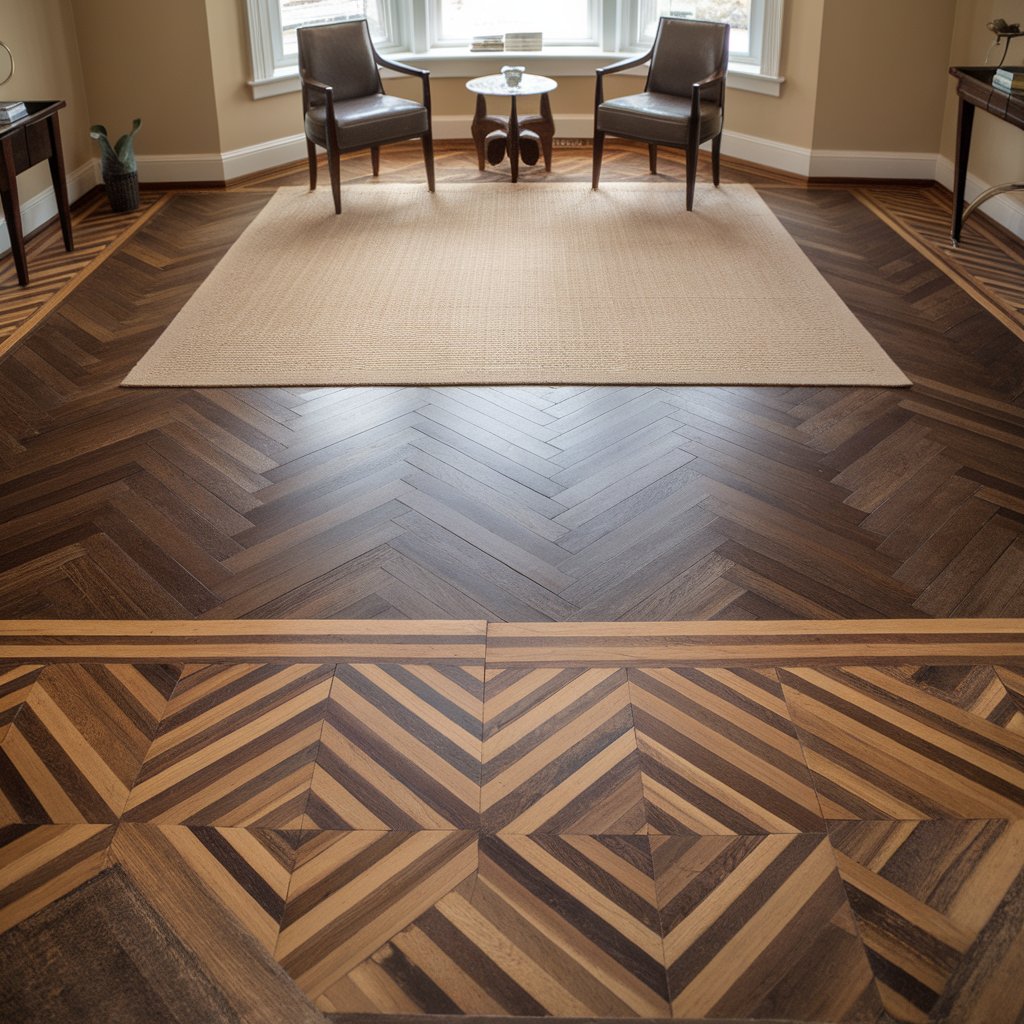
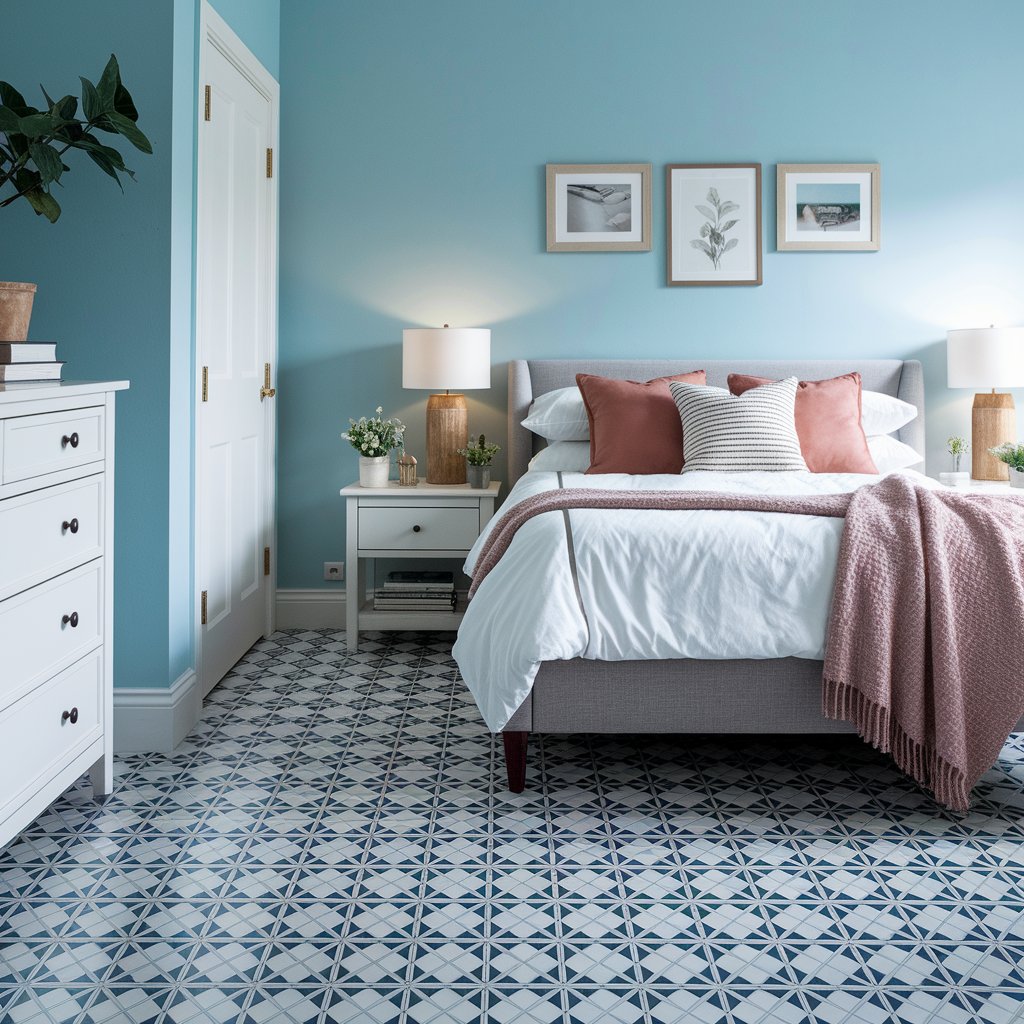
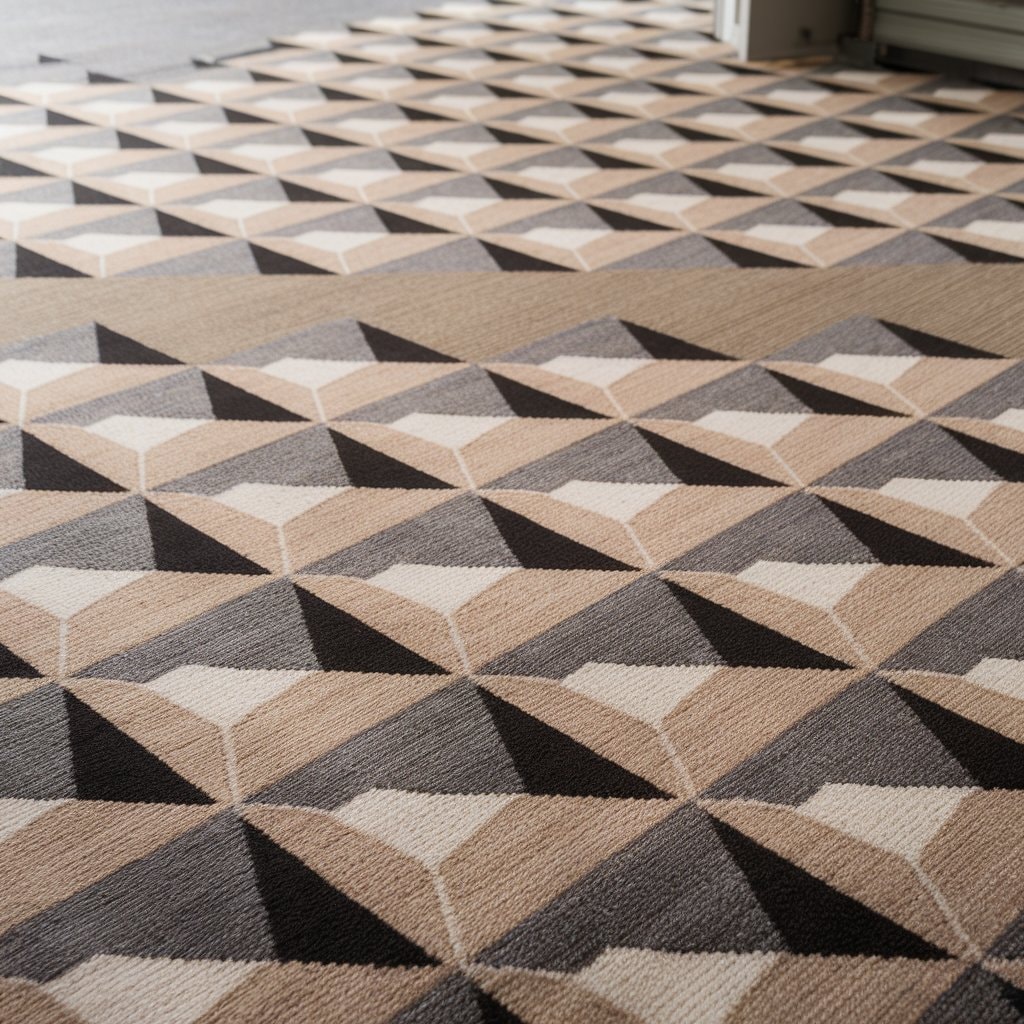
Installing herringbone laminate flooring can transform any room into a space of elegance and sophistication. Many homeowners might think that fitting herringbone pattern flooring is beyond their DIY abilities, but with the proper guidance and protective equipment, it becomes feasible and a rewarding project.
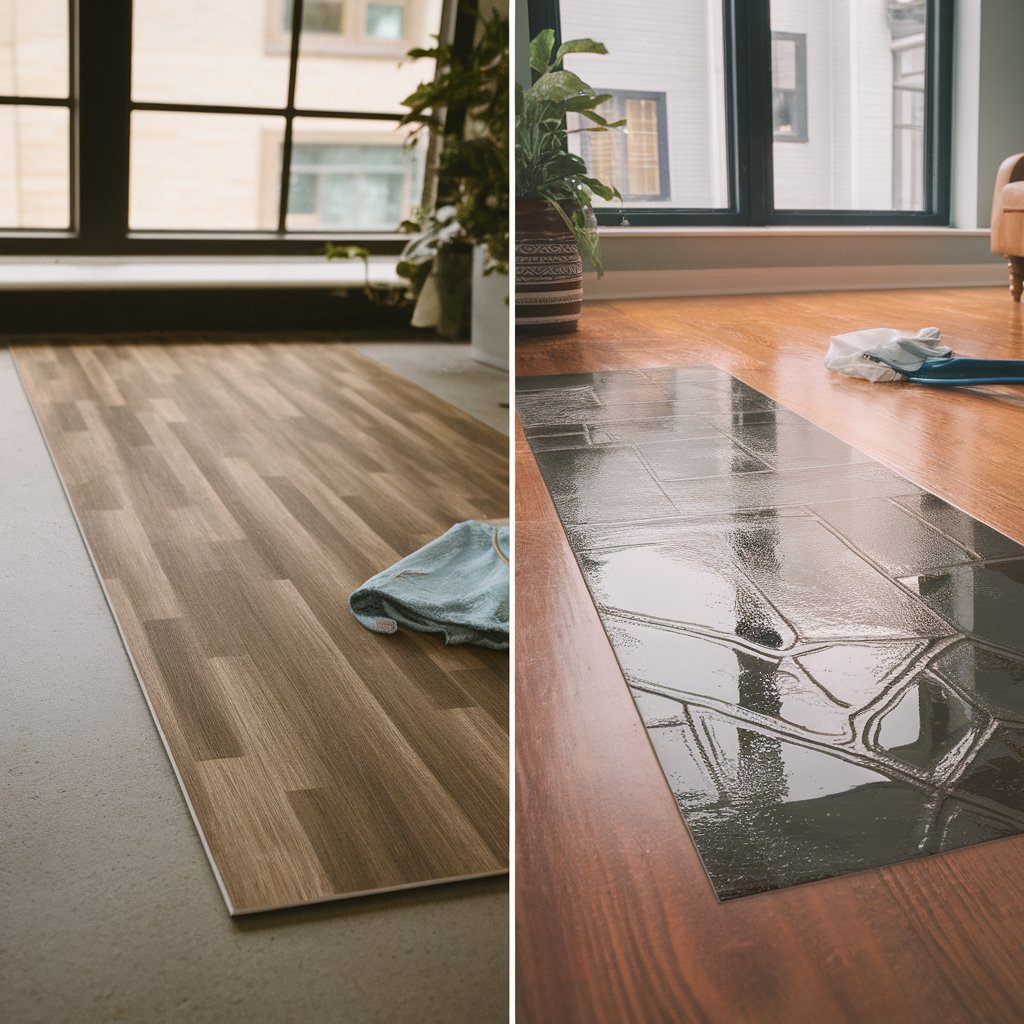
This type of floor adds a touch of classic beauty to your home while being durable and easy to maintain.
With over 30 years of experience in providing high-quality flooring solutions across Rotherham and South Yorkshire, our family-run business brings expertise directly to your doorstep.
We pride ourselves on delivering service and advice that make even complex projects like laying herringbone laminate flooring achievable for our clients. Follow along for step-by-step instructions that will help you master the installation process.
Discover how simple achieving a timeless look can be.
What Preparations Are Needed Prior to Installation?
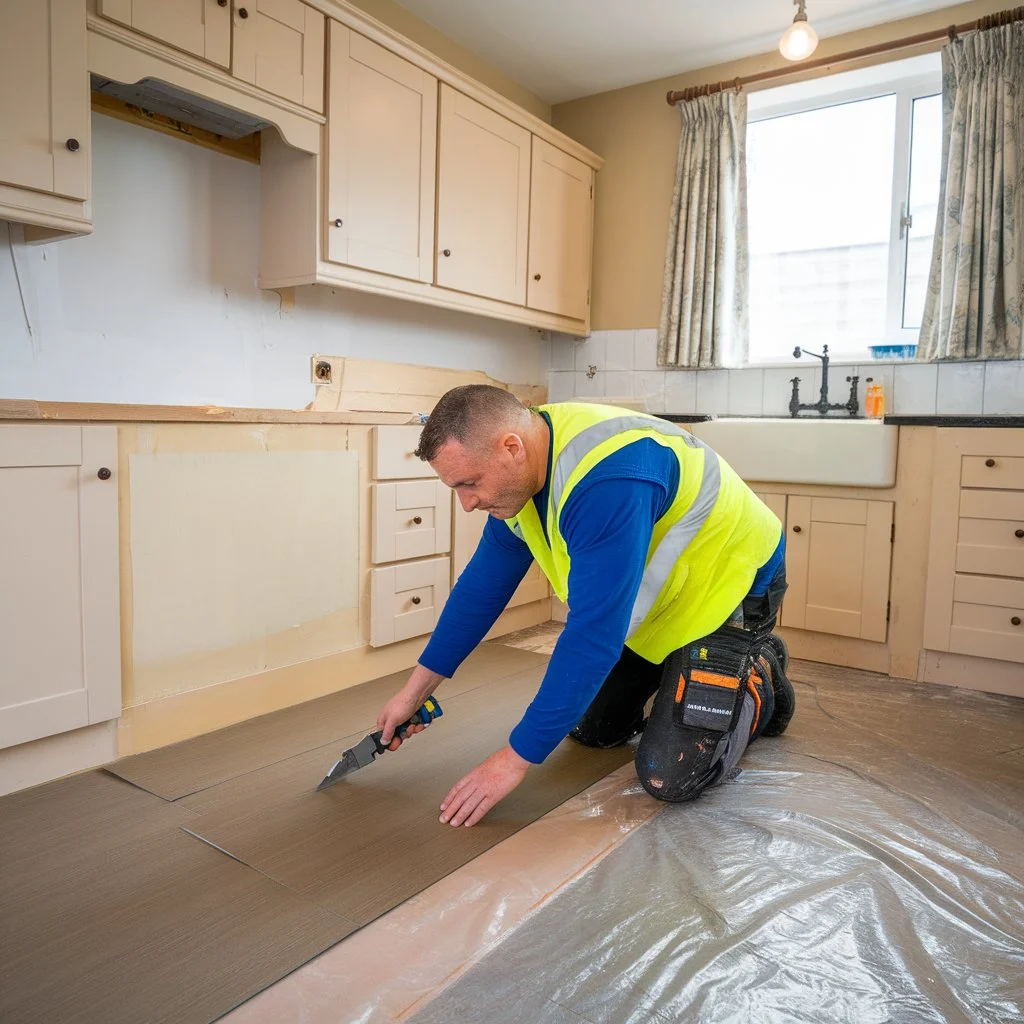
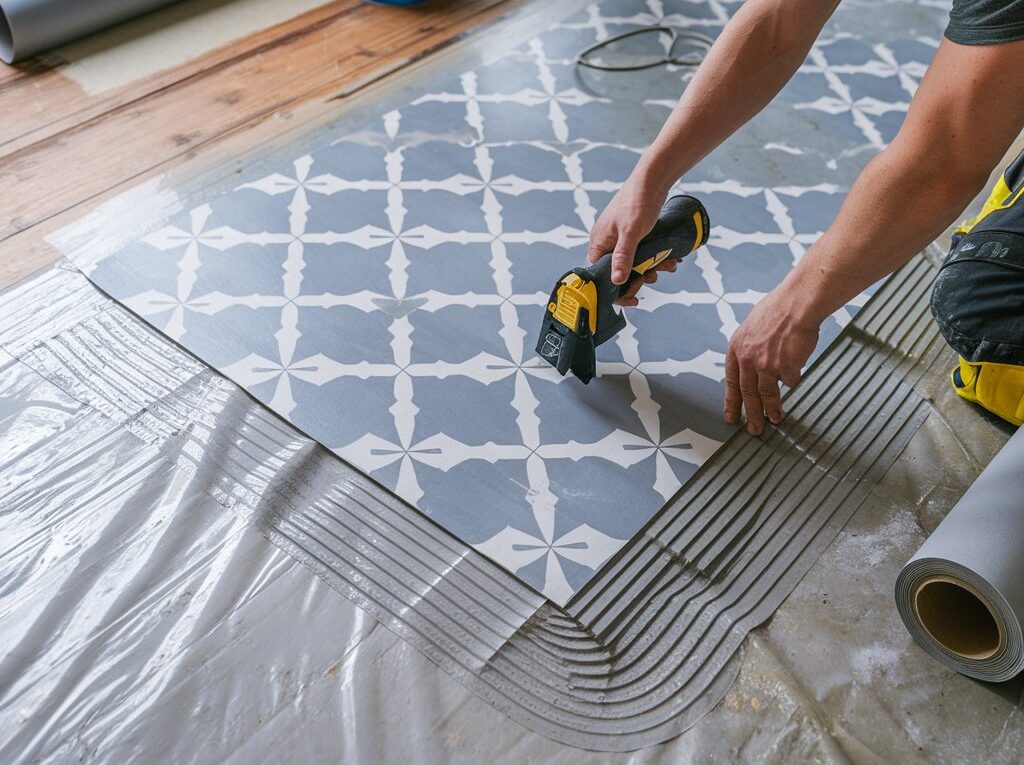
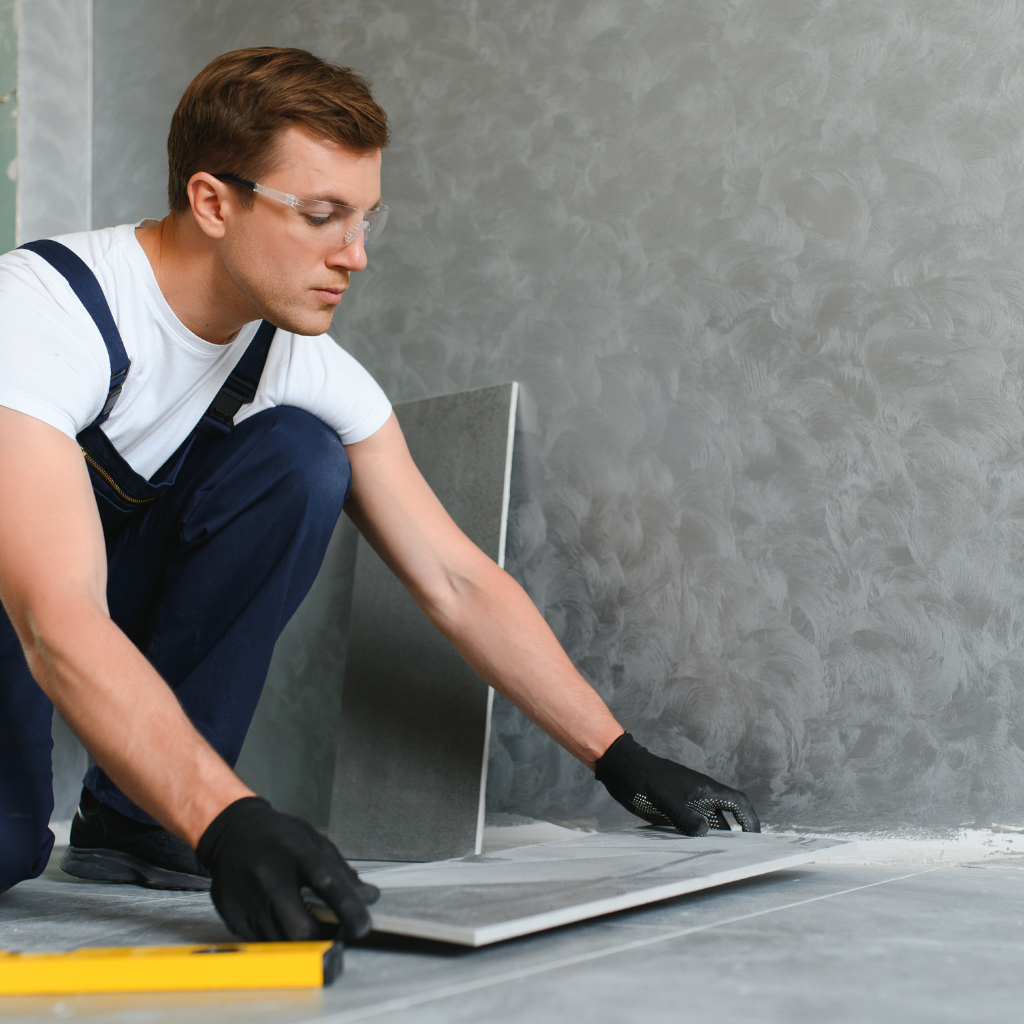
Preparing the subfloor is crucial before you lay herringbone laminate flooring. First, ensure that the surface is clean, dry, and level. Any debris or moisture can cause issues later on, so take the time to sweep and check for dampness thoroughly.
If you find uneven areas, use a suitable floor levelling compound to achieve a smooth base. This step will help prevent future problems and ensure your new floor looks its best.
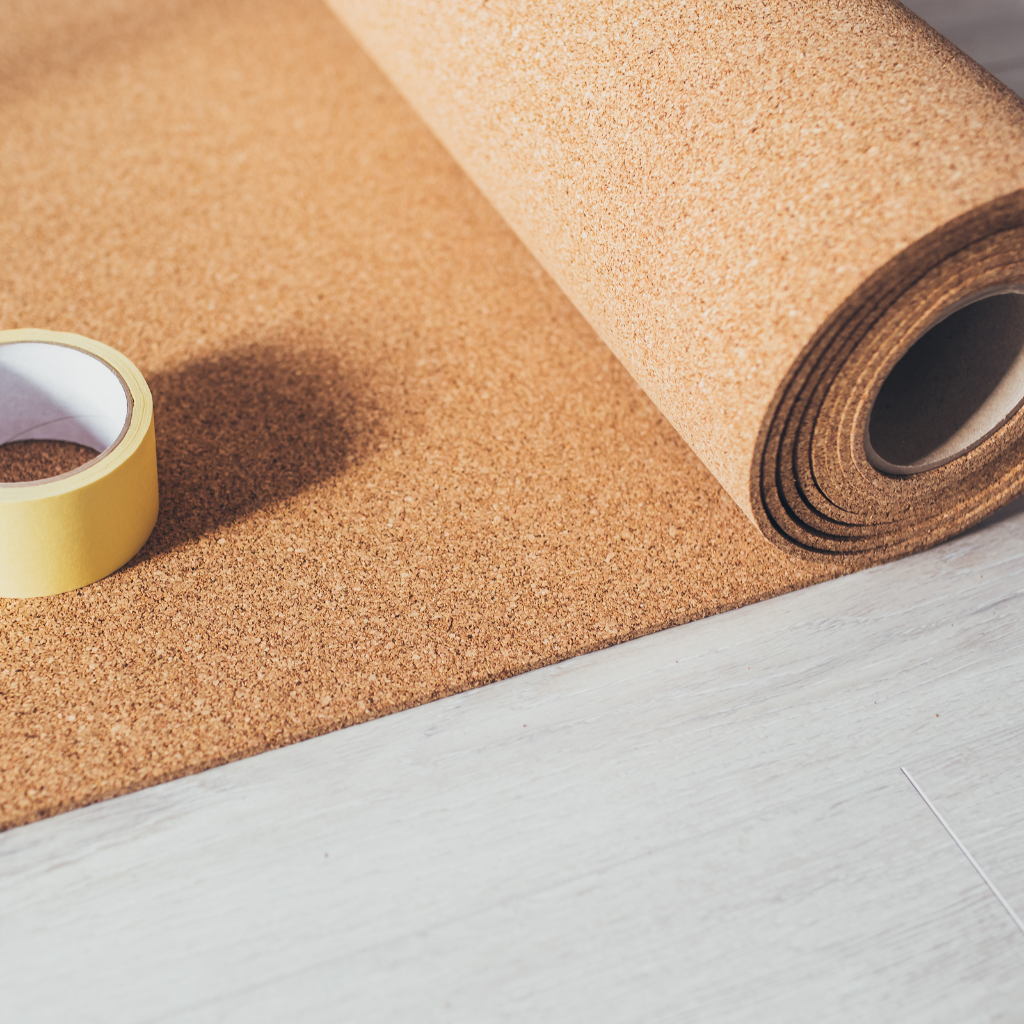
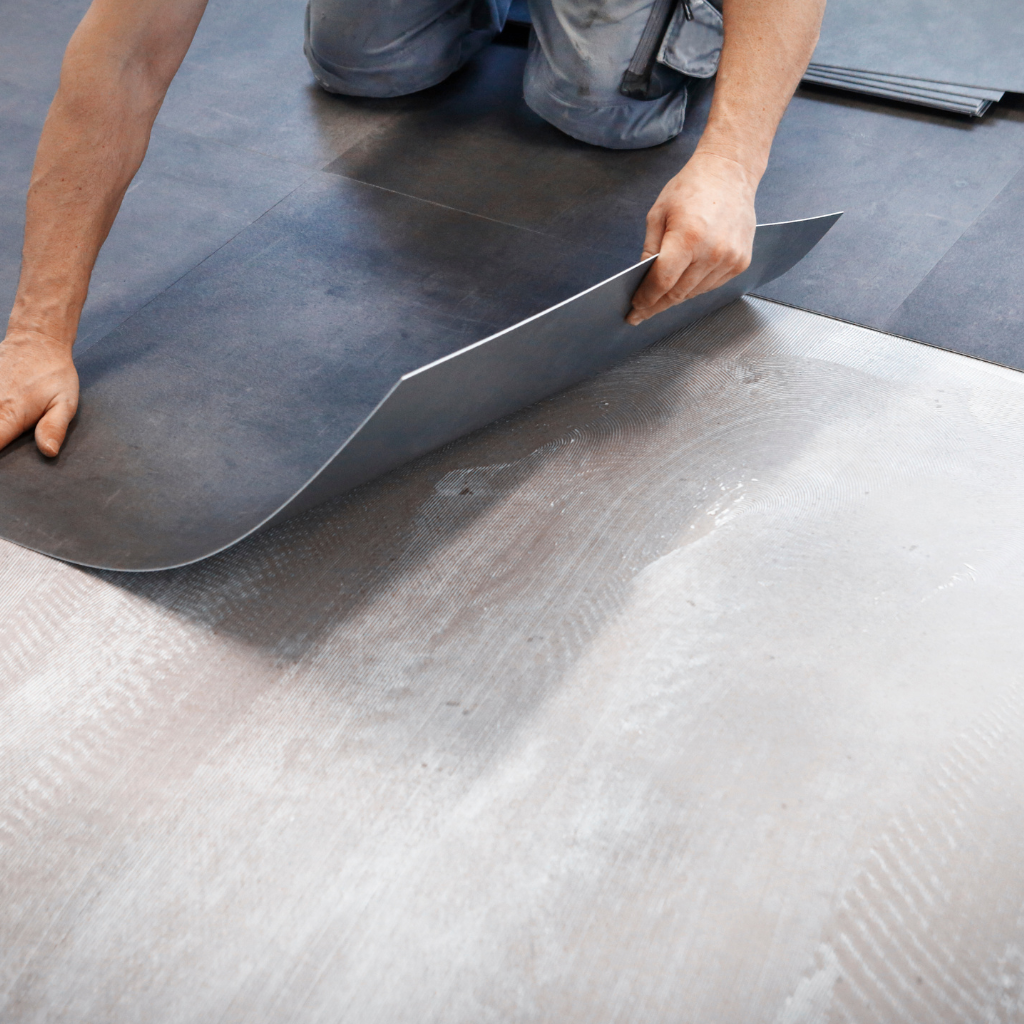
Choosing the proper underlayment is another essential preparation task. Underlayment helps reduce noise and adds a layer of protection against moisture – two factors that are vital in maintaining the durability and comfort of your herringbone laminate flooring.
Make sure also to gather all necessary tools like spacers, a tape measure, a pencil, a jigsaw, and a tapping block before beginning your project. Proper preparation sets the groundwork for a stunning finish that adds a touch of elegance to any room.
Good preparation is key - it ensures your herringbone flooring looks flawless and lasts longer.
How to Lay Herringbone Laminate Flooring at Home: Step-by-Step Guide 8
How to Prepare the Subfloor?
Preparing the subfloor is a crucial step before installing herringbone laminate wood flooring throughout. A well-prepared subfloor ensures a smooth installation process and enhances the durability of your wood flooring.
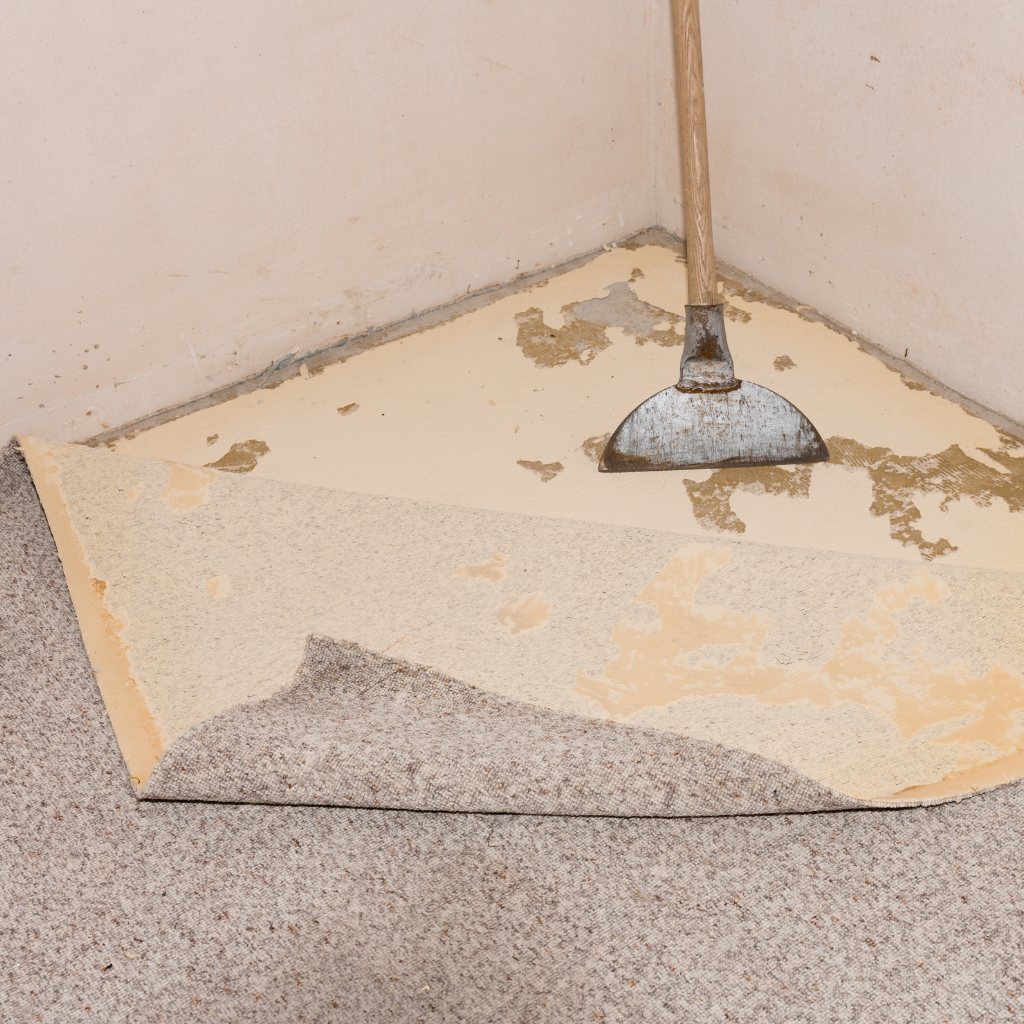
Clear the room to provide easy access to the entire floor area. Move all furniture, decorations, and remove any existing flooring or carpet. This step is vital for a spacious working environment.
Inspect the subfloor thoroughly for any signs of damage, such as cracks, holes, or uneven surfaces. Use a chalk line to mark areas that require attention.
Clean the subfloor thoroughly to remove all dust, debris, and moisture. Laminate flooring requires a dry and clean surface to prevent mould growth and ensure proper adhesion of the underlay.
Measure moisture levels using a suitable meter; the acceptable humidity level should not exceed 12%. High moisture content can cause wood planks to warp over time.
Apply a self-levelling compound if you find any uneven spots. Ensure the floor is levelled to within 3mm over a 2-metre span to avoid issues with plank alignment.
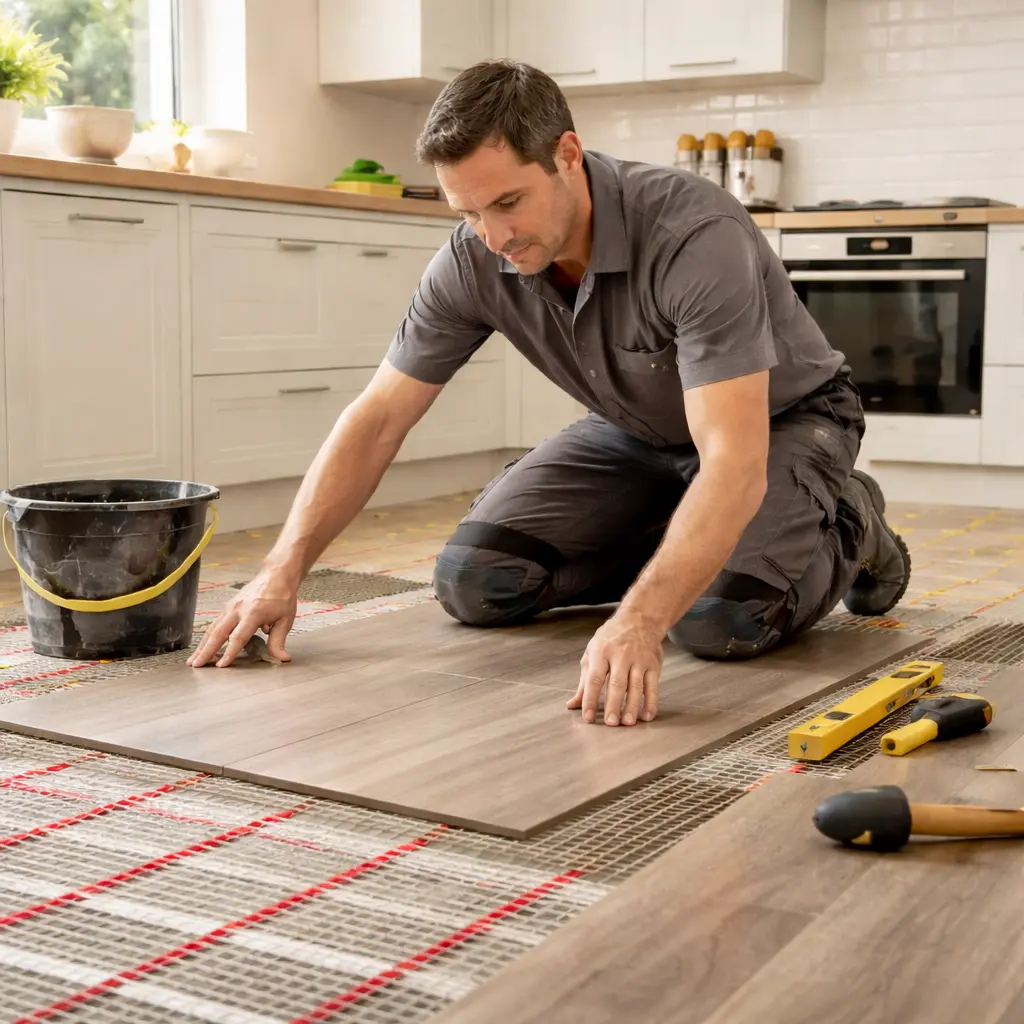
Install an appropriate underlay once the floor is dry and level. Underlay is essential as it provides sound insulation, adds cushioning, and helps prevent moisture from reaching the laminate herringbone flooring.
Use spacers around the edges of the room to maintain an expansion gap of at least 8-10mm. This gap accommodates natural wood expansion due to changes in temperature and humidity.
Calculate the width of the room in comparison to your selected plank size; this helps determine if you need to trim your first row of planks for an even layout across.
Prepare all necessary tools for installation, including saws for cutting planks to fit around doorways or edges, spacers, chalk line, tape measure, and safety equipment like gloves and goggles.
Acclimatise your laminate planks by leaving them in piles within the room where they will be installed at least 48 hours prior to fitting them together. The process adjusts them appropriately according to temperature fluctuations, reducing possible expansion risks after being installed.
This comprehensive approach guarantees that your subfloor is perfectly prepared, paving the way for smooth laying of a stunning herringbone pattern, which will add a touch of elegance and sophistication to your home's interior design.
Why Is Underlayment Important?
Underlayment plays a crucial role in ensuring your stunning herringbone laminate flooring performs at its best. It provides a smooth surface for the laminate planks, vital for avoiding unnecessary wear and tear.
This layer helps to iron out minor subfloor imperfections that could otherwise cause your beautifully laid flooring to look uneven or experience premature damage. Underlayment also offers the benefit of sound reduction, making each step across your floor softer and quieter - a feature particularly appreciated in busy homes.
Moreover, underlayment acts as a barrier against moisture rising from the laminate surface below. This is vital in maintaining the integrity of your laminate surface over time, especially in areas prone to dampness.
By fitting herringbone laminate flooring with quality underlayment, you extend the life of your new flooring, and enhance its comfort and durability. Opting for the right tools and materials from the start makes all the difference in achieving that classic, fit herringbone flooring elegance combined with long-lasting performance.
How to Lay Herringbone Laminate Flooring at Home: Step-by-Step Guide 9
Which Tools Do You Need for Installation?
Having the right tools on hand is crucial for a successful installation of herringbone laminate flooring. This selection right tools ensures precision, ease, and efficiency throughout the entire process.
Tape Measure: Essential for accurate measurements of the room and flooring planks to ensure they fit perfectly.
Electric Saw: Use this to trim the laminate planks to the correct size. A mitre saw is handy for cutting precise angles.
Underlay Foam: Provides a smooth surface for the laminate and can help with soundproofing and insulation.
Spacers: These are vital in maintaining an expansion gap between the flooring and the wall, preventing buckling as temperatures change.
Hammer or Rubber Mallet: Useful for gently tapping planks into place without damaging them.
Pull Bar: Aids in fitting planks tightly together in difficult areas, especially near walls or in corners.
Tapping Block: Protects the laminate edges during installation by dispersing the force applied when tapping planks together.
Pencil or Chalk Line Marker: For marking where cuts need to be made on the planks or to outline where your first row will go.
Knee Pads: Installing flooring involves a lot of time on your knees, so protect them with a sturdy pair of knee pads.
10. Arbitrary Angle Ruler: This helps in measuring and transferring unique room angles onto your laminate planks accurately.
Each piece of equipment plays a pivotal role in fitting costs, laying herringbone laminate flooring effectively, ensuring each angle fits snugly and contributes to an overall stylish finish that suits any home's interior design needs while adhering to best practices in fitting herringbone flooring techniques.
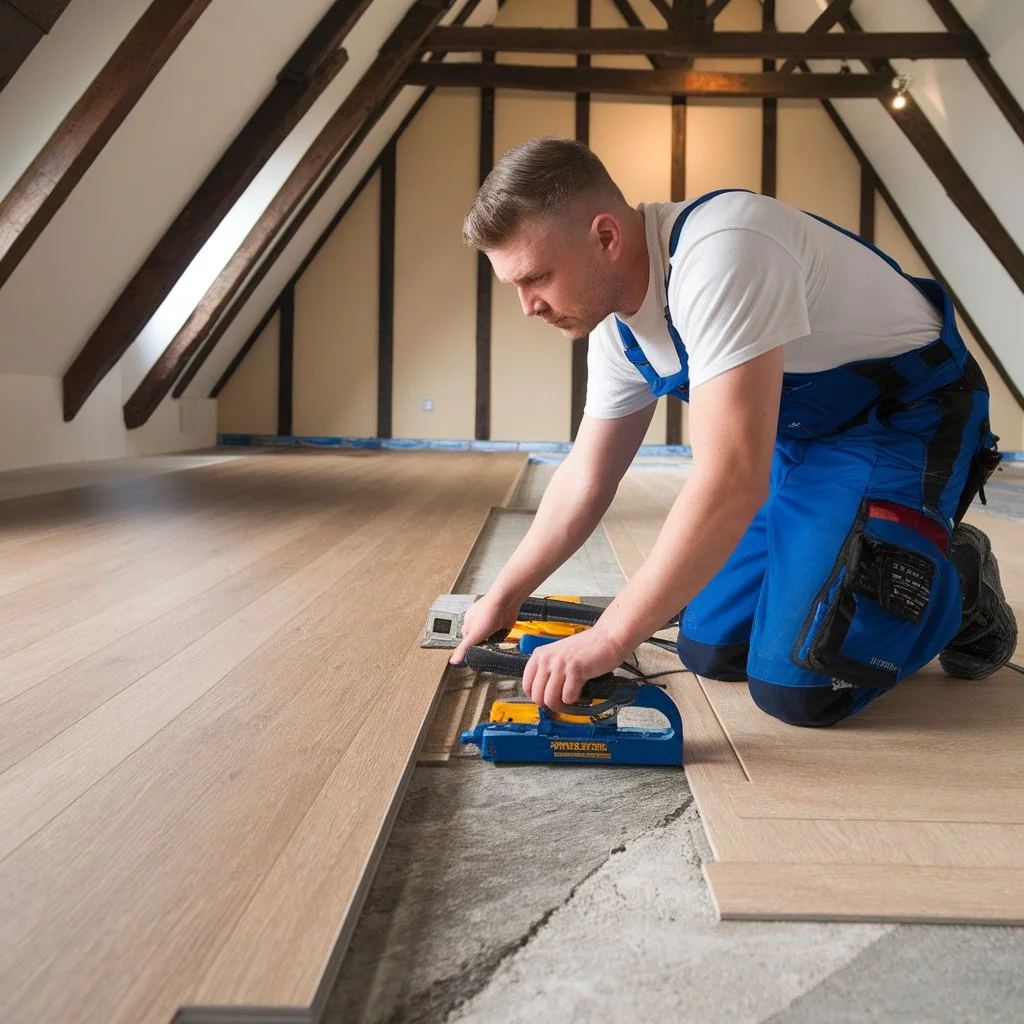
What Is the Best Way to Lay Herringbone Laminate Flooring?
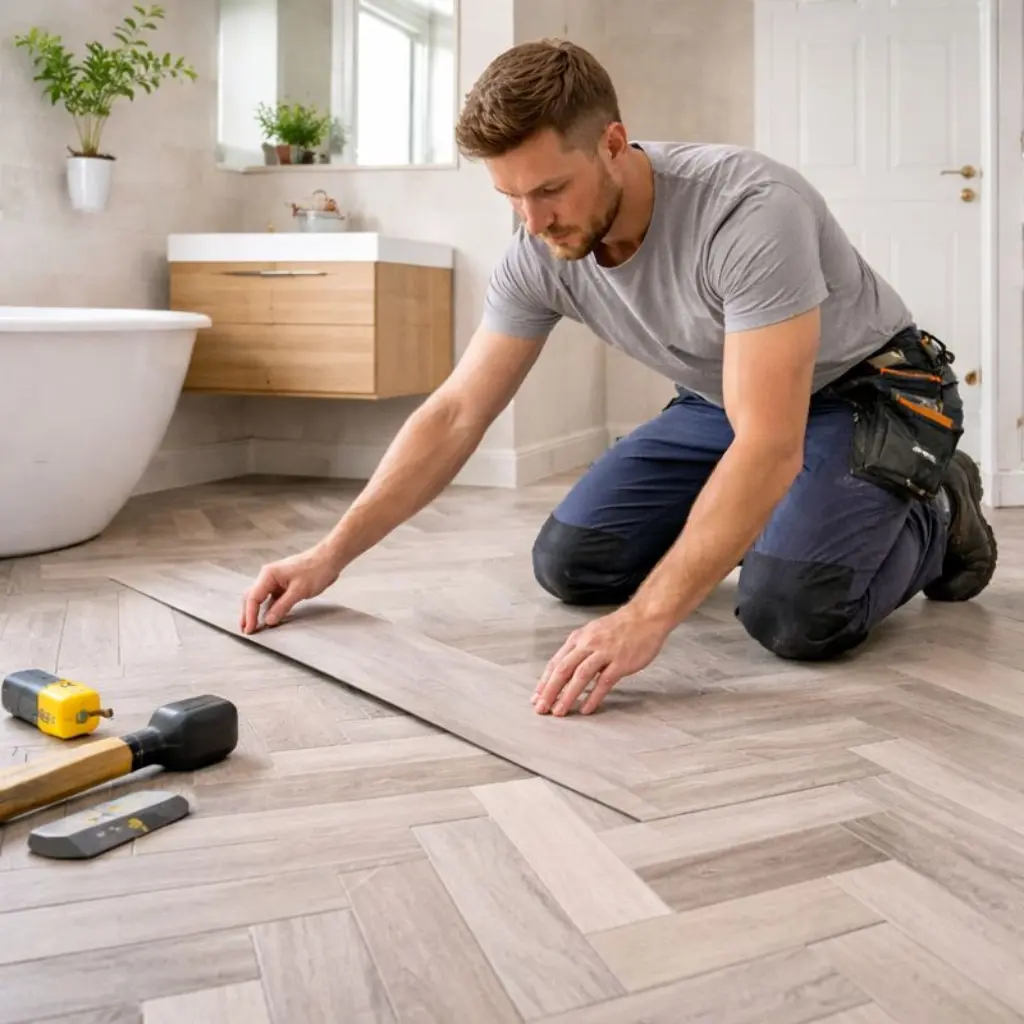
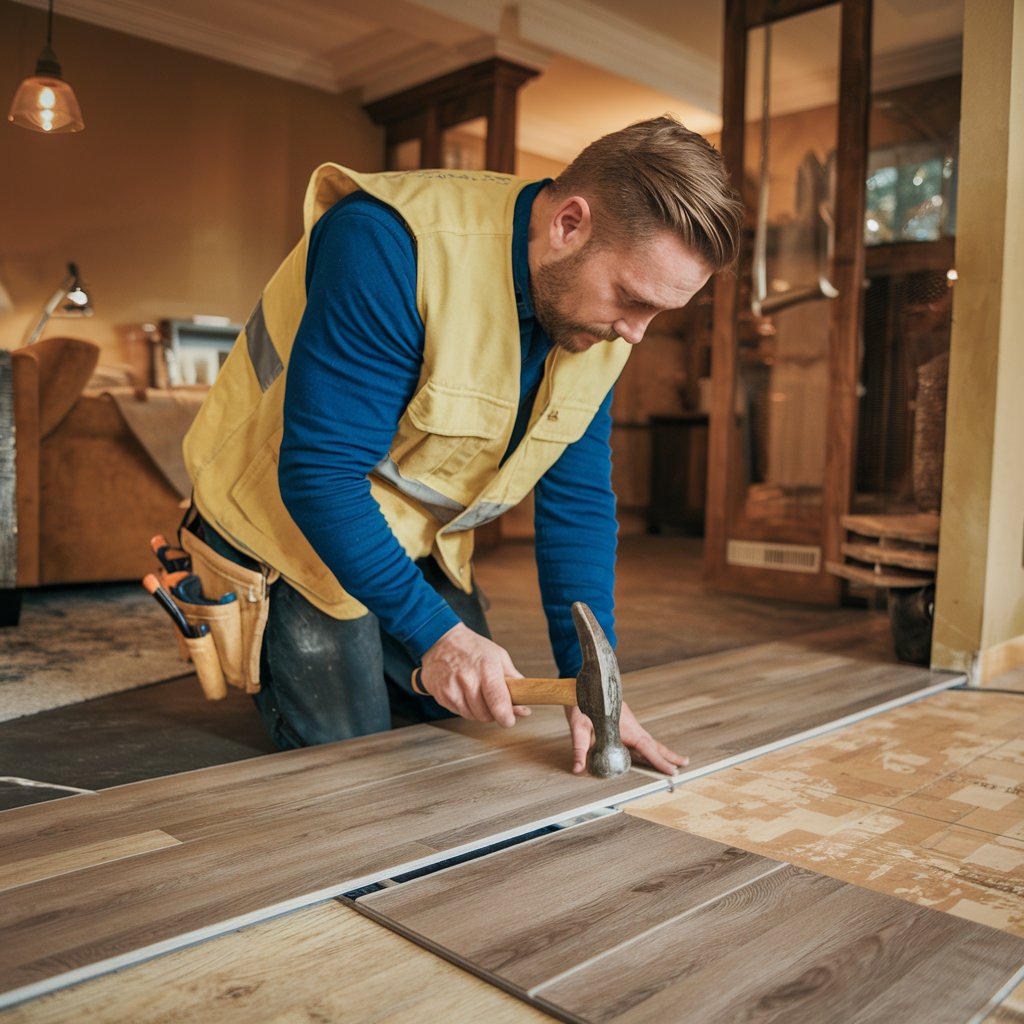
Initiating the process of fitting a herringbone plank and laminate flooring demands precision and a well-thought-out plan. To learn how to fit and install a herringbone plank and laminate flooring effectively, start by selecting high-quality herringbone planks suitable for your room.
This pattern has become increasingly popular due to its intricate design and ability to add a touch of elegance to any space. The first row sets the tone for the entire installation, hence it's crucial to ensure that it is perfectly straight and aligned correctly.
You’ll need a good selection of tools at hand, including spacers to maintain uniform gaps between planks.
Aligning the herringbone pattern requires careful measurement and adjustment of each plank before securing it in place. Tips include alternating the direction of each piece to achieve the desired effect while keeping an eye on maintaining consistent spacing around edges for expansion gaps.
It’s also essential to check alignment regularly as you progress, ensuring any deviation is corrected promptly. Fitting baseboards provides a smooth transition between the wall and the floor and covers any slight discrepancies along the room's perimeter, delivering finishing touches that elevate overall aesthetics.
How to Start the First Row?
Starting the first row correctly is crucial when you install herringbone laminate flooring in your home. A popular flooring pattern with a well-laid foundation ensures your entire room looks stunning and professionally done.
Measure the room's width and length to calculate how many planks you'll need. This step prevents running out of materials halfway through.
Identify the focal point of the room, often an entry door or large window. You’ll want your herringbone pattern to radiate from this point.
Select a starting corner that's closest to the focal point. The pattern should flow outward naturally from this spot, capturing the eye.
Lay out a few rows dry (without glue or clicking together) to get an idea of how they fit along the walls and at doorways.
Check that your starting wall is straight. If it isn’t, you’ll need to trim the first row of planks accordingly to ensure even spacing.
Use spacers around the edges of the room to maintain an expansion gap. These gaps are essential for preventing buckling as floors expand and contract with humidity changes.
Mark your guidelines on the subfloor using chalk or a laser level, ensuring each plank fits perfectly into your chosen herringbone design.
Begin laying your planks from the corner, keeping them aligned with your guideline and pressed firmly against each other and the spacers.
Secure each plank according to the manufacturer’s instructions; some may snap together while others might require adhesive.
Continue fitting subsequent rows in alignment with both the pattern and your guideline, ensuring you alternate boards for visual interest and structural integrity.
With these steps complete, move on to aligning the remainder of the board with your herringbone pattern across the floor space for a seamless installation process.
How to Lay Herringbone Laminate Flooring at Home: Step-by-Step Guide 10
How to Align the Herringbone Pattern?
Once you've mastered the laying process of starting the first row, aligning the other rows to fit the herringbone laminate flooring pattern is the next crucial step in the laying process. Proper alignment ensures how to herringbone laminate flooring looks professional and seamless across the entire room. Here's how to achieve perfect alignment:
Determine your focal point in the room where you want to draw attention. This usually means aligning the tip of the herringbone pattern with a prominent feature, like the central doorway or fireplace.
Use a chalk line to mark a guideline perpendicular to your focal point across the floor. This will serve as your reference line for laying out the planks.
Place the first few rows of planks along this line, ensuring that each plank fits snugly against its neighbour. You're using this method to establish a straight path that guides the rest of your installation.
Check regularly with a carpenter's square that your pattern is maintaining its 90-degree angles at every joint to prevent shifting and ensure uniformity.
Employ spacers at the edges of your installation area to maintain an even expansion gap around the perimeter, which is key for preventing buckling as temperatures change.
Continue laying planks, always snapping them together from end-to-end and then side-to-side, creating that distinct V shape characteristic of herringbone flooring.
For areas where full planks won’t fit, measure and cut planks accordingly, always double-checking measurements before cutting to avoid waste and ensure they slot in perfectly.
TP should be pronounced tp Adjusting for obstacles like pipes or columns involves cutting precise shapes into your planks using a jigsaw or handsaw – always aim for snug fits rather than forcing planks into position.
Regularly step back and view your progress from different angles in the room; this helps spot any misalignment early on before it becomes too difficult to correct later in the process.
Finally, use YouTube tutorials specific to fitting herringbone laminate flooring if you encounter unique challenges or need visual guidance through complex steps not covered by basic instructions.
Tips to Adjust the Laminate Planks
Aligning the laminate herringbone flooring plank pattern precisely sets the stage for the entire flooring project. Adjusting the laminate herringbone floor and planks correctly ensures a seamless and professional finish that enhances the overall appearance of your herringbone flooring. Here are practical tips to adjust laminate planks efficiently:
Measure each plank before making cuts to fit into smaller spaces or around obstacles, ensuring precision and avoiding wastage.
Use a high-quality cutting tool designed for laminate flooring to make clean and accurate cuts, contributing to an easier fitting process.
Check each plank carefully before laying it down to ensure it matches the surrounding pattern; this helps maintain consistency in design across the flooring.
Leave a small expansion gap around the edges of the room as you fit herringbone laminate flooring, allowing for natural movement and preventing buckling.
Employ spacers between planks and along walls to maintain even gaps throughout installation, crucial for achieving a professional look.
Install baseboards after laying down all planks, which will conceal any minor imperfections along the edges and secure planks in place.
Pay attention to directional arrows on the back of each plank, if available; aligning these correctly can assist with maintaining the integrity of the pattern.
Use a tapping block gently along edges to snugly fit planks together without damaging their locking system, promoting durability and stability in your herringbone layout.
Regularly step back and review your work from different angles to identify any misalignments early on, making adjustments less complicated as you progress.
PERIODICALLY remove spacers during installation to check that no excessive pressure is being applied on individual planks, adjusting as necessary to ensure a smooth surface.
Following these tips will facilitate precise and necessary adjustments made during installation, ultimately delivering an exquisitely fitted herringbone laminate flooring that elevates the aesthetic appeal of any room.
How to Handle Difficult Areas When Laying Herringbone Laminate Flooring?
Handling difficult areas, such as doorways and room edges, requires precision and patience during the installation of herringbone laminate flooring. Start by laying out the pattern near the entrance to ensure planks fit correctly before cutting.
Use a suitable template or straight edge to mark cut lines on your laminate planks. This ensures they match the shape of the doorway or room corner precisely. Keep a selection of tools handy for trimming, including a fine-tooth saw for clean cuts and a laminate cutter for minor adjustments.
Around the edges of the room's temperature well, maintain an expansion gap that is essential for preventing buckling as temperatures change. Floor spacers can be invaluable here, providing a smooth result that looks professionally installed.
Always measure twice before cutting once to avoid waste and ensure each piece fits perfectly without forcing it into place.
A well-laid herringbone pattern elevates the aesthetic appeal and showcases attention to detail in finishing touches - proving why this popular flooring pattern remains sought after.
How to Lay Herringbone Laminate Flooring at Home: Step-by-Step Guide 11
Tips for Fitting Around the Doorway
Fitting laminate flooring around the doorway requires precision and attention to detail. It ensures a smooth finish and enhances the overall appearance of the room. Here are some tips for achieving the best results.
Measure the doorway area accurately before cutting any planks. You need to measure both the width and length of the space beneath the door frame to ensure a perfect fit.
Use a suitable saw to trim the laminate planks that will be placed around the doorway. Selecting a saw that can make precise cuts is crucial for this step.
If dealing with uneven edges, consider using a jigsaw. This tool allows you to cut curves and make adjustments easily, providing a smooth transition around door frames.
Ensure the underlayment extends into the doorway. Underlayment is essential for providing cushioning and noise reduction, so it should also lie beneath the laminate flooring in this area.
Install a T-strip in the threshold if your flooring continues through into another room or meets with another type of flooring. This strip helps in covering expansion gaps while providing an elegant transition.
Carefully notch out pieces of laminate to fit around door frames or moulding with accuracy. A chisel can help refine these cuts for a closer fit.
Check for levelness after laying down each plank near the doorway to avoid future complications such as warping or gaps.
After installation, seal any gaps between the laminate flooring and door frame with silicone caulk which matches your flooring colour, ensuring moisture does not seep underneath.
Employing these steps when fitting laminate flooring around doorways not only secures your lamination project's longevity but also showcases your attention to detail, reflecting on your selection of laminate flooring's quality and aesthetic appeal in every corner of your room.
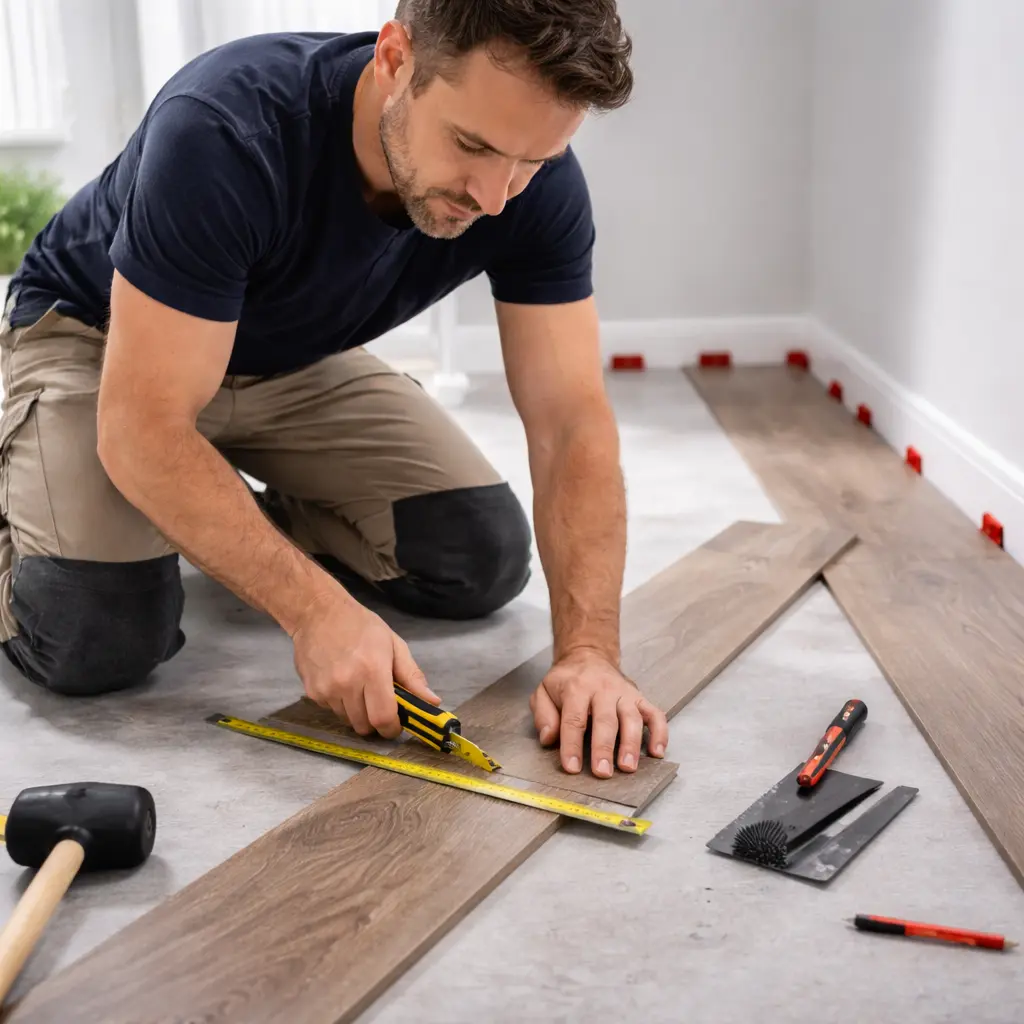
How to Trim Planks to Fit?
After mastering the technique for fitting stunning herringbone laminate flooring all around doorways, the next step is learning how to trim planks to fit perfectly. Trimming and fitting herringbone laminate flooring planks requires precision and attention to detail, ensuring they fit seamlessly within your space, providing a professional finish.
Measure the area where the trimmed piece will go. Use a tape measure for accuracy, noting down measurements in millimetres to avoid any confusion during the cutting process.
Mark the plank where it needs to be cut. It’s essential to use a pencil for clear marks that are easy to see but can also be erased if you make a mistake.
Secure the laminate plank before cutting. Using clamps, secure it onto a sturdy workbench or sawhorse to prevent it from moving while you're cutting.
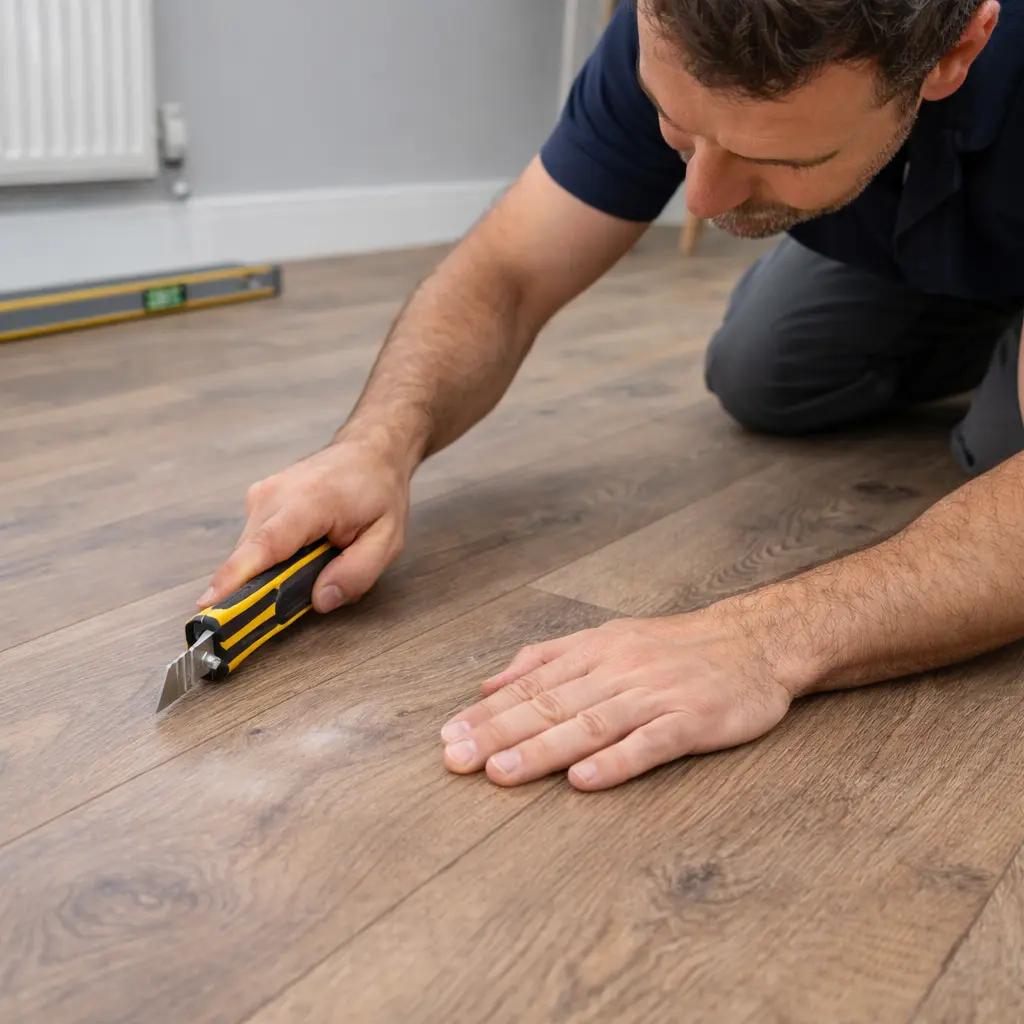
Choose the right tool for the job. A fine-toothed saw is suitable for laminate flooring as it provides a smooth cut without chipping the edges of your beautiful herringbone pattern.
Cut following your marked line carefully. Keep your cuts as straight as possible to ensure an easy fit and professional appearance.
Dry fit each piece before final installation. This checks whether more trims are needed and ensures that everything fits snugly.
Sand any rough edges gently with fine-grit sandpaper. This provides a smooth finish and prevents any sharp edges from causing injuries or snagging carpets and fabrics.
Confirm that all cut pieces align properly with adjoining planks and walls around them, maintaining precise gaps required for expansion.
Install the trimmed planks using adhesive or clicking mechanisms provided with your herringbone flooring package, depending on what’s most suitable for laminate flooring in your home.
This methodical approach ensures that every piece of herringbone laminate fits accurately, creating stunning flooring in any room of your house that looks professional and lasts longer due to proper installation techniques being employed from start to finish.
How to Work Around the Edges of the Room?
Working around the edges of a room while laying and installing herringbone flooring requires precision and careful planning. These tips will help you ensure that your installing herringbone flooring pattern aligns perfectly and provides a smooth finish, avoiding common pitfalls that may arise.
Measure the perimeter of the room to determine the length and width, ensuring accuracy to avoid costly mistakes with your cheap flooring.
Calculate the number of planks you’ll need for each edge. Accuracy in cutting is key to ensure that your herringbone pattern remains intact.
Leave an expansion gap around all edges of the room. This is crucial as it allows your flooring to expand without causing buckling or gaps in your lay herringbone flooring design.
Use spacers at regular intervals along the walls to maintain consistent expansion gaps. These are easy to fit and remove once installation is complete.
Cut planks accurately using a high-quality saw or cutter, specifically made for laminate flooring types, to fit any irregular edges or corners.
Trim door frames or skirting boards where necessary so that planks can slide underneath, providing a seamless look across the flooring in the room.
Install transition strips at thresholds or adjacent rooms without herringbone patterns for a smooth transition from one area to another.
Check alignment constantly as you work around edges by placing a straight edge against the installed planks, adjusting any misalignments immediately before proceeding further.
Organise leftover pieces efficiently by their size and shape; these can be useful for filling smaller gaps near walls or fixtures.
Finalise edges by installing matching baseboards or quarter-round moulding to cover expansion gaps and create a polished appearance.
These steps guide homeowners, interior designers, decorators, builders, and contractors through successfully working around room edges when installing herringbone laminate flooring. Following this process ensures that both visual appeal and structural integrity are maintained across various flooring projects.
What Are the Final Steps in the Installation Process?
Ensure expansion gaps are left around the room's perimeter to accommodate the natural expansion and contraction of herringbone flooring. This step is crucial to prevent warping and ensure the longevity of your well-fit herringbone flooring.
Use spacers during installation as a guide for maintaining these gaps consistently around edges, providing a smooth transition.
Fit baseboards carefully along edges to conceal expansion gaps, giving your room a neat finish. The final touches might include reattaching or replacing door trim or thresholds that blend with your new herringbone laminate flooring.
Clean up involves sweeping and vacuuming any sawdust or debris from the installation process, followed by mopping with a slightly damp mop to pick up any residual dust, ensuring your new floor shines.
A beautiful finish requires attention to detail in every step; this ensures your herringbone laminate flooring looks stunning and lasts for years.
How to Lay Herringbone Laminate Flooring at Home: Step-by-Step Guide 12
How to Ensure Expansion Gaps?
Ensuring expansion gaps is crucial when laying herringbone laminate flooring. These gaps prevent the flooring from warping or buckling due to changes in temperature and humidity.
Measure the perimeter of the room to calculate the required size for expansion gaps. The standard recommendation is 10mm along all walls.
Place spacers between the flooring and the wall to maintain consistent expansion gaps throughout installation. Spacers are key tools that help keep your laminate aligned properly while accommodating natural floor movements.
Use a tape measure for accuracy when installing your first row away from the wall, ensuring you start with the correct gap.
Ensure you maintain these gaps when fitting herringbone flooring around door frames or any intrusions in the room.
Install T-moulding transition strips at doorways or where your herringbone laminate meets another type of flooring. These strips will accommodate different expansion rates between the two flooring types.
Keep an eye on corners and smaller areas where it's easy to forget about allowing space for expansion.
After completing the installation, remove spacers before attaching baseboards or skirting boards without nailing them directly to the laminate floor.
Maintaining precise expansion gaps is essential for a smooth, professional-looking finish that lasts, safeguarding your floor against potential damage over time.
How to Fit Baseboards and Finishing Touches?
Fitting skirting boards and applying the finishing touches are crucial steps to ensure your herringbone flooring looks perfect and lasts longer. This guide provides a clear path to adding those final elements that transform a room.
Measure the perimeter of the room to calculate the total length of skirting board required.
Select skirting boards that complement the style and colour of your herringbone flooring for a cohesive look.
Cut each piece of skirting board to size, using a mitre saw for angled cuts at corners, ensuring precision.
Mark where the studs are located along the wall, as skirting boards must be nailed into these for secure fitting.
Apply construction adhesive on the back of each skirting board section if you’re installing on surfaces where nailing isn’t possible.
Nail or attach the skirting boards to the wall, starting from one corner and working your way around.
Use a nail set tool to countersink any protruding nails, filling over them with wood filler for a smooth finish.
Caulk the top edge of the skirting boards where they meet the wall to eliminate gaps and provide a smooth transition.
Paint or stain the skirting boards if necessary, matching them to your existing trim or providing an accent colour.
Now let's move on to tips for cleaning up after installation, ensuring your new floor is ready to shine without any lingering mess from the installation process.
Tips for Cleaning Up After Installation
After fitting the baseboards and adding finishing touches, it's time to focus on cleaning up. This ensures your new herringbone flooring shines and is ready to impress.
Collect all leftover pieces of laminate and underlayment. Decide which can be saved for future repairs and recycle the rest.
Sweep the floor gently to remove any dust and small debris that have settled during installation. Avoid using a harsh broom that might scratch your new flooring.
Use a vacuum cleaner with a soft brush attachment to clean along the edges and corners where dust tends to accumulate.
Prepare a cleaning solution suitable for laminate floors by mixing water with a mild detergent in a bucket.
Dampen a microfiber mop in the solution and wring it out well so that it's barely moist before mopping the floor. Excess water can damage herringbone laminate flooring.
Wipe up any standing water immediately with clean, dry cloths to prevent swelling or warping of the laminate planks.
Check for any adhesive residue on the surface of the flooring, especially near joints. Gently remove it with an appropriate laminate-friendly cleaner.
8 Joinery tools like putty knives can be cleaned with mineral spirits if used during installation, but ensure they are completely dry before storing them away to prevent rusting.9. Dispose of waste materials according to local regulations, especially when dealing with adhesives or other chemicals used during installation.10 Finally, open windows or use fans to ventilate the area well after cleaning, ensuring any dampness dries quickly and doesn't linger on your new floor.
These steps will help maintain the beauty of your herringbone flooring while ensuring it remains a standout feature in your home for years to come.
How to Lay Herringbone Laminate Flooring at Home: Step-by-Step Guide 13
What Are the Common Mistakes to Avoid When You Lay Herringbone Laminate Flooring?
One common mistake is underestimating the precision required when you're using herringbone laminate flooring. Each piece must align perfectly to maintain the integrity of the pattern, which can be a challenge for those not familiar with this style of flooring installation.
Not taking enough time to measure and cut accurately can lead to gaps or misalignments that disrupt the flow of the pattern across your parquet flooring.
Another frequent error involves poor planning for expansion gaps. Herringbone flooring has become popular for its aesthetic appeal, but failing to allow room around the perimeter for natural expansion can cause buckling and damage over time.
Ensuring these gaps are consistent and concealed adequately beneath baseboards will keep your flooring in top condition, allowing it to adapt to changes in temperature and humidity without issue.
Why Precision Is Key?
Precision in laying herringbone laminate parquet flooring is non-negotiable for achieving a flawless finish. A slight misalignment can disrupt the entire pattern, leading to unsightly gaps and an uneven, parquet flooring top surface.
Each plank must align perfectly with its neighbour, ensuring a seamless flow that enhances the room’s aesthetics. This precision impacts not just the room's temperature and visual appeal but also the durability of the flooring.
Imperfectly fitted planks are prone to movement and wear, compromising the real wood flooring part's integrity over time.
Careful measurement and cutting play pivotal roles in this process. Incorrect measurements could result in wastage of materials and unexpected additional costs. Given that you’re using high-quality materials for your flooring project, maximising their use without excess waste is crucial for both budgetary and environmental reasons.
Moreover, precise cuts ensure that the herringbone laminate flooring you install fits snugly against walls and around obstacles, maintaining a professional look throughout your space. Therefore, taking the time to double-check measurements before cutting will save you from numerous issues down the line, making precision key to successful herringbone laminate flooring installation.
Common Errors in Measuring and Cutting
Understanding why precision is key in laying herringbone laminate flooring leads us to explore the common pitfalls associated with measuring and cutting. These errors can drastically impact the overall look and durability of your flooring.
Failing to account for the room's dimensions can lead to a shortage of material or an excessive amount that goes to waste. It is essential to measure the length and width of the room accurately, then calculate the square footage by multiplying these numbers together.
Not considering the expansion gap is another typical mistake. Laminate flooring expands and contracts with changes in temperature and humidity, necessitating a small space around the edges of the room. This gap should be at least 10mm to prevent buckling.
Skipping the step of checking for squareness in rooms can cause alignment problems later on. Use a carpenter's square to verify that corners are 90 degrees, ensuring your pattern starts correctly.
Cutting planks without proper support may lead to uneven edges, which make it challenging to achieve a tight fit between planks. Always use a sturdy cutting surface and secure the plank before making cuts.
Using dull blades on cutting tools can result in jagged cuts that don't fit well together or damage the laminate’s surface layer, compromising its appearance.
Neglecting to mark planks clearly before cutting can cause confusion and mistakes in patterns or lengths needed, leading to wasted materials.
Many overlook the importance of double-checking measurements before each cut; this ensures accuracy and reduces waste caused by incorrect cuts.
Attempting complex cuts around doorways or other protrusions without practising first on scrap pieces of real wood can result in poorly fitting flooring around these challenging areas.
Forgetting to mix planks from different boxes before installation can end up giving an unsightly mismatched finish due to slight colour variations between batches b boards.
Ignoring the manufacturer's instructions and recommendations for specific types of saws or blades suited for their product might damage planks during cutting, affecting both aesthetics and function.
How to Lay Herringbone Laminate Flooring at Home: Step-by-Step Guide 14
How to Avoid Poor Alignment of the Pattern?
Proper alignment of the pattern is crucial for a seamless lay of herringbone flooring and a layout that elevates your space. It ensures the aesthetic appeal of your herringbone flooring and maximises its durability. Here’s how to avoid poor alignment when installing herringbone laminate flooring:
Plan your layout: Measure the room to determine the focal point and start laying out from there, ensuring symmetry across the space.
Use spacers: Maintain a consistent gap between planks and walls, allowing for expansion while keeping the layout aligned.
Check each row: Before fixing each plank in place, verify it aligns correctly with adjacent rows to maintain the herringbone pattern.
Employ a tapping block: Gently tap planks into place without damaging edges, ensuring tight seams for a uniform appearance.
Regularly use a square tool: Verify corners form perfect 90-degree angles to prevent cumulative errors in the pattern layout.
Keep an eye on plank lengths: Alternate lengths as needed to ensure the pattern flows seamlessly without abrupt starts or ends.
Adjust for obstacles in advance: Pre-plan cuts around doors or vents to maintain pattern integrity throughout the room.
Moving on, here’s how to handle difficult areas when laying herringbone laminate flooring, ensuring your project looks professional from corner to corner.
Conclusion
Laying herringbone laminate flooring transforms your space with a touch of elegance and style. Armed with this step-by-step guide, homeowners and professionals alike can navigate the process confidently.
Paying attention to each phase guarantees a flawless finish that adds value and beauty to any room. From preparation through to the final touches, success in this DIY project lies in careful planning and execution.
Transform your home’s flooring into a statement piece that speaks volumes about your taste and craftsmanship.
We use cookies on our website to give you the most relevant experience by remembering your preferences and repeat visits. By clicking “Accept All”, you consent to the use of ALL the cookies. However, you may visit "Cookie Settings" to provide a controlled consent.
This website uses cookies to improve your experience while you navigate through the website. Out of these, the cookies that are categorized as necessary are stored on your browser as they are essential for the working of basic functionalities of the website. We also use third-party cookies that help us analyze and understand how you use this website. These cookies will be stored in your browser only with your consent. You also have the option to opt-out of these cookies. But opting out of some of these cookies may affect your browsing experience.
Necessary cookies are absolutely essential for the website to function properly. These cookies ensure basic functionalities and security features of the website, anonymously.
Cookie
Duration
Description
cookielawinfo-checkbox-analytics
11 months
This cookie is set by GDPR Cookie Consent plugin. The cookie is used to store the user consent for the cookies in the category "Analytics".
cookielawinfo-checkbox-functional
11 months
The cookie is set by GDPR cookie consent to record the user consent for the cookies in the category "Functional".
cookielawinfo-checkbox-necessary
11 months
This cookie is set by GDPR Cookie Consent plugin. The cookies is used to store the user consent for the cookies in the category "Necessary".
cookielawinfo-checkbox-others
11 months
This cookie is set by GDPR Cookie Consent plugin. The cookie is used to store the user consent for the cookies in the category "Other.
cookielawinfo-checkbox-performance
11 months
This cookie is set by GDPR Cookie Consent plugin. The cookie is used to store the user consent for the cookies in the category "Performance".
viewed_cookie_policy
11 months
The cookie is set by the GDPR Cookie Consent plugin and is used to store whether or not user has consented to the use of cookies. It does not store any personal data.
Functional cookies help to perform certain functionalities like sharing the content of the website on social media platforms, collect feedbacks, and other third-party features.
Performance cookies are used to understand and analyze the key performance indexes of the website which helps in delivering a better user experience for the visitors.
Analytical cookies are used to understand how visitors interact with the website. These cookies help provide information on metrics the number of visitors, bounce rate, traffic source, etc.
Advertisement cookies are used to provide visitors with relevant ads and marketing campaigns. These cookies track visitors across websites and collect information to provide customized ads.